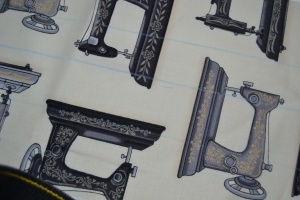
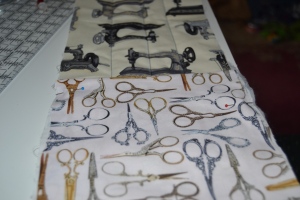
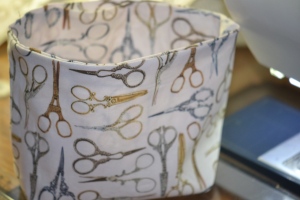
When I started this, I wasn’t sure I would use this one much, but it’s turned out to be my favorite of the two.
Things tend to collect on my ironing board, and I let it build up until the area I have to press gets too small to work. This caddy makes me think about what I really need to have close at hand to iron and what is just clutter.
For this caddy you need:
The long strips you cut
The two pocket pieces
The four thread catcher bag pieces
The interfacing you cut for the bag
The strip of batting
The piece of gripper fabric
Thread
Sewing tools
Center the gripper fabric on the right side of one of the long strips. I just folded the strip in half to find the center. You can be more precise and measure it if you like.
Zigzag stitch around the outside of the gripper fabric. I’ve been snowed in for awhile so I just grabbed some leftover shelf liner I had. My sewing machine balked at sewing it so I laid some strips of washaway stablizer between the gripper fabric and the presser foot, and the sewing machine glided right over it. Wax paper or tissue paper will work, too.
The next step is to quit the top side of the caddy. From a practical sense, this is to hold the batting in place so it won’t shift, and to turn this into one long pin cushion. If you just want the bare essentials, three rows of straight stitching down the length of the caddy will do quite nicely. I have this thing about things lining up so I did one stitch down the center and one 1 1/2″ on either side of that.  When you add the pockets, the pocket stitching will look like one continuous line with the quilt lines. But this is also a place for some personal creativity. You can quilt this any way you like. You could outline some of the design in your fabric with stitching. If your machine does free-motion quilting, and you’ve always wanted to try it, then this is a perfect opportunity. The piece is large enough to give you some space to play in, but small enough to fit easily in your machine. There are a lot of good online tutorials, and your sewing machine manual is the first place to start. So machine baste the batting to the wrong side of the remaining long strip and quilt away! I used a washable marker to make it easy to sew the straight lines.
Now we need to construct the tool caddy pocket. Sew two of the 7″x 7″ pieces, wrong sides together on just one edge with a 1/4″ seam. Press the seam open, and then fold them wrong sides together on the seamline and press again. Using an erasable marker, draw a line from the seam to the opposite edge in the center and 1 1/2″ on either side. You can do this before you sew the two pocket pieces together, but not if you’re using a marker that disappears with heat or steam. Next pin the pocket to one end of the quilted side of the caddy and sew down the pocket lines.  This should give you one wide pocket and two slender ones. I like to give it a good press at this point.
Next put the two long strips wrong sides together, and using 1/4″ seam sew around three sides of the caddy, leaving the short end of the caddy open at the end.
Clip the corners, turn the caddy right side out, use a point turner or a chopstick to push out the corners, and press the caddy well. Turn under 1/4″ on the open end of the caddy and press. 
Now we’re ready to make the thread catcher. You should have 4 pockets pieces and two interfacing pieces left in your pile. Fuse the interfacing to back of two of the pocket pieces. Sew the two interfaced pieces, right sides together on the 7″ sides using a 1/4″ seam. Press the seams open. Repeat with the two non-interfaced pieces.
Next we’re going to turn this into a box. Using a clear plastic ruler, cut away a 1″ square from the bottom two corners of each of the pieces.
Next sew across the bottom 9″ seams on both pieces and press open.
In each corner bring the two seam lines, one from the bottom seam and one from the side seam together and pin them so they match up perfectly.
Pull out the outside edge to flatten them and stitch across the corner using 1/4″ seam. Push out the corners so it makes a box. Do it with both boxes.
Now put one box inside the other right sides together. Stitch around the top edge of the box leaving a small opening in the back of the box to turn it right side out. Turn it and press it pressing the opening under as well.
Line the back of the box up over the edge of the caddy you haven’t sewn yet. Pin in place and sew two rows of stitches 1/4″ apart, closing up both the end of the caddy and the opening in the top of the box as you do it.
Put your scissors, a marking pen, and a hem gauge (or whatever tools work for you) in the pockets and drape the caddy over the end of your ironing board.
Happy Sewing!


