
I had planned to do a fly front zipper today, but I got an urgent request for a zipper with a lining.

Zipper with lining fashion fabric
This is one I do much differently from the way I was originally taught. Mom and Nana taught me how to insert a zipper with a lining, and there was a fair amount of hand sewing involved. But for them that was a split task so neither one of them minded. Somewhere along the way I learned how to do this with no hand sewing involved, which made me very happy. When I learned about using wash away basting tape or a glue stick, this method got even better.
It’s always easiest to insert a zipper if you do it as soon as possible in the construction of your garment. In this case I have chosen an example where the zipper insertion happens near the end of the sewing process. I have chosen it because a lot of little girls (and big girls too) wear dresses with zippers where just the bodice is lined. While I’m going to demonstrate this on a garment that is fully-lined, the same method will work when it’s just the bodice.

Zipper with lining – lining side
I’m working with an incredibly soft flannel, and I decided not to interface the zipper. It’s hot today, and I trying to minimize my time standing at the iron. If I had interfaced the zipper area, I would have been careful to choose a very lightweight interfacing. I would have only interfaced the fashion fabric, not the lining.
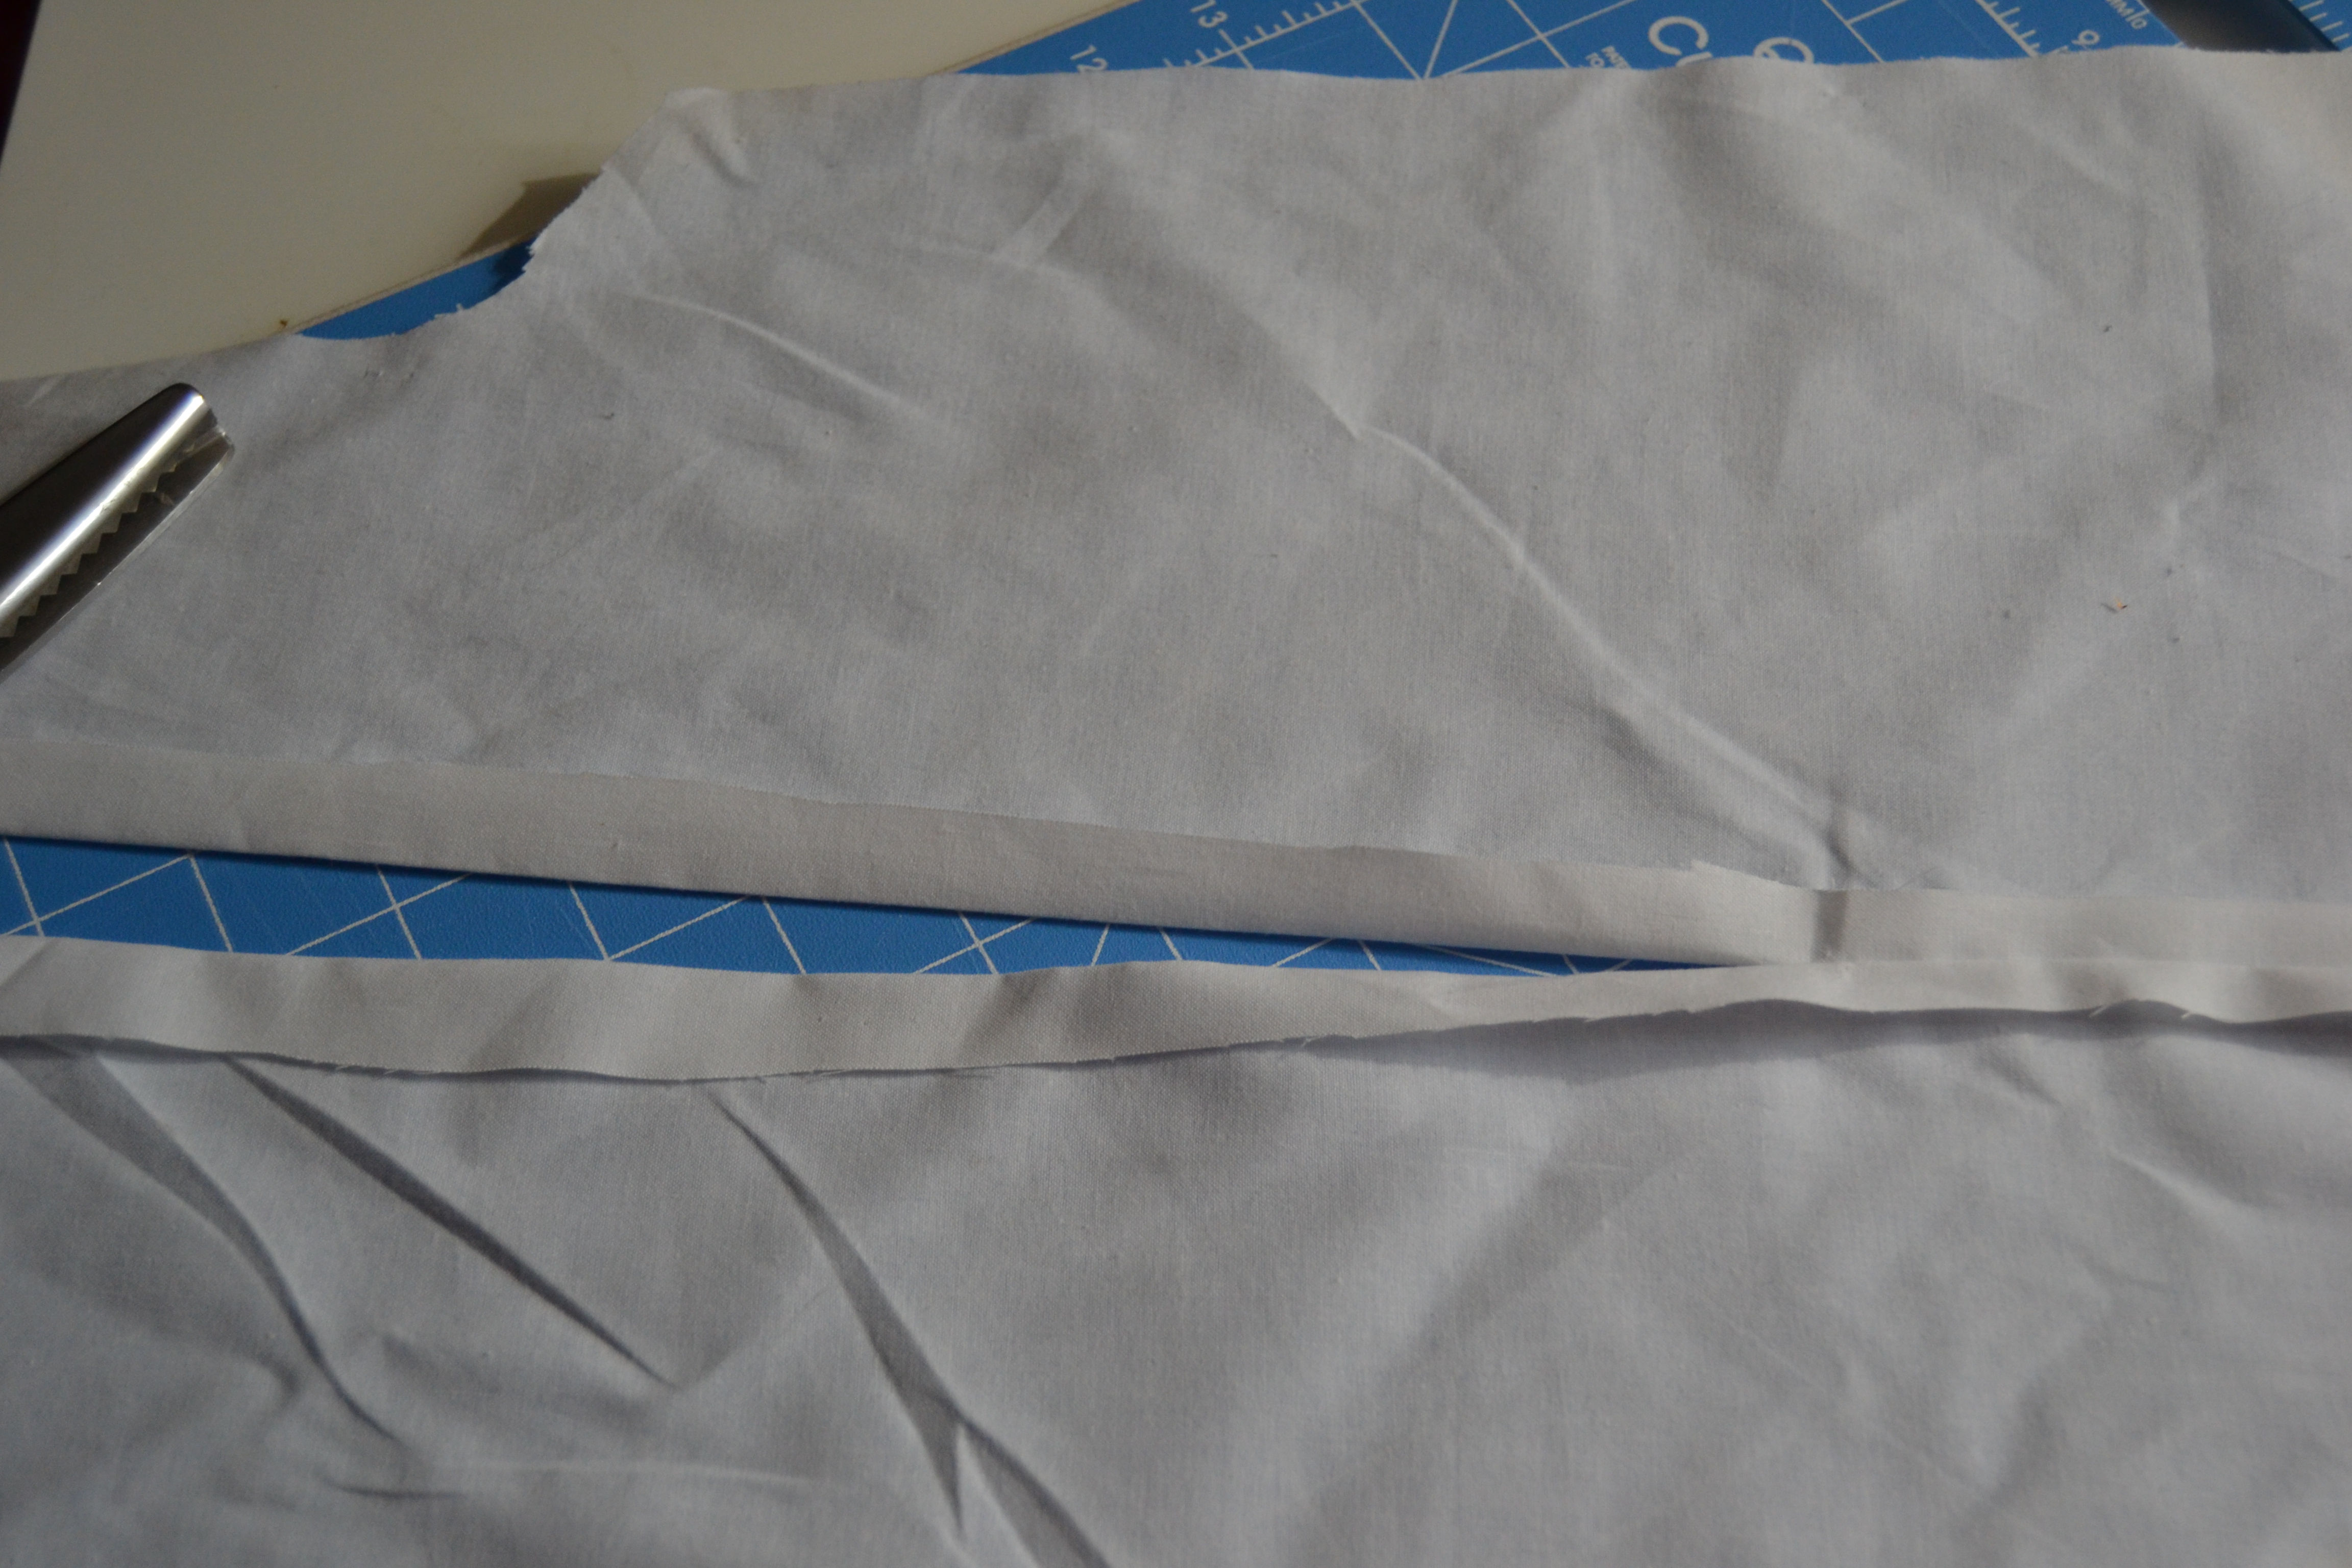
As I did when I sewed the zipper without lining, I have sewn the back seam closed using a regular length stitch to where the zipper stop will go and then lengthened the stitch to a basting length for the rest of the seam in the fashion fabric. Then I pressed the seam open.

Back seam stitched and basted closed
On the lining I have used a regular length stitch as far as the end of the zipper, but then I stopped sewing. I pressed the seam open, continuing to press the seam allowance under for the rest of the seam.
Lining stitched as far as the zipper opeing
Put some wash away tape or run a line of glue down the backside one side of the zipper.

Tape on the backside of the zipper
Press the zipper into place on the seam allowance of the lining face down. If you’re sewing a garment with just a lined bodice, press the waist seam allowance under. When you glue baste the zipper to the lining, some of the zipper will hang free.

Press the tape and sew the zipper to the seam allowance only of the lining
Stitch the zipper to the seam allowance only.
Repeat with the other side.
zippers

Other side

The lining will look like this
Now run the tape or glue down the sides of the front side of the zipper.

Tape the front side of the zipper
Place the seam where the zipper will go in the fashion fabric over the teeth of the zipper.

Press the fashion fabric over the tape with the seam along the zipper teeth
Put a couple of pins in place to hold the lining.
Using a zipper foot sew down one side of the zipper. Pivot and sew to the seam. Sew the same distance on the other side of the seam.

Sewing the zipper
Pivot and sew up the other side of the zipper.
Remove the basting stitches from the zippered part of the seam.

Remove the basting stitches
And you’re done! Not a single hand stitch.
The inside looks like this:

Inside

Completed jumper

This is a great technique, thanks for sharing.
LikeLike
I love to do zippers and linings this way.
LikeLike