
This week I’m going to merge 3 patterns to copy a knit top I’ve seen and liked at J. Jill. There may be a pattern for sale that’s exactly this top, but I already own patterns with all of the pieces I need to make it, and I know they fit. Since I’ve made all three patterns before, there are only two pattern pieces I need to print out so that will save some time. It’s probably going to take less time to hack the patterns than to print out and tape a new one, and I’ll save the cost of a pattern.
This is the top from J. Jill I like.
The key features of the pattern are a bodice that sits about halfway between the bust and the waist, a gathered peplum skirt, a boat neck, and a bell sleeve. The top at J. Jill is made from a cotton, rayon, and spandex knit. In my size it retails for $59 in a solid and $69 in a print.
Looking through my patterns, I have a couple I could use as a base, but I’m going with the one I I’ve used to make several dresses. Since I’m going to be photographing full pattern pieces, I’m not going to identify the pattern. It’s a knit dress that’s waist either sits at the natural waist or is empire. It has sleeve options, but not a bell sleeve, and a scoop neck. The bodice’s waist is in the right place, it’s easy to shorten the skirt to the right length, and eliminating the pockets is trivial. The neckline is too low, and the sleeve isn’t right, but both of those changes are easy.
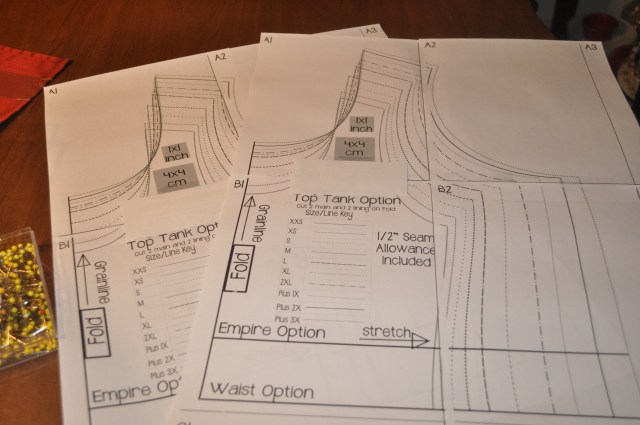
Going back to my pattern stash, I find this knit top pattern with a boat neck that lies just the way I like it. I could probably use this pattern as the base, too, but I’d have to make more changes than with the other one.

Then I find this one has the bell sleeve I need.
 With these three patterns I should be able to knock off the top from J. Jill.
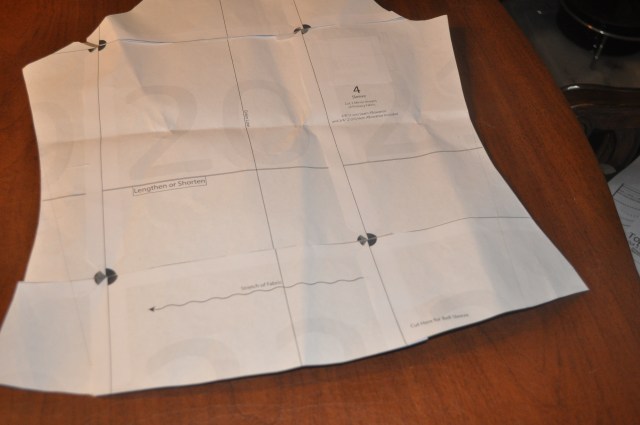
First step is to print out and trace my 3 patterns. These are patterns I’ve used before so I only have to make a fresh tracing of the bodice front and back of my base pattern. I’m not going to cut them out until I’ve made the alterations.

First I’m going to make the neckline changes. I’m going to match up the center fronts and backs and the shoulder seams. Then trace the new neckline onto the base pattern.

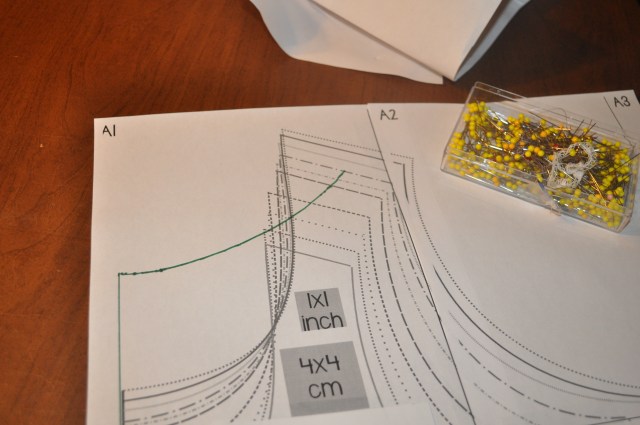
Then I’m going to trace the armhole from the pattern that has the sleeve I want onto the base pattern. If I move the sleeve’s armhole, the sleeve will fit perfectly, and I won’t have to make any changes to it. Match the shoulder seams and line up the side seams. Trace the new armhole.

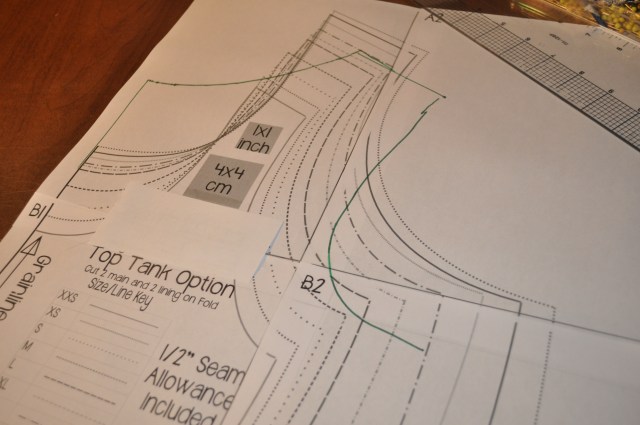
Repeat for the back bodice. “True” the shoulder seams so they still match. The final step is to decide how long I want the gathered peplum to be and cut that out. I can use the widths from the dress pattern. I’m going to use the neck facing from the pattern with the new neckline. Because the patterns I used to draw the new cutting lines already have seam allowances included, I don’t have to add them. If the patterns I used have different seam allowances, I do need to make adjustments for that. Here’s my altered pattern- 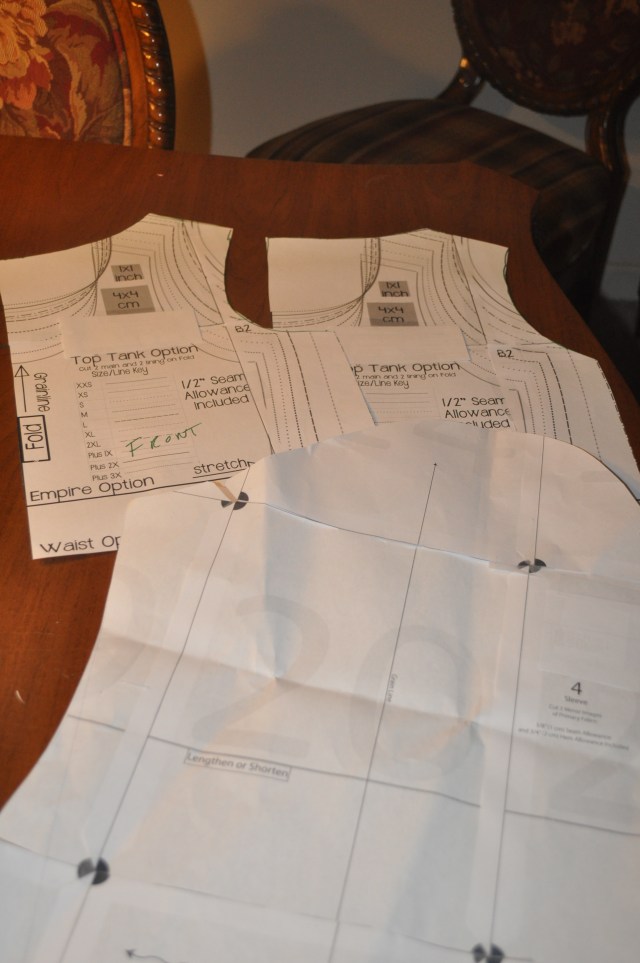
If these instructions seem easy, it’s because merging patterns is easy. I sewed the top, and it’s almost what I’m aiming for. My fabric is a little heavier so the skirt doesn’t drape as well. This is a muslin so the next time I make it I’ll use a lighter weight fabric and put more gathers in. It still needs a good press.

Next week we’ll start a collar and pocket collection we can use on multiple patterns, and we’ll start using some drawing tools.
