Pattern Hacking 101- Week Two- Merging Patterns

This week I’m going to merge 3 patterns to copy a knit top I’ve seen and liked at J.  Jill. There may be a pattern for sale that’s exactly this top, but I already own patterns with all of the pieces I need to make it, and I know they fit. Since I’ve made all three patterns before, there are only two pattern pieces I need to print out so that will save some time.  It’s probably going to take less time to hack the patterns than to print out and tape a new one, and I’ll save the cost of a pattern.

This is the top from J. Jill I like.109601_274

The key features of the pattern are a bodice that sits about halfway between the bust and the waist, a gathered peplum skirt, a boat neck, and a bell sleeve. The top at J. Jill is made from a cotton, rayon, and spandex knit. In my size it retails for $59 in a solid and $69 in a print.

Looking through my patterns, I have a couple I could use as a base, but I’m going with the one I I’ve used to make several dresses. Since I’m going to be photographing full pattern pieces, I’m not going to identify the pattern. It’s a knit dress that’s waist either sits at the natural waist or is empire. It has sleeve options, but not a bell sleeve, and a scoop neck. The bodice’s waist is in the right place, it’s easy to shorten the skirt to the right length, and eliminating the pockets is trivial. The neckline is too low, and the sleeve isn’t right, but both of those changes are easy.

DSC_0003

Going back to my pattern stash, I find this knit top pattern with a boat neck that lies just the way I like it. I could probably use this pattern as the base, too, but I’d have to make more changes than with the other one.

DSC_0004

Then I find this one has the bell sleeve I need.

DSC_0005With these three patterns I should be able to knock off the top from J. Jill.

First step is to print out and trace my 3 patterns. These are patterns I’ve used before so I only have to make a fresh tracing of the bodice front and back of my base pattern. I’m not going to cut them out until I’ve made the alterations.

DSC_0002


First I’m going to make the neckline changes.  I’m going to match up the center fronts and backs and the shoulder seams. Then trace the new neckline onto the base pattern.


DSC_0007DSC_0008

Then I’m going to trace the armhole from the pattern that has the sleeve I want onto the base pattern. If I move the sleeve’s armhole, the sleeve will fit perfectly, and I won’t have to make any changes to it. Match the shoulder seams and line up the side seams. Trace the new armhole.

DSC_0015

DSC_0010

Repeat for the back bodice. “True” the shoulder seams so they still match. The final step is to decide how long I want the gathered peplum to be and cut that out. I can use the widths from the dress pattern. I’m going to use the neck facing from the pattern with the new neckline.  Because the patterns I used to draw the new cutting lines already have seam allowances included, I don’t have to add them. If the patterns I used have different seam allowances, I do need to make adjustments for that. Here’s my altered pattern- DSC_0016


If these instructions seem easy, it’s because merging patterns is easy. I sewed the top, and it’s almost what I’m aiming for. My fabric is a little heavier so the skirt doesn’t drape as well. This is a muslin so the next time I make it I’ll use a lighter weight fabric and put more gathers in. It still needs a good press.

DSC_0021


Next week we’ll start a collar and pocket collection we can use on multiple patterns, and we’ll start using some drawing tools.


Posted in Uncategorized | Leave a comment

Pattern Hacking 101- Week One

This week we’re going to assemble the tools we need to hack a pattern. The first thing you need is a target garment. Maybe it’s something you saw in a store, or it could be a pattern you’ve seen, but you want to see if you already have the pieces you need to make it before you buy it. Or maybe it’s an original design that lives in your head.

If you want to learn to hack a pattern using drawing tools, you’re going to need a French curve        french-curve-sewing-pattern-tailoring-tool-Fashion-ruler-instructions-Laurel-Leaf-Farm-item-no-u89137-2

and a clear plastic ruler. 1273734963134_hz-myalibaba-web6_1594

A hip curve ruler can come in handy, too, but you can wait until you decide you like to do this to purchase one.  31ZEHIgK47L._AC_US200_


French curves come in lots of sizes. For sewing, an 18″ clear plastic one is the easiest to use. Some of them are kind of flimsy so look for one thick enough to take some abuse.  If you’re hard on your tools, you can get a metal one, but there is an advantage to being able to see through it.  I like having different lengths and widths, but any clear plastic ruler will do. A hip curve ruler is good for making size adjustments and for drawing a curved hem. You can do either with your French curve, too. The hip curve is just faster. You’ll need the French curve and the ruler for week four.

Next week we’ll use pattern merging to change a sleeve or alter a neckline. Have fun looking through your pattern stash for inspiration. If you find a pattern sale this week and you’re tempted, before you add a pattern to your cart, check through your stash for two or three patterns you could merge to duplicate the one you’re thinking of buying. We’ll do pockets and collars in week 3.

This is my target garment. It’s a top for sale at one of my favorite stores.

109601_274

To make it I’m going to need a knit bodice, a boat neck, a bell sleeve, and a gathered skirt.

This week we’re just getting ready to hack. Look through your patterns for one you almost love. One you’d like to change to make it perfect. Maybe you’d like to have a different sleeve or change the neckline. Add a collar. If you’ve never hacked before, keep the change simple.  Pick one or two features. Print out the base pattern if you haven’t already, and trace it, even if you already have, unless you don’t ever plan to use your original tracing again.  We’re going to be altering the pattern, and there won’t be any going back. For my target garment the base pattern will be the bodice.

Then look through your pattern stash for another pattern with the feature(s) you want to move. We aren’t going to alter this pattern so if it’s already printed and traced, you don’t have to do it again. The patterns don’t have to be from the same designer. The patterns can be pdf or paper, and you can mix and match them.

As you look through your patterns, think about all of the pieces you’ll need to get to the finished garment you want. For a top or dress, you’ll need a bodice front and back, maybe a skirt, sleeves or an armhole, a neckline, maybe a collar, and sometimes pockets. Pants and skirts need fronts, backs, waistbands, and pockets.

February is a short month, but we don’t have to rush through it. There will opportunities to hack at least two garments in this SAL. One by merging patterns, and a second one using drawing tools. We’ll do the pattern merging first so you’ll have time to assemble your tools for the second one.

This SAL will remain here permanently so you can come back as often as you like. During the SAL, if you’re in the Sew Your Pattern Stash Facebook group, please leave your questions there. Later you can leave them here,


Posted in Uncategorized | 2 Comments

A Spring Capsule Wardrobe Begins

Patterns for Pirates and Made for Mermaids are having a Mini-Spring Capsule Wardrobe  contest. The prizes are huge. You should check it out!

As the contest progresses, I’ll be filling in my Mini-Capsule with the P4P and M4M  garments I’ve made.

M4MWomensCapsuleTemplate (1)

I’ve recently lost 35 lbs. Yay for me! While there is certainly reason to celebrate, part of me feels like a person on What Not to Wear when Clinton places the big trash can down before he and Stacy throw out all of my clothes. I like what’s in my closet, but a lot of what’s in there  now is at least two sizes too big, and it’s hard to see past them to the new body I have. As much as it hurts to let them go, it’s time. On the other hand, I hope there’s more weight loss in my future. I’m not “on a diet”. I’ve embraced a lifestyle change that has no “goal weight”. At some point my body will stop losing weight, and my goal will just be to stay there. But I have no idea when that will happen. In the meantime I need some clothes that fit, and I need a way to maximize the versatility of what I have so I can minimize what I have to sew or buy until my weight settles in. I’ve always embraced the idea of a wardrobe that works together, but I’ve never limited how many pieces I’ve had so this is a challenge.

tessa

Tessa Sheath Dress by Love Notions and Phresh Blazer by Winter Wear Designs

I’m retired, and I don’t need clothes for work, but my personal taste is still for more structured clothing. I’m not an ath-leisure kind of gal. I do like both the ease of wearing and sewing knits. They’re “size forgiving” so my new wardrobe will start there although it won’t be all I sew. I need clothes for home. I live on a lake in a rural area. I need comfortable clothes for walking my dog. She and I are doing a 100 miles of walking from the first day of spring until the first day of summer challenge. Walking is an

grandpa1

Grandpa Cardi from Patterns for Pirates, Chocolate Chip Skirt from Tie Dye DIva, purchased sweater from Talbots

integral part of how I’ve lost weight, and it feels good to look good when I do it. I need clothes for casual social events and one outfit that will do dress up for me.  Believe it or not, my shoes are too big, too, so I at least need new sneakers for walking the dog, a few comfortable pairs of flats. and a pair of heels. I bought new boots recently.

rfr

Relaxed Fit Raglan and Pegs from Patterns for Pirates

A typical capsule wardrobe begins with a color palette. Black, gray, and navy are my go to neutrals, and red, purple, royal blue, and yellow are my favorite pops of color. I never feel my wardrobe is complete without one white blouse. It’s still cold where I live. Spring arrived with a blanket of snow. As the season progresses it will gradually warm up so I want to include some transition pieces that will work into summer and add some linen pants and more cotton. Perhaps, a more summery dress. But I’m going to try to rein myself in because I hope I’ll doing this again next spring in a smaller size. If not, then this will be a nice spring wardrobe to expand on and update next year.

Pants

I usually like to wear a structured pant with a waistband and a zipper, but because I’m losing weight, I going to be choosing some pants made from knits and a stretch denim jean. For my basic black pants I’ve chosen the SOS pants from Patterns for Pirates and a ponte from Girl Charlee. listing-pictures115-e1434420351291 I’m waiting for it to arrive, and when it does, I’ll get right to it.

All of my jeans have become Mom’s. I usually buy my jeans, but I’ve been having fun making my granddaughter’s so I’m going to make mine this time. I have some stretch denim from fabric.com. The Real Deal Jeans by Winter Wear Designs have been recommended to me.

RDJ_Main_Cover2_large


My transition pants will be Itch to Stitch’s Tierra’s Woven Joggers. I’ve chosen navy blue linen. It’s means I’ll be doing some ironing, but linen will be comfortable as it gets warmer.

Tierras-Product-Hero-400x594I

I can’t give up structured pants completely so I’ll be making some alterations to my go to trouser pattern from Silhouette. I convert the pleats to darts for a more modern look. These pants will be a gray spring weight wool flannel. Classic.

3000_front


Rounding out the pants will be red, white, and black plaid Pirate Pegs. I love Pegs for lounging at home. I have short legs, and long tunics make them look shorter. When I wear leggings, I like a top that just skims the bottom of my backside. One of the pluses of making my own is I can pick just the right length.

listing-pictures1-e1439870524253

This combination should give me pants for any occasion that comes up this spring. I will probably add a second pair of  pull-on pants and another pair of jeans, maybe in a color, so I’m not constantly doing laundry. Who am I kidding? The second pair will probably be dark wash, too.

Skirts

In the winter I usually reach for pants, but as the temperatures rise, I like to wear skirts. As we get closer to summer, I’ll probably add a few more, but for now I’ll make do with two.

Skirt #1 will be a modified Pirate Pencil Skirt.  I saw a skirt in one of my favorite stores and copied it. The zipper on the side makes it go from the grocery store to date night if either one of us could stay awake.

Slide1-1-e1464191177426


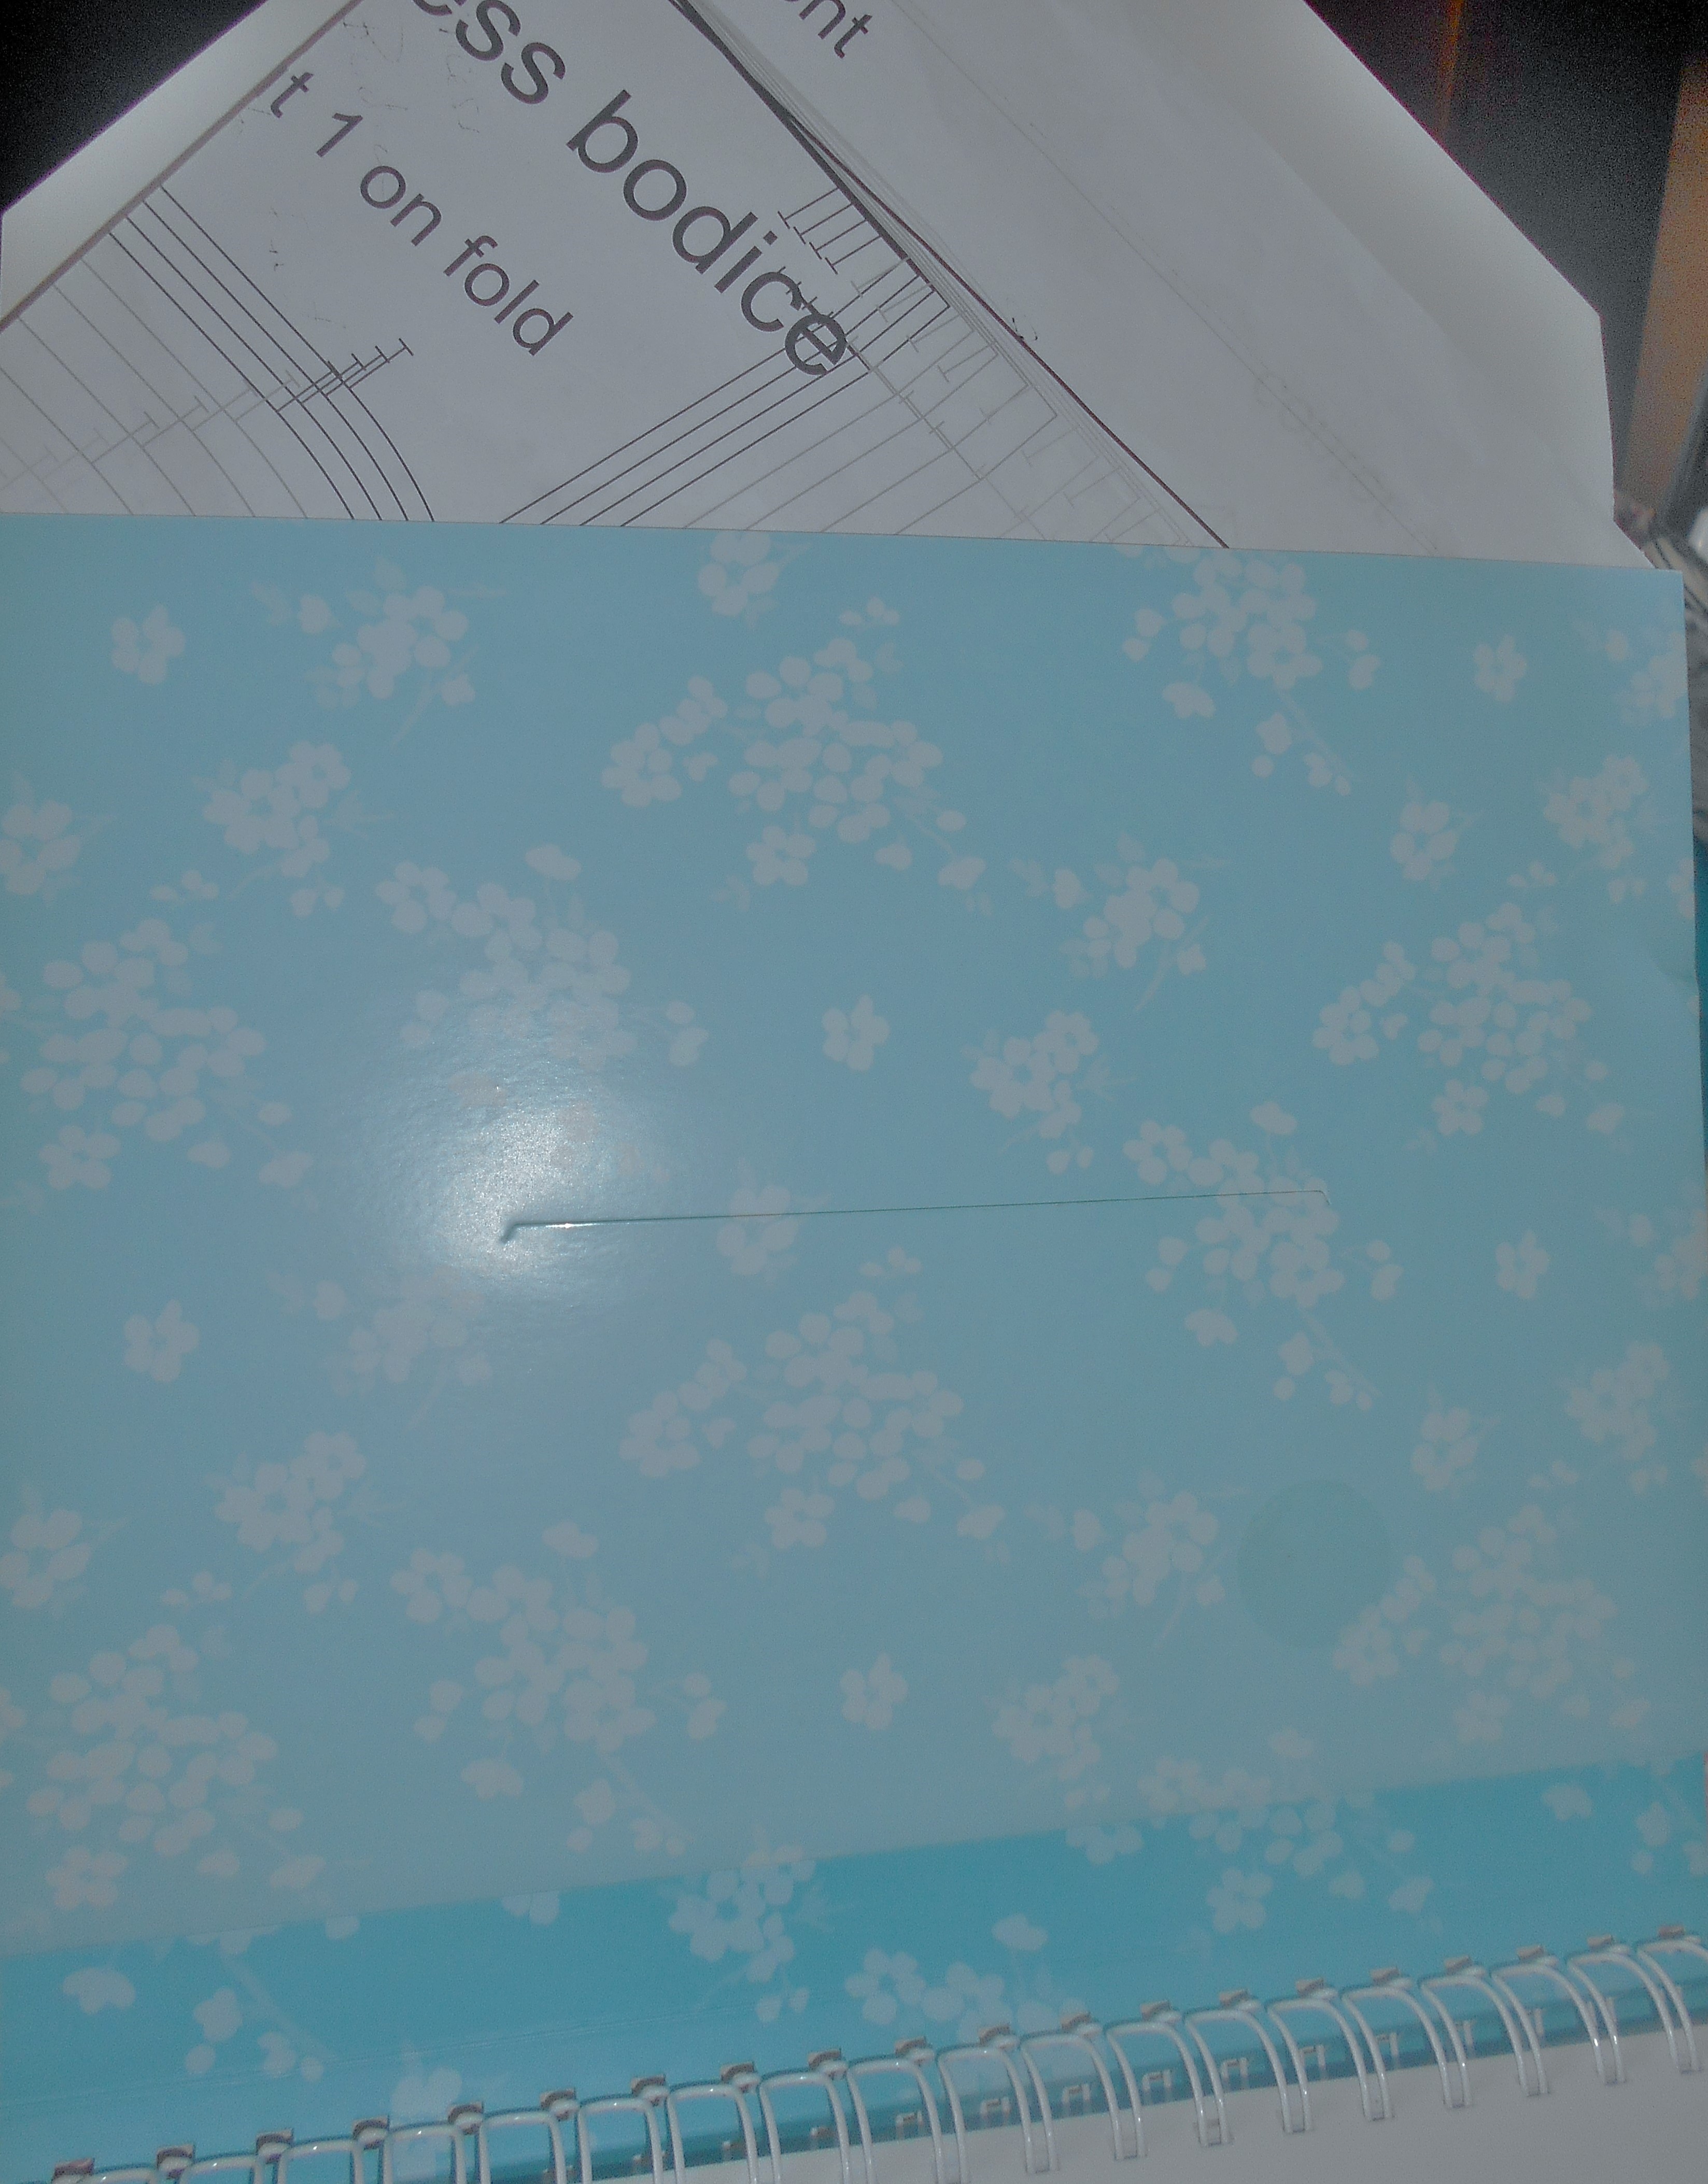
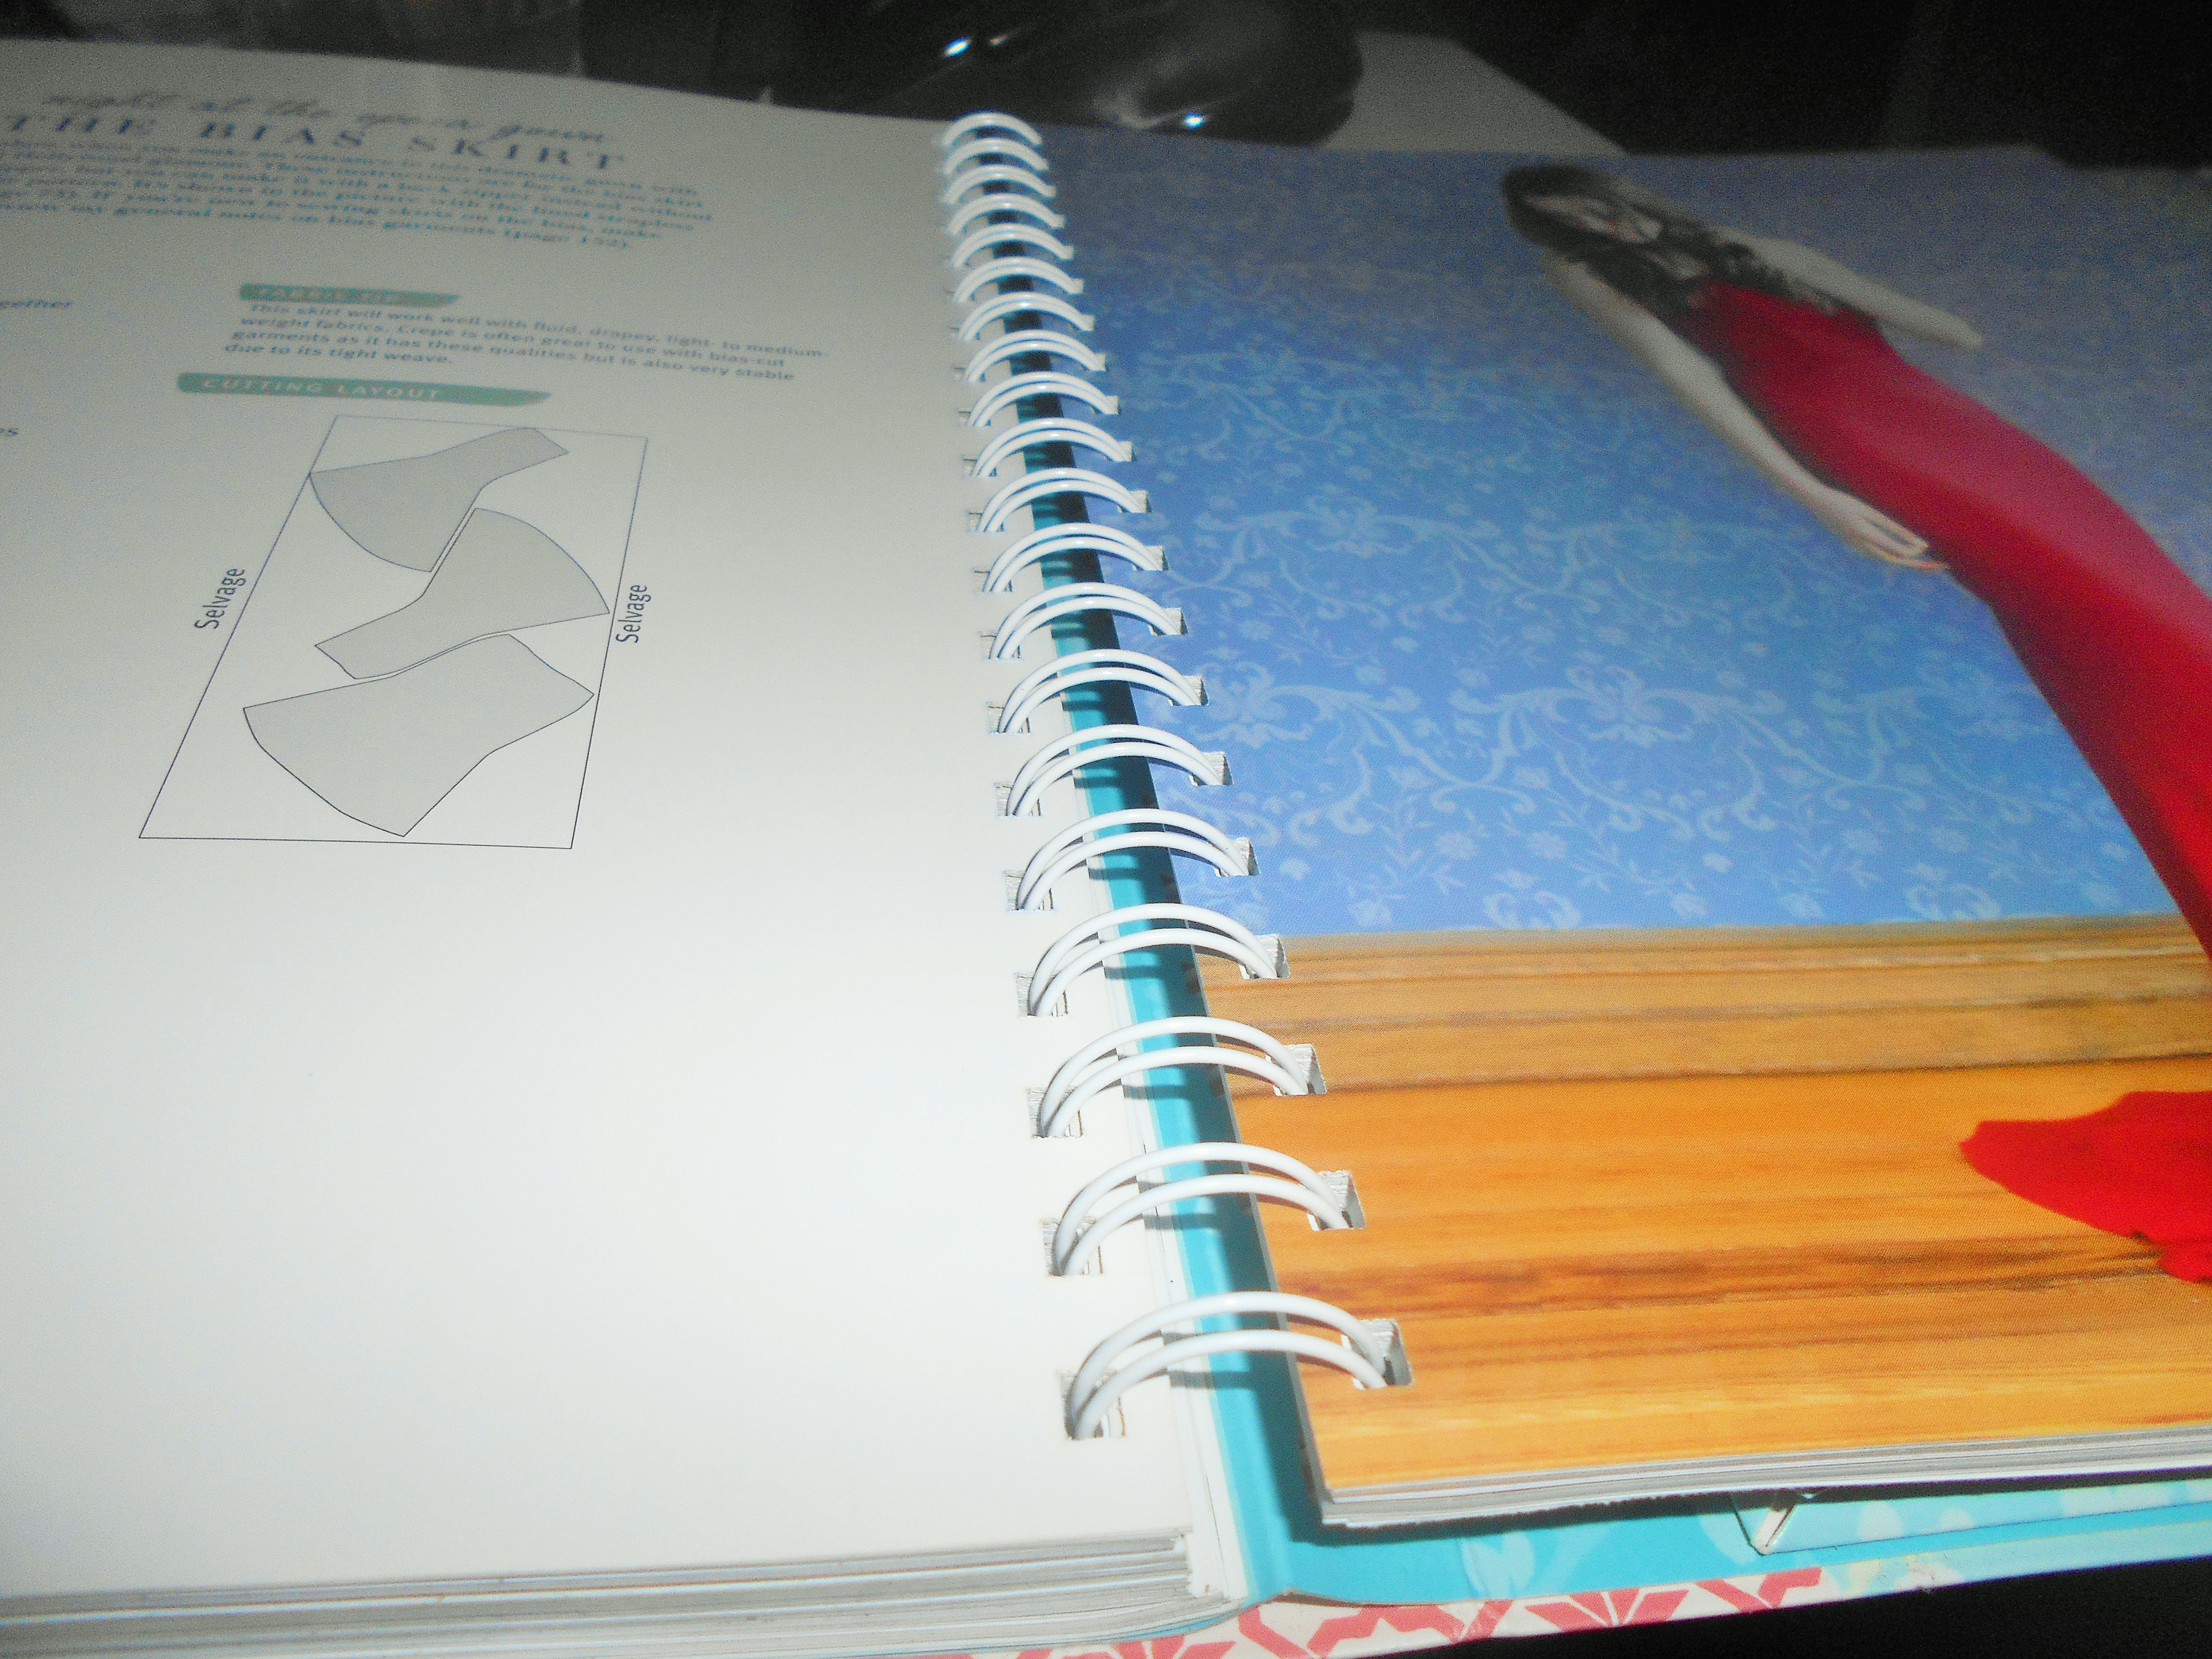
Skirt #2 is one of my favorite skirts. I’ve taken the time to make the alterations it needed. The fabric is Italian and has a nice weight and hand. The pattern is from Tie Dye Diva.

mamachipcollagemarked


Dresses

I need two dresses for spring. A casual one for popping out to do errands and meet friends for lunch and one that can do dinner out.

For the casual one I’ve chosen the Boundless in a navy and gray stripe.

listing-pictures11-e1481515678789


Dress #2 is a black and white ponte abstract print. The Tessa from Love Notions.

tessa-cover-image

Completer Pieces

I love jackets. They can dress any outfit up or down. I have several that are now too big, and they will be the hardest garments to part with and the place I’ll have to rein myself in. I love the Pattern for Pirates Grandpa Cardigan. I’ll be making one hip  length and maybe extend the pattern to make a sweater coat.

listing-pictures12-e1442876023133


While I’m holding out on making a suit jacket, I am including an unlined jacket in my wardrobe. I recently completed the Phresh Blazer from Winter Wear Designs.

WWD_Phresh_Blazer_for_Women-1_1024x1024

A typical capsule wardrobe has 25 pieces so I have room for 12 tops in my closet. I’ll be matching fabrics to some of my favorite tops- sized down.
listing-picturesnew-1-e1459480406363 listing-pictures14-e1434421213259   Slide1-1-e1464040252167

Zamora-Blouse-Product-Hero-509x756  pemberley-470x577 laundrydaytee

cover_bda01366-b1b9-4348-8203-4cb3ef7bac98_1024x1024

Accessories

Shoes

I settled on black, grey, red, navy, and gold flats. I’ll probably end up walking the dog in the gold ones, but they’re fun. I have a pair of “all-purpose” black heels. This body doesn’t do stilettos anymore, but I love them. Tall black boots. I was wearing the navy ones when I snapped the picture, and I forgot.  DSC_0095

Bags

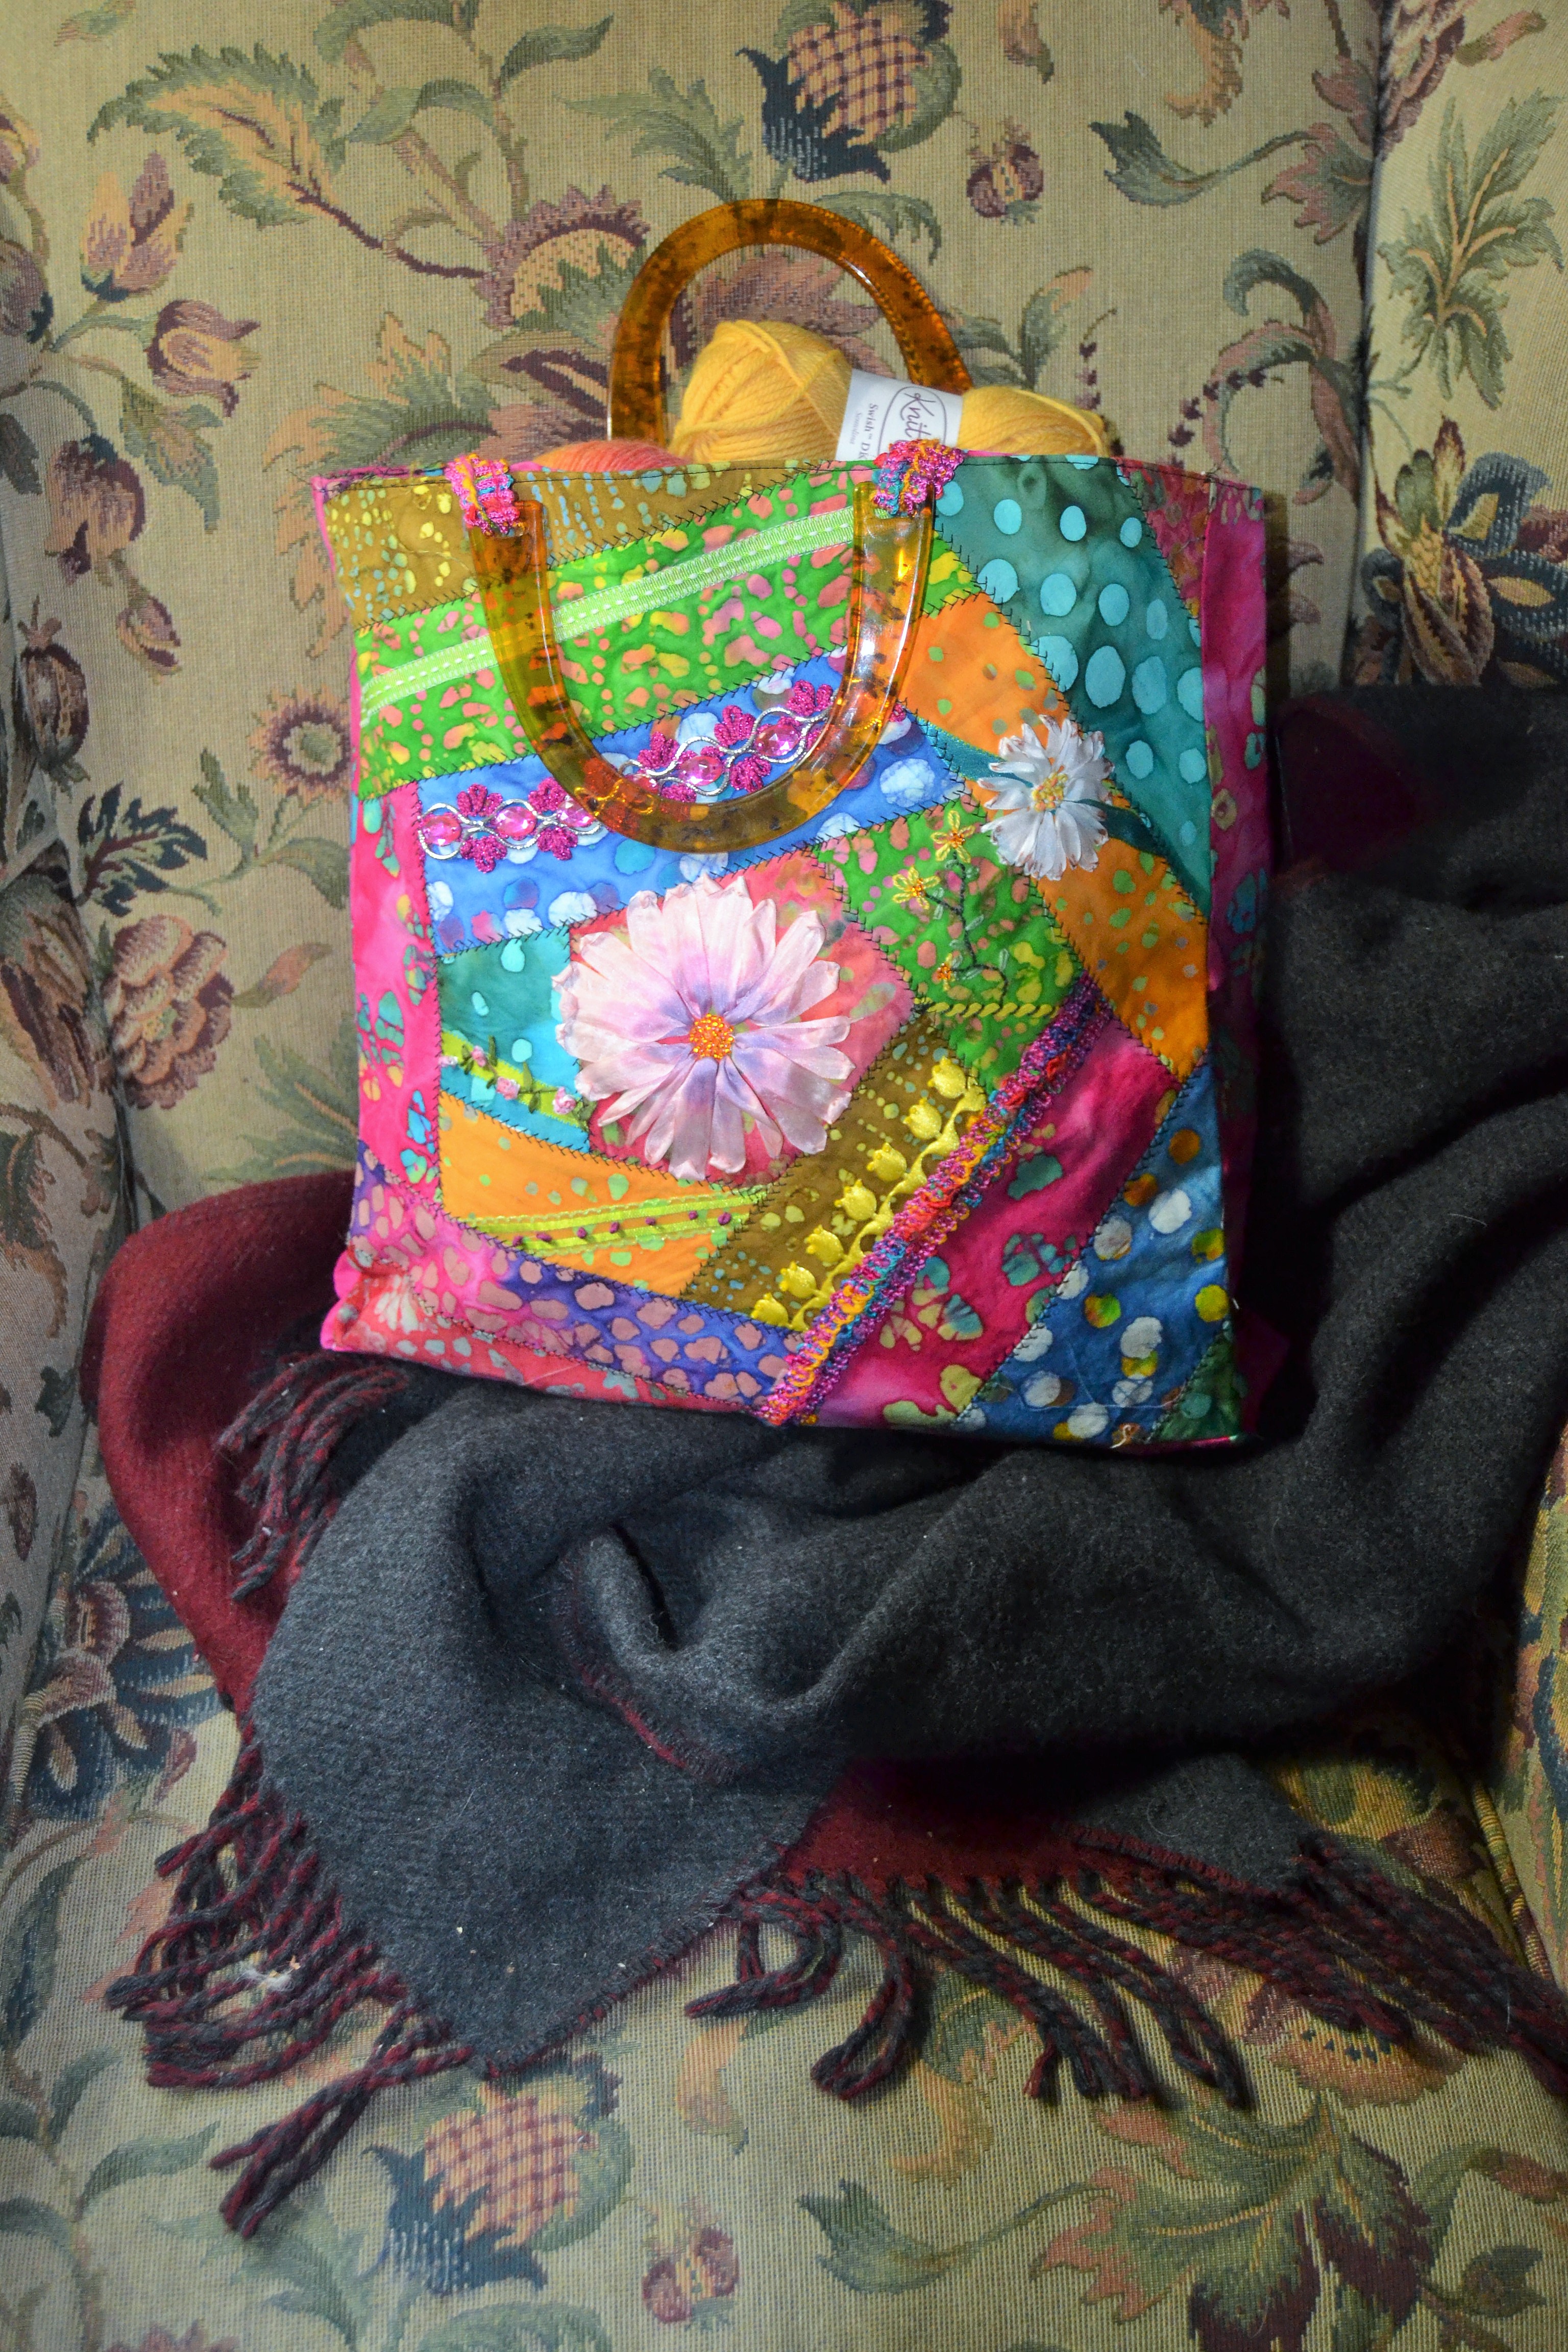
I love to buy bags, but I don’t like to move stuff from one to the other so every bag I choose has to be able to go from out to dinner to out to the grocery store. I have gray, blue, red, and yellow bags- so far. 😉

DSC_0096

I was in the middle of planning and sewing this when Patterns for Pirates  and Maid for Mermaids announced their Mini-Spring Capsule Wardrobe Contest. As a member of Judy’s team, I’m not competing, but I thought I’d play along.  A mini-capsule is a great way to try dressing this way, and the contest is a great way to try out some great P4P and M4M patterns.

First step- emptying my closet. 😦
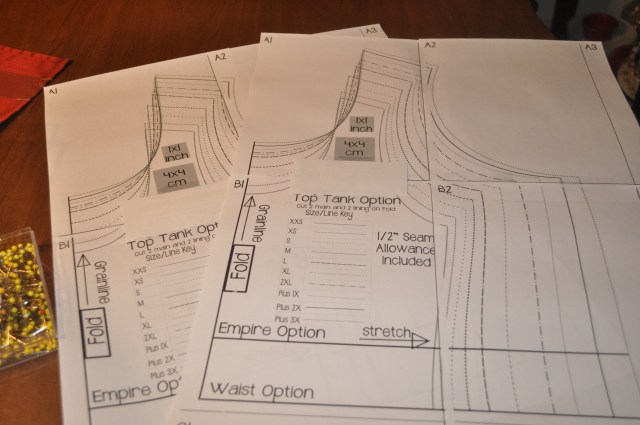
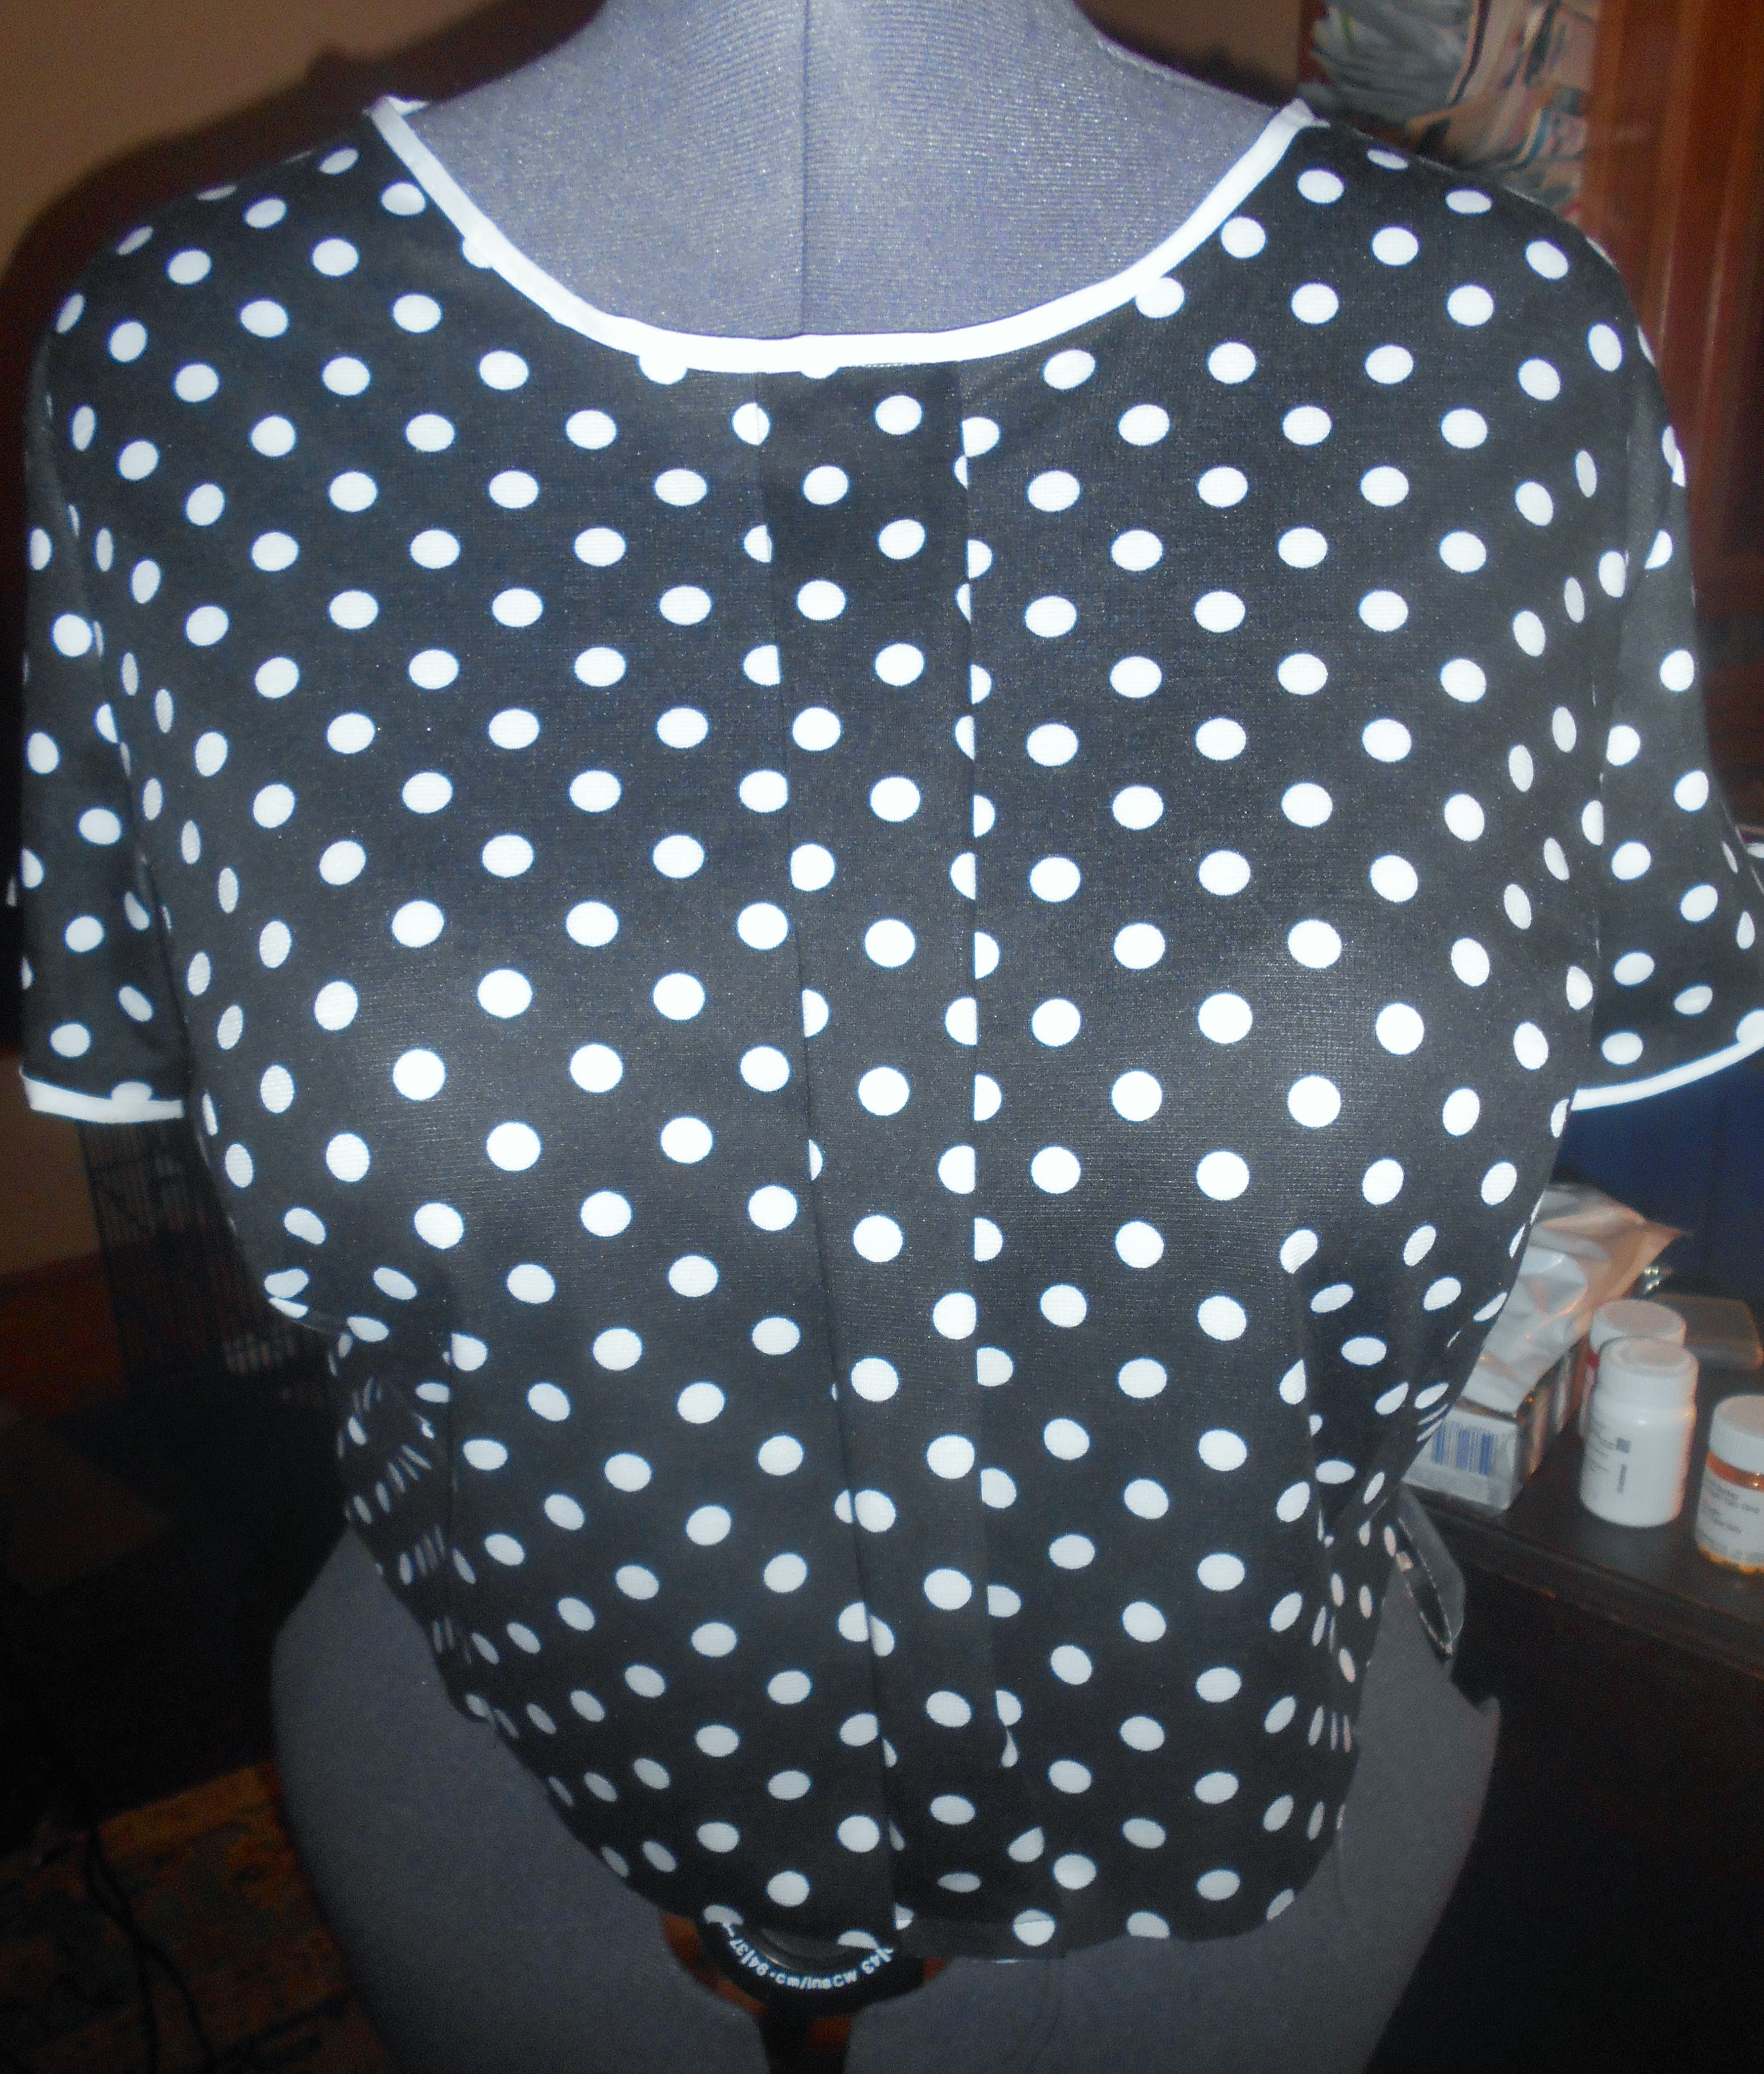
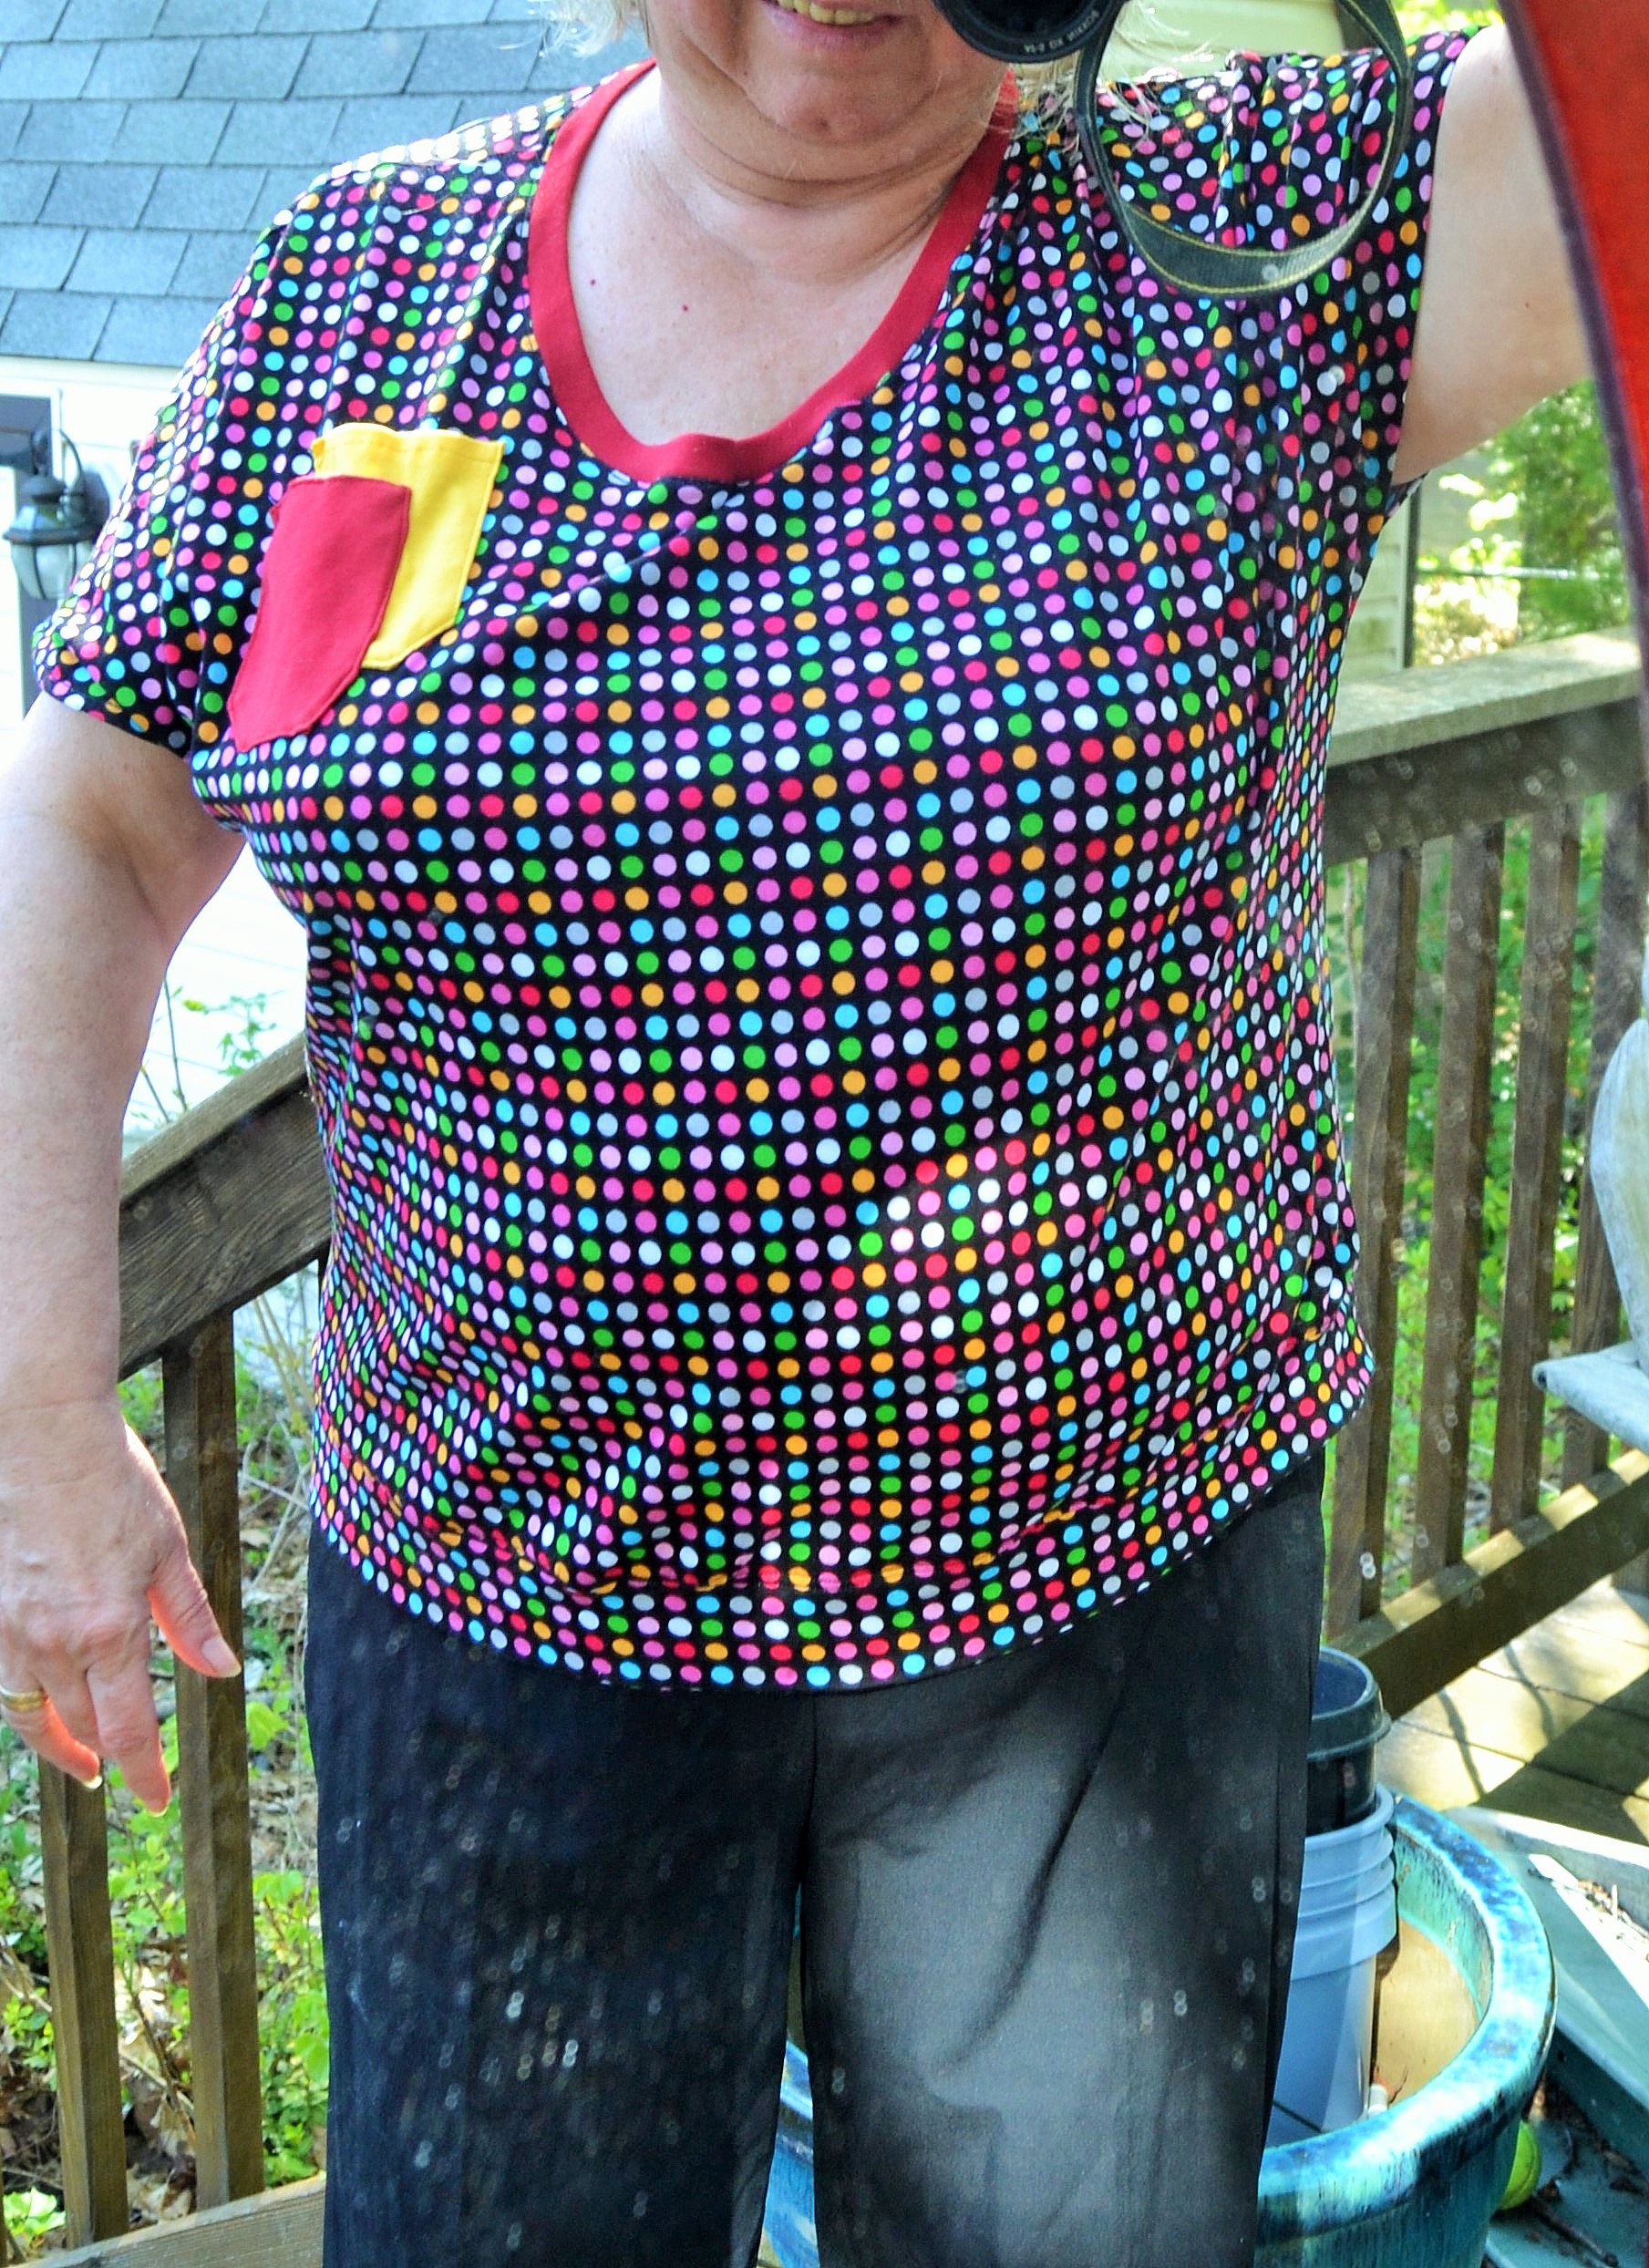
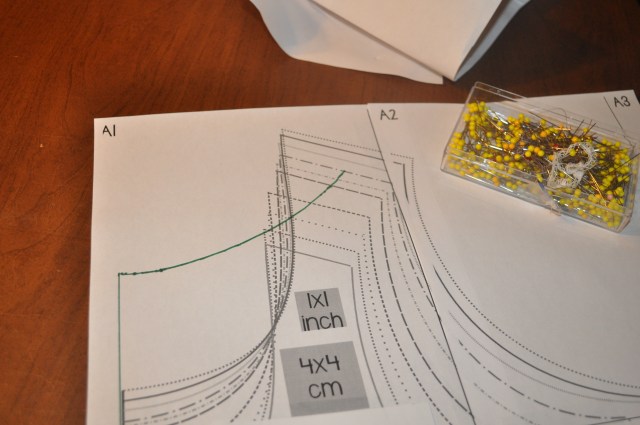
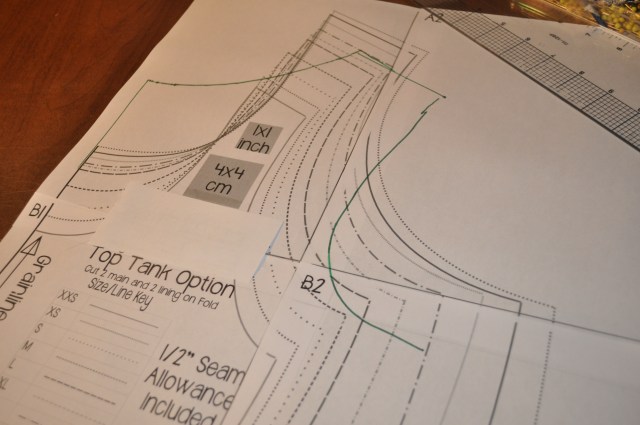
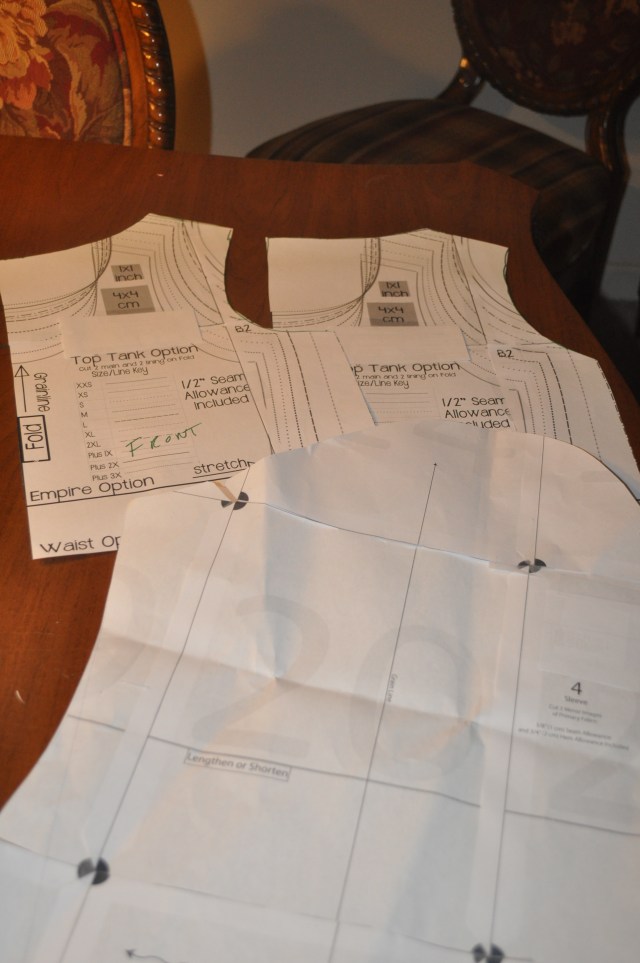
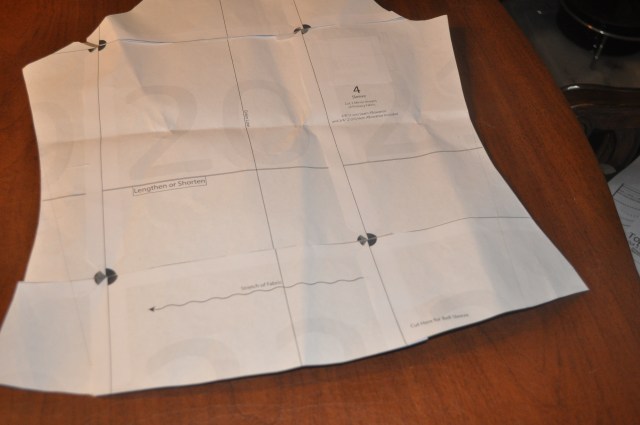
DSC_0094

Posted in Uncategorized | Leave a comment

Completing Your Bag

Cutting out the Lining

When you have the two quilt panels completed, you’re ready to assemble the bag. Trim the edges of your panels and measure them. Cut two pieces of lining fabric and two pieces of interfacing the same size. Cut two pieces of fabric the length of 3 sides of your bag x the depth you want your bag to be. One will be outside the bag, and one will be part of the lining. These strips can be pieced. Be sure to add seam allowances. Cut a strip of interfacing the same length. If you want pockets inside your bag, cut two pocket pieces for each pocket or one piece the width of the pocket x twice the length. Either press, baste, or use adhesive spray to attach the interfacing to the lining pieces.

Handles

If you’re making fabric handles. cut two strips of fabric the length you want your handles to be and twice the width plus 1/2″. Cut two from interfacing. Attach the interfacing to the wrong side of the strips. Fold the strips lengthwise, right sides together. Stitch down the long sides using 1/4″ seams. Turn right side out and press with the seam going down the middle of the back. Edge stitch down each side.

If you’re attaching a purchased handle, cut a strip 5 times the length you need to make a loop to slip the handles through twice the with that will fit through the handle plus 1/2″. Interfacing is optional. Fold the strip right sides together, turn right side out, press and edge stitch. Cut the strip into 4 pieces.

Assembly

Sew one of the side panels around 3 sides of the bag. It’s easier to do it if you clip the side strips at the corners of the bag. Press.

Measure where you want the handles of the bag to come on the bag and pin them in place matching raw edges. If you have purchased handles, place the loops where you want them to be. If you handles aren’t detachable, slip the handles in before closing the loop.

Lining and Pockets

If you’re adding pockets, sew two pocket pieces together (or fold them) right sides together.  Leaving a small opening to turn the pocket right side out, sew around the outside of the pocket. Turn and press. Pin the pocket(s) in place and sew them to the the lining back-stitching at the corners.

Sew the lining sides to the front and back of the lining pieces, clipping corners. Leave an opening in one of the bottom seams large enough to pull the bag through. (4 or 5 inches or so)  Press. If you’re adding a closure, do it now.

Pin the top edges of the bag to the top edges of the lining right sides together. Stitch, catching the handles  in the seam. Pull the bag through opening you left in the bottom. Press. Sew the opening closed either by hand or on the machine. Topstitching around the top of the bag is optional.


Posted in Uncategorized | Leave a comment

Choosing Your Size

I know it’s cliche, but size is just a number. You can walk into store A,  try on pants, and find you’re a size 8. You go to store B next door, try on a similar pair of pants, and you need a size 12. You didn’t gain weight in the 10 minutes it took you to do it. Our body is our same body no matter what the label says. The good thing about sewing for yourself is all of the clothes you make will be “your size”. If you have a hang up about what the “number” of your clothes is, there are places you can order up size labels. Decide what size you’d like to be, order up some labels and sew them into your clothes. I have a friend who found an Oleg Cassini coat in a thrift store, and she bought it. When the coat wore out, she removed the label and sewed it into the next coat she bought. She kept repeating it, and for thirty years or so, she had a “designer label” coat.

Sewing patterns do not always map to clothing sizes in Ready-to-Wear. How could they when there’s no consistency there? But patterns do give you a road map to finding your size. The vast majority of patterns are sized by body measurements. A few pattern companies use finished garment measurements, and we’ll learn how that works when we actually start sewing.

To take your measurements to choose your pattern size, put on the undergarments you think you’ll be wearing with what you’re making. Measure yourself around the fullest part of your bust holding the tape measure taut, but not tight. Pretend you’re a teapot and tip yourself over. Place a finger where the bend is. That’s your “natural” waist. Measure yourself there. Then measure yourself around the fullest part of your hips. We’ll take other measurements before you cut out your pattern, but these are the three you need to pick a pattern.   dress-measurement

If you’re choosing a pattern for a dress or a top, choose your pattern size by your bust measurement. If you’re choosing a pattern for pants or a skirt, use the hip measurement. If you’re making a full skirt that releases it fullness at the waist, use your waist measurement.

Some pattern companies divide patterns for women into Misses’ and Women’s. As sizes get larger, the biggest difference from one size to the next is the width across the shoulders and the length of the pattern. Plus-sized women have the same body frame size as women who wear Misses, but they carry more weight through their torsos. A plus-size pattern with a 40″ bust will have narrower shoulders and be shorter than a Misses pattern with a 40″ bust. It’s possible to make the appropriate alterations to a Misses pattern to make it fit, but starting with a Women’s pattern is easier.

If you’re measurements take you beyond the largest size, buy it and we’ll make it fit.

Posted in Uncategorized | Leave a comment

Choosing a Fabric

Sometimes we find a fabric we love and go in search of the perfect pattern. Other times we find a pattern we know will look fabulous on us and go shopping for fabric that will be perfect for the style. But no matter which direction we come from, the fabric always wins so choosing the right fabric is the key to making the perfect garment.

Construction

Fabric is made using two distinctly different methods. Some fabric is woven on looms. It has warp threads and woof (or weft). The warp threads are longitudinal and are the straight grain of the fabric. The woof or weft are the horizontal threads and are the crossgrain. Most pattern pieces are cut on the straight grain of the fabric because it’s the most stable direction. Pieces cut on the crossgrain may “droop’ over time. This isn’t an issue with small pattern pieces like yokes, collars, and cuffs, and we can play with those pieces by cutting them on the “cross”. It’s really only an issue for things like floor length skirts and pants made from heavy fabrics. The line of the fabric at a 45 degree angle is called the bias. This is only cutting line on a woven fabric that has stretch. Cutting a garment out “on the bias” can give dramatically different results.

The second type of fabric is knit. Some knit fabric is made on machines that knit back and forth, and others are knit on circular machines. While the fabric looks different, either one will work for a pattern designed for knits. The more important thing is how many directions the fabric will stretch in and how much. Knit fabrics are labeled two-way or four-way stretch. A two-way stretch knit will stretch across the fabric and is stable on the length. A four-way stretch will stretch in both directions, but not necessarily the same amount each way. With a four-way stretch, the crosswise stretch provides fit, and the lengthwise stretch provides mobility. You can use a four-way stretch when the pattern only calls for two-way, but not the other way around. The amount of stretch is usually listed as a percentage. Ten inches of fabric that will stretch to 15 inches has 50% stretch. Knits will have names like jersey, interlock, ity, and ponte. They refer to the “stitch” that’s used in the knitting process. Lycra and Spandex are brand names for elastane. Elastane in a fabric helps it recover after it’s stretched.

Can You Substitute One Kind of Fabric for the Other?

Patterns are drafted with something called “ease’. Ease is the difference between the finished garment measurements and your body measurements. There are two components to ease. The first is called “wearing ease”. When we put our clothes on, we need to be able to breathe, walk, sit down, raise our arms, etc. The amount of wearing ease in a garment depends on how the garment will be worn. Typical wearing ease in a garment to be worn everyday is about 2″.

The second kind of ease is called design ease. That’s all about style. You can add or subject ease from the style to make the garment look the way you want it to look on you,  but you can’t take away wearing ease in a woven garment. In a garment designed for knits, sometimes some of the ease comes from the stretch in the fabric. Because the finished garment measurements of a knit garment can be smaller than a person’s body measurements, it’s not possible to make a woven garment from a pattern designed for knits. You can make a knit garment from a pattern designed for wovens, but you might want to size down to get the right amount of design ease.

A Fabric Has “Hand”, “Drape”, and “Weight”

This is the hardest part of buying fabric online, but it’s pretty easy to figure out when you’re shopping in a brick and mortar store.

Patterns will usually tell you what weight fabric the pattern works best for. It will stipulate whether you’re looking for a heavyweight, mid-weight, or lightweight fabric. When you’re shopping online, the description might use those words or it might tell you how much a yard of the fabric weighs. Fabrics like denim and polar fleece come in lots of different weights.

The hand of a fabric means just what it sounds like. What does the fabric feel like in your hand? Does it feel soft to the touch, a little scratchy? The hand of a fabric might help you decide how close to your skin  you would like to wear it. Will it be a jacket or a blouse?

A fabric’s drape will determine how closely it will fall from your body. You can see how much drape a fabric has by laying it out flat. then pick it up and see how  its shape changes or stays the same. A fabric that holds its shape has little or no drape. Fabric that hangs in soft folds has a lot of drape. Structured garments like suit style jackets or A-line dresses and skirts look best made from fabric with little drape. Flirty skirts, pants with elastic waists look best made from fabrics with good drape.

Solids vs. Prints, Stripes, and Plaids

For the purpose of matching a fabric to a pattern, a small print and a solid color are interchangeable and can be used to make any pattern you like. For a professionally made look to your garment, you should always match your stripes and plaids. The fewer seams your pattern has the easier it is to match them. You can add interest to your garment by cutting the stripes or plaids going in different directions for pieces like collars, cuffs, and pockets. It also means less matching. Some patterns will say they are not suitable for stripes and plaid or diagonal prints. That means you will not be able to match them. Large prints present their own problems. Be sure to buy some extra fabric so you can do some strategic planning when you cut so you don’t end up with an “unfortunate” placement of the print on your body.

Fiber Content

It might seem strange that I left content for last, but most fibers can be woven or knit into many different weights of fabric with very different drape and hand. Silk and polyester charmeuse have more in common when it comes to choosing a pattern for them than silk charmeuse and raw silk have. Both the silk and the polyester charmeuse have a soft drape, a smooth hand, and are similar in weight. Either would make a lovely blouse. Raw silk, on the other hand, has a rough hand, more weight, and little drape. It would not make a blouse, but would be a nice choice for a suit. When choosing fiber content, the important considerations are fabric care, breathability, and cost.  Silk, wool, cotton, linen, and rayon are all natural fibers and will never go out of style. While polyester used to be kind of icky, newer polyesters are quite lovely to sew and to wear. I always let my fingers guide my choice.


Posted in Uncategorized | Leave a comment

Making a Victorian Crazy Quilt Tote


DSC_0053 (2)

My Favorite Knitting Spot

Crazy quilting became “all the rage” in the US after people saw something similar done in the Japanese Pavilion at the Philadelphia Exposition in 1876. While traditional quilting is usually done with regular shapes, crazy quilting is done with bits and pieces of fabric with no particular consistent size and shape. Fancy Victorian ladies used pieces of velvet and silk, but today  we make them out of anything we have scraps of.  Most quilts have a patchwork layer,  a middle layer of batting, and a backing. Then the three layers are stitched through. A crazy quilt is usually just a patchwork layer and a backing making it a great first quilting project. Measuring accurately and maintaining a consistent seam allowance are also not particularly vital.

The bag we’re  going to make is 13″ x 13″ x 3″, but you can easily make your bag larger or smaller. Rather than work with tiny pieces of fabric, we’re going to simplify things by using a strip quilting method.

Materials needed

  • 1/2 yard of muslin
  • 1/2 yard of lining fabric
  • Scraps for quilting   at least 4 different fabrics
  • 1 yd fusible or nonfusible interfacing
  • Bag handles
  • Scraps of ribbon, lace, etc  for embellishing your bag with trims, (optional)
  • Thread  for sewing (white or off-white is fine)
  • Thread for machine embroidery in a contrasting color (regular sewing thread is fine)


Tools

Sewing machine

Rotary cutter and mat, but just scissors are fine

Ruler

Iron

A piece of cardboard or plastic to cut a template

Pencil or fabric marker

Basic sewing gear

Making Your Crazy Quilt Squares

  1. Cut your muslin. This will be the “bones” of your bag so take the time to measure accurately. You want these pieces to be squared. For a 13″ square bag you need to cut two 13 1/2″ squares.
  2. Look through your fabrics and decide which fabric is going to be the focal point of your design. You don’t have to choose the same fabric for both sides of the bag. If you have a fabric with a large design, it might make a nice choice. If you plan to embroider your bag, a fabric that would be a good background for the pattern would work.
  3. Use the cardboard or plastic to create a template for the starting point of your quilting. If you’ve never done this before, a five-sided piece is an easy one that still creates an interesting piece. Do not make all of the sides of the template the same size. You want it to be irregular. The size of the piece is up to you. Remember approximately 1/4″ all around the edges will end up inside a seam.
  4. Place the template on your fabric(s) and trace around it. Cut out the pieces.
  5. Decide where you want these pieces to be on your bag. They don’t have to be centered. Secure them down on the muslin with pins or spray adhesive. Stitch around the edges of your pieces to secure them. Clip your threads and give your muslin a quick press.
  6. Cut or tear the rest of your quilting pieces into strips of various widths. For a bag this size 2-3″ strips work well. Press them nice and flat.
  7. Round 1- You’re going to be sewing a round of your strips on the edges of the focal piece of your quilt block. Take a few minutes to play with the pieces and decide how you want to place them on your quilt square. If you’re going to embellish your pieces with ribbons or lace, you need to plan that, too, because it’s important the ends of the trim are secured in the seams as you go.DSCN0048 You can’t come back and do it at the end.
  8. Pick a side of your center piece. Place one of your strips along the edge of your focal piece, right side down, edges matching. Stitch it down using a 1/4″ seam. Open the strip out and press it flat.
  9. Lay your ruler along the edge of an adjoining side of your focal piece. Using your pencil or marker, mark on your strip, continuing the edge of the focal piece across the strip. Cut along the line. Working around the  focal point of your square, repeat with the other strips adding any embellishments you want as you go. Be sure to keep pressing.
  10. Round 2- You want to repeat round 1, but feel free to move the pieces to vary their shape. They don’t have to be lined up edge to edge.
  11. Round 3 and beyond. Keep adding rows until the entire muslin square is covered. Don’t be concerned if your strips end up hanging off the muslin. You can trim them off.
  12. When your square is finished, give it a good press and repeat with the other side of your bag.

DSC_0522

Embroidering the seams of your bag

Using one of the sewing machines with an appropriate stitch and a contrasting thread, stitch along all of the seam lines carefully centering the stitch on the lines.

Next up – Assembling your bag

Posted in Uncategorized | Leave a comment

Somebody Wrote a Book for ME

A while back I purchased Carla Crimm’s pattern book for sewing children’s clothes, and since then I haven’t bought very many children’s patterns, and I’ve been whining about not having a similar book for women’s clothes. A book that would give me basic designs I could use as a jumping off point to make whatever I want. If I took the time to fit the basic pieces, I would have all of the alterations done forever, and I could just design and sew.  I can draft my own patterns, and sometimes I do. When I want the pleasure of having something I designed and drafted myself, it can be fun. But when I just want something to wear, starting from scratch is time consuming so I have been on the lookout for a springboard sewing book for me.

61C-DBGefHL._SX403_BO1,204,203,200_Tanya Whelan’s Sew Many Dresses, Sew Little Time has fulfilled my request at least for dresses and skirts. She has created a catalogue of the basic parts of a dress -bodices, skirts, sleeves, and necklines. We can mix and match them to create hundreds of different looks. Everything from the little cotton dress that goes to the grocery store to a long, strapless evening gown with a slinky, sexy skirt. Once you muslin the basic dress, you can make the same changes to the other pattern options and off you go. If you aren’t comfortable doing that, you still only have a few more muslins to make, and you can make anything.

The basic sewing instructions are grouped together in the front of the book. The terminology is explained well, and it’s “industry standard”. On its own it this part of the book would make a good sewing manual.  Then the book goes through the additional things you might need to know as Tanya chooses different bodices, skirts, and sleeves as examples for things you can do with her book. If you need jumping off points to feel comfortable designing your own dresses, you’d be sure to find one here. Also in the book are instructions for turning the skirts into separates. I don’t think she misses any of the basic skirts we all wear. Some of the bodices can be converted to blouses, and Tanya covers that, too.

I bought what’s called the paperback version of the book. It’s actually a spiral bound book with a cardboard cover. The patterns are in a cardboard envelope in a closed pocket in the back of the book.    DSCN0111

There are 3 large sheets printed on both sides. If you’re used to BurdaStyle magazine or Ottobre patterns, you’ll be comfortable with how they’re printed over one another. If you’re not, it might take some getting used to. There are 12 sizes to the patterns. The sizes aren’t marked on the pattern lines, but there are 3 shades of grayscale, and the pattern sizes are grouped that way.

DSCN0107

Once you know which “gray” your size falls in, it’s not hard to keep track of which lines you should be tracing. I did find I needed a good light to be able to see the lightest gray through my tracing paper at night, but in the daylight it was not a problem. I do like the nested patterns. It makes it much easier to choose different sizes for my bust, waist, and hips, and to swap armhole and sleeve sizes. While the size range of the patterns goes into the measurements of plus-sized patterns, they aren’t drafted for a plus-sized bodies. The nesting makes it easier to choose smaller shoulder widths with larger busts and waists. The smallest size is 32/24/34 and the largest 50 1/2//42 1/2//52 1/2 all in inches. So a lot of us fit in that range.

The pattern size numbers do not correspond to RTW sizes. The 1-12 sizing makes us look at the measurements to pick a size. There’s no temptation to just choose our “usual size” and go with it. I like that. I don’t like that there are no finished garment measurements in the book. It makes it hard to match the size to the fabric you’re using. For example, if you choose to make one of the dresses out of a knit, you will probably want to size down. Without finished garment measurements that becomes a “guess until you get it right”. One day when I have the time,  I will get out my tape measure and create my own finished measurement chart for the sizes around my body measurement sizes, but it’s a step I wish the author had done for me.

First I muslined the basic bodice in the size that corresponded to my body size. As I usually have to do with a pattern, I needed to change the slope of the shoulder and add to the bodice length. Although the patterns are drafted for a “B” cup, and I’m a “D”, I didn’t have to do a full bust adjustment. DSCN0113That surprised me, but also let me know there’s considerable ease in the basic bodice pattern. Since the dress I wanted to make has princess seams, I made the same changes to that bodice pattern and made a second muslin. I needed to add a bit more length, but other than that I had a good fit.

So I moved onto the dress fabric. This time I did the design change I wanted, which was to add a pleat down the front. I didn’t cut the skirt yet because I wanted to make sure I had a bodice I liked first. I went down one size because I was using a knit, but the end result was much too big for the fabric. So I took it apart and went down 2   sizes. The dress top is still loose-fitting, but I like the way it looks so I stuck with that.

DSCN0102

My original plan was to make a circle skirt, but with the top more loose-fitting than I had seen in my eye, I opted for a six panel skirt instead. The issue with that change is there’s no seam down the middle of the back panel. So I basted the back center seam closed to see if I could get the dress on without a zipper, and it slid on easily. Because I knew an unnecessary seam up the back would bother me, I took the bodice apart and cut a center back piece on the fold and then reassembled the bodice.

I measured the finished width of the center front bodice piece and chose the skirt size based on that. I measured the length of the skirt pieces and shortened them two inches just below the hipline. When I attached the skirt to the bodice, all of the skirt seams lined up perfectly with the princess seams in the bodice. This means it would be simple to line skirt pieces up with bodice pieces, overlap the seam allowances, and eliminate the waist seam. Tanya doesn’t give instructions for doing that, but it’s not hard to figure out how to do it.

The book gives instructions for either lining or doing facings for the bodice, but since I was using a knit, I finished the neck and sleeve edges with FOE.  I added some buttons down the fold, made a coordinating belt, and I’m good to go. DSCN0114 When I wear it, I’ll get someone to snap a pic, but in the meantime, Marie is loving her new dress.

While I had some fits and starts with the dress, for a first pass at using the book, I’m pleased with the results. I need to do some experimenting with the pattern sizing, but given how many different garments I can make once I have that worked out, it will be worth my time. The patterns are well-drafted, and the instructions are clear and complete.  The last sections of the book show you how to do basic pattern alterations.

I haven’t seen the eBook version to make a comparison, but I am more than pleased with the print version. The book is sturdy, lies flat when open, and the master pattern sheets are sturdy.

DSCN0105            I expect the print version will hold up well over time. Whether you buy the print version or the eBook, I recommend buying a dressmaker’s French curve to accompany it. It makes tracing the patterns faster and more accurate and is essential for making your own design changes. If you enjoy “pattern hacking”, this is the right book for you. If you enjoy pattern hoarding, this may not be. But the book is worth the money just as a sewing manual.

Posted in Uncategorized | Tagged | 12 Comments

May 2015 Mystery Challenge – The Victorian Age

queen victoria   When Sandy chose Queen Victoria for me, I knew I had to do something unexpected. I’m well-known for being allergic to ruffles, but I do love lace and embroidery.  I live in a house built shortly after Victoria died. It’s part of the Arts and Crafts movement which began in the late Victorian era.  While I’m not into elaborate or ornate clothing the era was known for, I do embrace the idea of public and private spaces in a home. My dining room chairs have striped silk seats and needlepoint backs. I have drawers filled with crochet pieces my grandmother made when she was a young bride, and a bedspread she crocheted for my first “big girl bed”.

My Victorian grandmother lived with us when I was growing up, and one of the things she loved was making crazy quilts. While I’ve done some quilting, I’ve never made a crazy quilt. A Victorian craft I like to do is embroider with silk ribbon. I decided to combine the two to make something that would join us. After doing this challenge I think I might enjoy doing a full quilt, but I didn’t want to take on more than I could accomplish in the timeframe I had so I settled on a knitting bag.

My Favorite Knitting Spot

My Favorite Knitting Spot

I wanted the bag to have some modern panache so I checked out my stash.  Since during Victoria’s reign “the sun never set on the British Empire”, I could choose my fabrics from just about anywhere in the world. I chose some Caribbean style batiks I had.  In good Victorian tradition I went hunting for scraps of ribbons and trims. Because this was my first foray into crazy quilting, I kept the design simple. I started with an irregular 5-sided polygon. I tore the fabric into strips of different widths and started from the polygon and worked my way out to the edge.

DSC_0522

Along the way I added some ribbons and trims. When I had my square constructed, I used one of the quilting stitches on my sewing machine to outline the piecing.

Then I hooped the piece and embellished it with silk ribbon embroidery.

DSCN0050 (2) DSCN0046 (2) DSCN0052 (2) DSCN0053 (2) DSCN0049 DSCN0048 DSCN0047 DSCN0046

Unlike standard embroidery, silk ribbon embroidery isn’t particularly time consuming, although it looks like it is. While a flower might take hundreds of stitches in standard embroidery, in silk ribbon embroidery, most petals are done in one stitch. To get the most realistic looking flowers, you use white ribbon and then dye it after you’ve stitched it. You can use pre-dyed ribbon, but your flowers come out looking flat. I only use pre-dyed ribbon in something that is going to get a lot of washing like on a baby dress.

Because my blog is a sewing lesson blog, I’m going to get you started doing your own silk ribbon embroidery. For details about how to make individual flowers, I highly recommend going to Crafty Attic.

Materials you need:

White silk ribbon in various widths – 2mm, 4mm, 7mm and 13mm are the sizes most used. You have to use silk ribbon for most of the embroidery because it’s the only fiber that will go through the fabric easily. You can use other fibers for embroidery stitches that remain on top of the fabric like spider roses.

Embroidery floss or Pearl cotton

White cotton sewing thread – Cotton thread will take the dye better than polyester

Either permanent pens or silk dyes for coloring the ribbon. I use Promarkers.

Chenille needles in various sizes. They have big eyes and sharp points.

Embroidery needles

Regular sewing needles

A pair of small pliers for pulling your needle through the fabric when it gets difficult

An embroidery hoop- Any style will do. I like the snap on PVC rectangular hoops. They leave less of a mark on your fabric, and the sides are interchangeable. If you buy a couple of different sizes, you can mix and match them and expand the possibilities. But a standard WalMart wooden hoop will work just fine

An erasable marker for planning out your design

If you can do traditional embroidery, you ca do this.

While an open weave fabric is the easiest fabric to embroider on, you can do silk embroidery on just about anything.

This is the back of my bag.

This is the back of my bag.

One of my favorite ways to use silk ribbon embroidery is to embroider on top of the flowers in a print. This is a work in progress.

DSCN0054 (2)

This project was a lot of fun. I’m thinking of other things I’d like to crazy quilt. Maybe a jacket?

Would like to see the rest of the Mystery Challenge Blog Tour?

5/26 │ Create 3.5 – George Sand │ HaCunha Matata – Jane Austin

5/27│ Zoe and TedSuffragetes

6/3│ Mae & KTeslaPretty Little BlogMoon LandingKnot Sew Normal – Lutie Eugenia Sterns

Posted in Uncategorized | 5 Comments

Sewing Cake is a Piece of Cake

If I can, I always like to try out a new designer by making one of her free patterns. I was intrigued by the patterns at Sewing Cakes. The styles are fun, but I was more interested in how the patterns are drafted. She gives you some of the lines, but then the rest of the pattern is like a game of connect the dots, which makes it really easy to custom fit the pattern. The free pattern is for a tee shirt with a dolman cap sleeve, either a round neck or a Vee, and a banded hem. DSC_0045 (3)There’s a cute designer touch for a pair of micro-pockets. The pattern is supposed to extend to a 59″ full bust, but the dots in the pattern don’t go that far.  I was fine because they did extend as far as I needed them. I will be buying  more patterns from her, and I will report back whether this is ” a bug or a feature”.

When I’m making a muslin, I don’t usually take it to completion. I stop when I have all of the information I need for a fitting. But this was just a simple sew, and I did want to know things like where the pockets would land on my chest and how the neckband would lie so I finished it.

The sewing is super simple. There’s a pocket template piece to help you get a nice, clean edge to them. I added some tricot interfacing to the back of the pocket pieces using the pressing template as a cutting guide. One of my knits is sort of flimsy, and the interfacing gives it some body.

When I got to the neckline, I tried using the same flimsy knit for the neckband, but it didn’t work very well. The neckband of the tee shirt is narrow, and the roll on the fabric edges of the knit was extreme. Even after steaming it, it wouldn’t lie flat so I switched to the other color.

I like the fit of the shirt through the bust, waist, and hips. How could I not? It matches me every place. I don’t like the way the neckline is, though. I think the sewing term for it is “wonky”. I’m going to try taking off the neckband and sewing a shorter one to see if just pulling the neckline in a little will be enough. If it’s not, well, this is just a muslin, right? Then the next thing to do would be to size down through the neck and the shoulders, but use the same dots for my full bust, waist, and hips.

If you have a coverstitch machine and a serger, you don’t a sewing machine involved in making the shirt. Without the coverstitch, you would need to use a sewing machine on the pockets and to stitch down the waistband and neckband seam allowances. I was binge watching “Game of Thrones” so I did the whole thing on my mini-sewing machine.

The shirt has a lot of possibilities. You can mix and match fabrics or add some embroidery to the cute little pockets. If you like striped fabrics, it’s easy to match them. I chose the polka dots because they are a more subtle stripe if I hadn’t been able to get a good match, but it was a piece of cake.

http://sewingcake.com/the-tee-with-two/

Posted in Uncategorized | Leave a comment