

Flat-Felled Seam
If you want your jeans to look like, well jeans, then you need to be able to do a flat-felled seam. It’s a seam you see in a lot of menswear and children’s clothes because it’s really strong. It’s not something you’ll likely see in silk dupioni, at least nowhere except on Project Runway. It’s not delicate looking, but it looks good from both the inside and the outside of a garment. You decide which side is going to be seen from the outside. Either one is “correct”. There is a special sewing machine foot called a felling foot that makes the task easier, but it’s not made for my machine. You know I’d have it if I could. 🙂
But it’s not that hard to do without it. The minimum seam allowance you need for this seam is 1/2″. If the denim I’m using is heavy, I like a 5/8″ seam allowance. The first step to doing great flat-felled seams is to take some of your fabric and test a couple of seam allowances to see what works best for your fabric. When you’ve found the perfect one, then add whatever you need to the seam allowances of the seams that will be felled. Look at a pair of jeans to see where these seams typically are.
If you want the lapped part of the seam to be on the outside, like most jeans, you sew your seam wrong sides together. If you want the lapped seams to be on the inside, like you might find in an un-constructed linen jacket, you sew your seam right sides together. (Un-constructed means no lining, loose fit, not many details.) This seam practically guarantees you won’t get any raveling so it works well on fabrics that ravel easily.
Lapped seam will appear on the outside of the garment
Lapped seam will appear on the inside of the garment
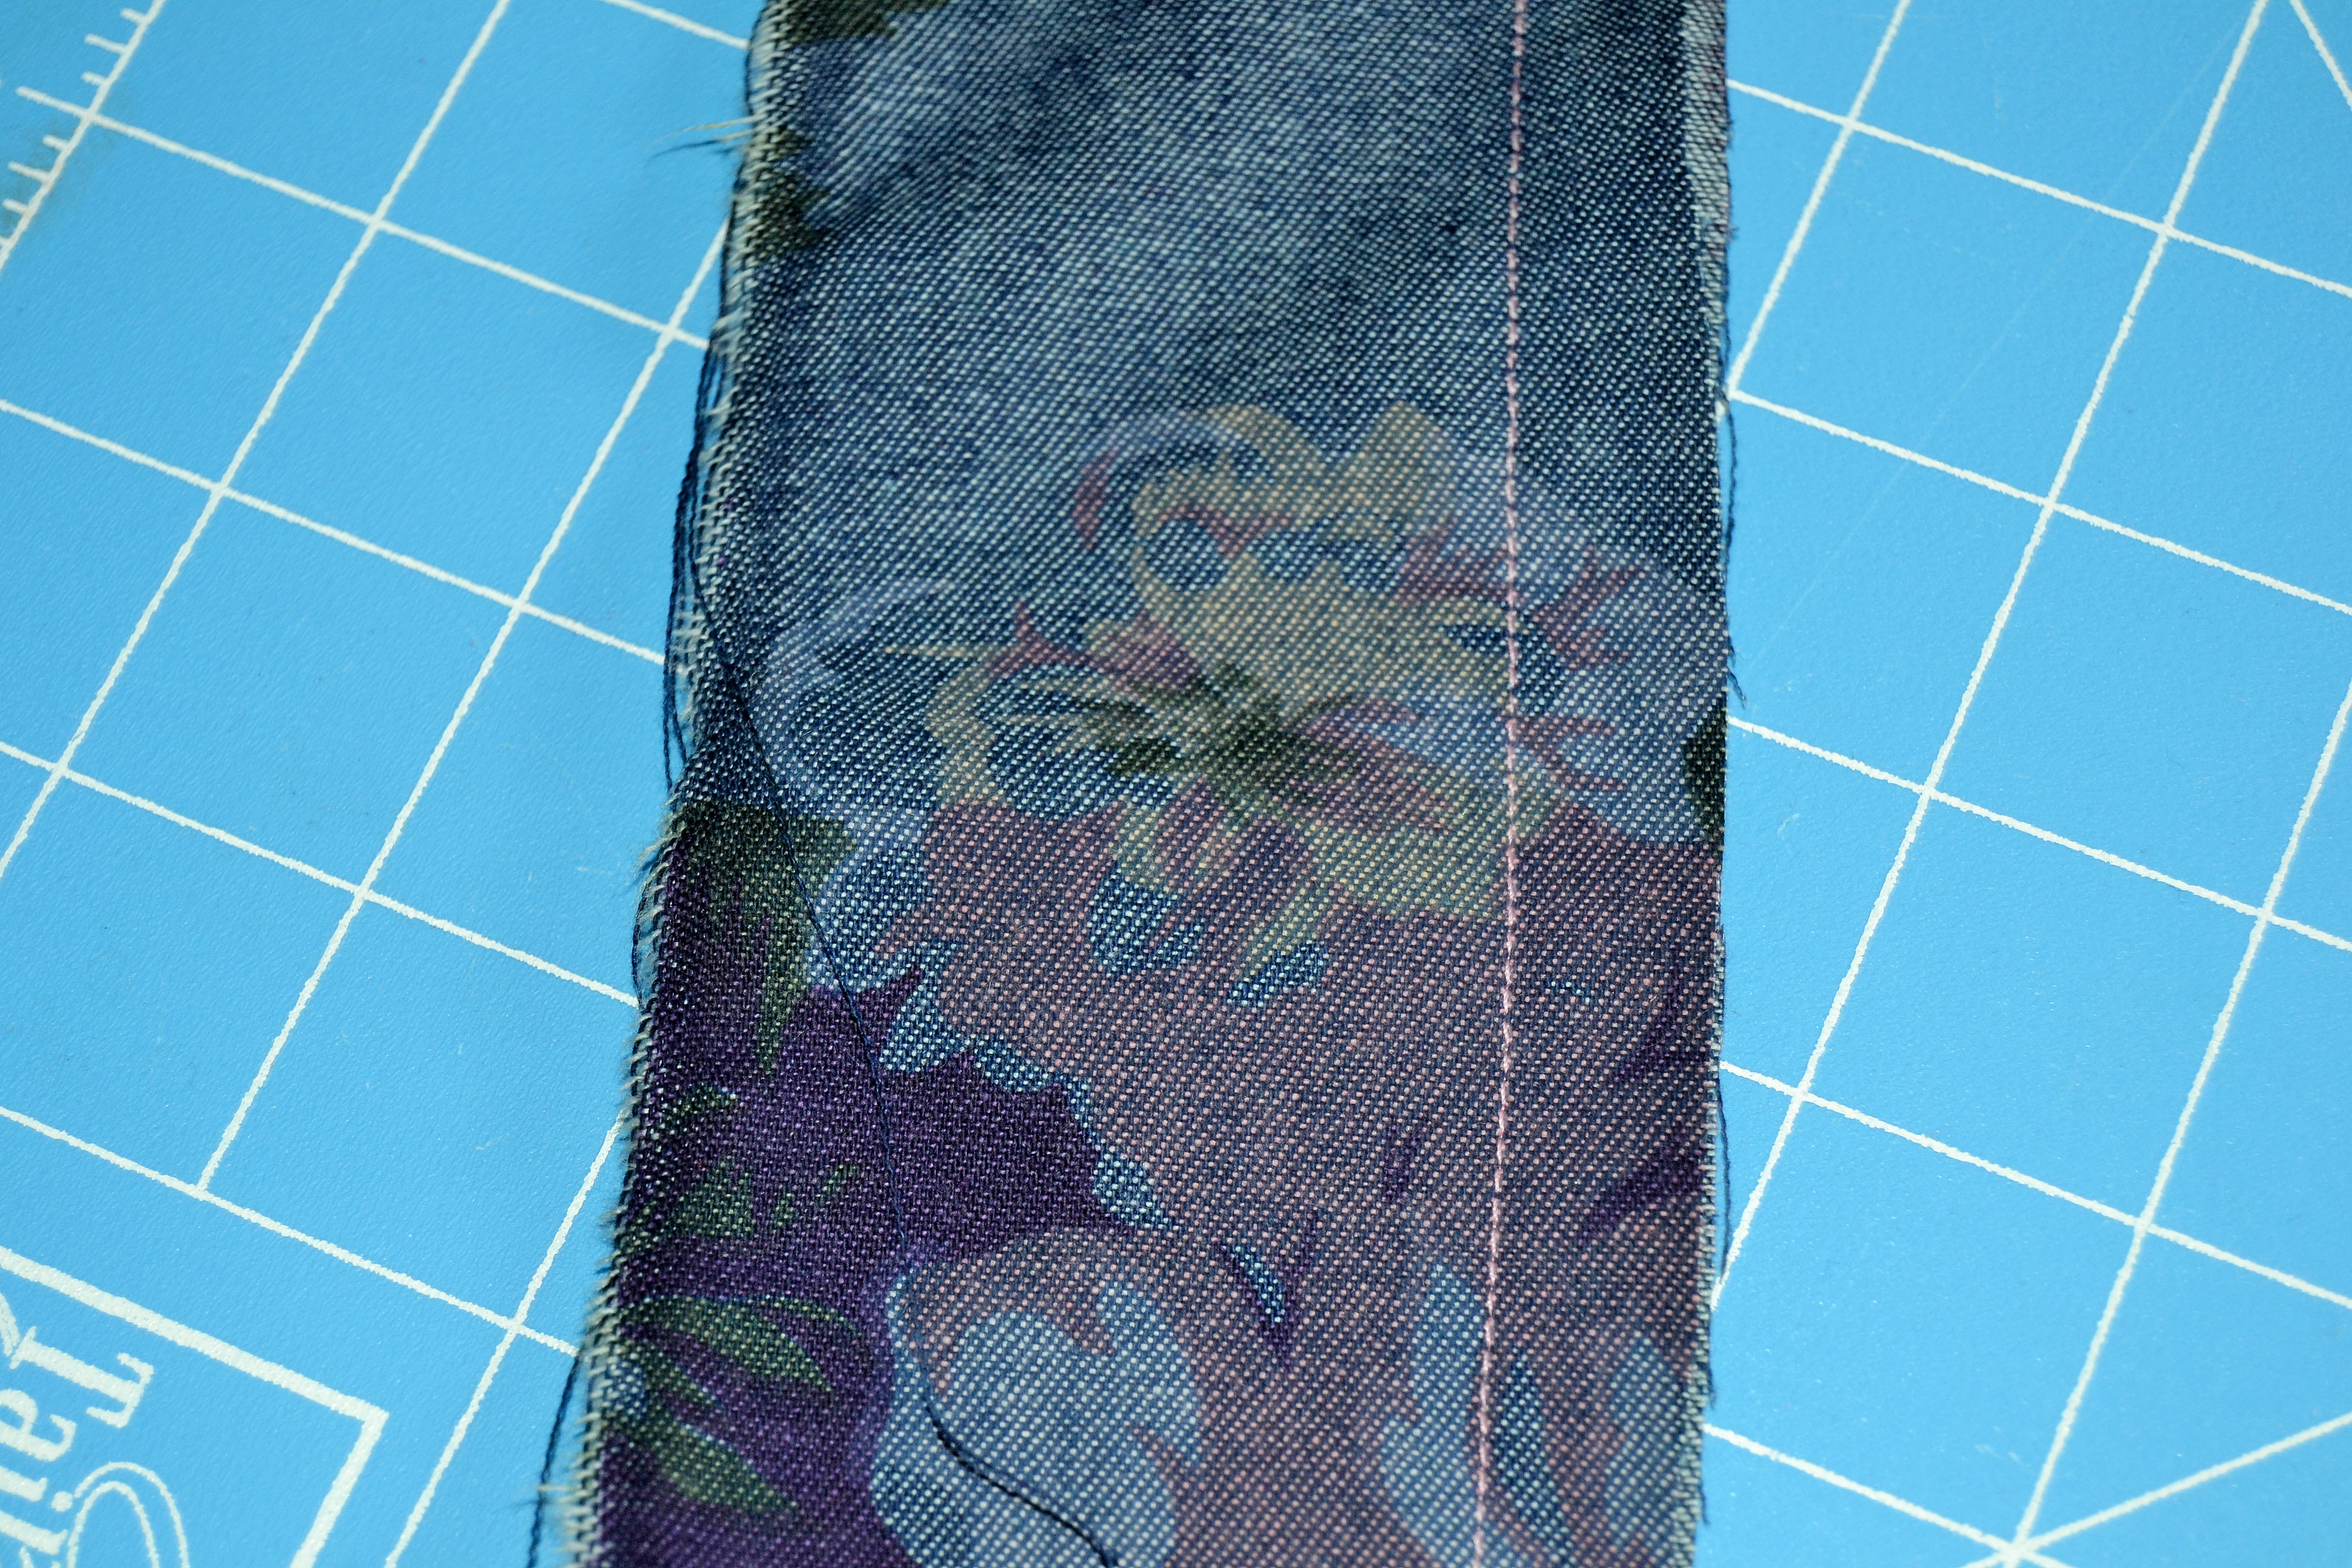
First press the seam as you sewed it to set the stitches.

Press the seam as you sew it
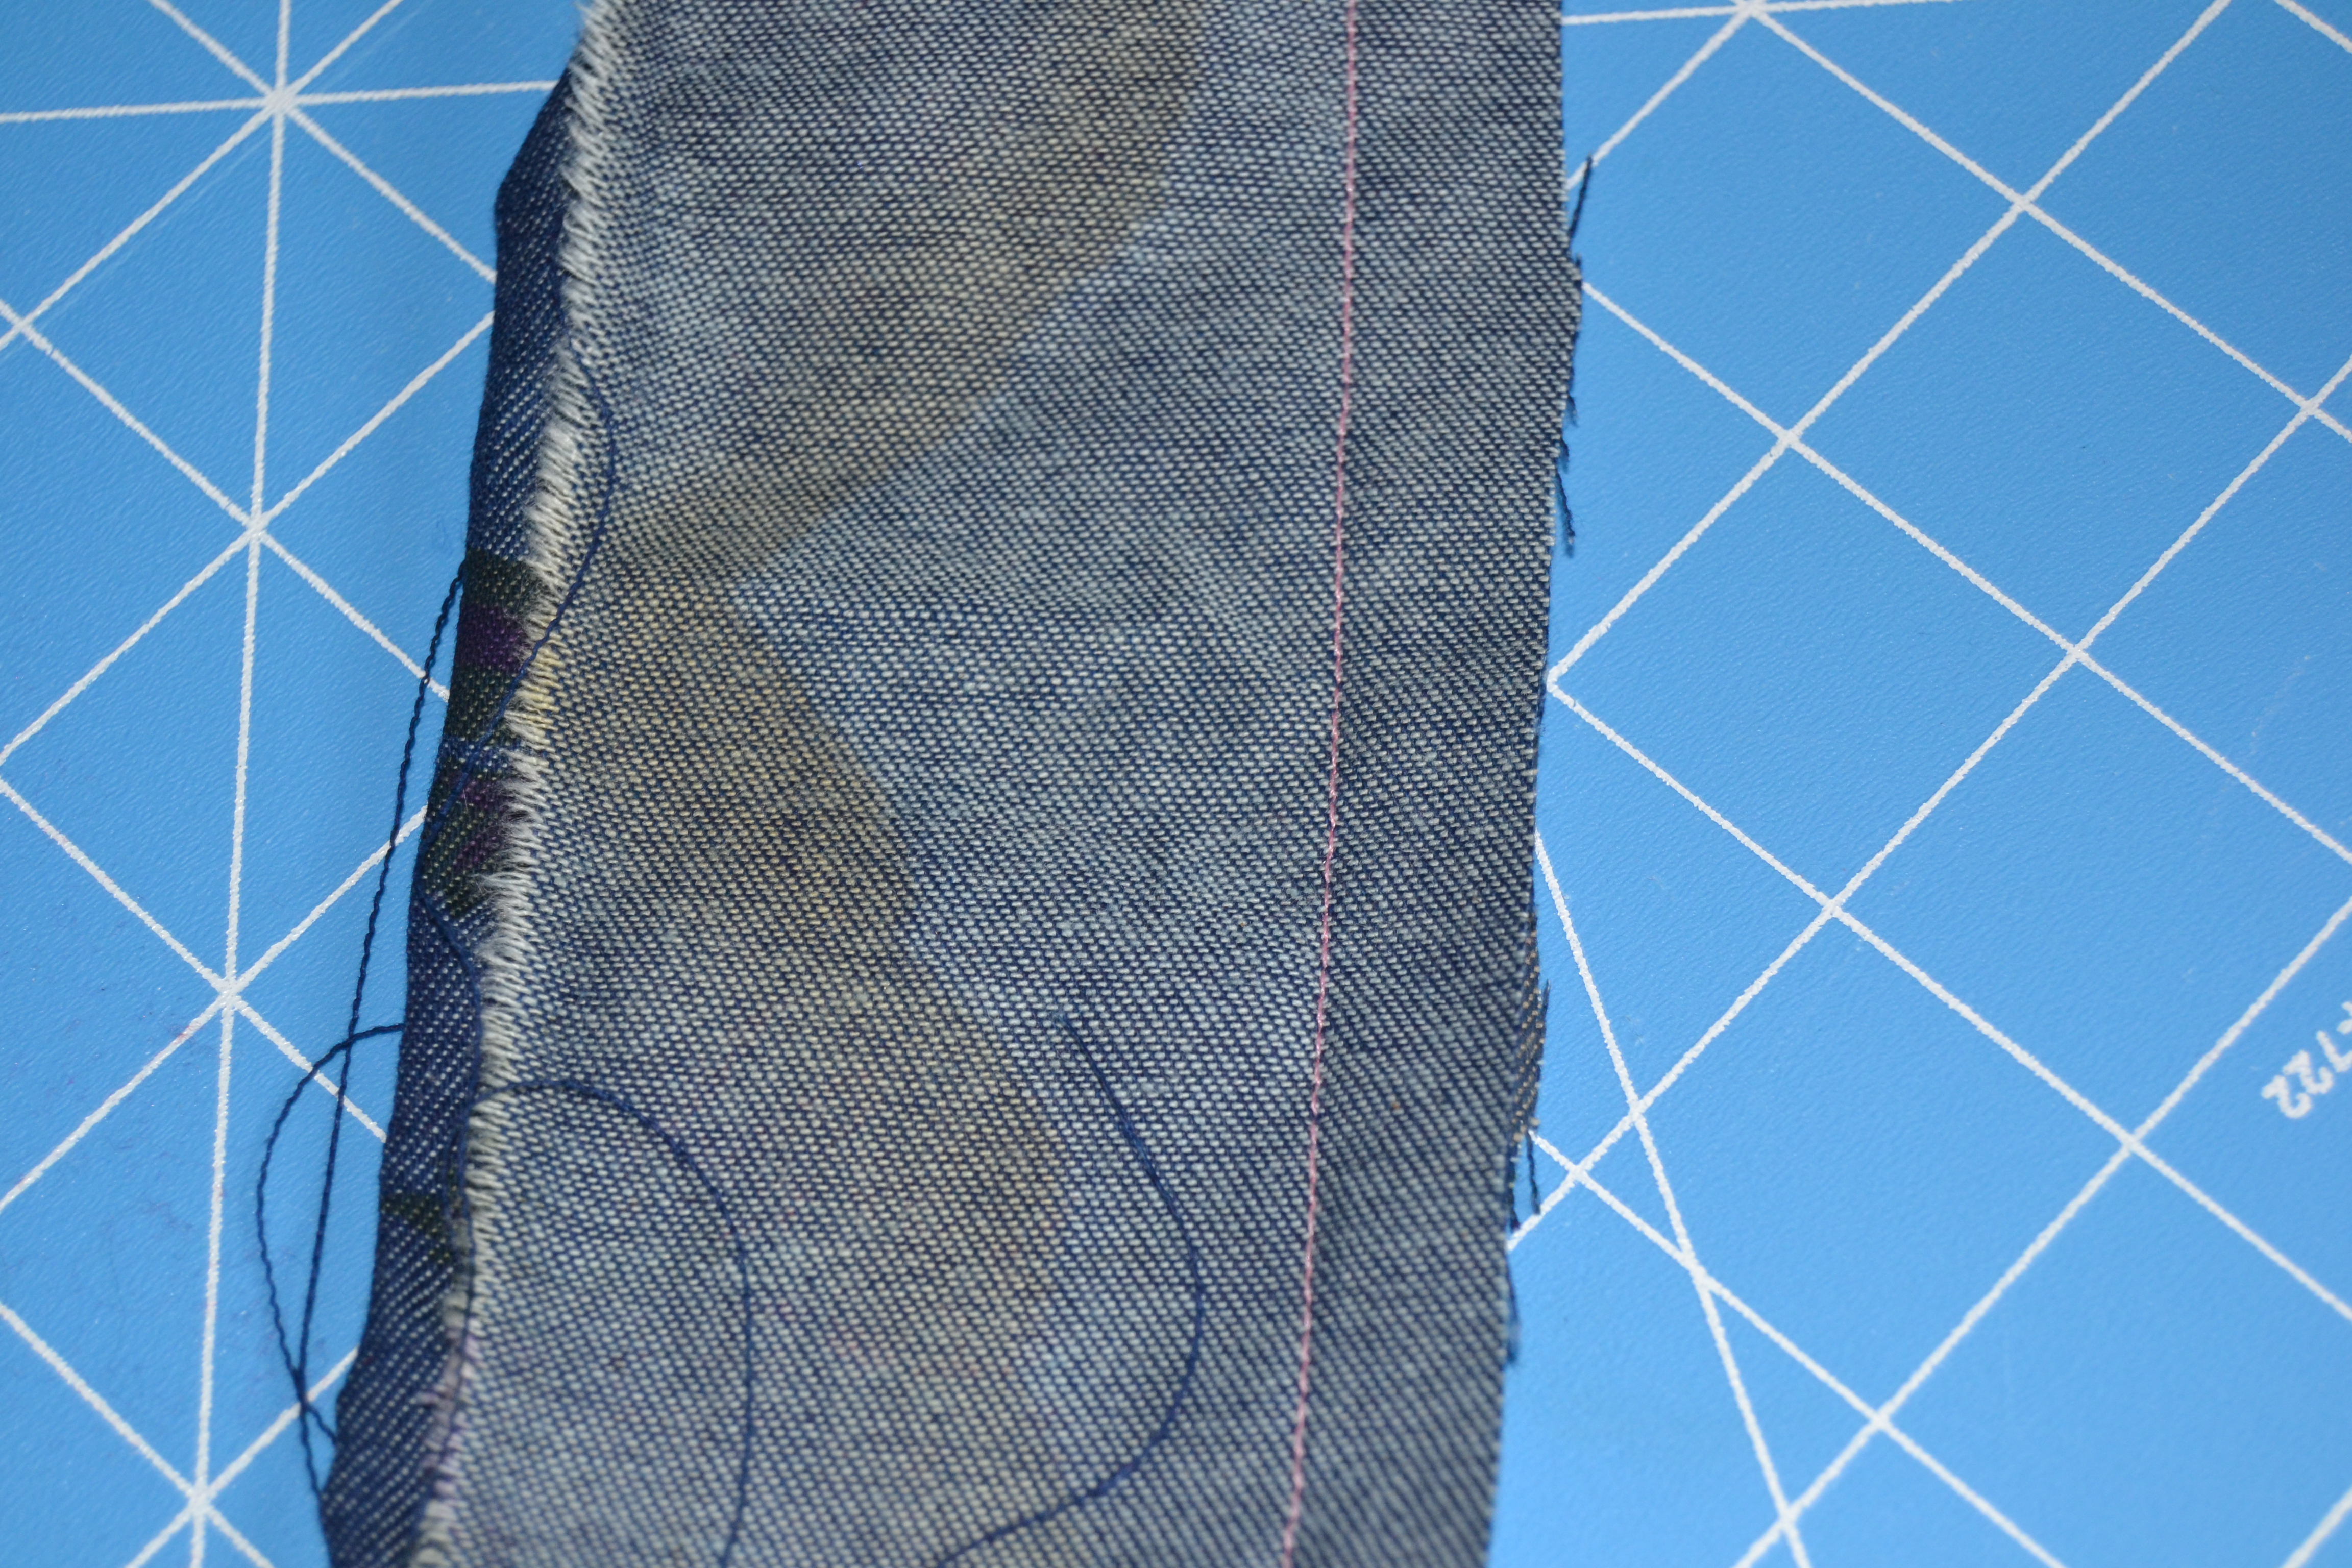
Then press one side of the seam allowance to one side. You can choose which side, but be consistent so your seams all lap the same way (to the back or to the front).
Press the seam to one side
Then trim the pressed side of the seam allowance to 1/4″.

Trim one side to 1/4″
Scissors like these can help.

Duck-billed scissors
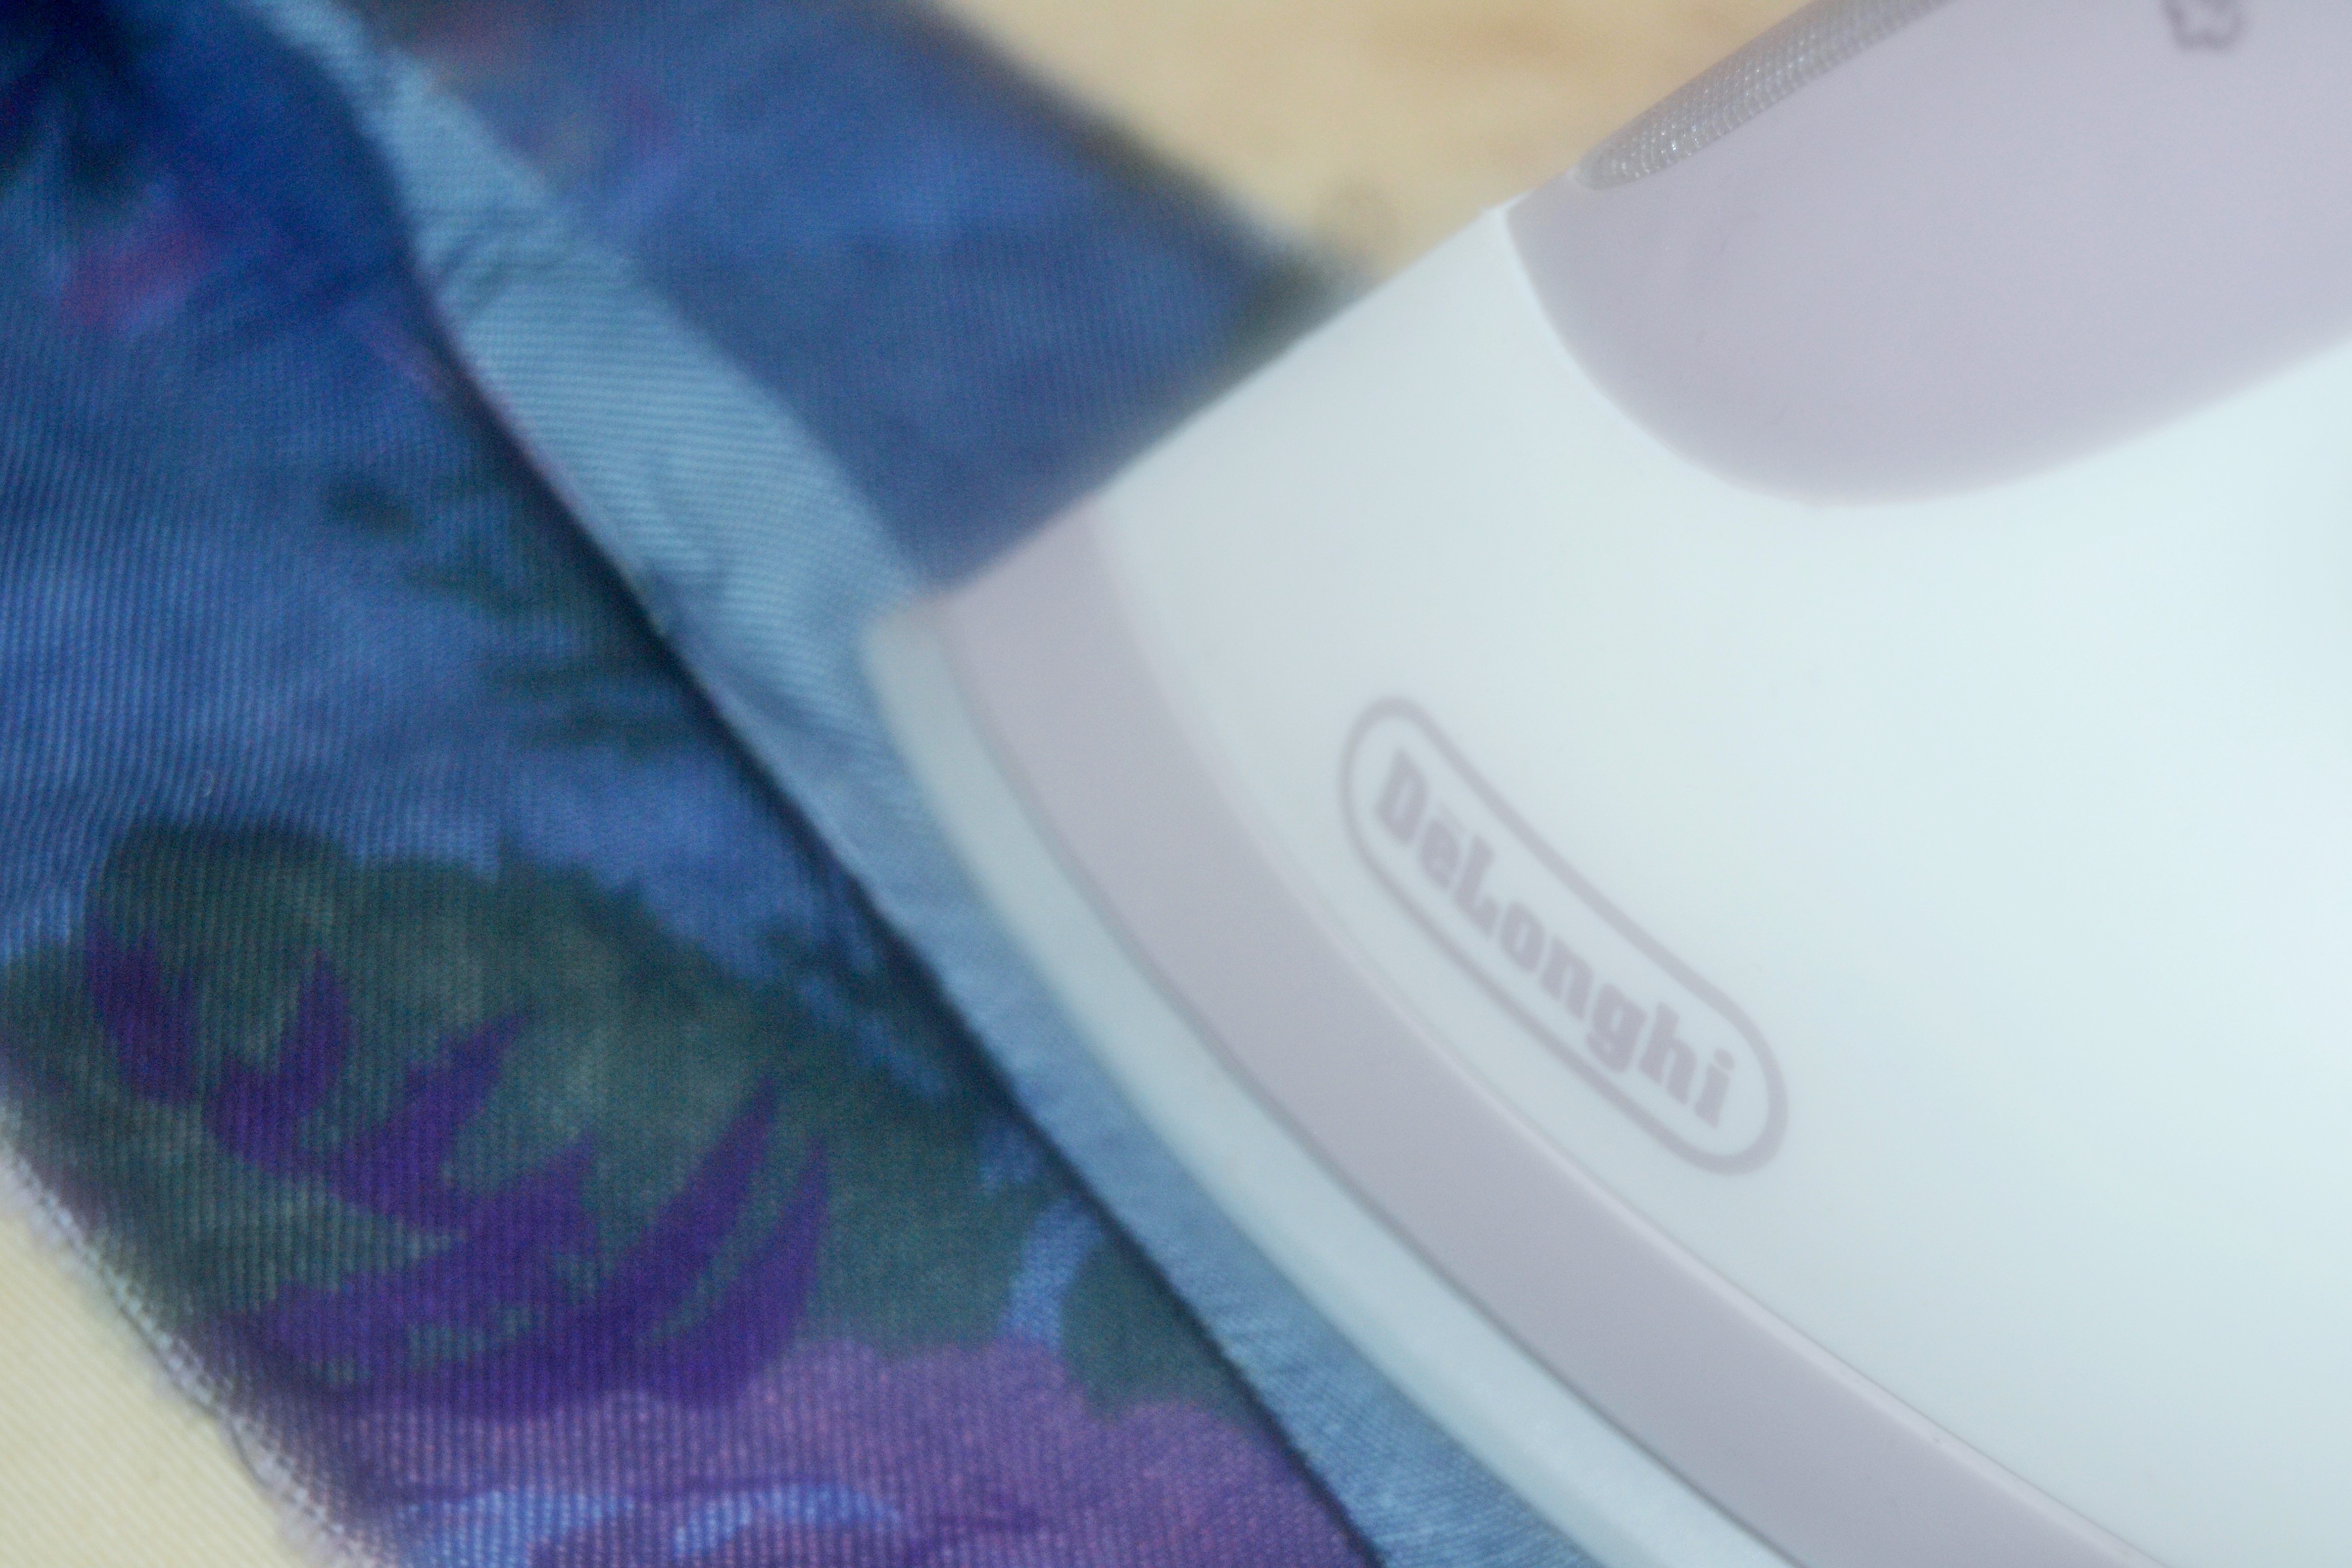
Then press the opposite seam allowance over the one you trimmed. If you have a felling foot, at this point you could go back to the sewing machine, but if you don’t, you need to press 1/4″ to 3/8″ of the top seam allowance under. The felling foot would turn the fabric under as it sews like a rolled hem foot. But without the foot you have to roll it under yourself. It’s easier to do it with your iron then while you’re sewing.

Seam pressed under
Attach an edge stitch foot to your machine and sew down the seam allowance close to the folded edge.
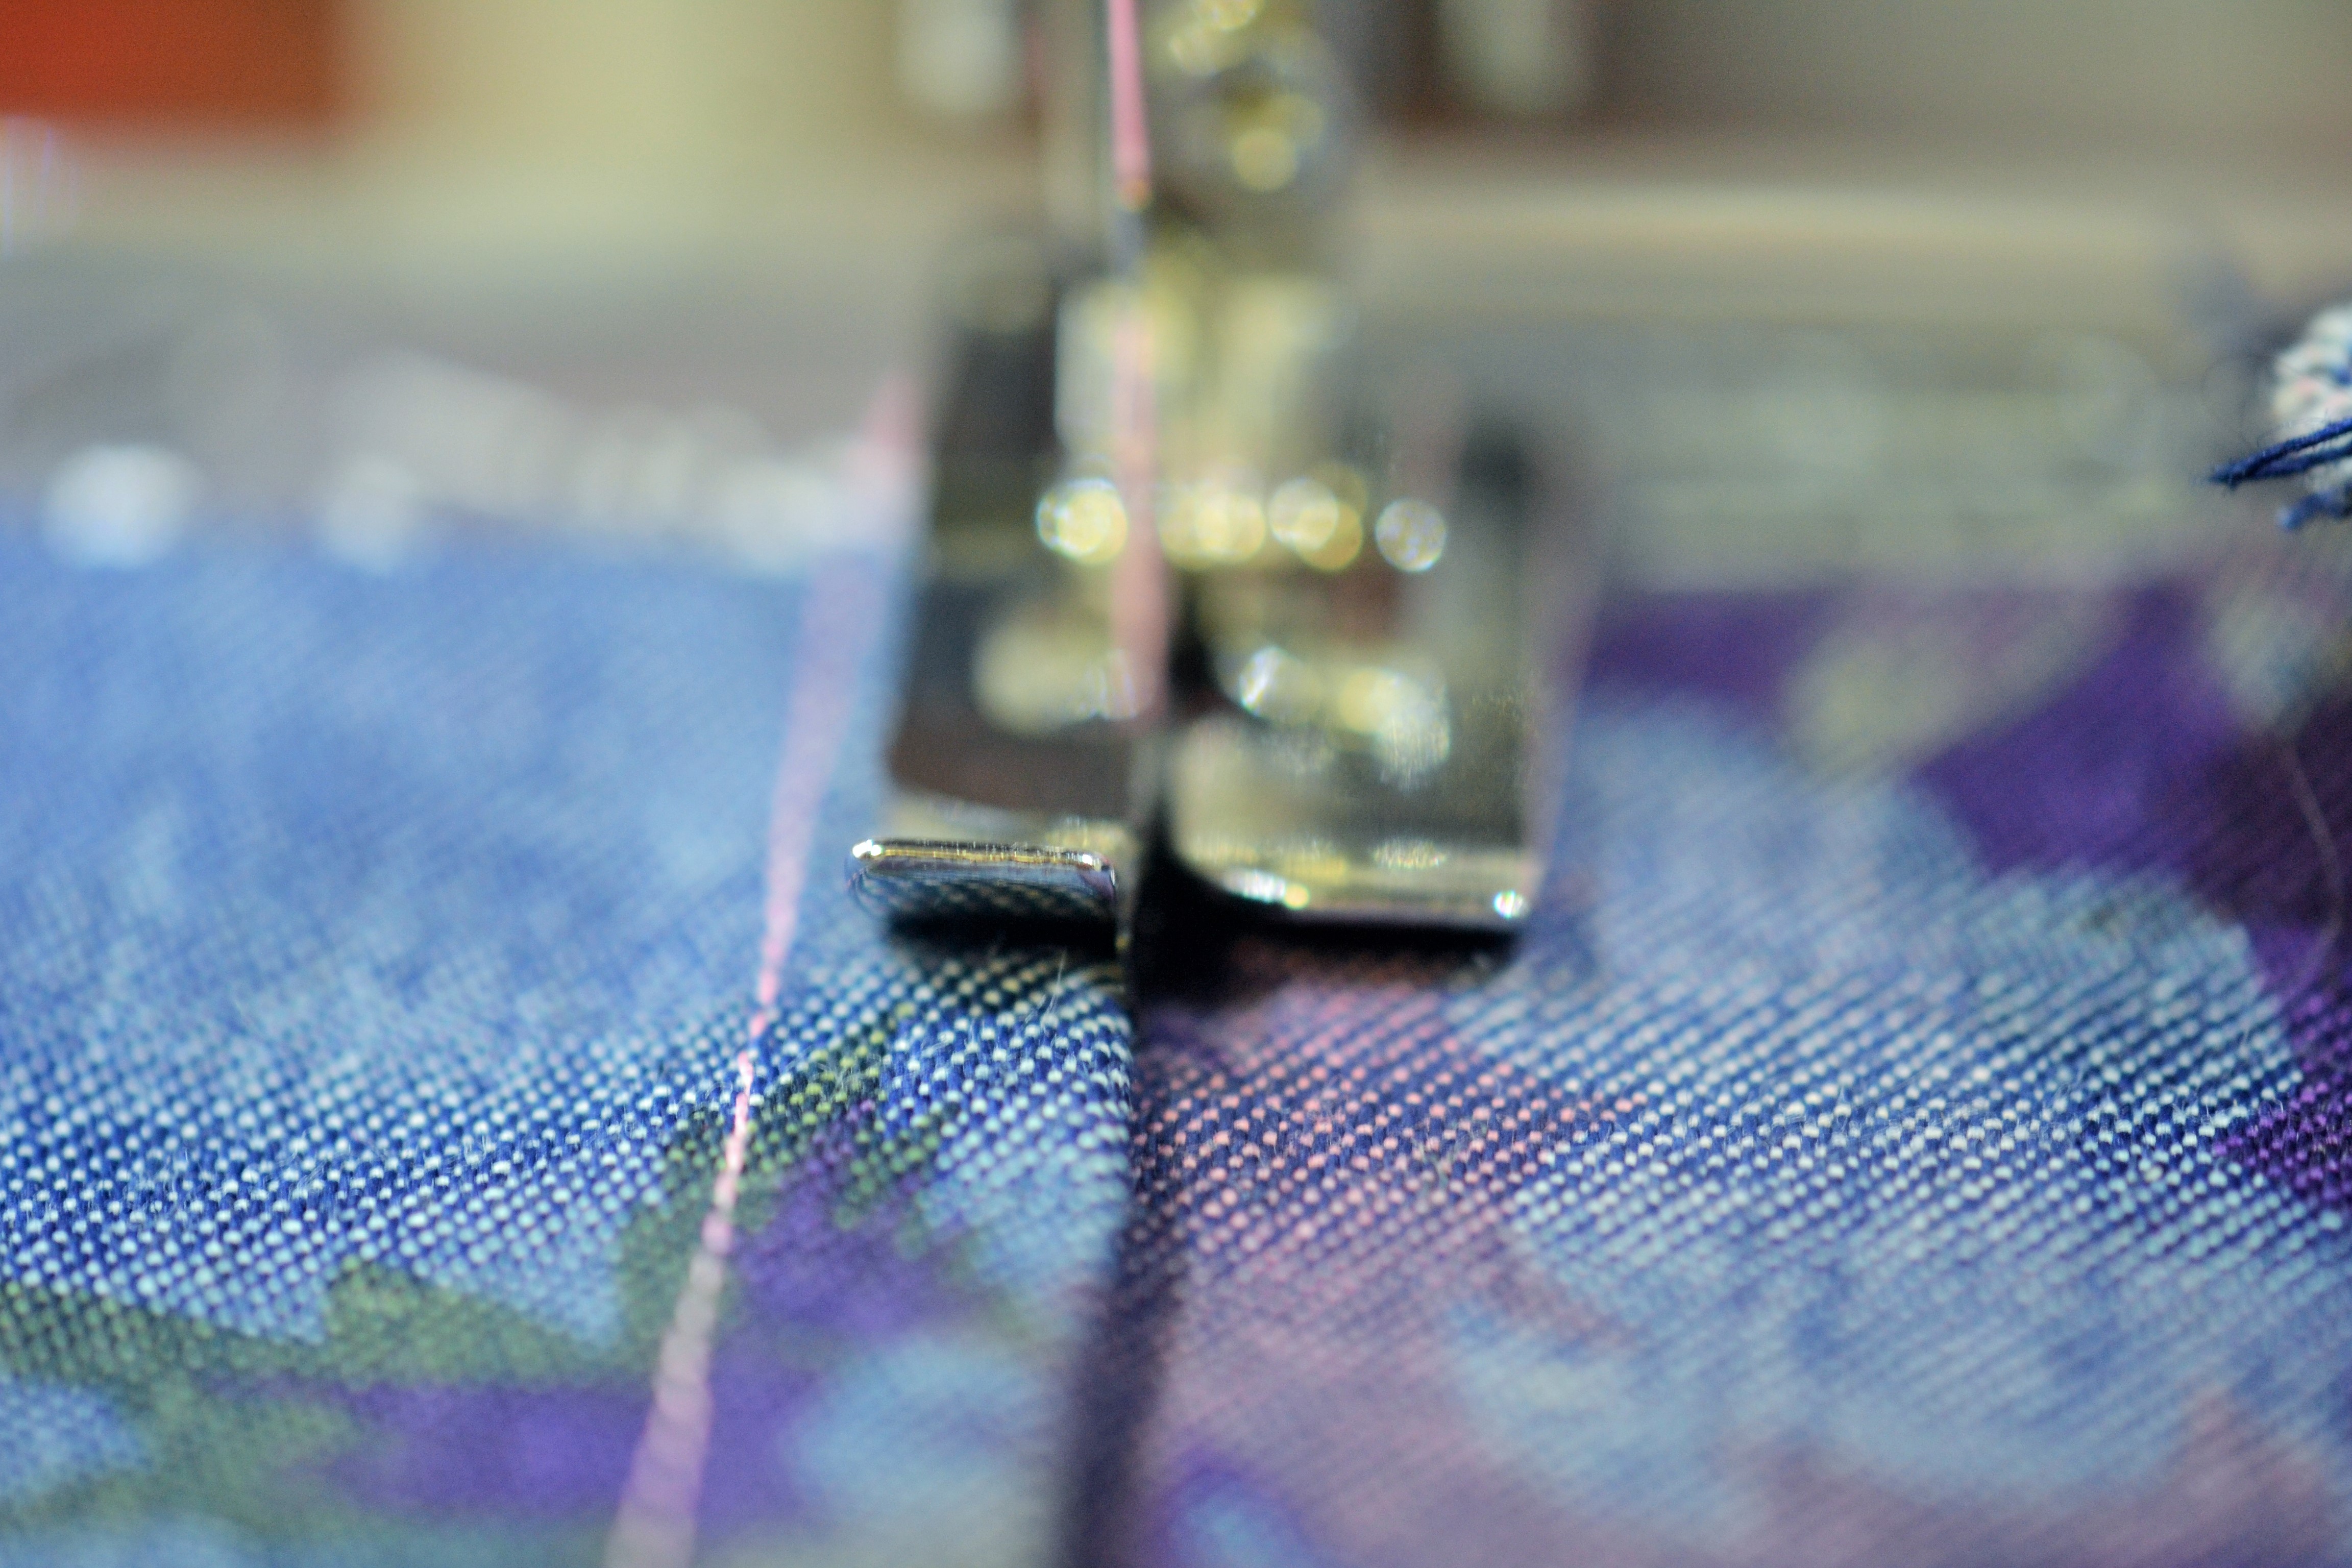
Edge stitch foot sewing along the fold
This is what the seam looks like lapped to the front like in most jeans-
This is what the seam looks like lapped to the back-
Flat-felled seam
Now where’s that skinny jeans pattern you’ve been meaning to try?

There is no skinny jeans pattern I want to try. In the event you find I am sewing skinny jeans, scoff at me. Raise an eyebrow. Glance at my bottom and smirk. I have MADE that mistake.
This would be ideal down the sides of little flannel jumpers! Thanks!
LikeLike
I’ve been encouraged to try Jocole’s Skinny Pants. I’ll let you know if they end up in my closet or at Goodwill. 😉
LikeLike