
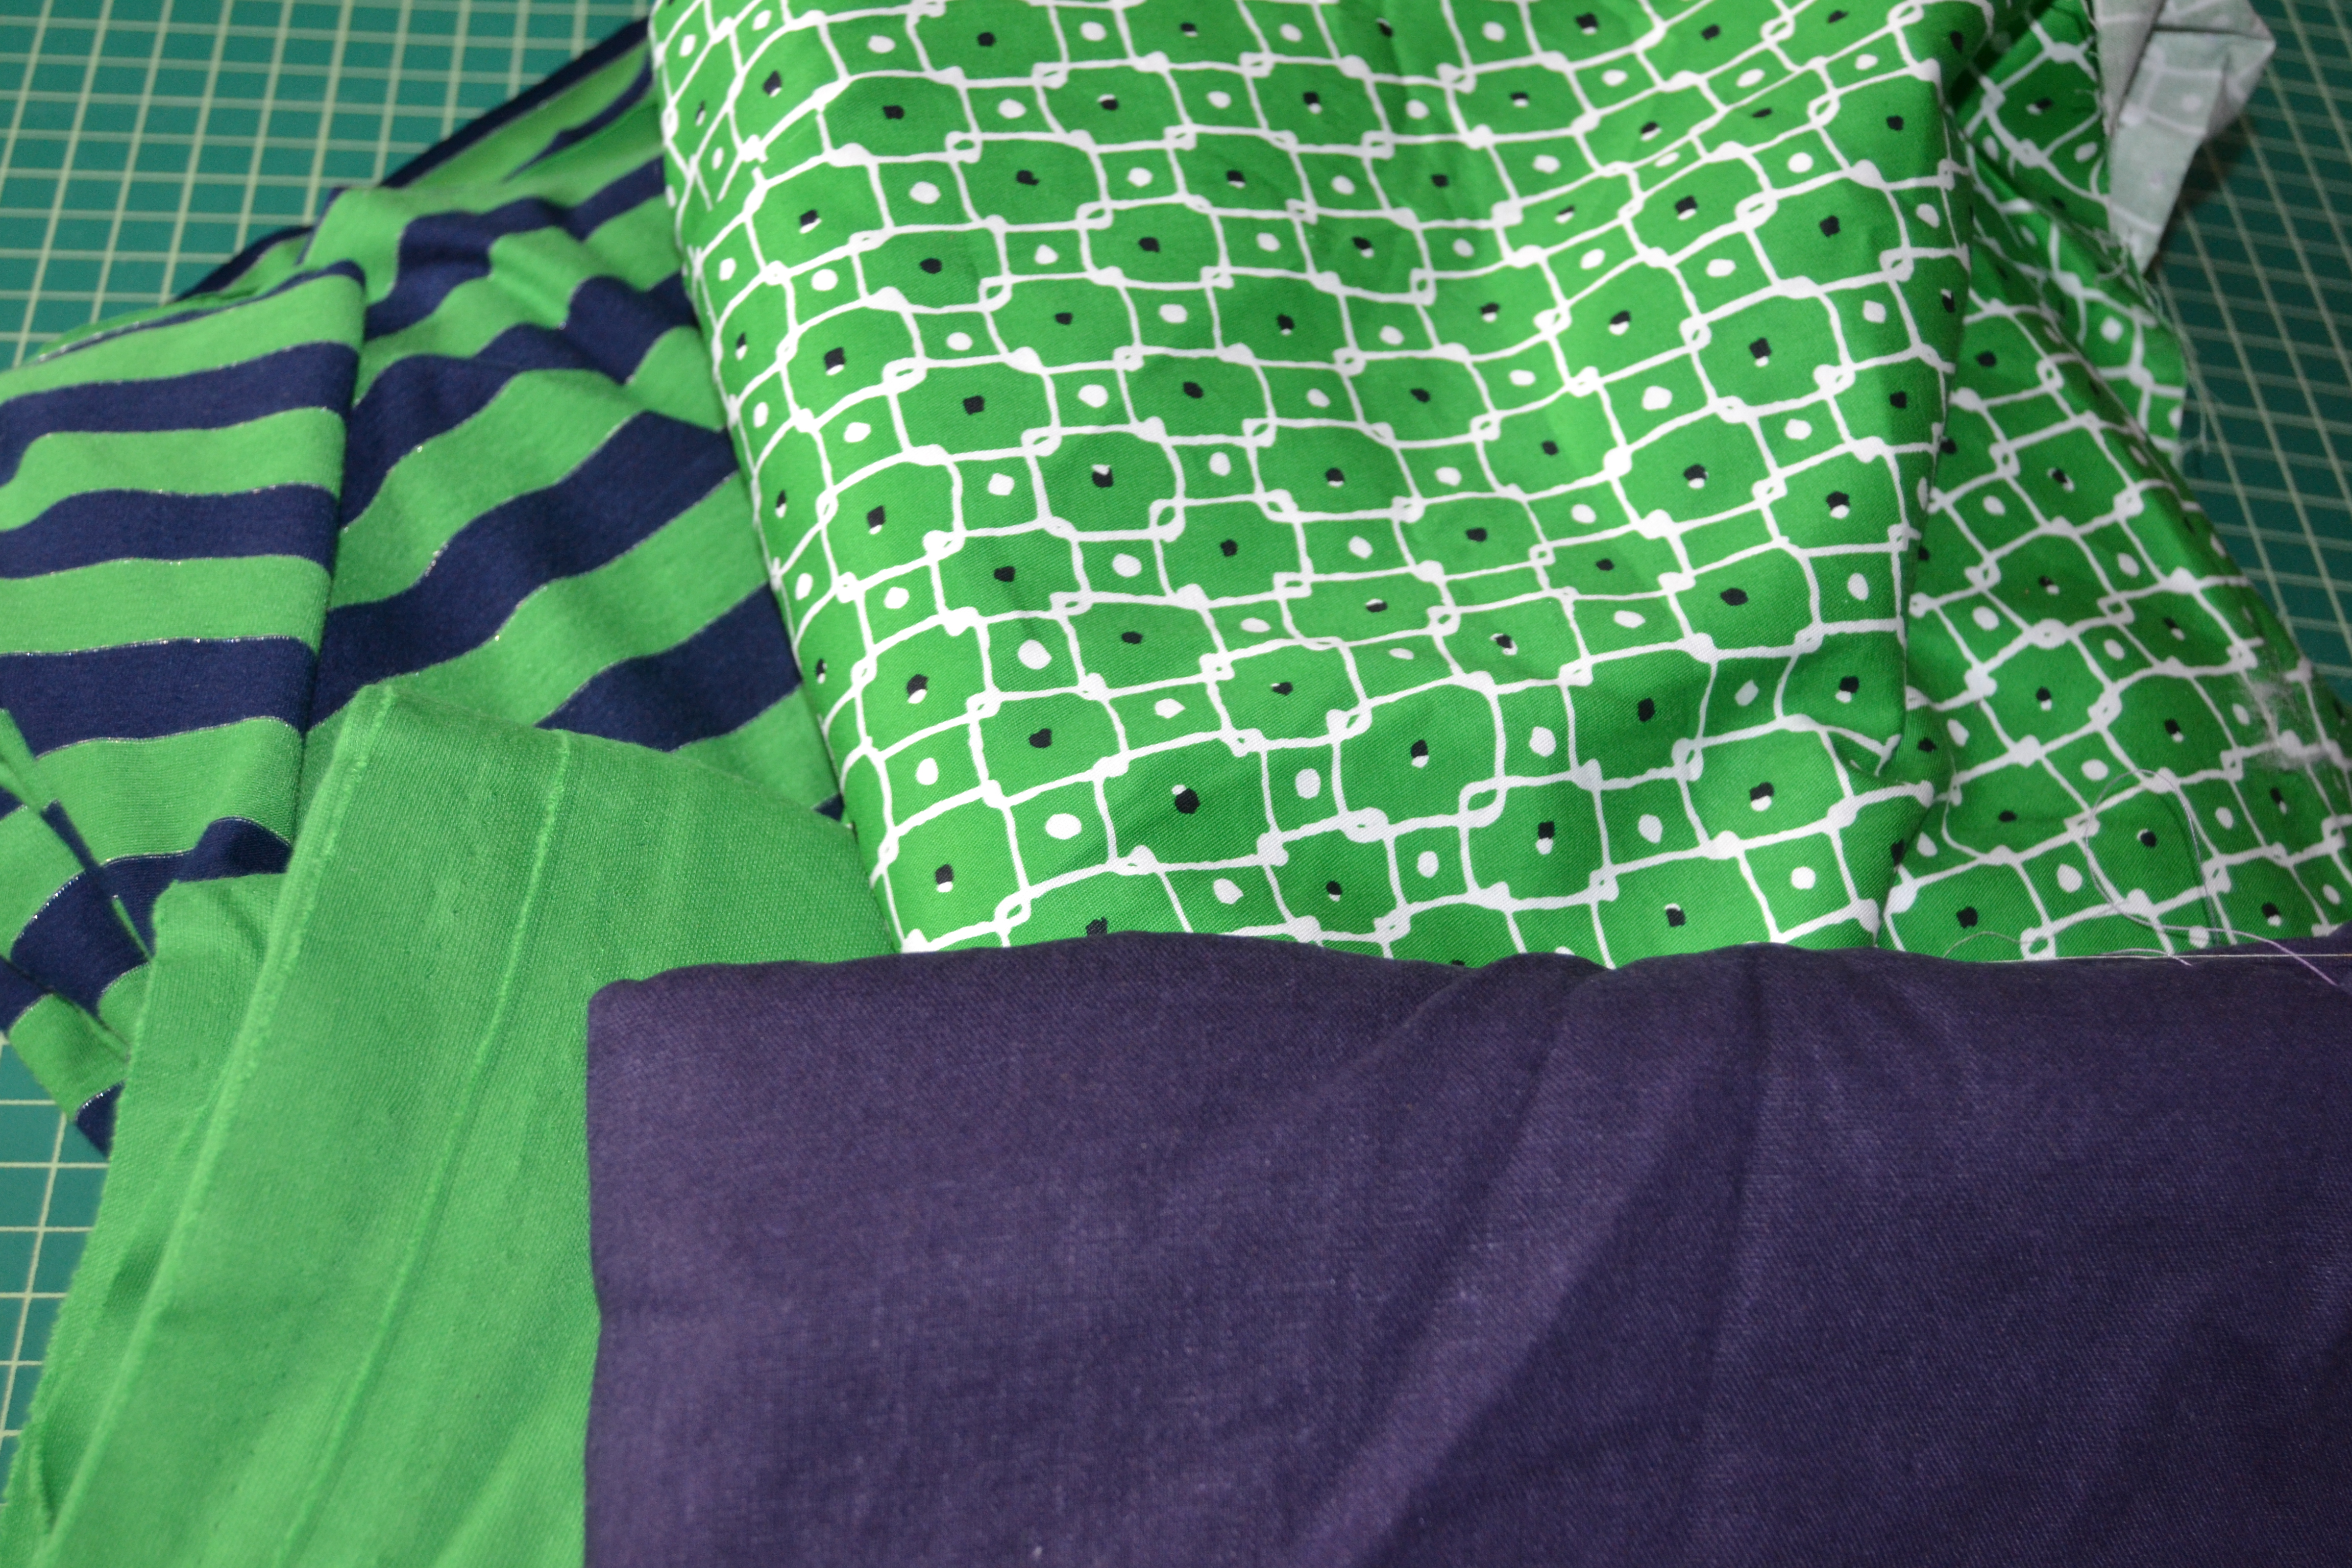
Fall Wardrobe fabric collection
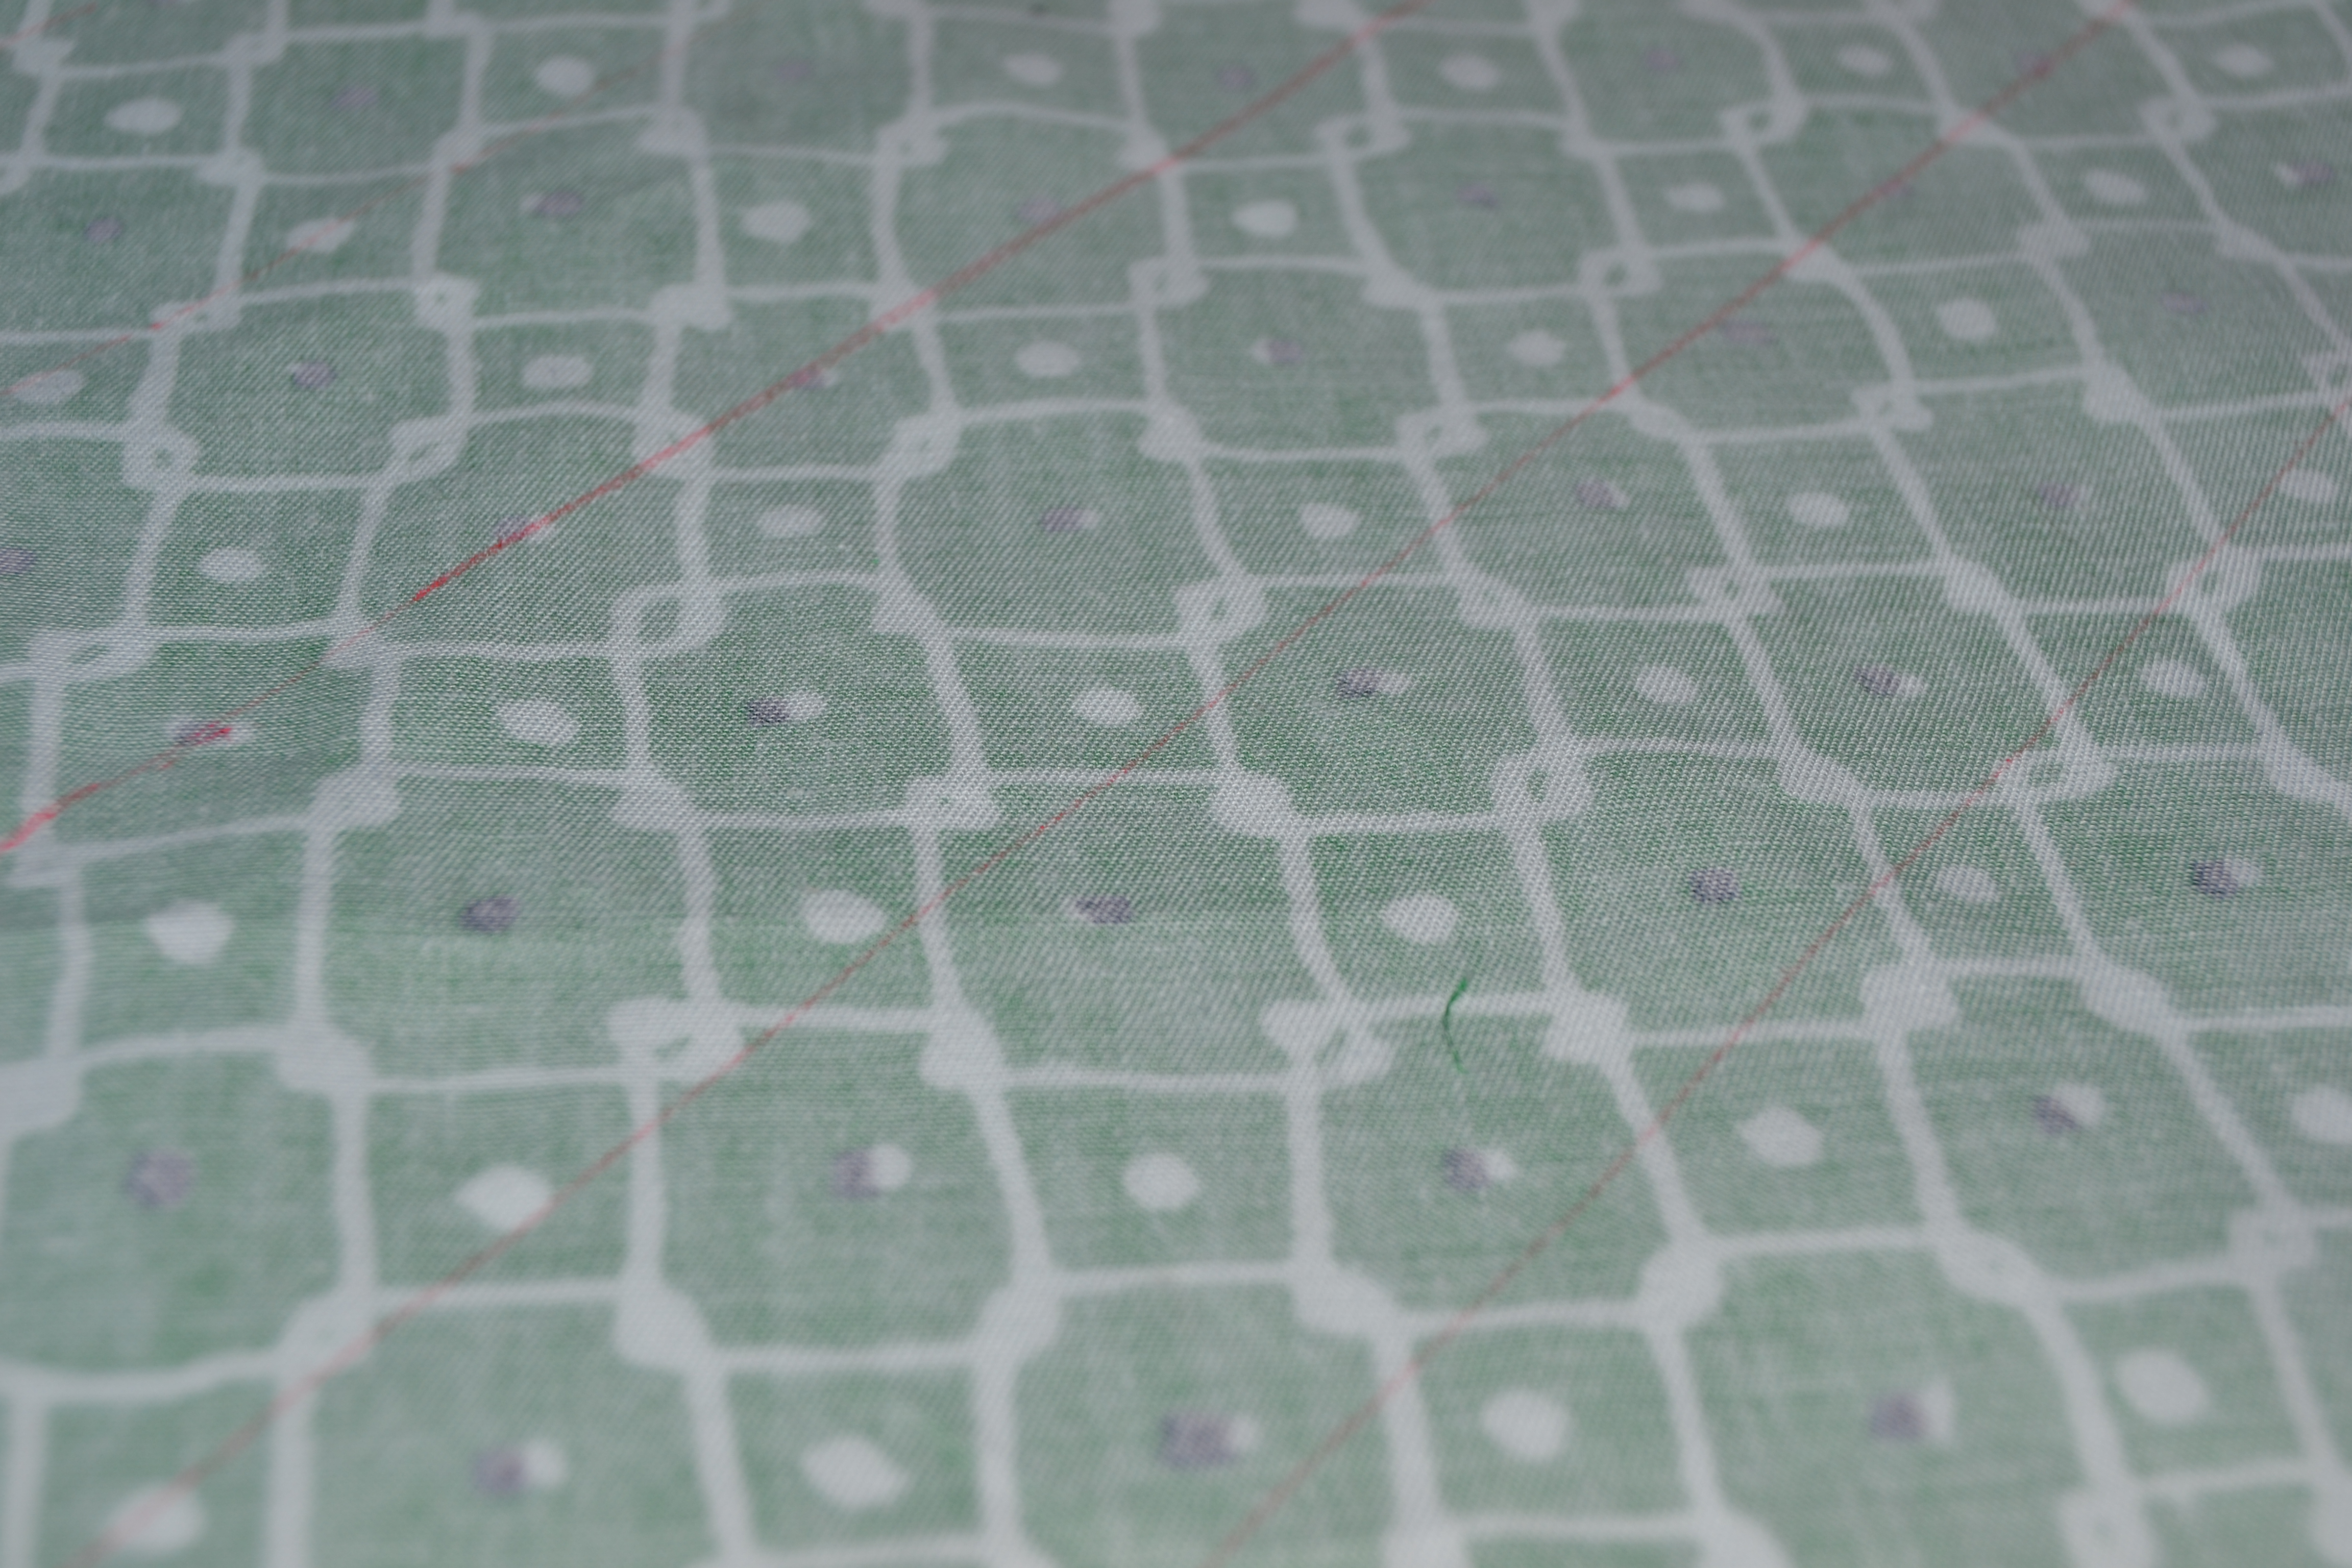
If you’re making a jacket or a coat for yourself or your little one, you don’t want to line it, but you want the inside to be as lovely as the outside, a Hong Kong seam finish may be the way to go. Even if you’re making a garment no one but you will ever see the inside of, a Hong Kong seam finish will make your seams fray-proof and make you feel pretty. Most couture garments are underlined, not lined, so the seams show. A lot of designers use Hong Kong seams as one of the ultimate finishing details. A Hong Kong seam is basically a seam where all of the seam allowances are bound in bias strips. It sounds like a lot of work, but it really isn’t. Once you get the hang of it, it goes pretty quickly. You can use packaged bias tape to bind your seams, but it’s almost just as easy to cut your own. You can choose to bind the seams in a matching color for a more subdued look, or you can choose a contrasting color or print to give the inside of your garment a color pop. If the person you sew for has sensory issues, you can choose a soft fabric they can tolerate to bind the seams. The garment I’m going to be demonstrating this technique on is a navy blue linen jacket. Linen frays easily so a Hong Kong finish is a good choice. The jacket is part of a coordinated ensemble I’m making for a vacation trip. One of the other wardrobe pieces is a navy, green, and white soft cotton print dress I will sometimes be wearing with the jacket. I’m going to be using leftover fabric from the dress to make the bias strips for the seams. To complete the inside look of the jacket, I’m also going to bind the hem and the facings with them.
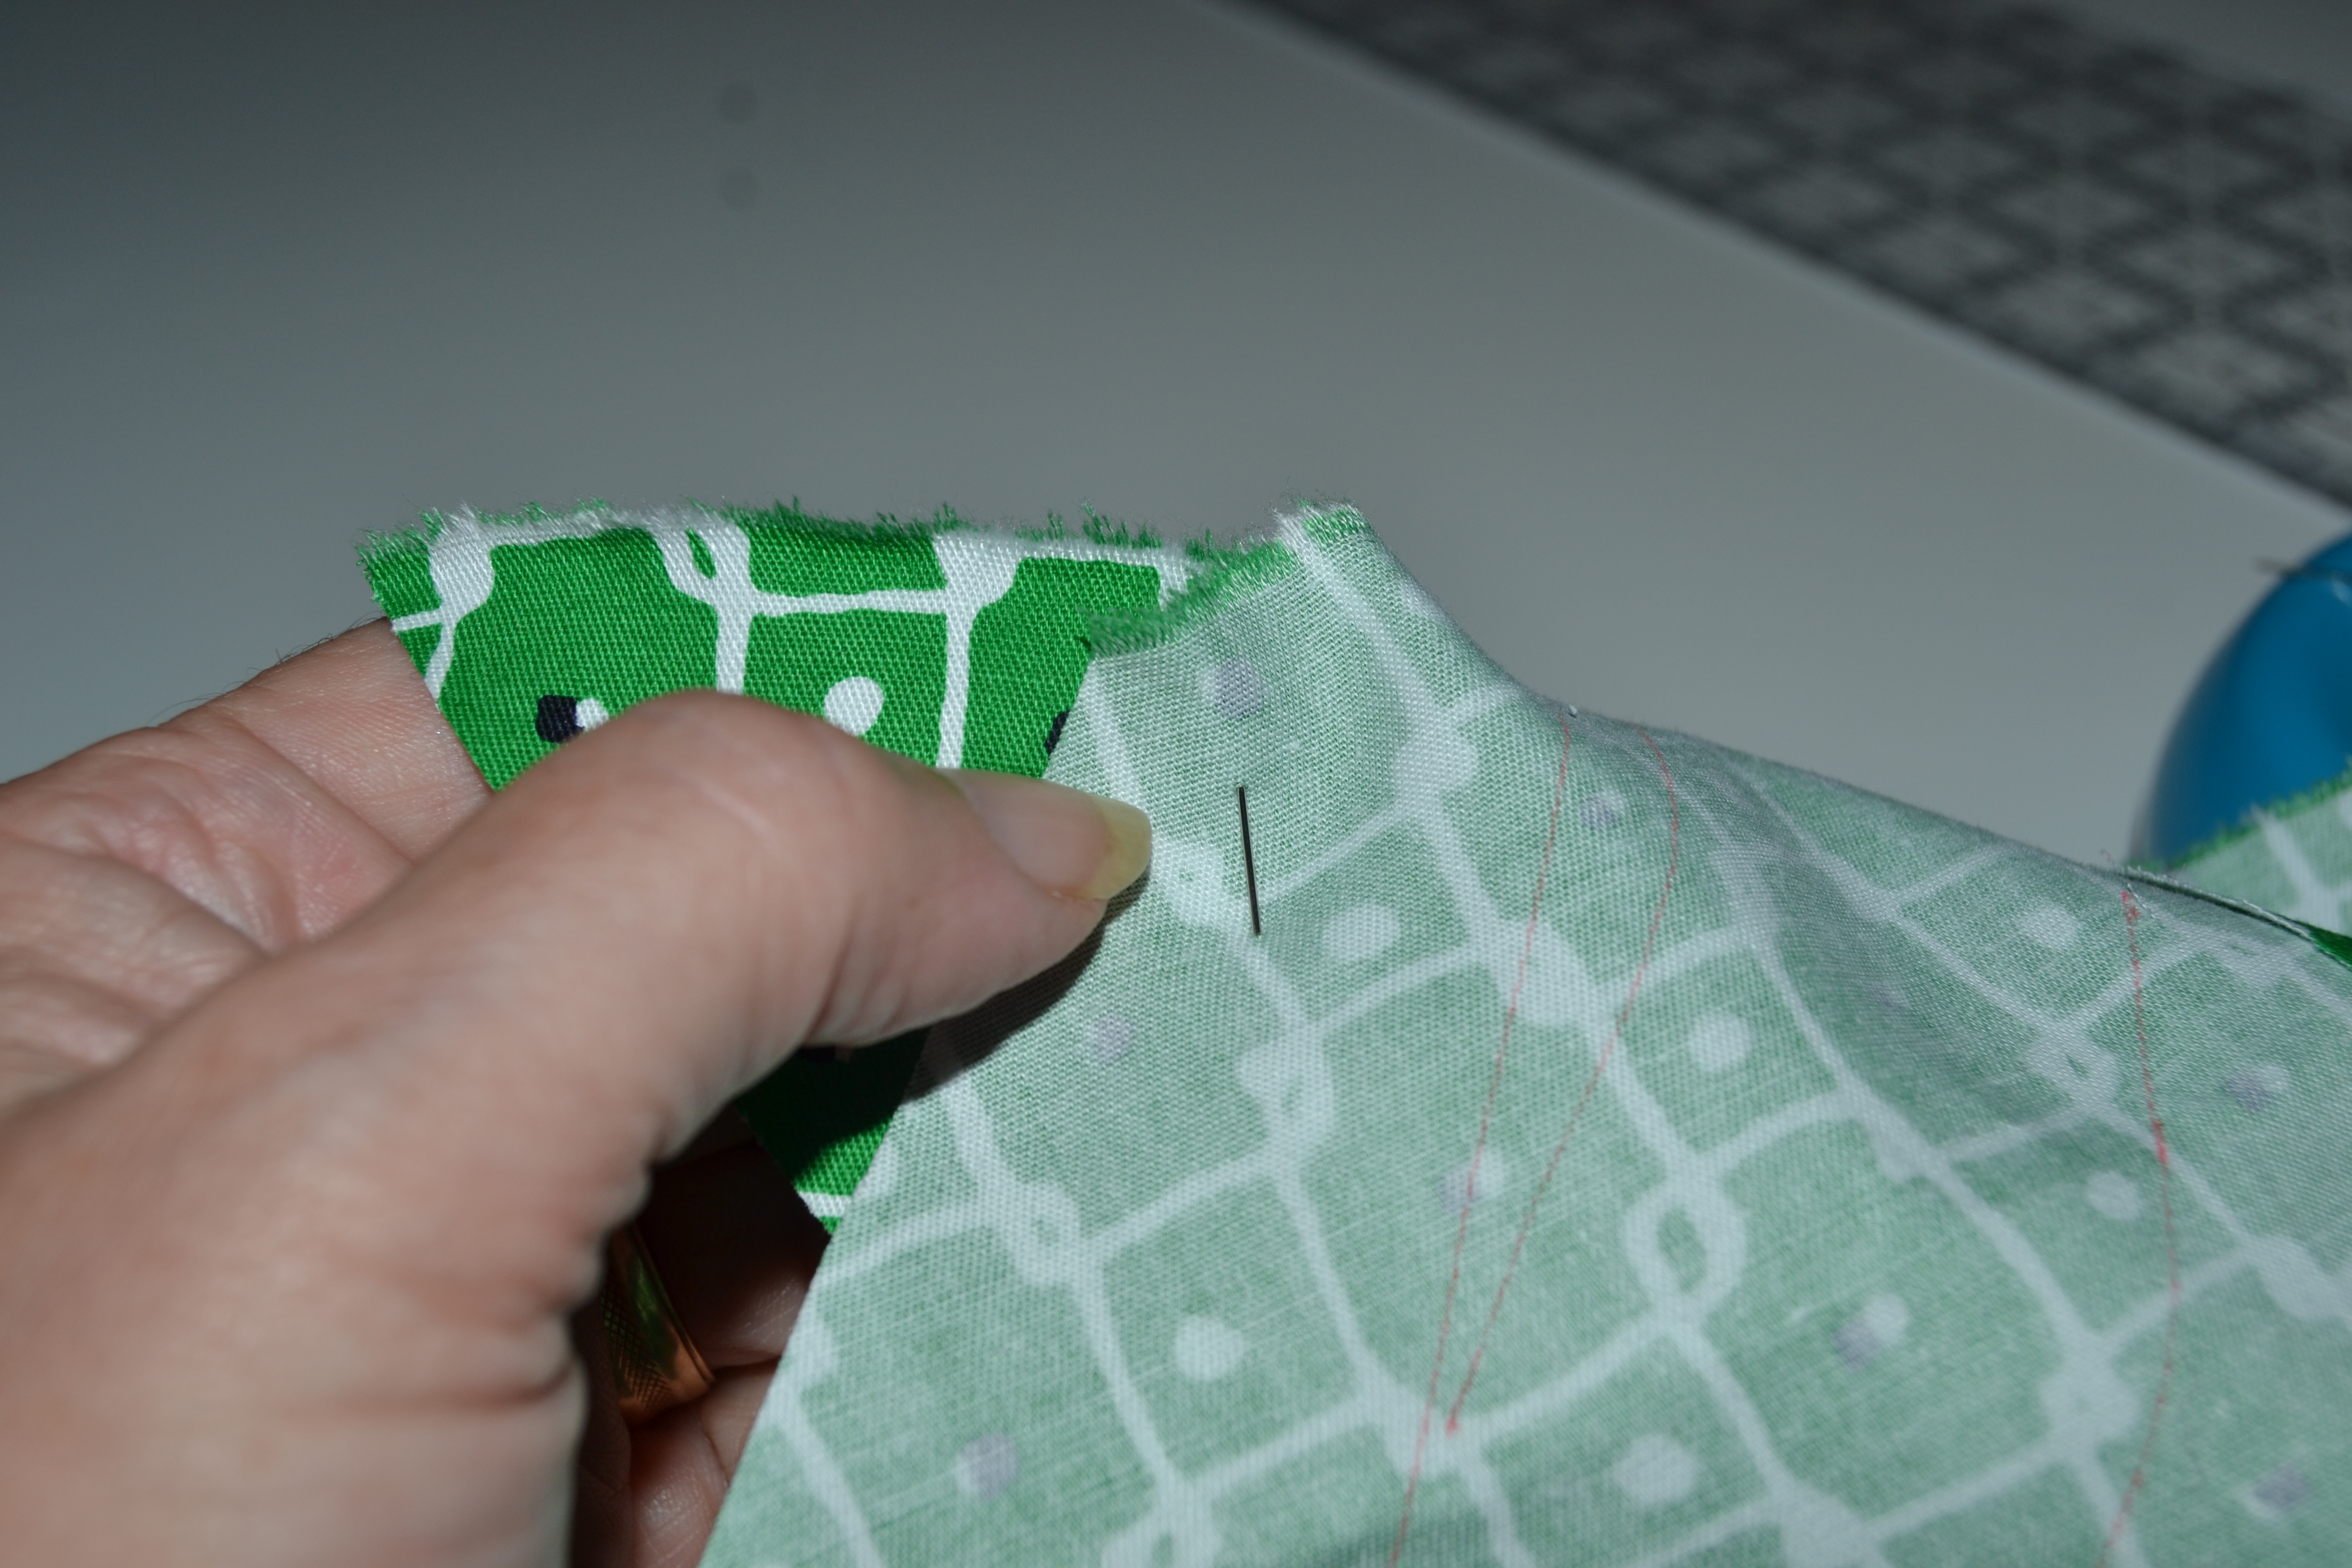
You can use any soft, lightweight fabric to make the bias strips. You want it lightweight enough it doesn’t add too much bulk to the seams, and it should be able to be washed or cleaned using the same methods as the garment itself. If you’re working with scraps, you need to cut strips on the true bias (45 degrees from the straight grain of the fabric). See the post on how to cut out a pattern if you don’t know what that means. The strips should be 1 1/4 to 1 1/2′” wide. If you need to piece them together, sew the seam on the straight grain of the fabric. This will give you a diagonal seam across the bias strip and minimize bulk.
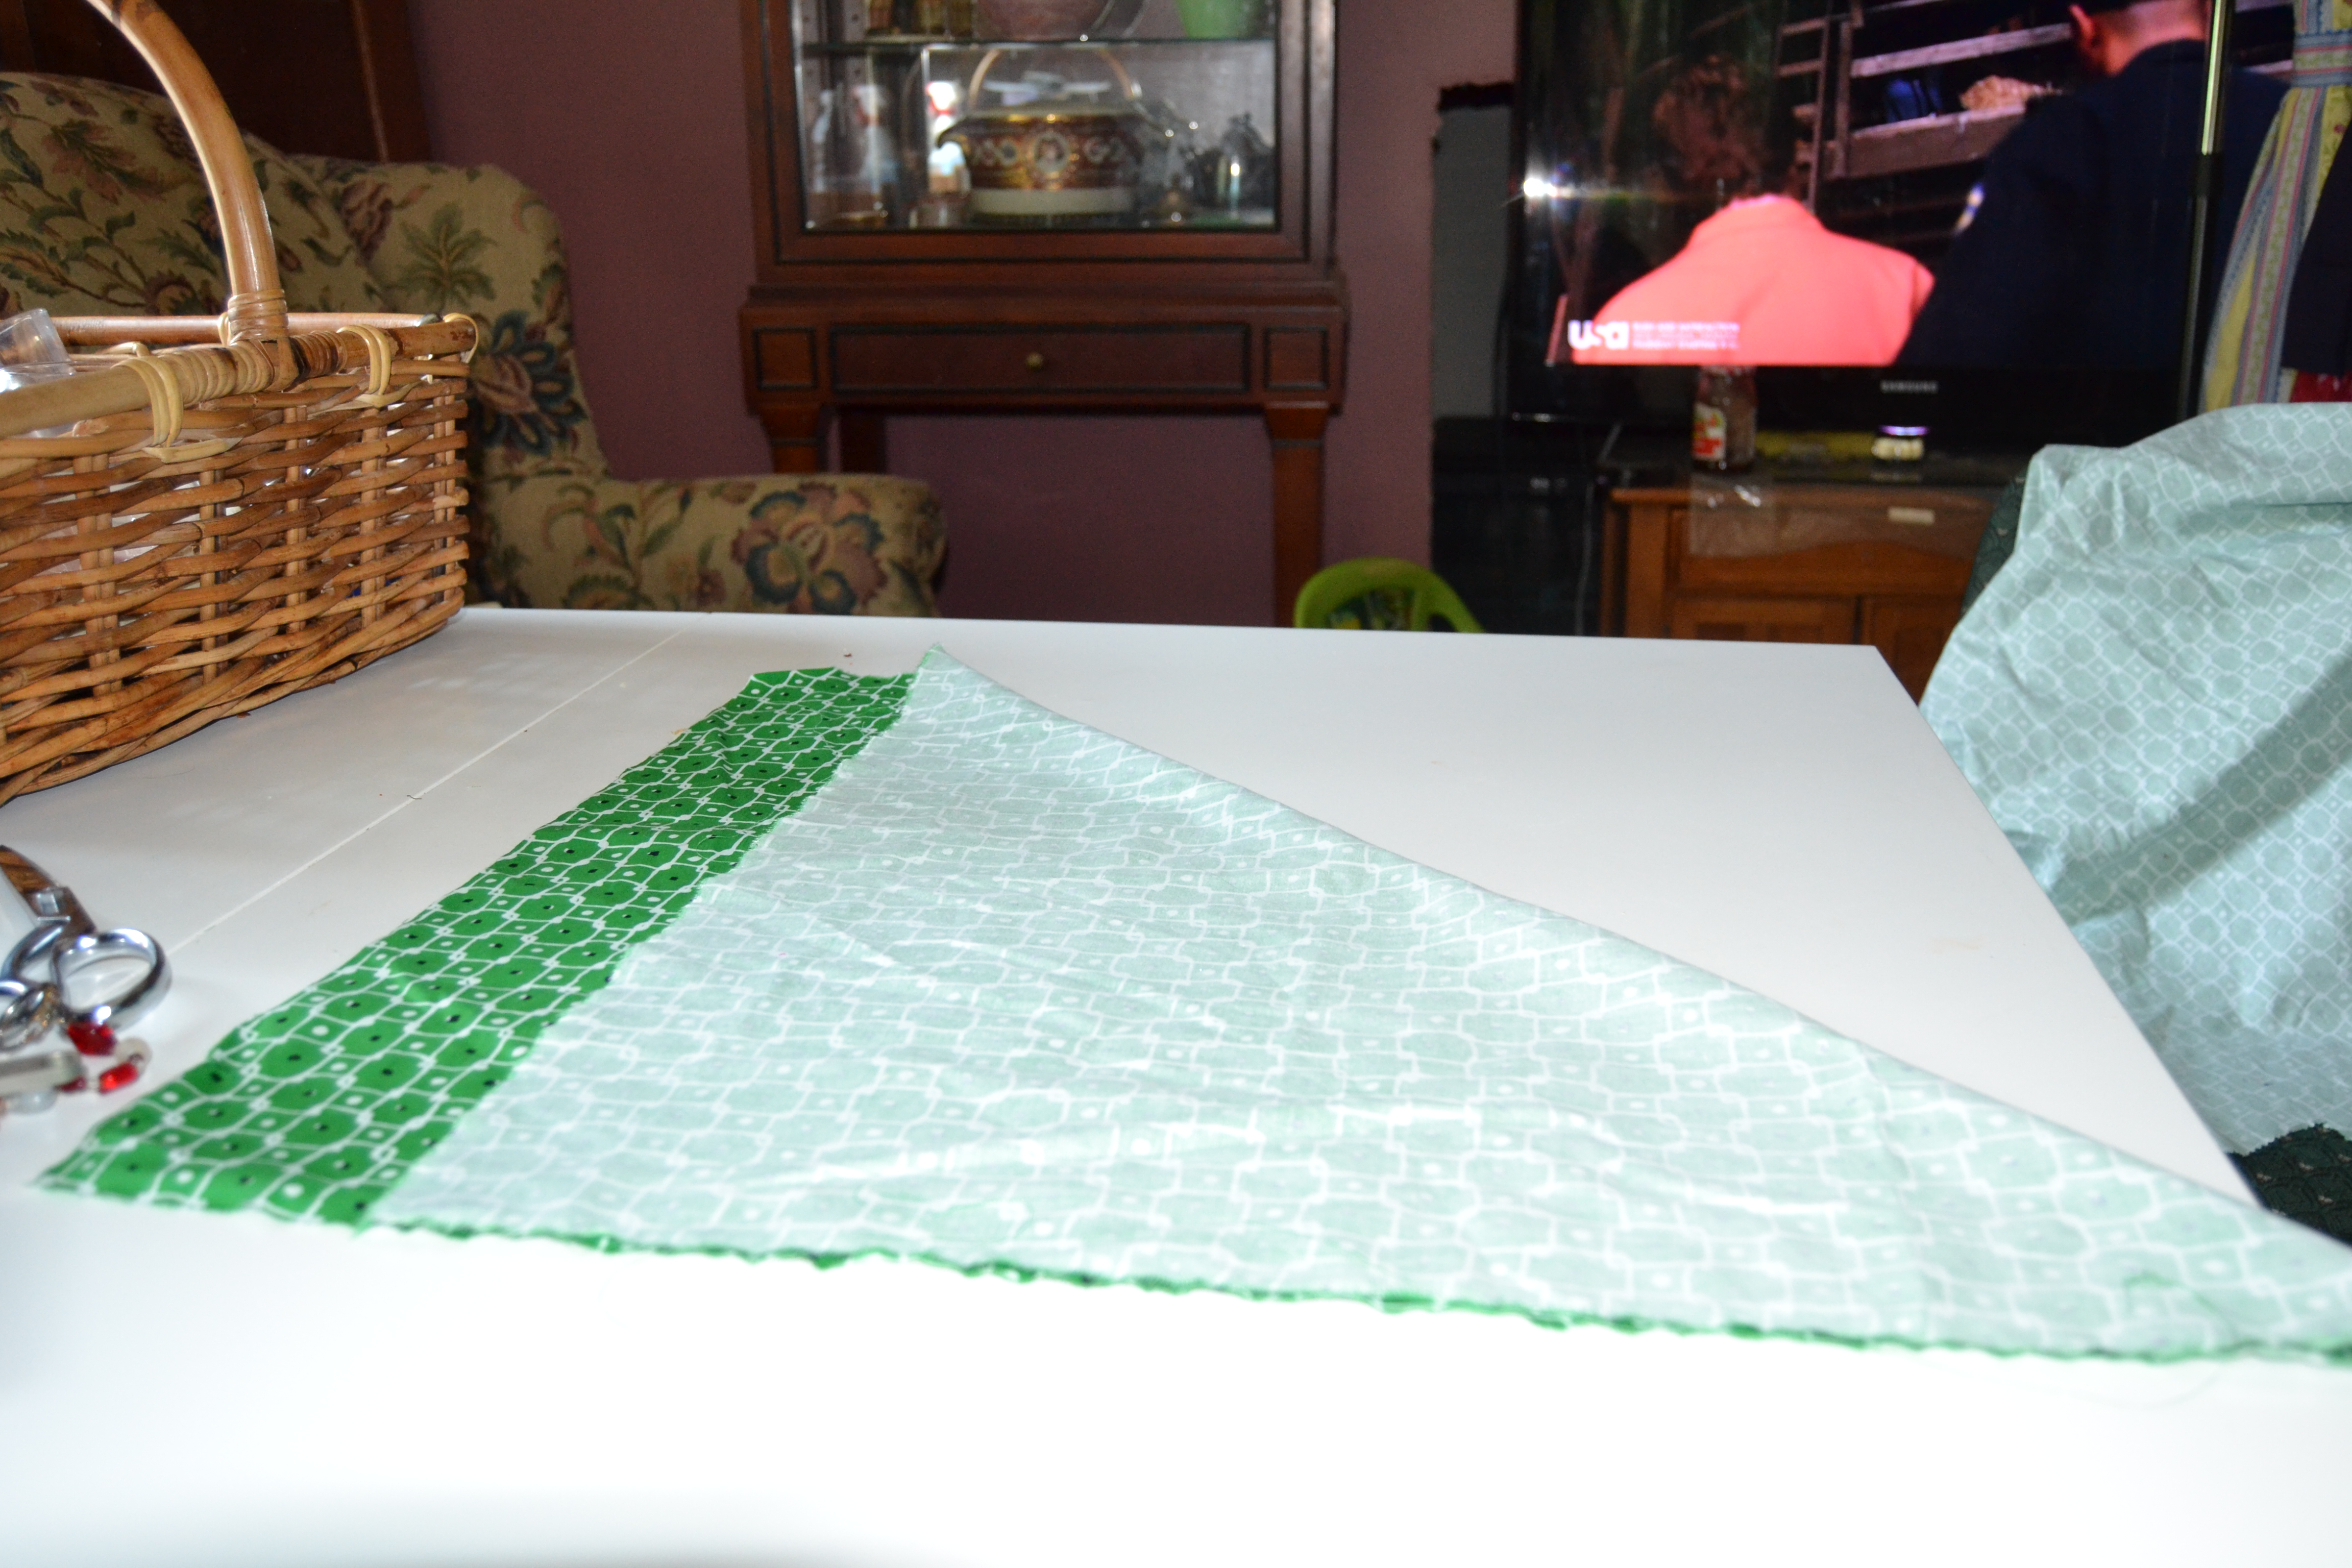
If you’ve bought a fabric especially for binding your seams, or if your scraps have a nice big piece in them, you can make your binding in one continuous strip. Look at your scraps and see what you have. Cut a rectangle. The larger you cut it, the fewer seams your bias strip will have. Square it up so all of the edges are on a straight grain or a horizontal grain of the fabric. Remove any selvages. My jacket has a lot of seams, and I need some binding for the dress so I have a big piece.

Cut a rectangle
Fold the upper right hand corner down so it matches the bottom of the rectangle – like this.
Fold down a corner
Crease the fold and carefully cut along it.
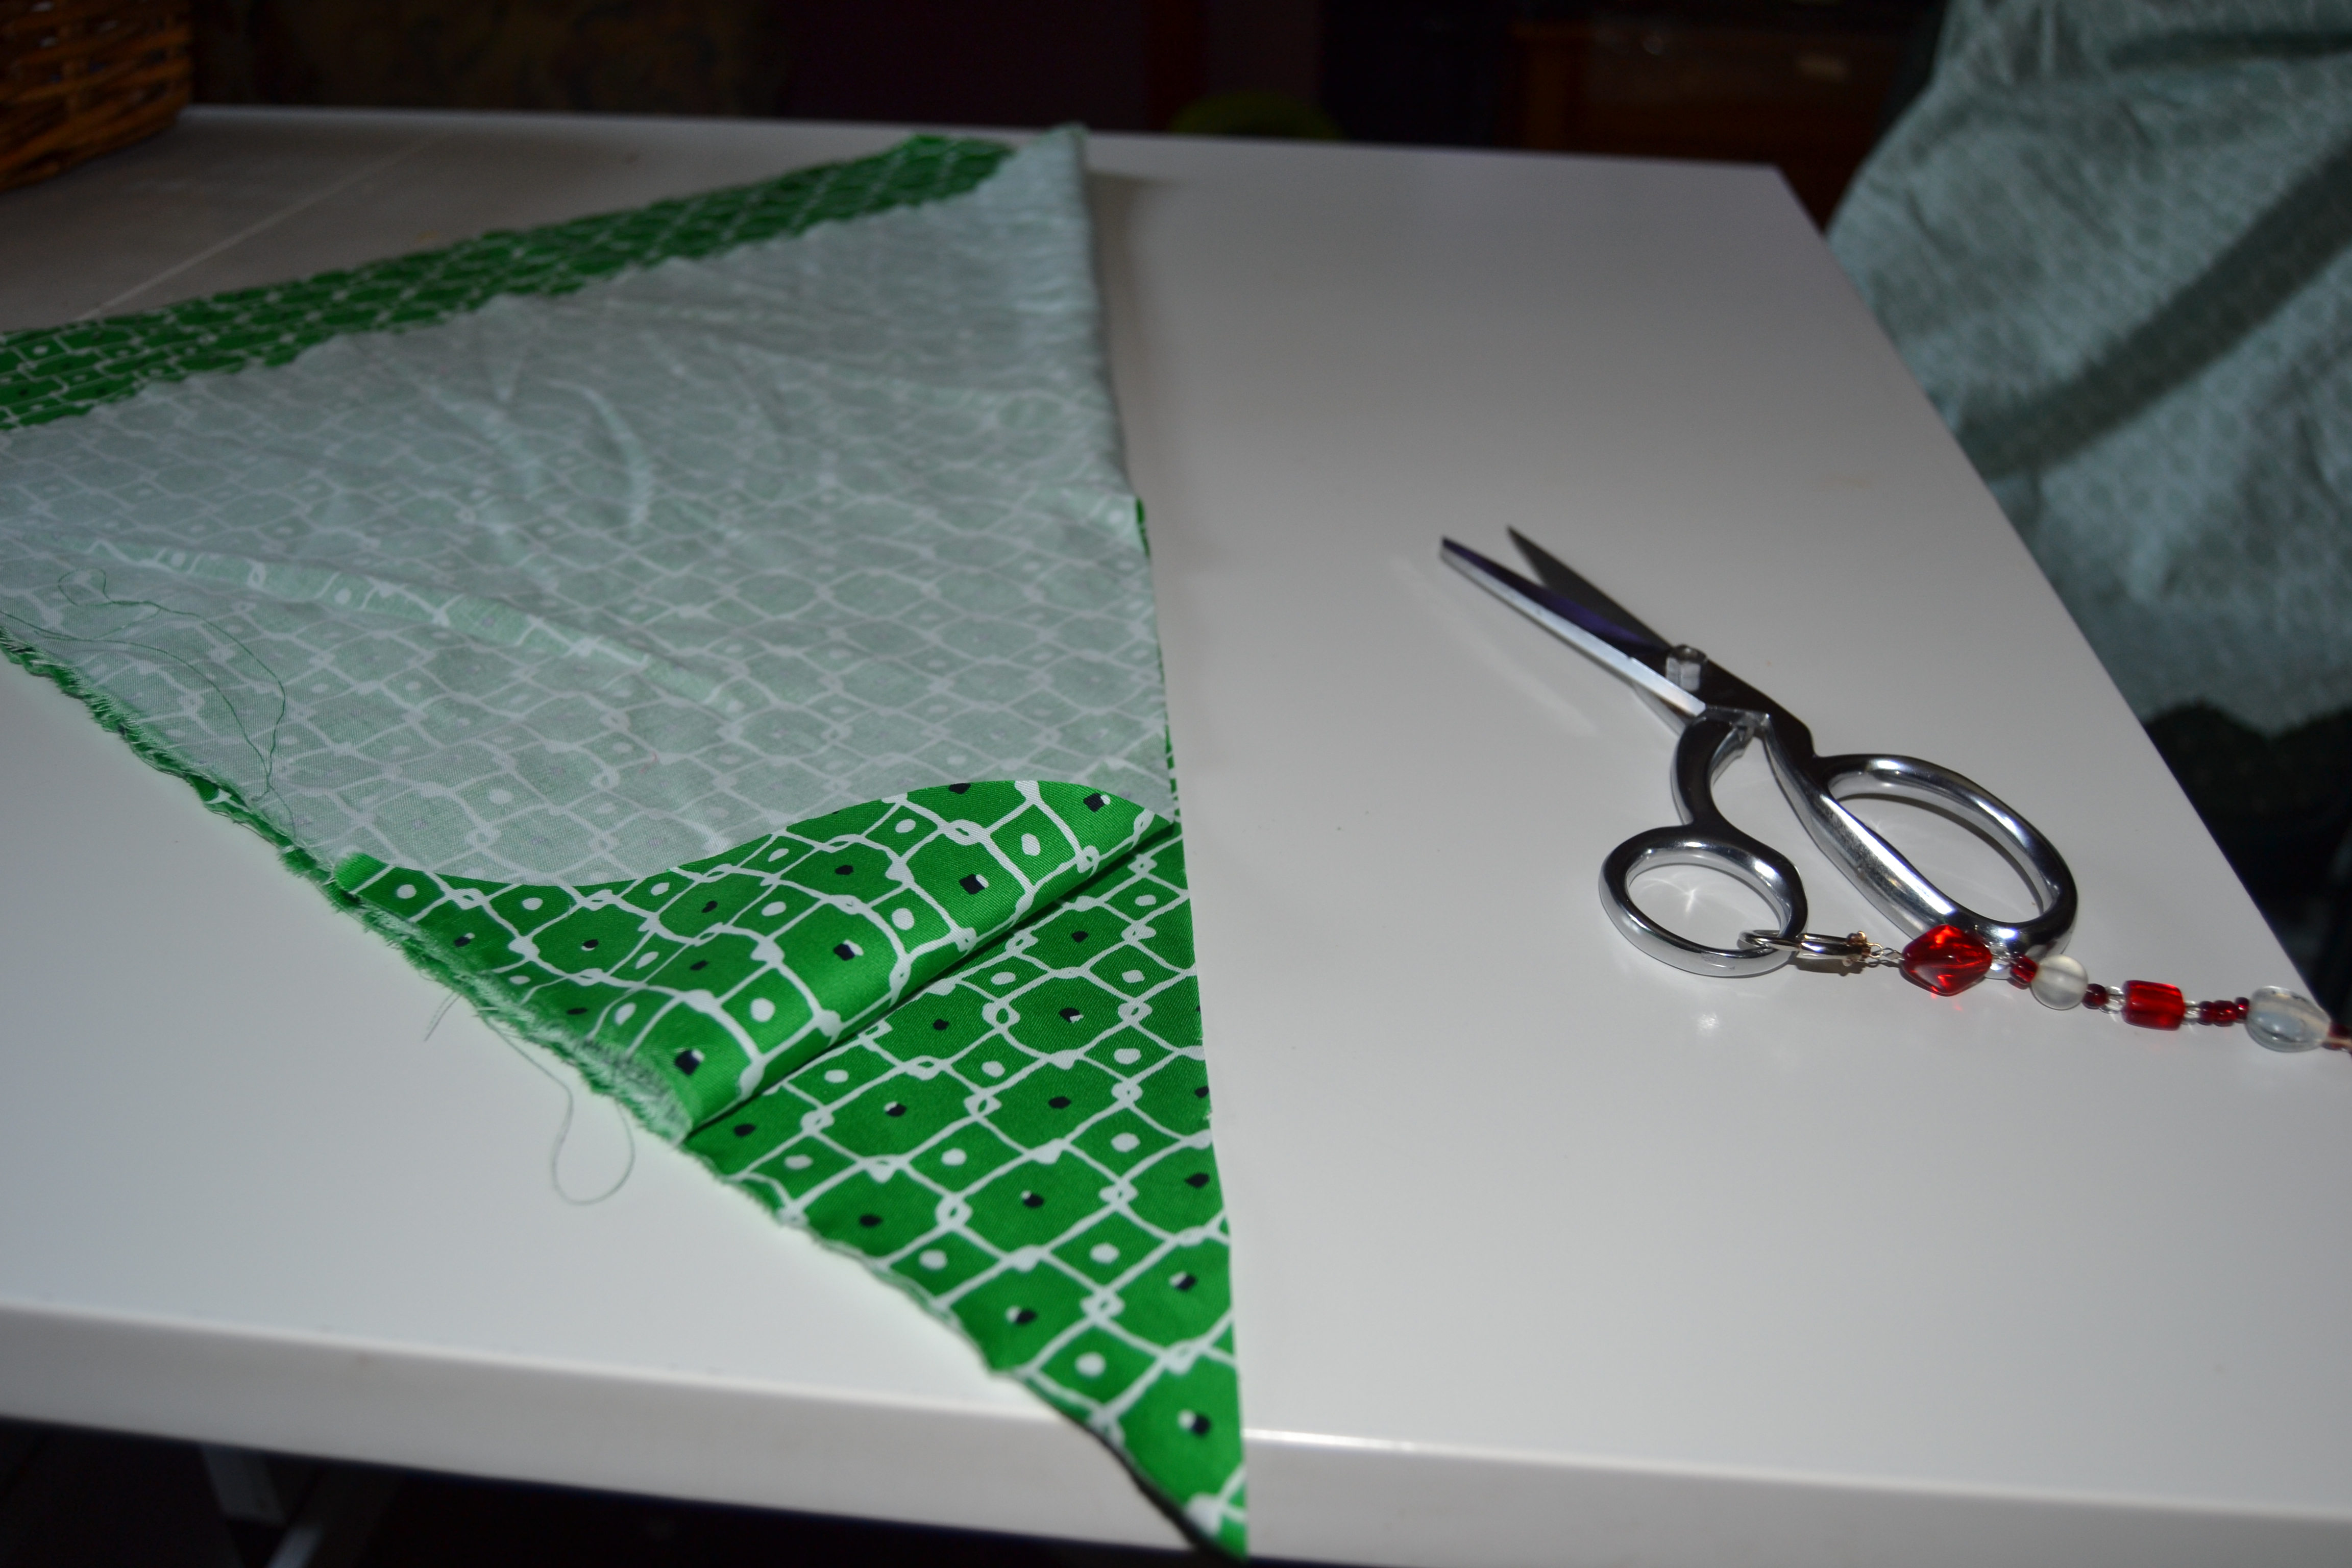
Cut along the fold
Take the triangle you have and sew it onto the other side so you have a parallelogram. (Aren’t you glad you stayed awake in geometry class?)
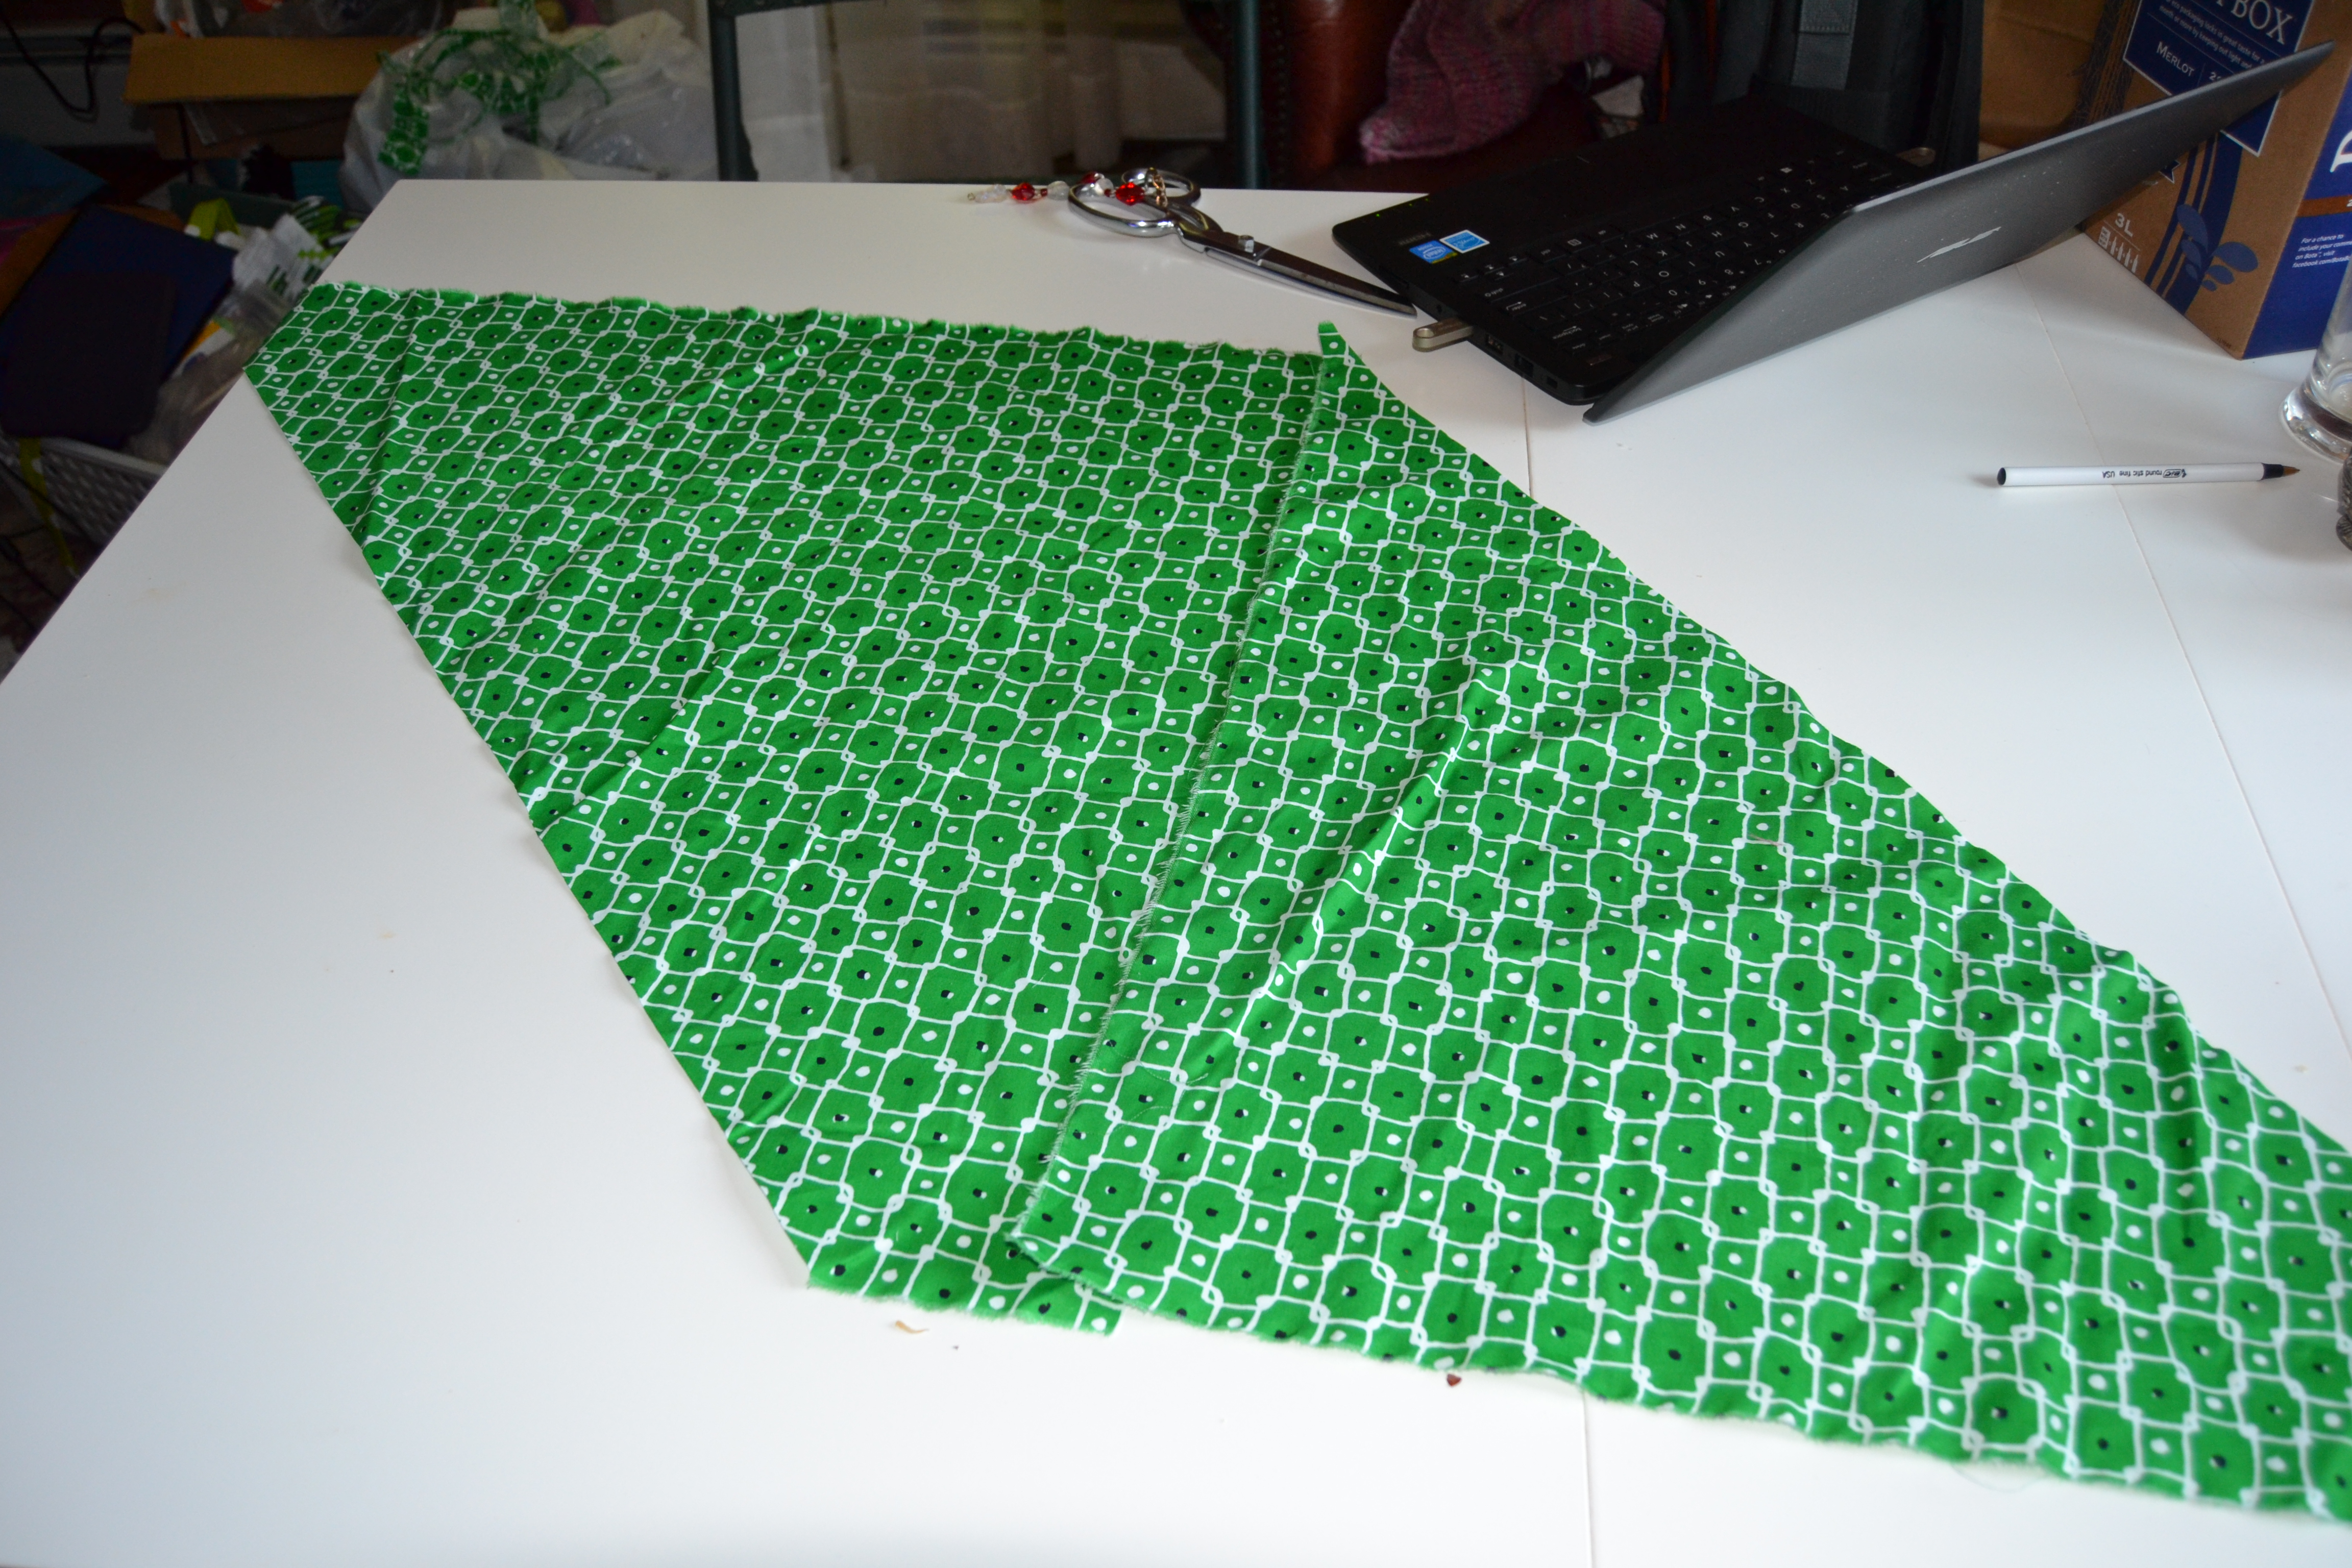
Make a parallelogram
Now take your long plastic ruler and draw lines parallel to the slanted edge of the fabric, spaced as far apart as you want the width of your bias strips to be with chalk or a fabric marker. When you get to the other side, if you have a little bit of fabric leftover, just cut it off.

Drawing parallel lines

Keep drawing
Hard to see, but lots of lines
Now here’s the important part. Put a pin in the first line at the top left hand side of the parallelogram.
Pin it, matching p the lines
With the fabric right sides together, match the pin to the bottom left hand side of the fabric.
Pin the top edge to the bottom edge making sure the lines you drew match up. It will look a little narly.
Sew the seam and press it open.
Press the narly seam open
Starting where the edge of the hangs over the edge, cut on the line you drew.

Start cutting
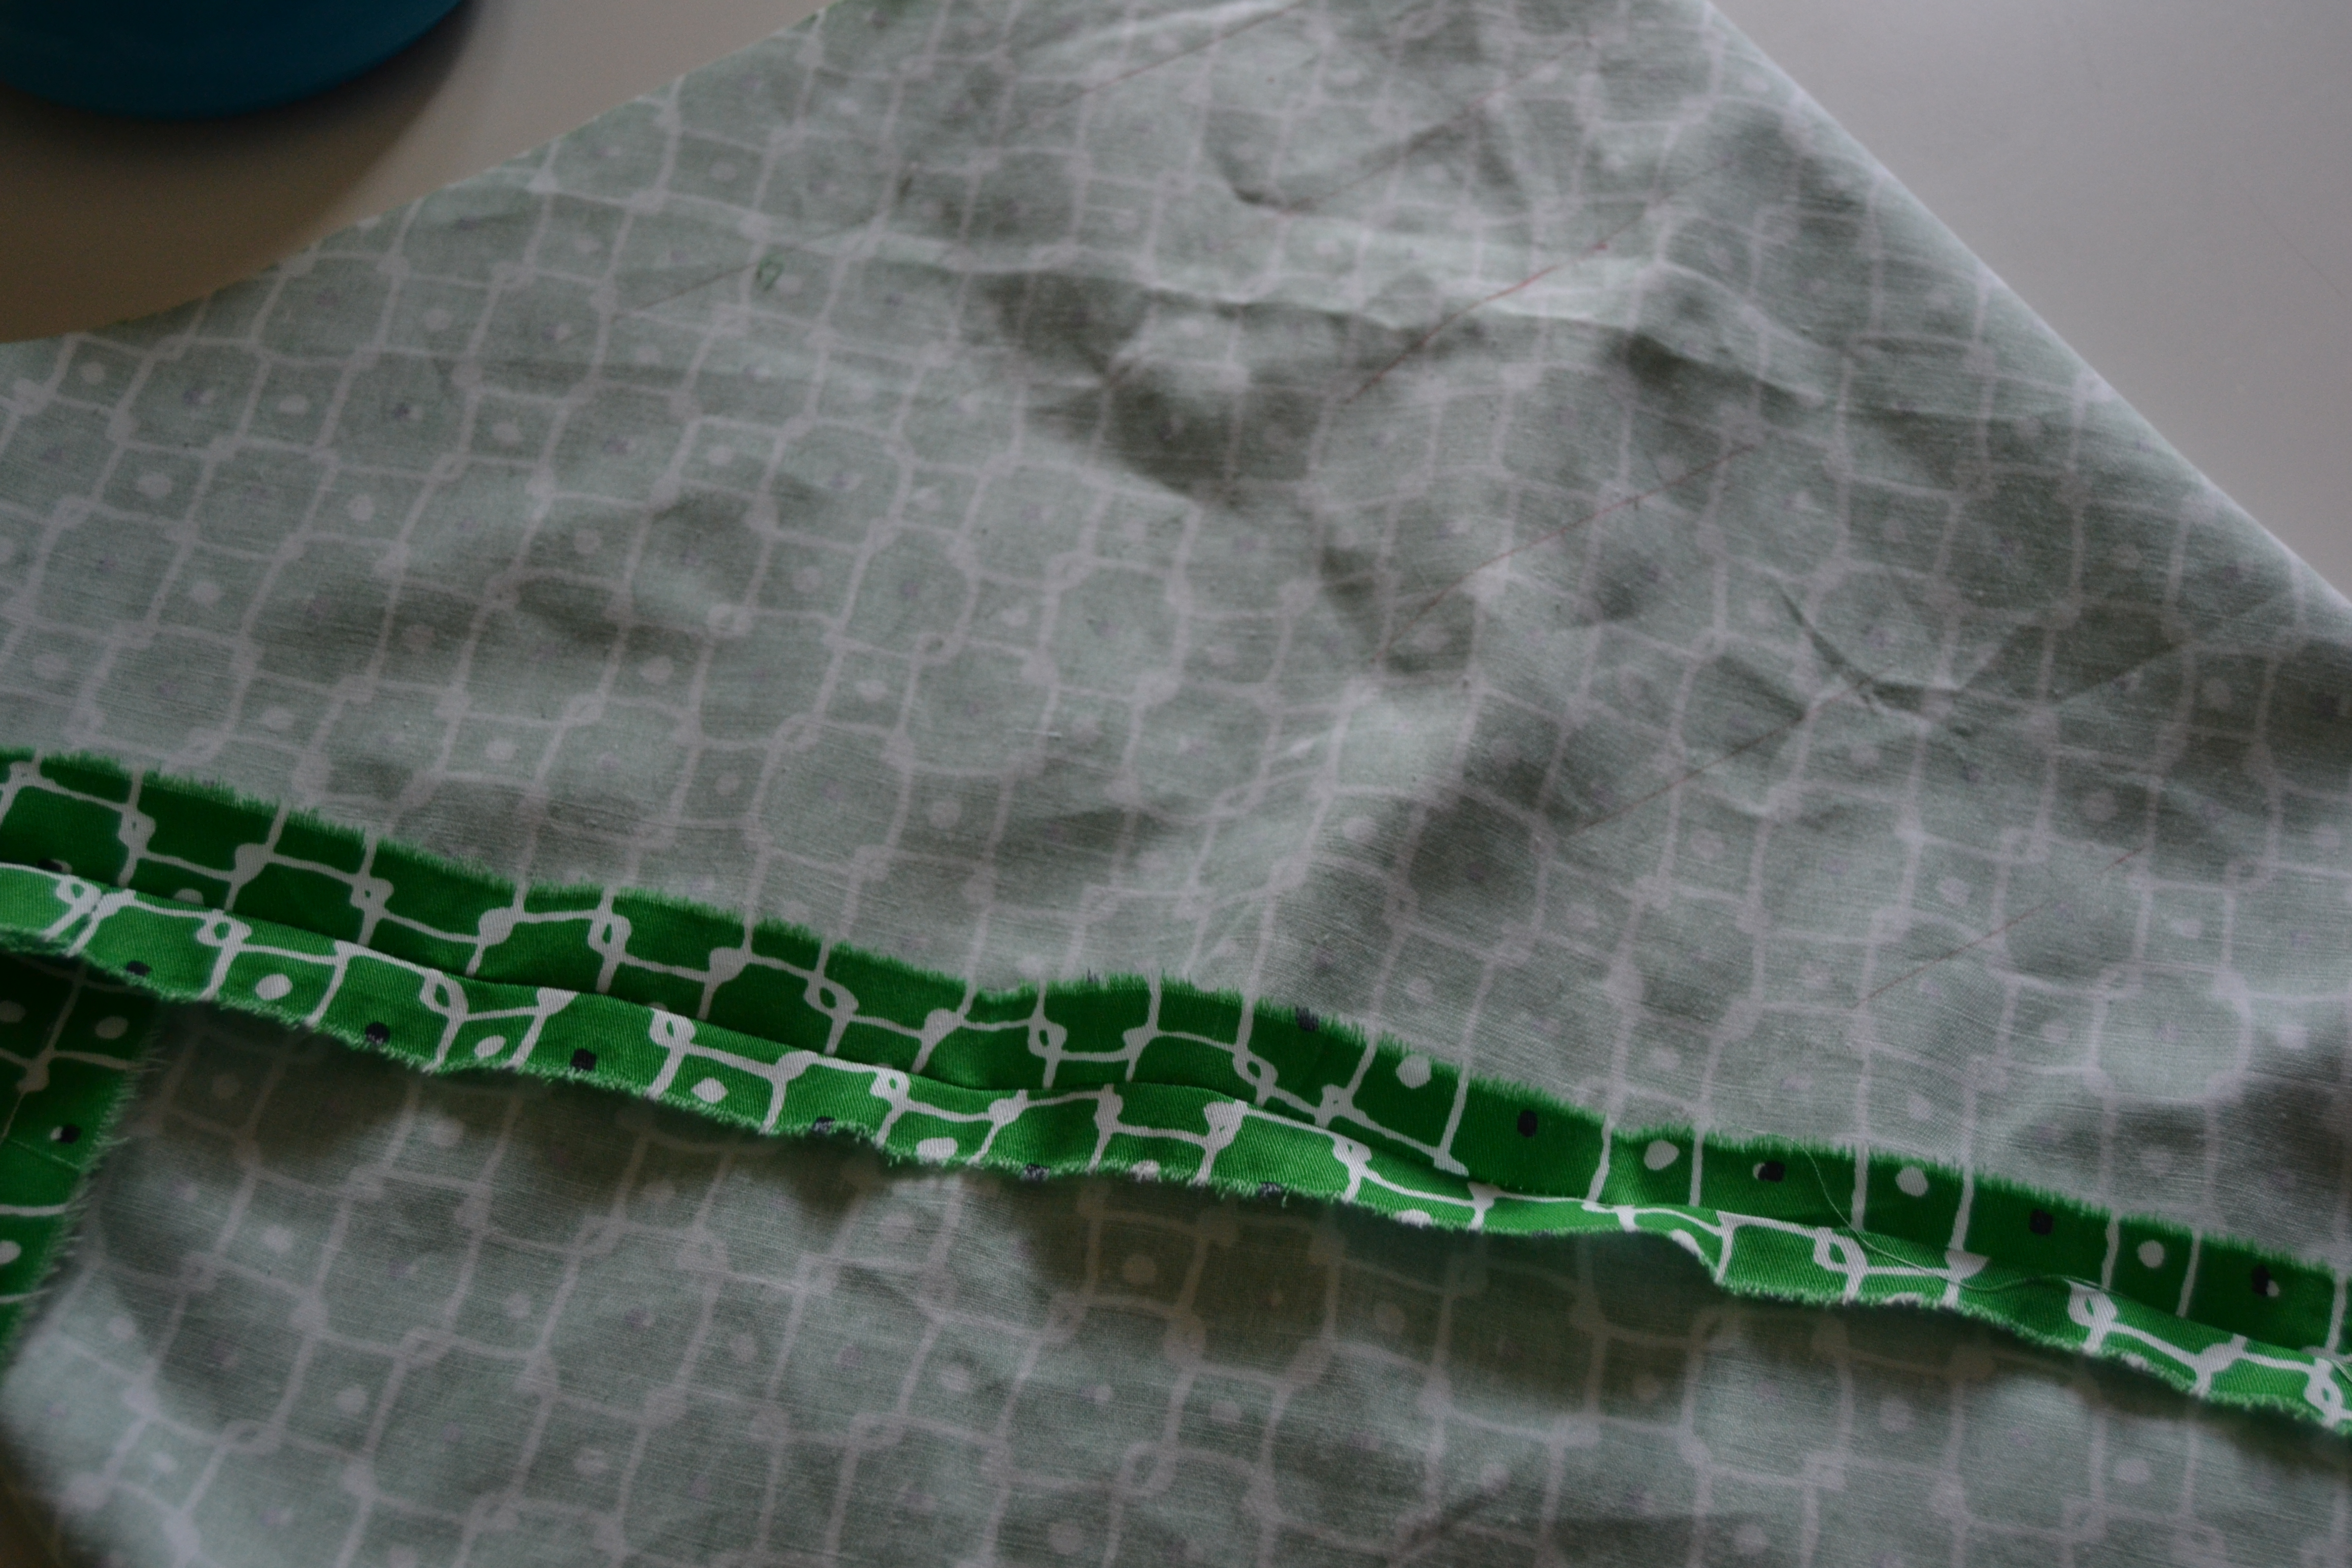
Go round and round and voila! You have a long continuous strip of bias. All pressed and ready to go.

A pile of bias tape, all pressed and ready to go!
If you didn’t know how to do that, it made it worth reading this blog post, right?
Now to “Hong Kong” a seam.
This method works best when the seams are 1/2″ or wider, but you can do it on a 3/8″ seam allowance. It’s just a lot fussier. Sew your seam.
Press it the way you sewed it. Then press it open or to one side.

Seam pressed open
If you pressed your seam open, sew a strip of bias tape to each seam allowance, right sides together. If you pressed the seam to one side, treat both seam allowances as one.

Sewing the bias tape to the seam allowance
Press the seam toward the bias tape.

Press the bias tape
Then wrap the bias tape around the seam allowance to the back and stitch along the seam. (It’s called stitch in the ditch.) There’s no need to fold the back side of the bias tape under. It was cut on the true bias of the fabric so it will not fray. It won’t show in the completed garment, and folding it under just adds bulk.

Stitching in the ditch
Do the same thing to the opposite seam allowance. Completed Hong Kong seam!

Completed seam
You now have your baby toe in the world of couture sewing. Is there a jacket or a raincoat on your fall to-do list?

Best bias binding making tutorial I’ve read! Almost made the Hong Kong seams seem a bonus. I have to start making binding–just HAVE TO.
You are a sewing saint. Thank you! This one was particularly good for me!
LikeLiked by 1 person
I had never heard of a Hong Kong seam, but I see now that I am quite familiar with them. Now I know how to make them myself. 🙂 Thank you!
LikeLiked by 1 person
Hello, always i used to check website posts here early in the morning,
since i like to find out more and more.
LikeLike