
In our family Halloween costumes usually hit the dress up clothes for play after the holiday is over so I usually sew them with that in mind. There’s always at least one party where they get worn as well as trick or treating. Our town has a downtown Halloween Parade when the kids get to dress up, parade down the main streets, and get “treated” by the local merchants. The costume needs to be designed for wear and most if not all of the pieces need to be reusable.

Max pjs
This year Davis Farmland, a local attraction, is having a Pirates and Princesses Day. Elsa and Anna will be joining the fun. My grandkids have a family membership to the park so this party is on the agenda. While my granddaughter has a princess dress, she doesn’t have a princess pirate dress, and my grandson has agreed to wear a pirate costume for Halloween as long as it’s “cool” and not little kid. So we were able to bypass a lot of the what do you want to be for Halloween discussion.
The Pirate
The most important part of a pirate costume for my grandson is the hat so that’s where I started. Because this costume has to be “cool”, I wanted to avoid the typical black pirate hat. I found a simulated leather one in the spirit of Jack Sparrow. When my grandson saw it, he gave me carte blanche for the rest of the costume.

Cuff
I started with the pants. They need to be easy on, easy off. My grandson is 8 and can dress himself, but a costume stills need to be uncomplicated. Since the pants will end up in the dress up trunk, the size needs to be somewhat adjustable. I chose the Jump Around Pants from Whimsy Couture. There are no side seams so it’s a quick sew. I lengthened the pants a bit and put a large hem in them so I could turn a big cuff. That will give him some room to grow taller.
Then I left an opening in the waistband so I could put a button and buttonhole elastic in the waist. The pants should serve him for pirate play for at least year. Then the elastic can be pulled in and the cuffs pushed up and they can join his little sister’s stash.

Buttonhole elastic

Split sleeve pattern
Then on to the shirt. I relied on some photos of Jack Sparrow for inspiration. I looked through my pattern stash for a shirt with a pointed collar and found the Camp Shirt from Fishsticks. It would need some changes to the front and the sleeves but it had the bones I needed. I cut both the back and the front on the fold. I lengthened the sleeve pattern and slit it an spread it to make the sleeve fuller. To save time in the sewing, I cut the facing out of fusible interfacing.
After attaching the collar I stitched the interfacing on, cut the slit, turned the interfacing to the inside and fused it in place. I used a fusible knit interfacing so it will feel nice next to the skin. It saved some time, and for a costume it’s fine.

Interfacing as facing
Then I elasticized the wrists so they can be pushed up.

Elastic wrists
The Vest
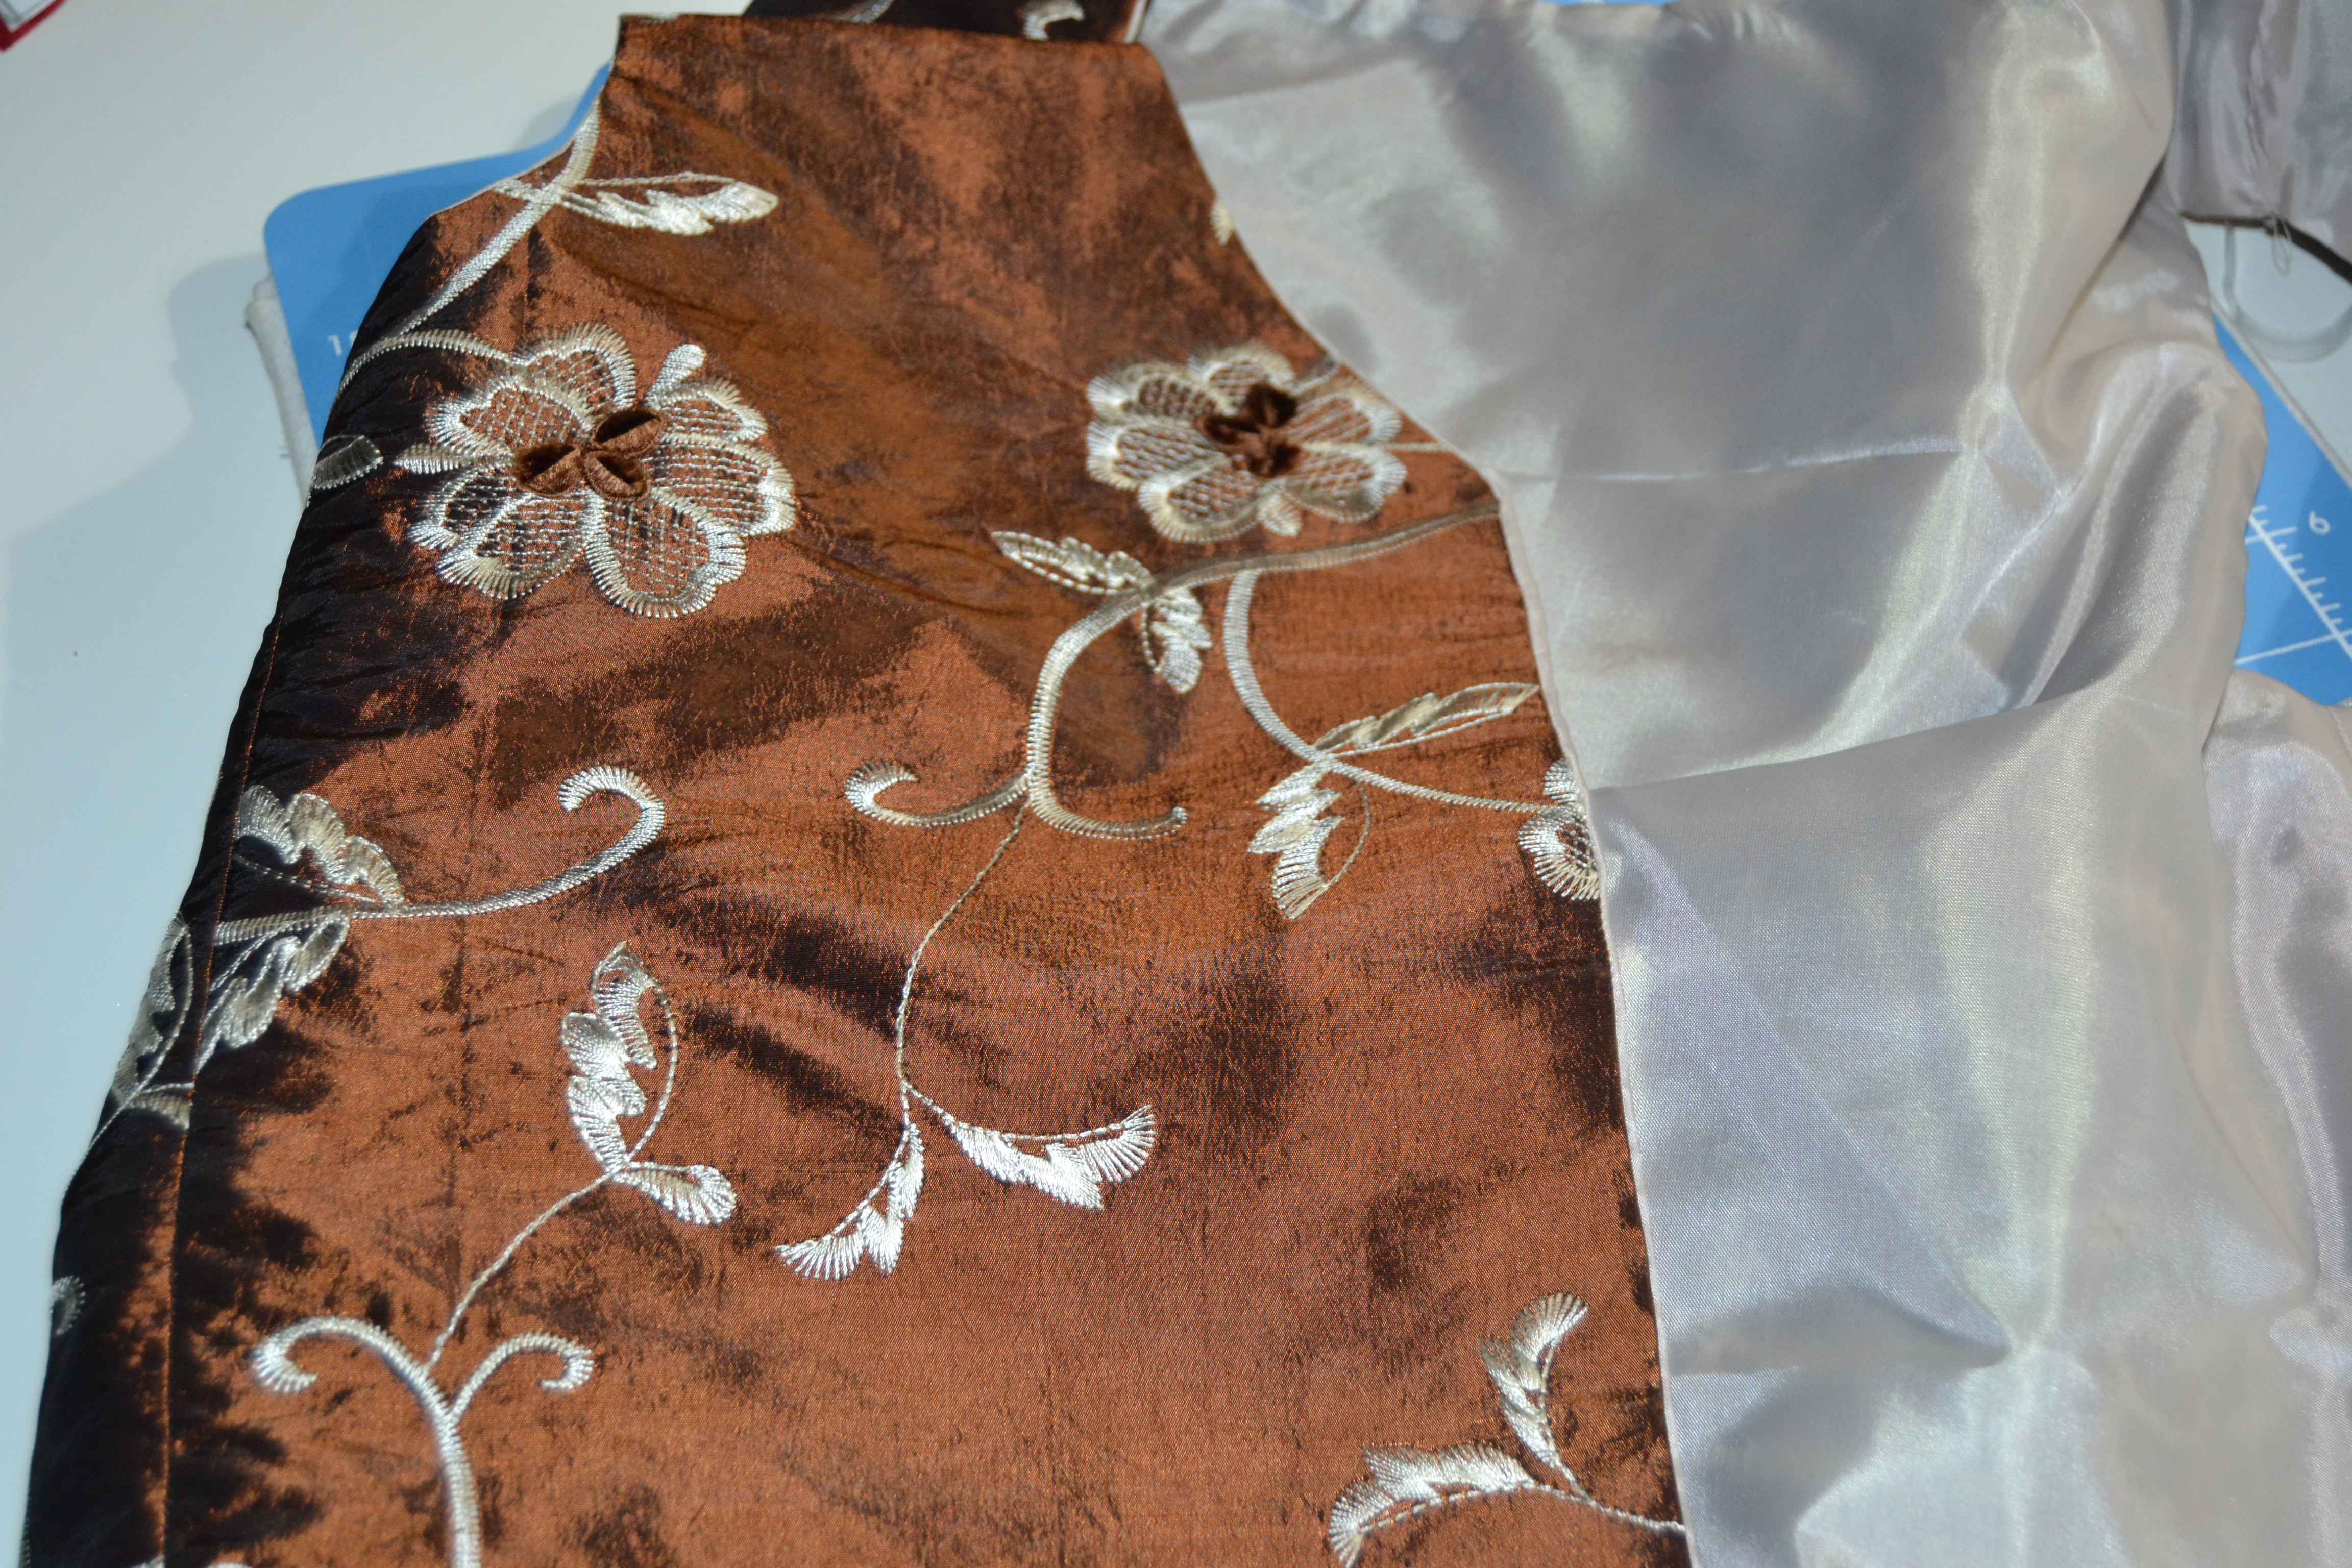
My embroidered silk sacrificed to the cause
This is going to be the “statement piece” of the costume. I went looking through my stash, and I found a embroidered silk taffeta remnant. One of those pieces you find in a bargain bin, can’t leave behind, but don’t know what you’ll ever do with. I used the lines of Ellie Inspired’s Dapper Lad to cut a long straight vest. I left off the buttons. Easy on, easy off, and it can be the basis of other costumes in the future. All of the pieces can be combined with other things to make different costumes. An added bonus is none of the pieces are gender-specific so his little sister can continue to play with them as she grows into them.

Jack Sparrow
The Pirate Princess
My granddaughter loves to play dress up. Whatever I make for her will get lots of wear. One of the most important things to consider is how much trouble is it to put on and take off because if it’s not simple, my daughter will disown me. Doctor lab coats need to be button-less, dresses need to go off and with a simple zip up or be closed with Velcro. With that in mind, I looked through the pattern stash and found the Whitney from Fairy Tale Patterns. The dress is shown over a peasant blouse, but I needed to make it all one piece. I hadn’t sewn this one before so I had to start by printing out the pattern. That turned out to be a bigger production that I had planned on for time. The pattern pieces are color-coded for size. I have a B&W printer, and the grayscale isn’t differentiated enough on this pattern for me to able to easily see which is which, and the lines have no sizes marked on them. I had to do a “count the lines” and mark them before I could cut.
I checked the pattern against another I have with a scoop neck I know is modest enough and determined I could forego the peasant blouse at the neckline. I want to close the back with a zip instead of buttons so I adjusted the back bodice for that. Little kids often take their costume with them to preschool or kindergarten, and Mom isn’t there to dress them. A simple on and off is appreciated by their teachers. When the costume becomes dress-up, the easier to take on and off the better.

Mashing patterns to make the sleeve
I needed to find a pattern with a big puffy sleeve. I found the Clara from Olabelhe had just what I was looking for.
So I got everything cut out. Because the sleeves need a different color thread, I assembled them first. Adding a lace trim to the edge cuts down on sewing time.

Why I love my Simplex Gauge
Then I took a look at the bodice inset. After finding out the pattern was color coded, I declined to print out the guide for marking the lacings since I knew it would be all but useless to me. Instead I relied on my Simplex gauge to mark it. I don’t want the lacing to be loose from the dress so I stitched the ribbon into the seam. This is a costume, not a ball gown. It will look fine, be safer in a small children environment, and not get lost in the trunk.
When I was constructing the bodice, I didn’t enclose the back opening because this is just a play costume, and it’s going to be closed with a zipper. If I was making a dress, I’d have enclosed the zipper inside the bodice and the lining, but it’s an unnecessary step here. I completed the bodice by sewing the sleeves in.
I finished the edges of the ruffles with some inexpensive lace.

Using lace to hem the ruffles
The top ruffle needed to be split at the back seam so the zipper can extend down into the skirt. Even in a costume, I don’t want a seam in the middle of the front so I split one of the ruffle pieces into two pieces. The top attachment strip needed to be split as well.
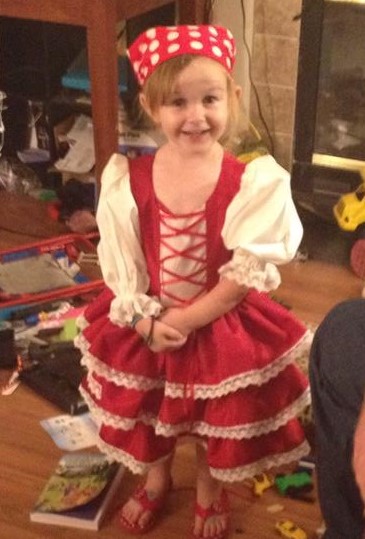
After sewing the top attachment strip and the top ruffle to the bodice, I sewed an invisible zipper into the dress. I added the second attachment strip and the final two ruffles. I hand tacked the bow on the bodice, and the costume was done. She’ll top if off with a head scarf. The dress is on and off with one zip.
Kieira Knightley
I’ve made a lot of costumes over the years. Usually what they are is determined by the person who is going to wear it, but after that is settled, I have some criteria I use. The first is can the costume be re-purposed to be something else? A lot of Halloween costumes have become pajamas and nighties after the big day. If that’s not an option, can I make it so it will be sturdy enough and simple enough to find its way into everyday play? How can I make so it’s as easy as possible for the child to manage herself or himself? If I’m going to go to a fair amount of work, then I want it to be worn more than once.
