
 When Sandy chose Queen Victoria for me, I knew I had to do something unexpected. I’m well-known for being allergic to ruffles, but I do love lace and embroidery. I live in a house built shortly after Victoria died. It’s part of the Arts and Crafts movement which began in the late Victorian era. While I’m not into elaborate or ornate clothing the era was known for, I do embrace the idea of public and private spaces in a home. My dining room chairs have striped silk seats and needlepoint backs. I have drawers filled with crochet pieces my grandmother made when she was a young bride, and a bedspread she crocheted for my first “big girl bed”.
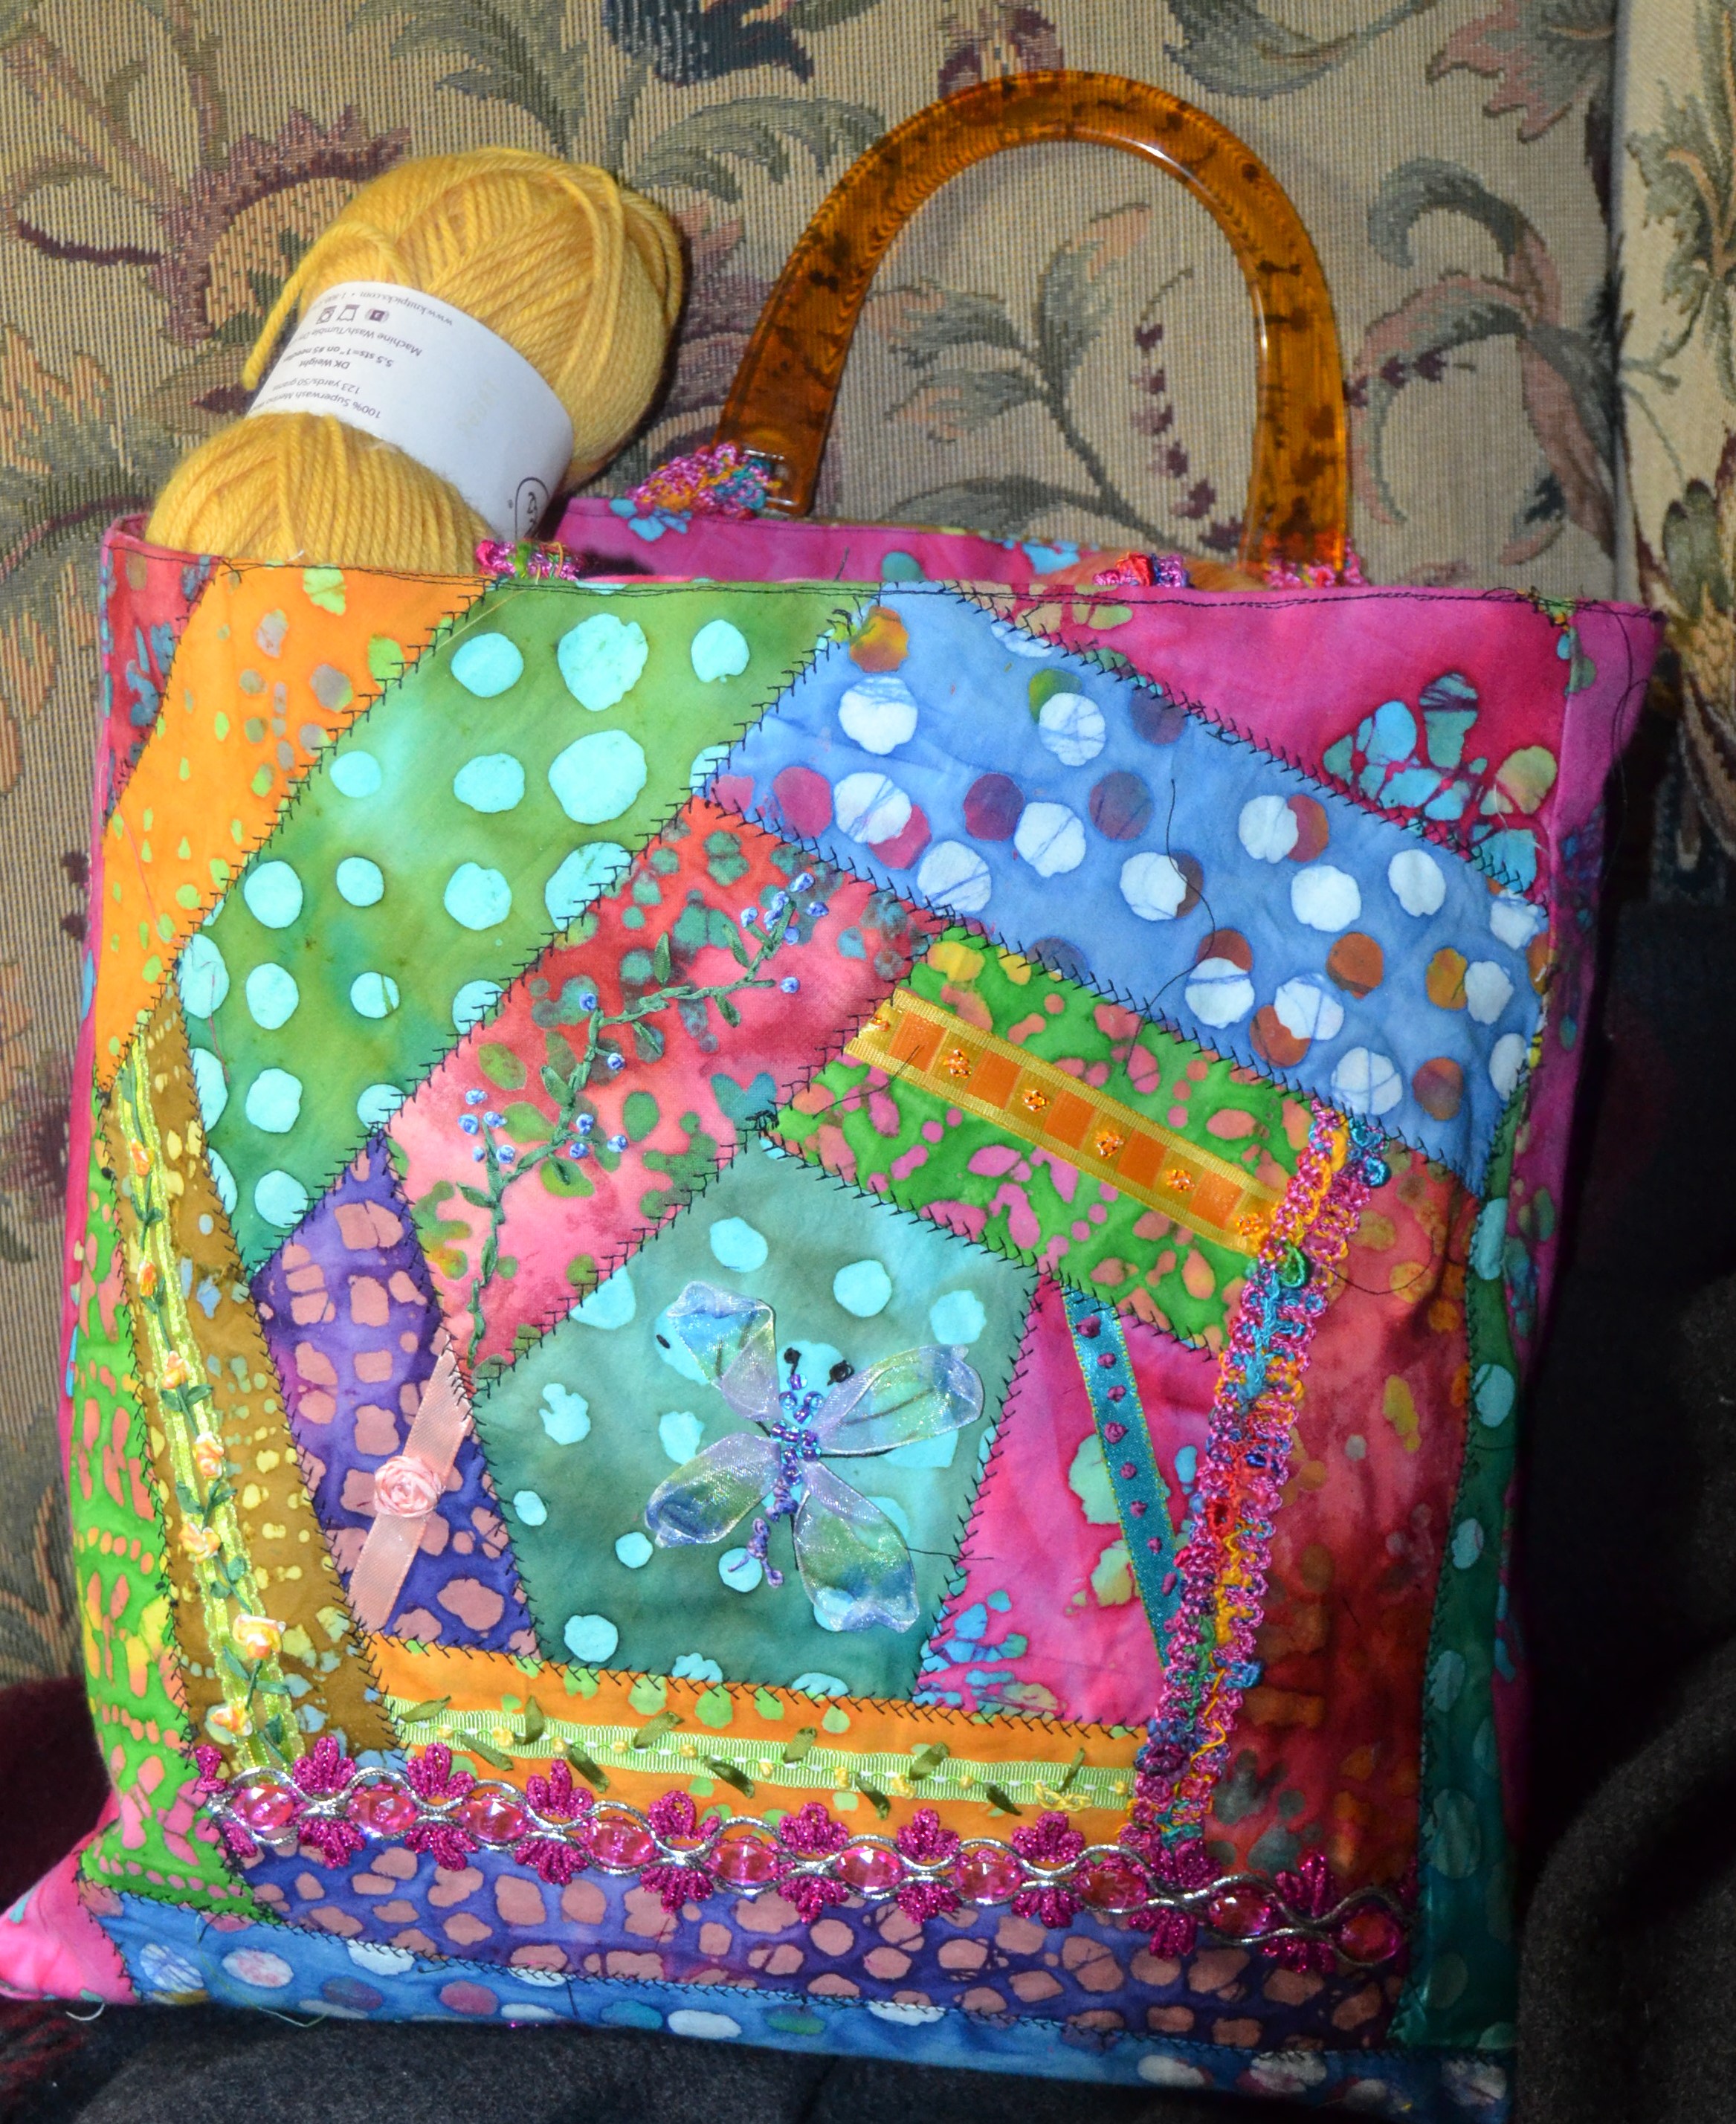
My Victorian grandmother lived with us when I was growing up, and one of the things she loved was making crazy quilts. While I’ve done some quilting, I’ve never made a crazy quilt. A Victorian craft I like to do is embroider with silk ribbon. I decided to combine the two to make something that would join us. After doing this challenge I think I might enjoy doing a full quilt, but I didn’t want to take on more than I could accomplish in the timeframe I had so I settled on a knitting bag.
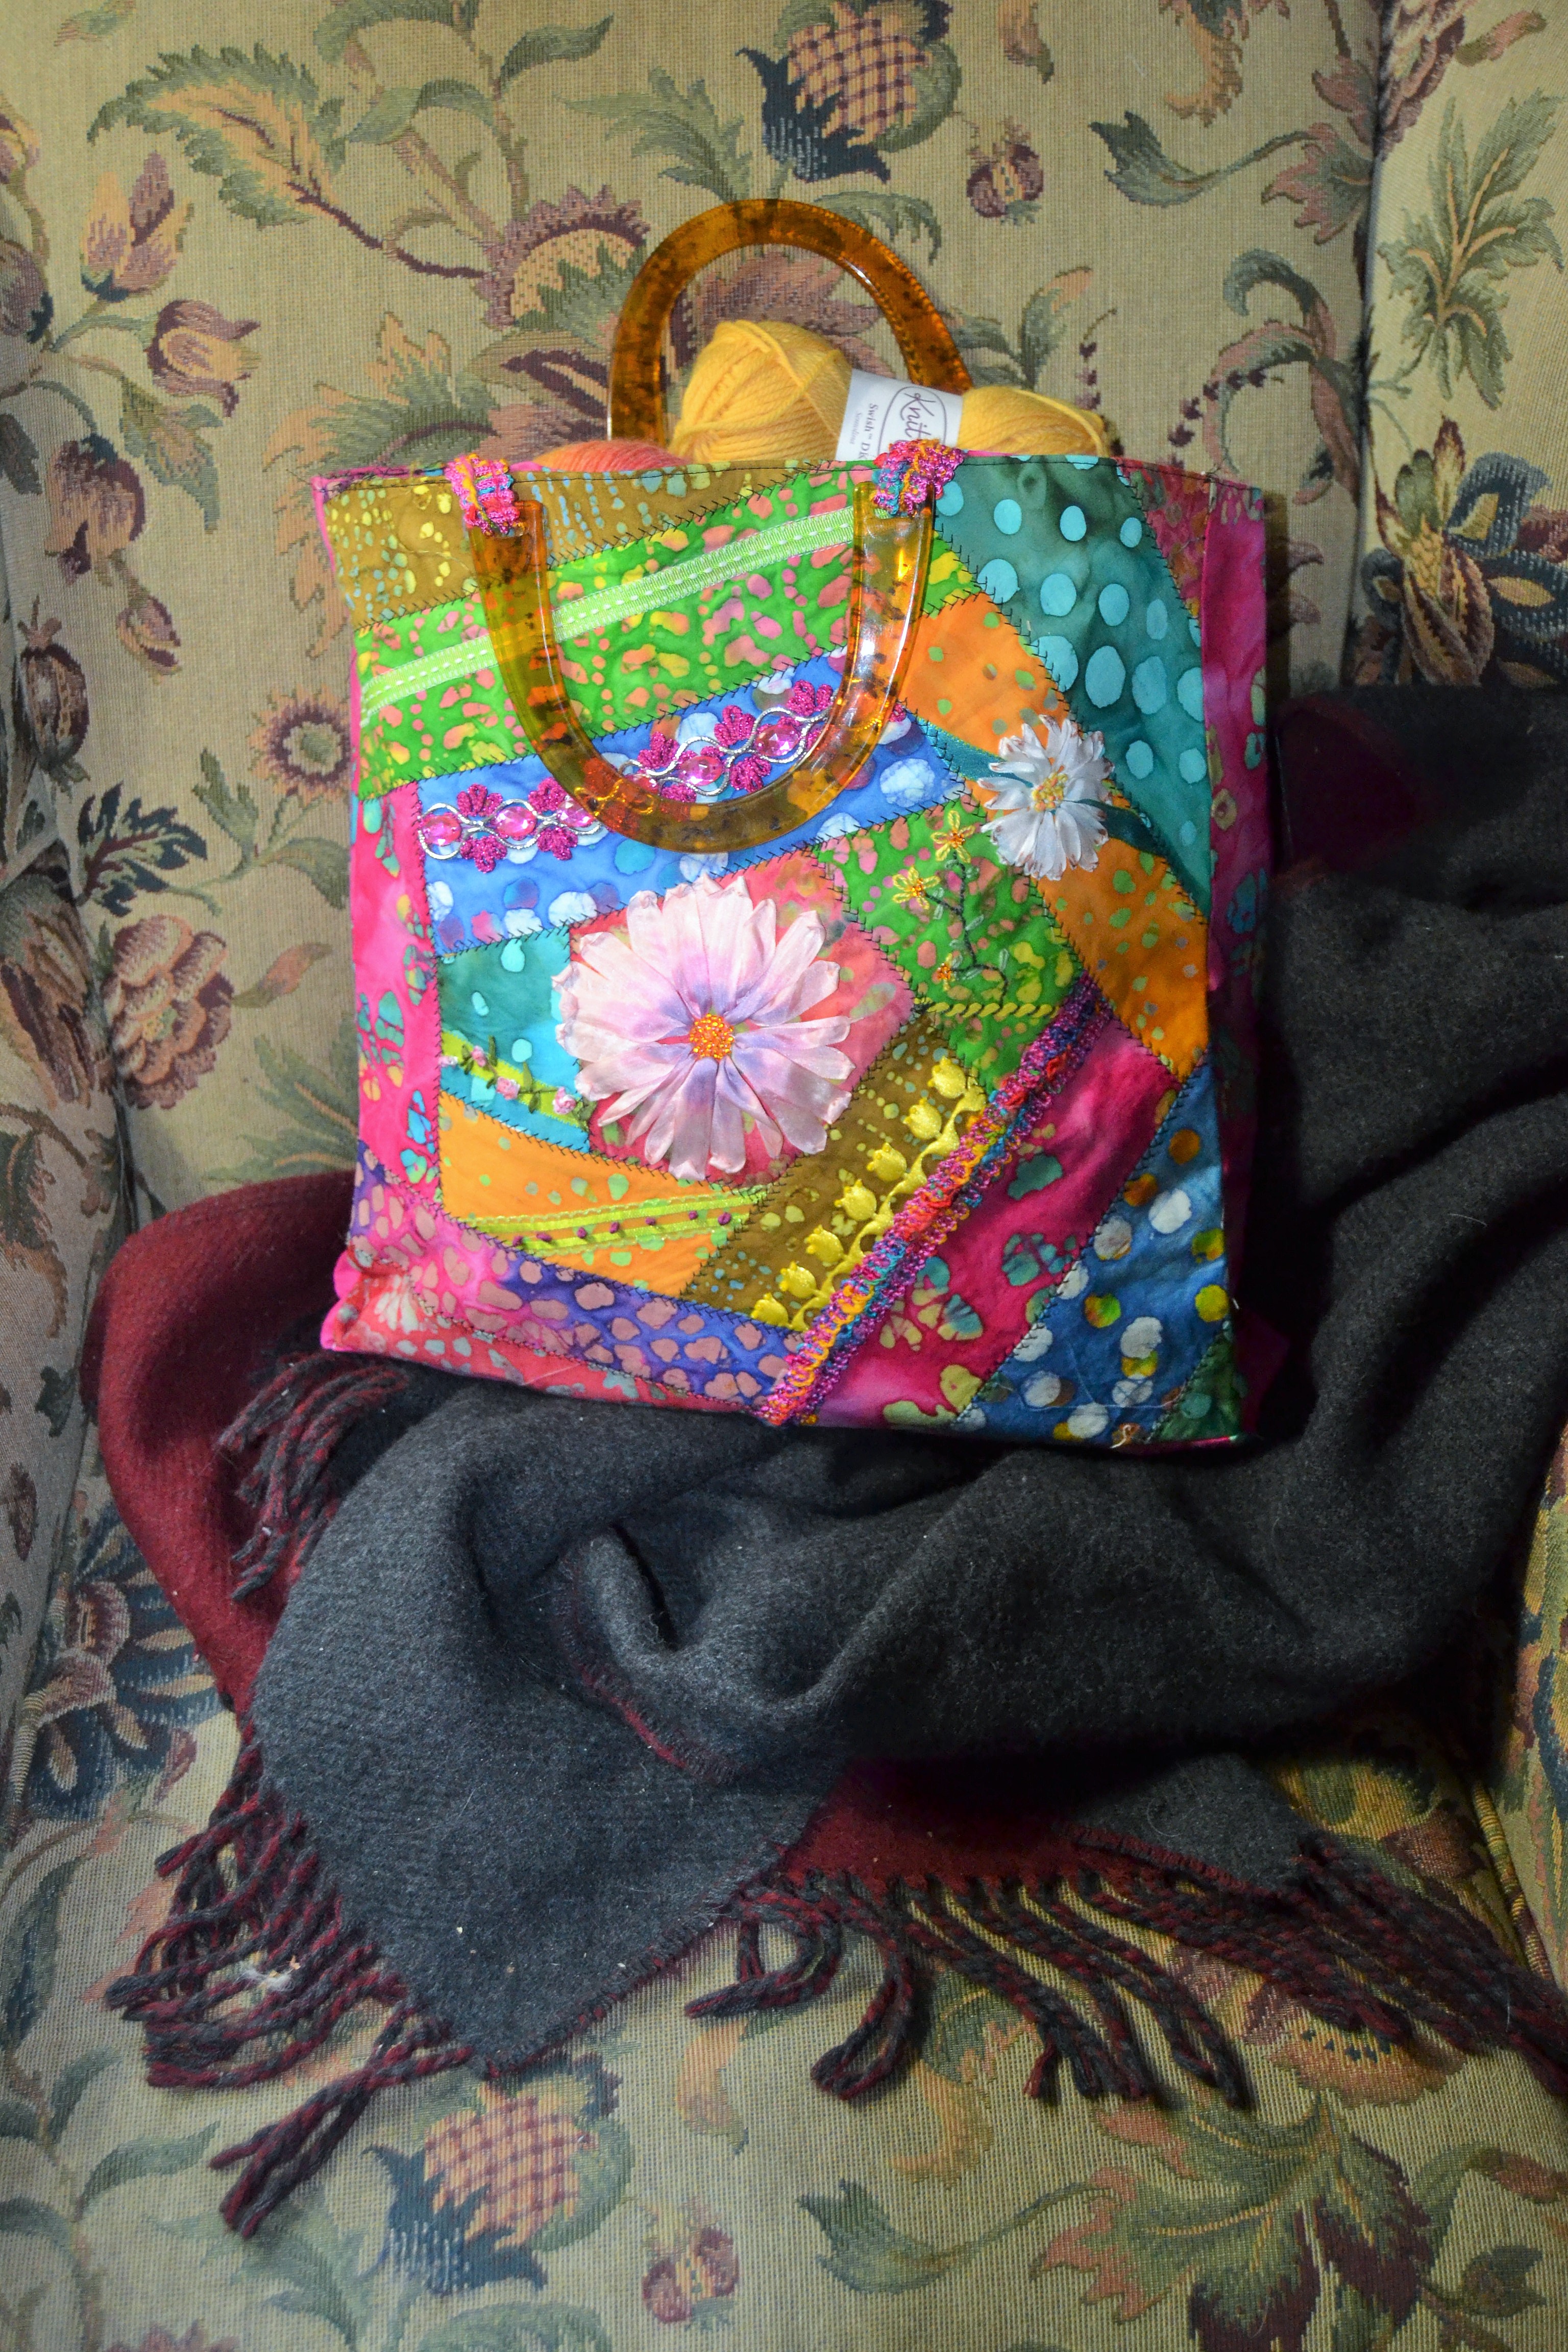
My Favorite Knitting Spot
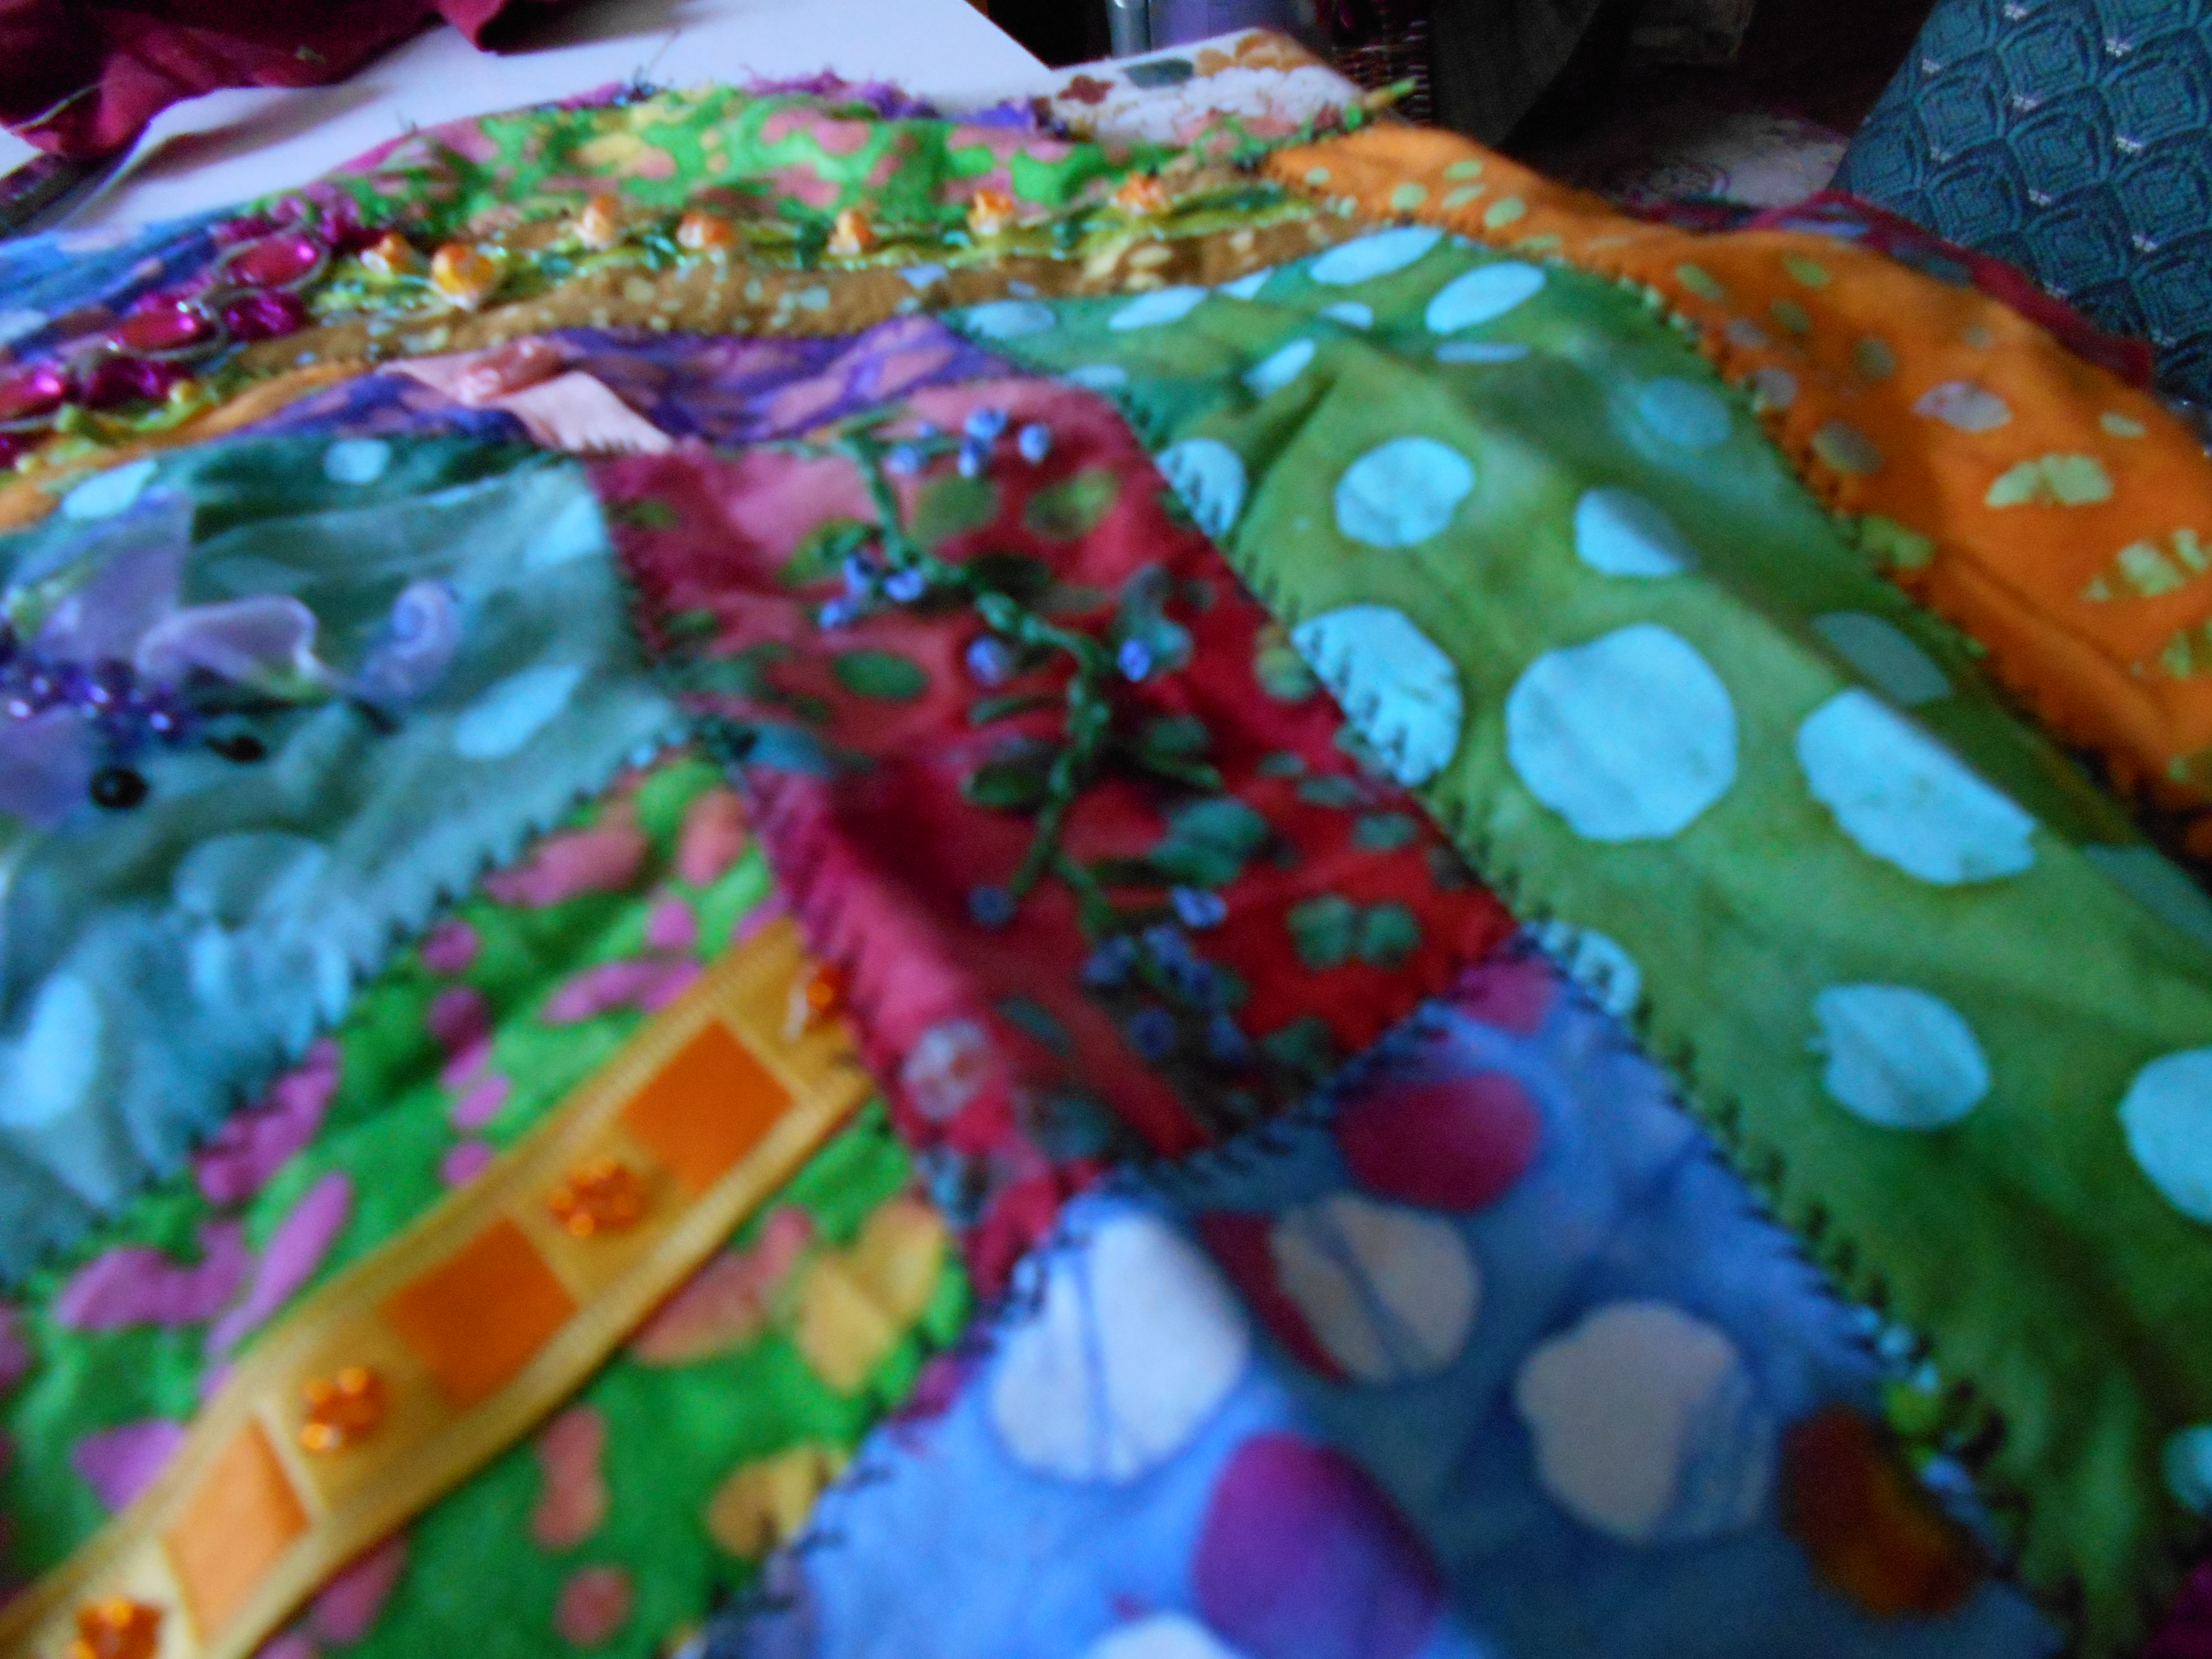
I wanted the bag to have some modern panache so I checked out my stash. Since during Victoria’s reign “the sun never set on the British Empire”, I could choose my fabrics from just about anywhere in the world. I chose some Caribbean style batiks I had. In good Victorian tradition I went hunting for scraps of ribbons and trims. Because this was my first foray into crazy quilting, I kept the design simple. I started with an irregular 5-sided polygon. I tore the fabric into strips of different widths and started from the polygon and worked my way out to the edge.

Along the way I added some ribbons and trims. When I had my square constructed, I used one of the quilting stitches on my sewing machine to outline the piecing.
Then I hooped the piece and embellished it with silk ribbon embroidery.
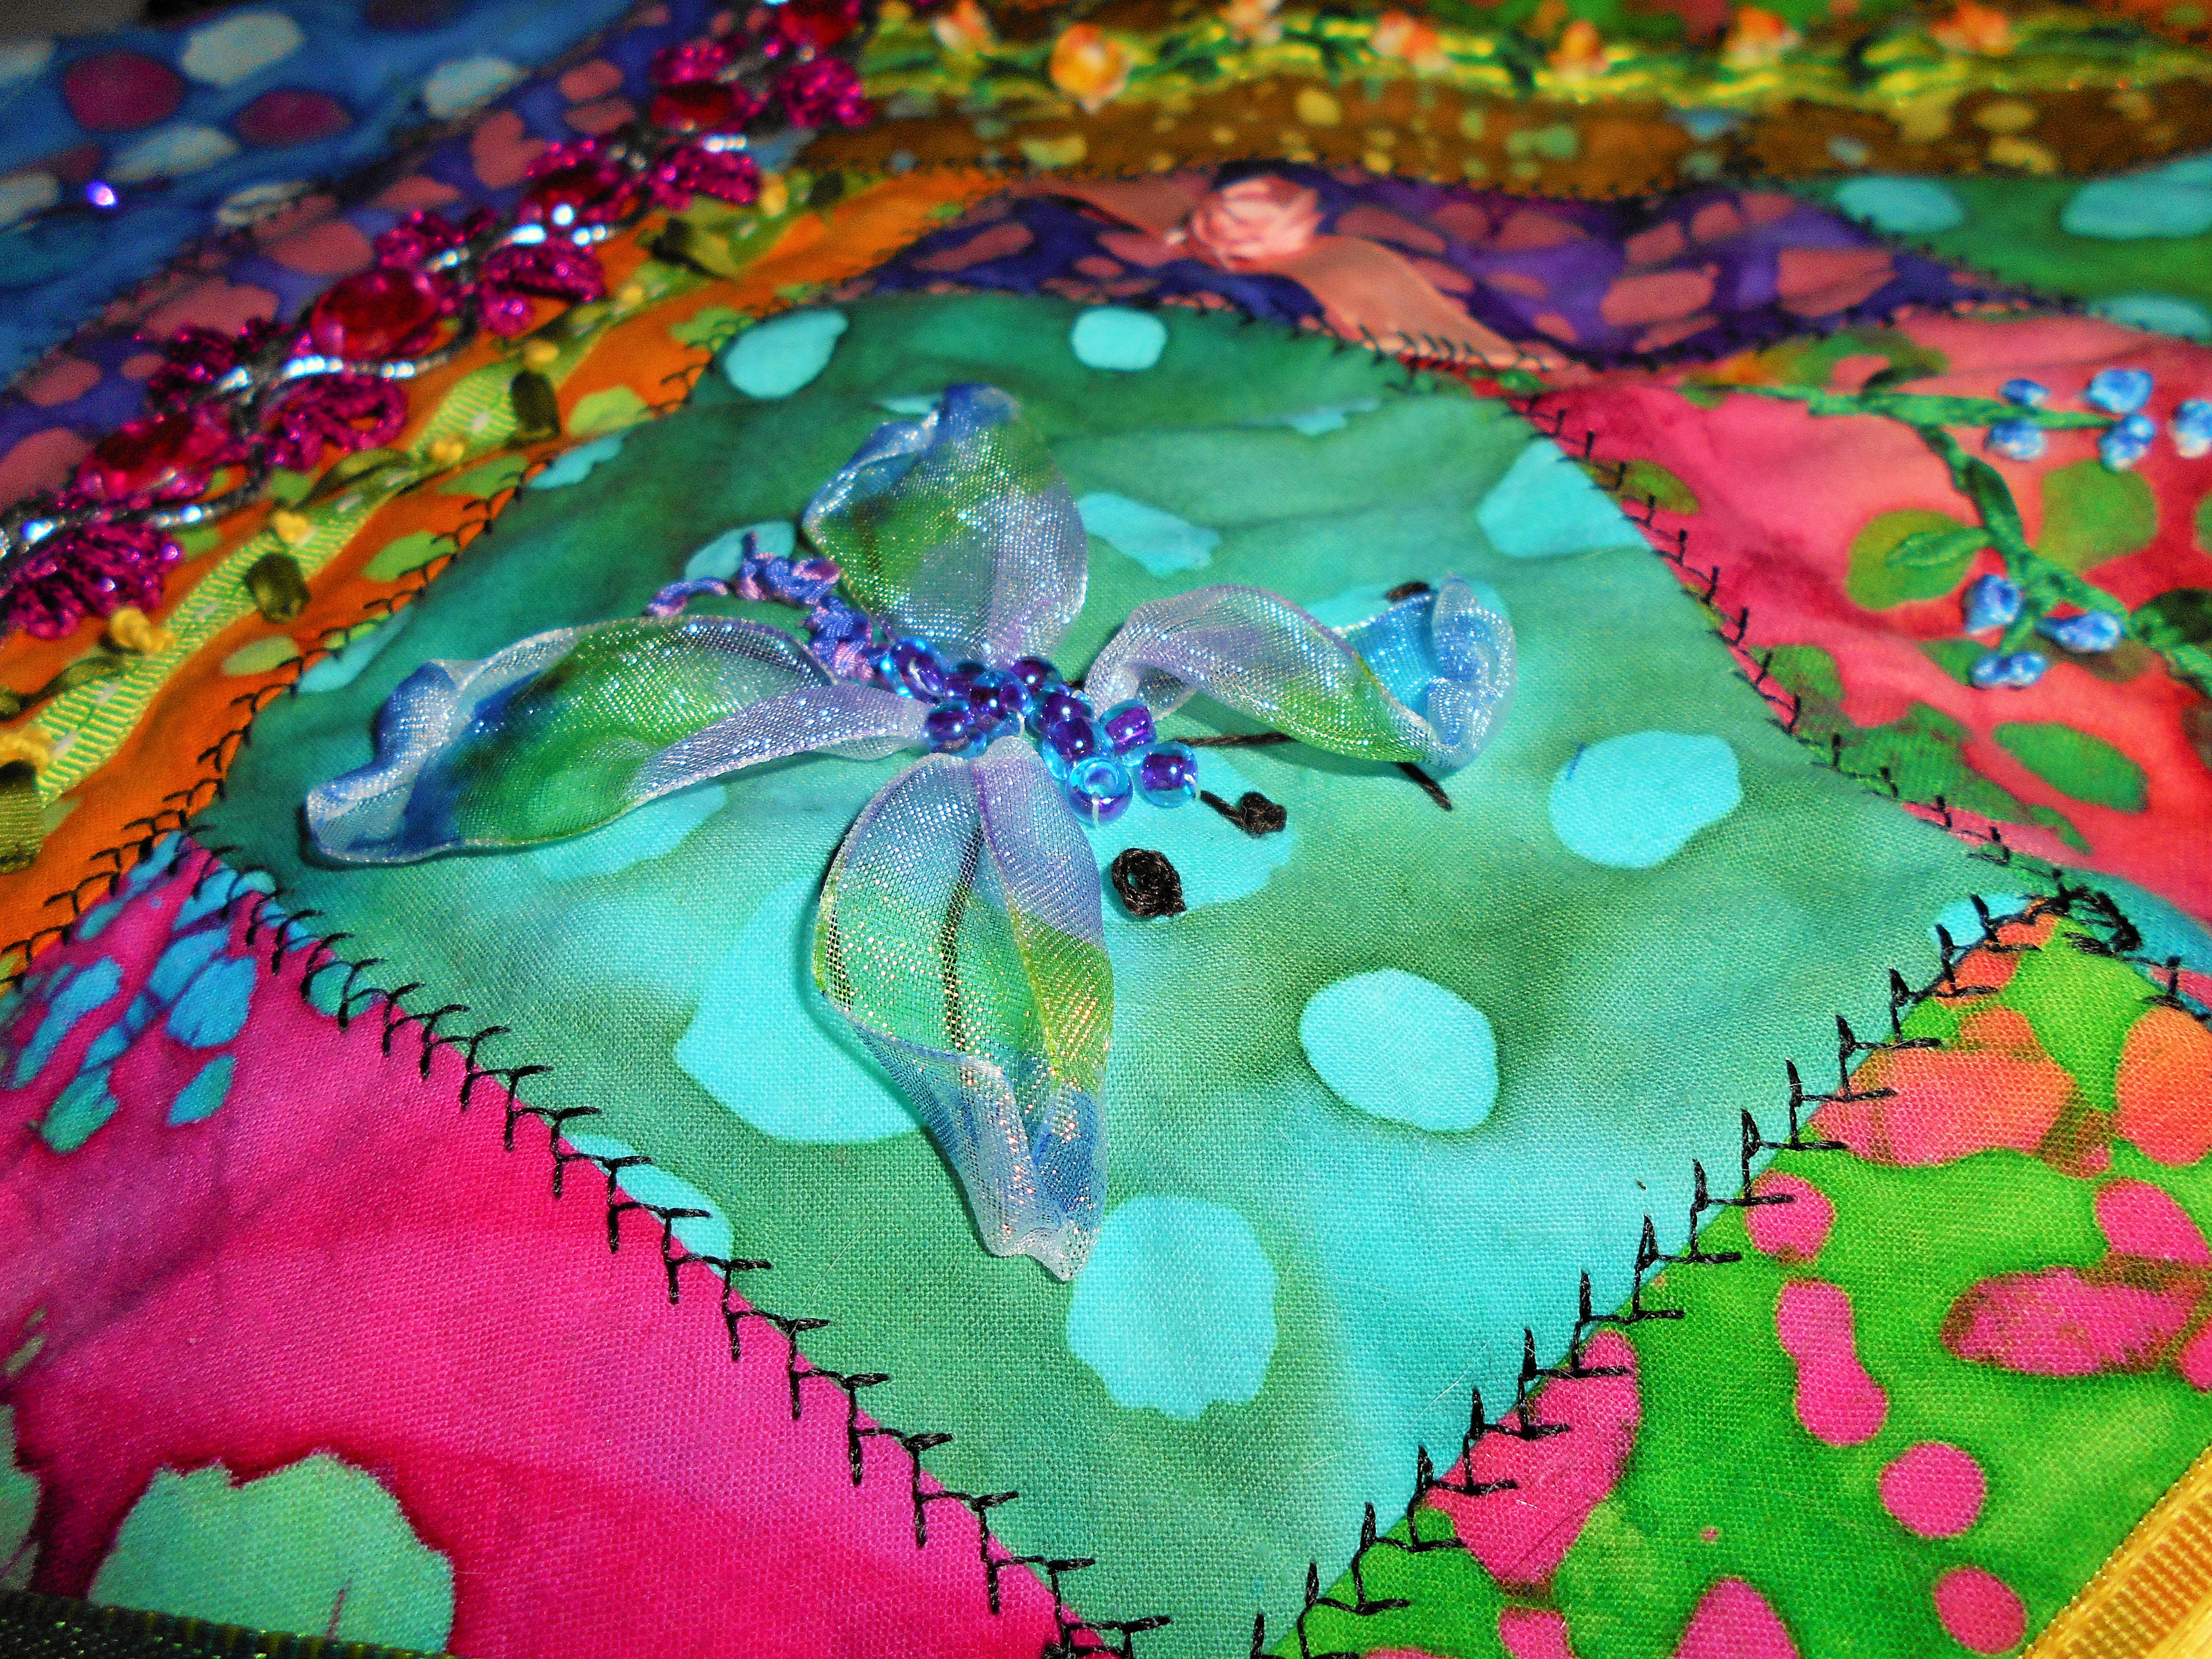


Unlike standard embroidery, silk ribbon embroidery isn’t particularly time consuming, although it looks like it is. While a flower might take hundreds of stitches in standard embroidery, in silk ribbon embroidery, most petals are done in one stitch. To get the most realistic looking flowers, you use white ribbon and then dye it after you’ve stitched it. You can use pre-dyed ribbon, but your flowers come out looking flat. I only use pre-dyed ribbon in something that is going to get a lot of washing like on a baby dress.
Because my blog is a sewing lesson blog, I’m going to get you started doing your own silk ribbon embroidery. For details about how to make individual flowers, I highly recommend going to Crafty Attic.
Materials you need:
White silk ribbon in various widths – 2mm, 4mm, 7mm and 13mm are the sizes most used. You have to use silk ribbon for most of the embroidery because it’s the only fiber that will go through the fabric easily. You can use other fibers for embroidery stitches that remain on top of the fabric like spider roses.
Embroidery floss or Pearl cotton
White cotton sewing thread – Cotton thread will take the dye better than polyester
Either permanent pens or silk dyes for coloring the ribbon. I use Promarkers.
Chenille needles in various sizes. They have big eyes and sharp points.
Embroidery needles
Regular sewing needles
A pair of small pliers for pulling your needle through the fabric when it gets difficult
An embroidery hoop- Any style will do. I like the snap on PVC rectangular hoops. They leave less of a mark on your fabric, and the sides are interchangeable. If you buy a couple of different sizes, you can mix and match them and expand the possibilities. But a standard WalMart wooden hoop will work just fine
An erasable marker for planning out your design
If you can do traditional embroidery, you ca do this.
While an open weave fabric is the easiest fabric to embroider on, you can do silk embroidery on just about anything.
This is the back of my bag.
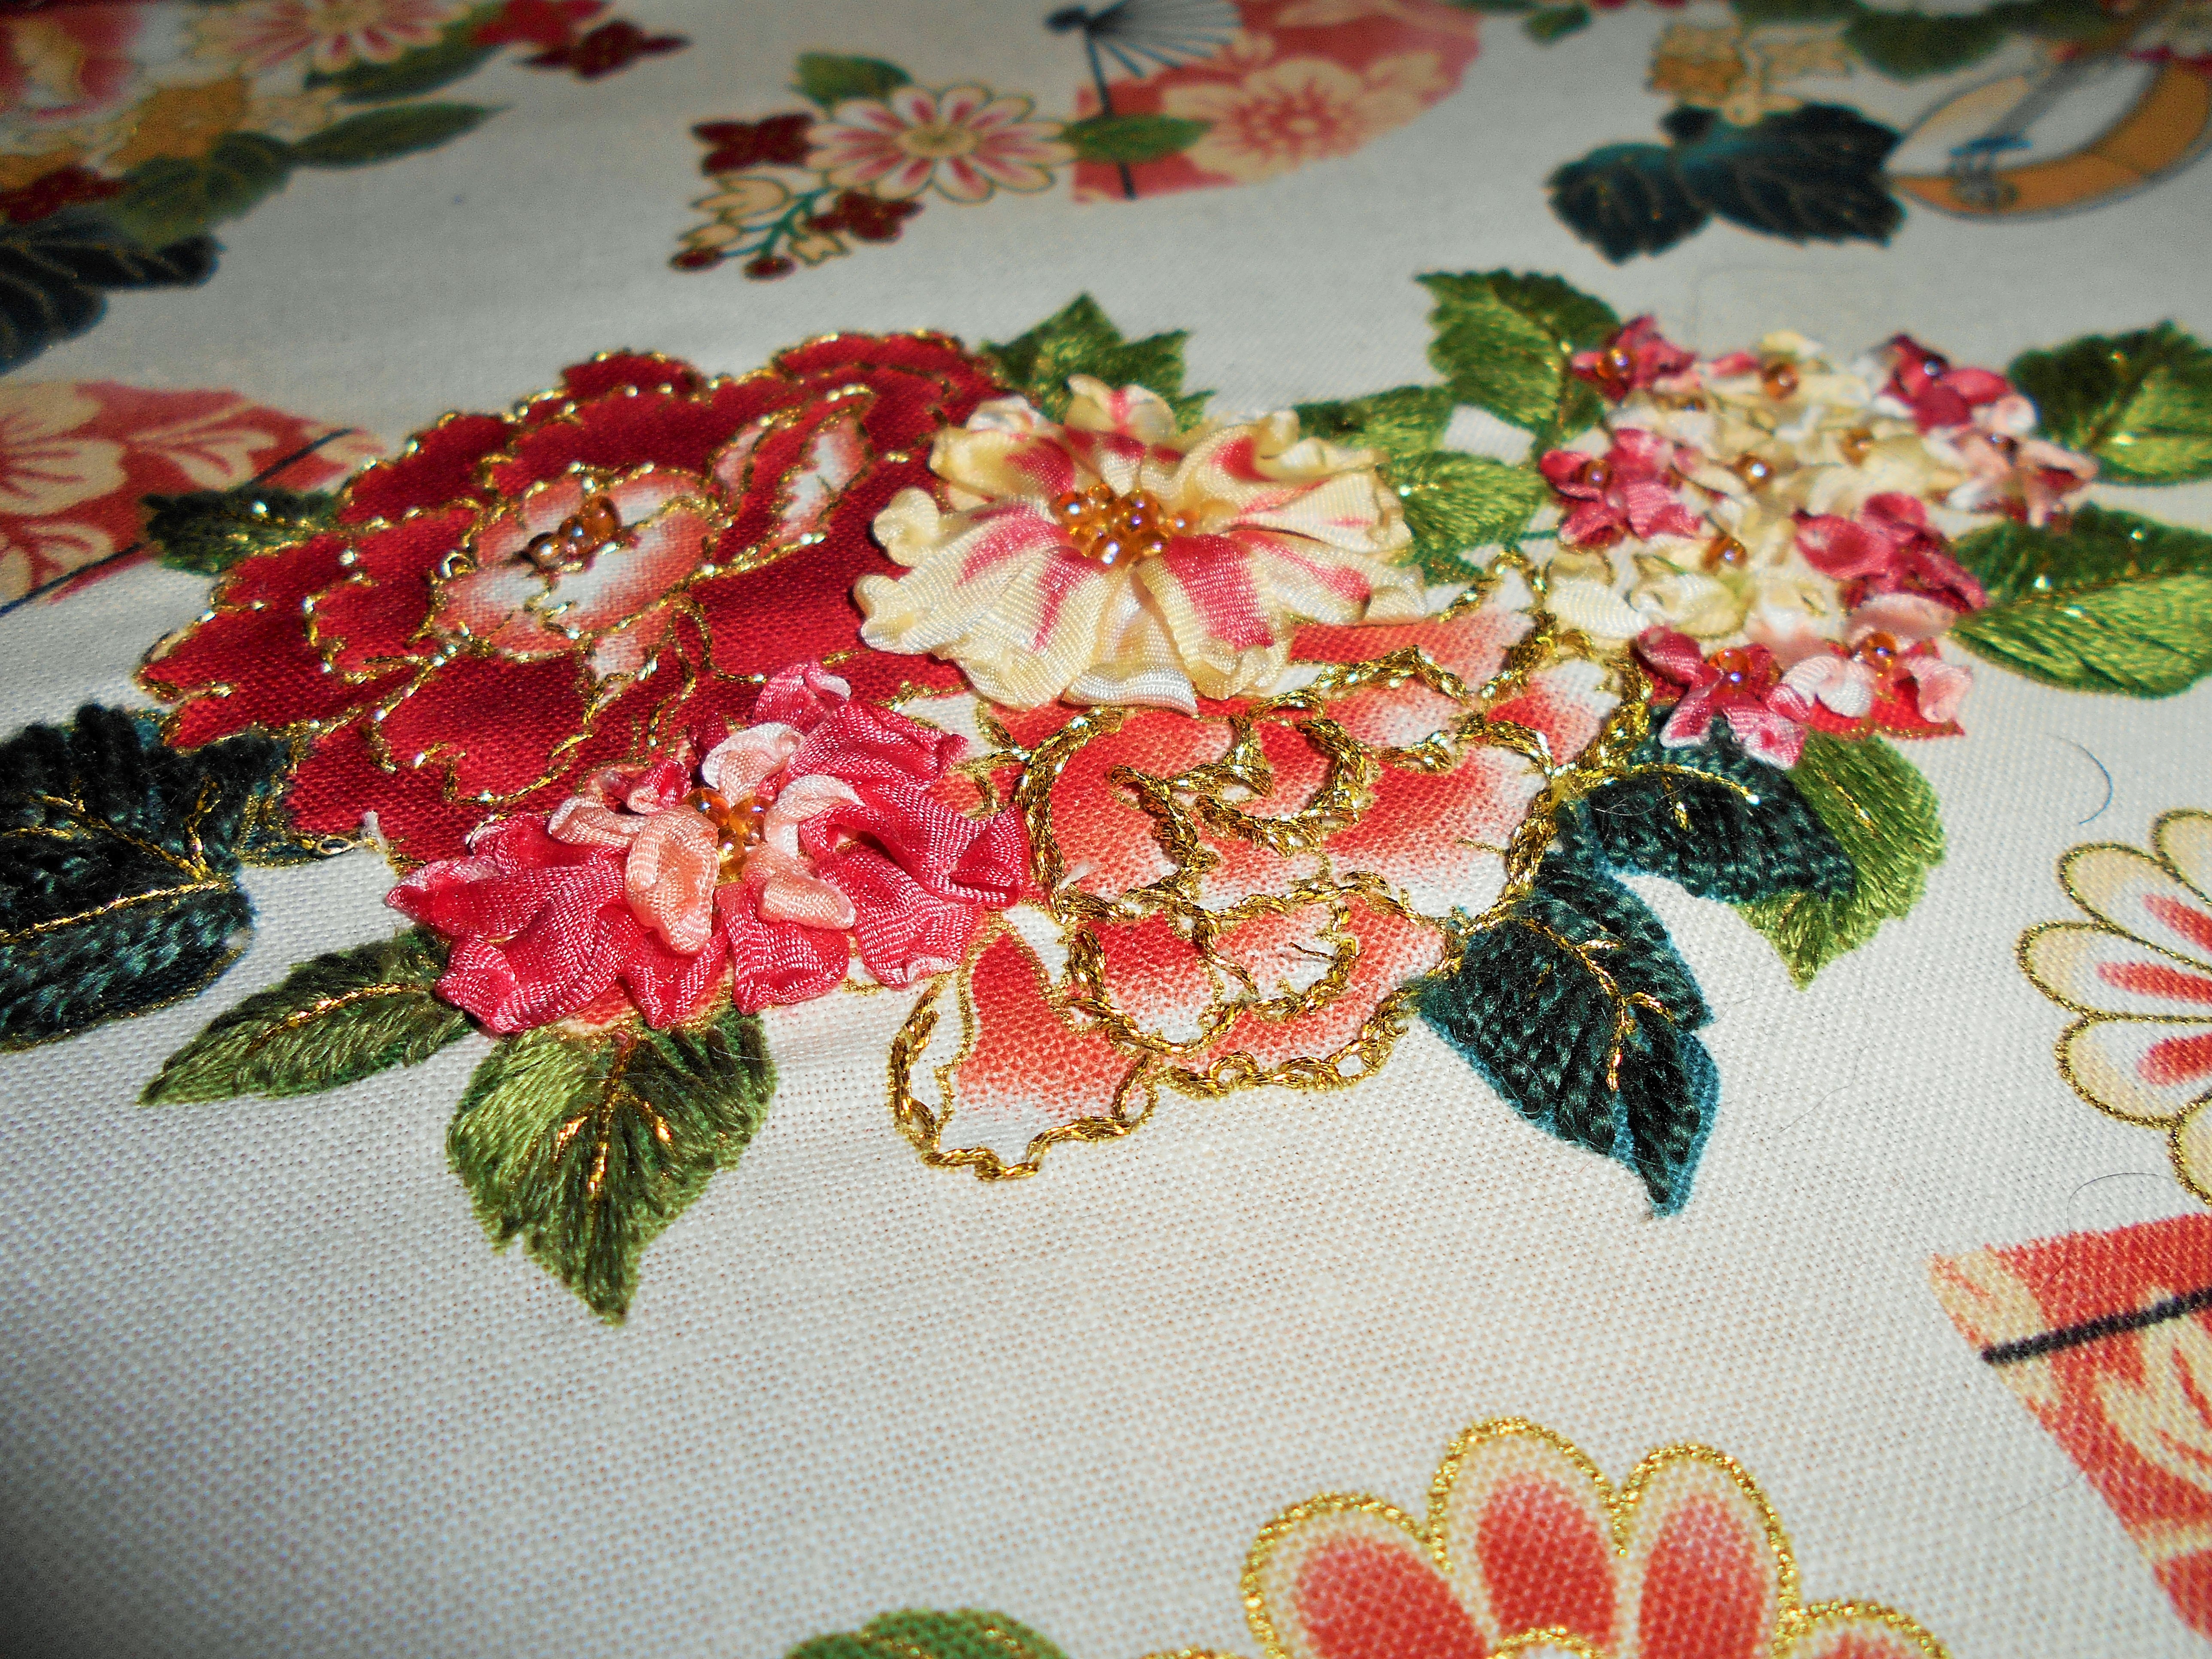
One of my favorite ways to use silk ribbon embroidery is to embroider on top of the flowers in a print. This is a work in progress.
This project was a lot of fun. I’m thinking of other things I’d like to crazy quilt. Maybe a jacket?
Would like to see the rest of the Mystery Challenge Blog Tour?
5/26 │ Create 3.5 – George Sand │ HaCunha Matata – Jane Austin
5/27│ Zoe and Ted – Suffragetes
5/30│ Super Stay at Home Mommy – Madame Tussaud │ Keep Calm and Carrion – Jackie Kennedy │ Gloria June – Florence Nightingale
5/31│ Sofilantjes – Andy Warhol │ Busy Little Bee – Marie Antoinette │ Amanda Rose – March 9, 1959 Barbie
6/1│ Pienkel – Bianca Jagger │ Huisje Boompje Boefjes – Anne Frank
6/2│ Taking it Up a Notch – Queen Victoria │ Amazing Adventures with Bubba and Bug – 1964 New York World Fair │ Kelly’s Sewing Creations – Steampunk Mary Queen of Scots
6/3│ Mae & K – Tesla │ Pretty Little Blog – Moon Landing │ Knot Sew Normal – Lutie Eugenia Sterns
6/4│ Sew Starly – Coronation of Queen Elizabeth II │ Hibbadoray – Amelia Earhart │ Sew Far North – Countess Markievicz (1868-1927)

Awesome! My husband’s grandmother had some ‘crazy quilt’ pillows! They were the most comfortable ones on the couch!
Love it in the bag!
LikeLike
Great job, like the idea behind your creation! It has become a lovely and bright bag!
LikeLike
What a fun knitting bag! Thanks for the intro to silk ribbon embroidery – I love the look of your WIP rose with the gold ribbon. I think I’d really like to try that. I recently tried using Cotton Pearl thread and I had an awful time with it tearing apart. Can you tell me anything about that? Is it because the weave of my fabric was too tight? I though maybe it wasn’t for embroidery after all.
LikeLike
Bethany,
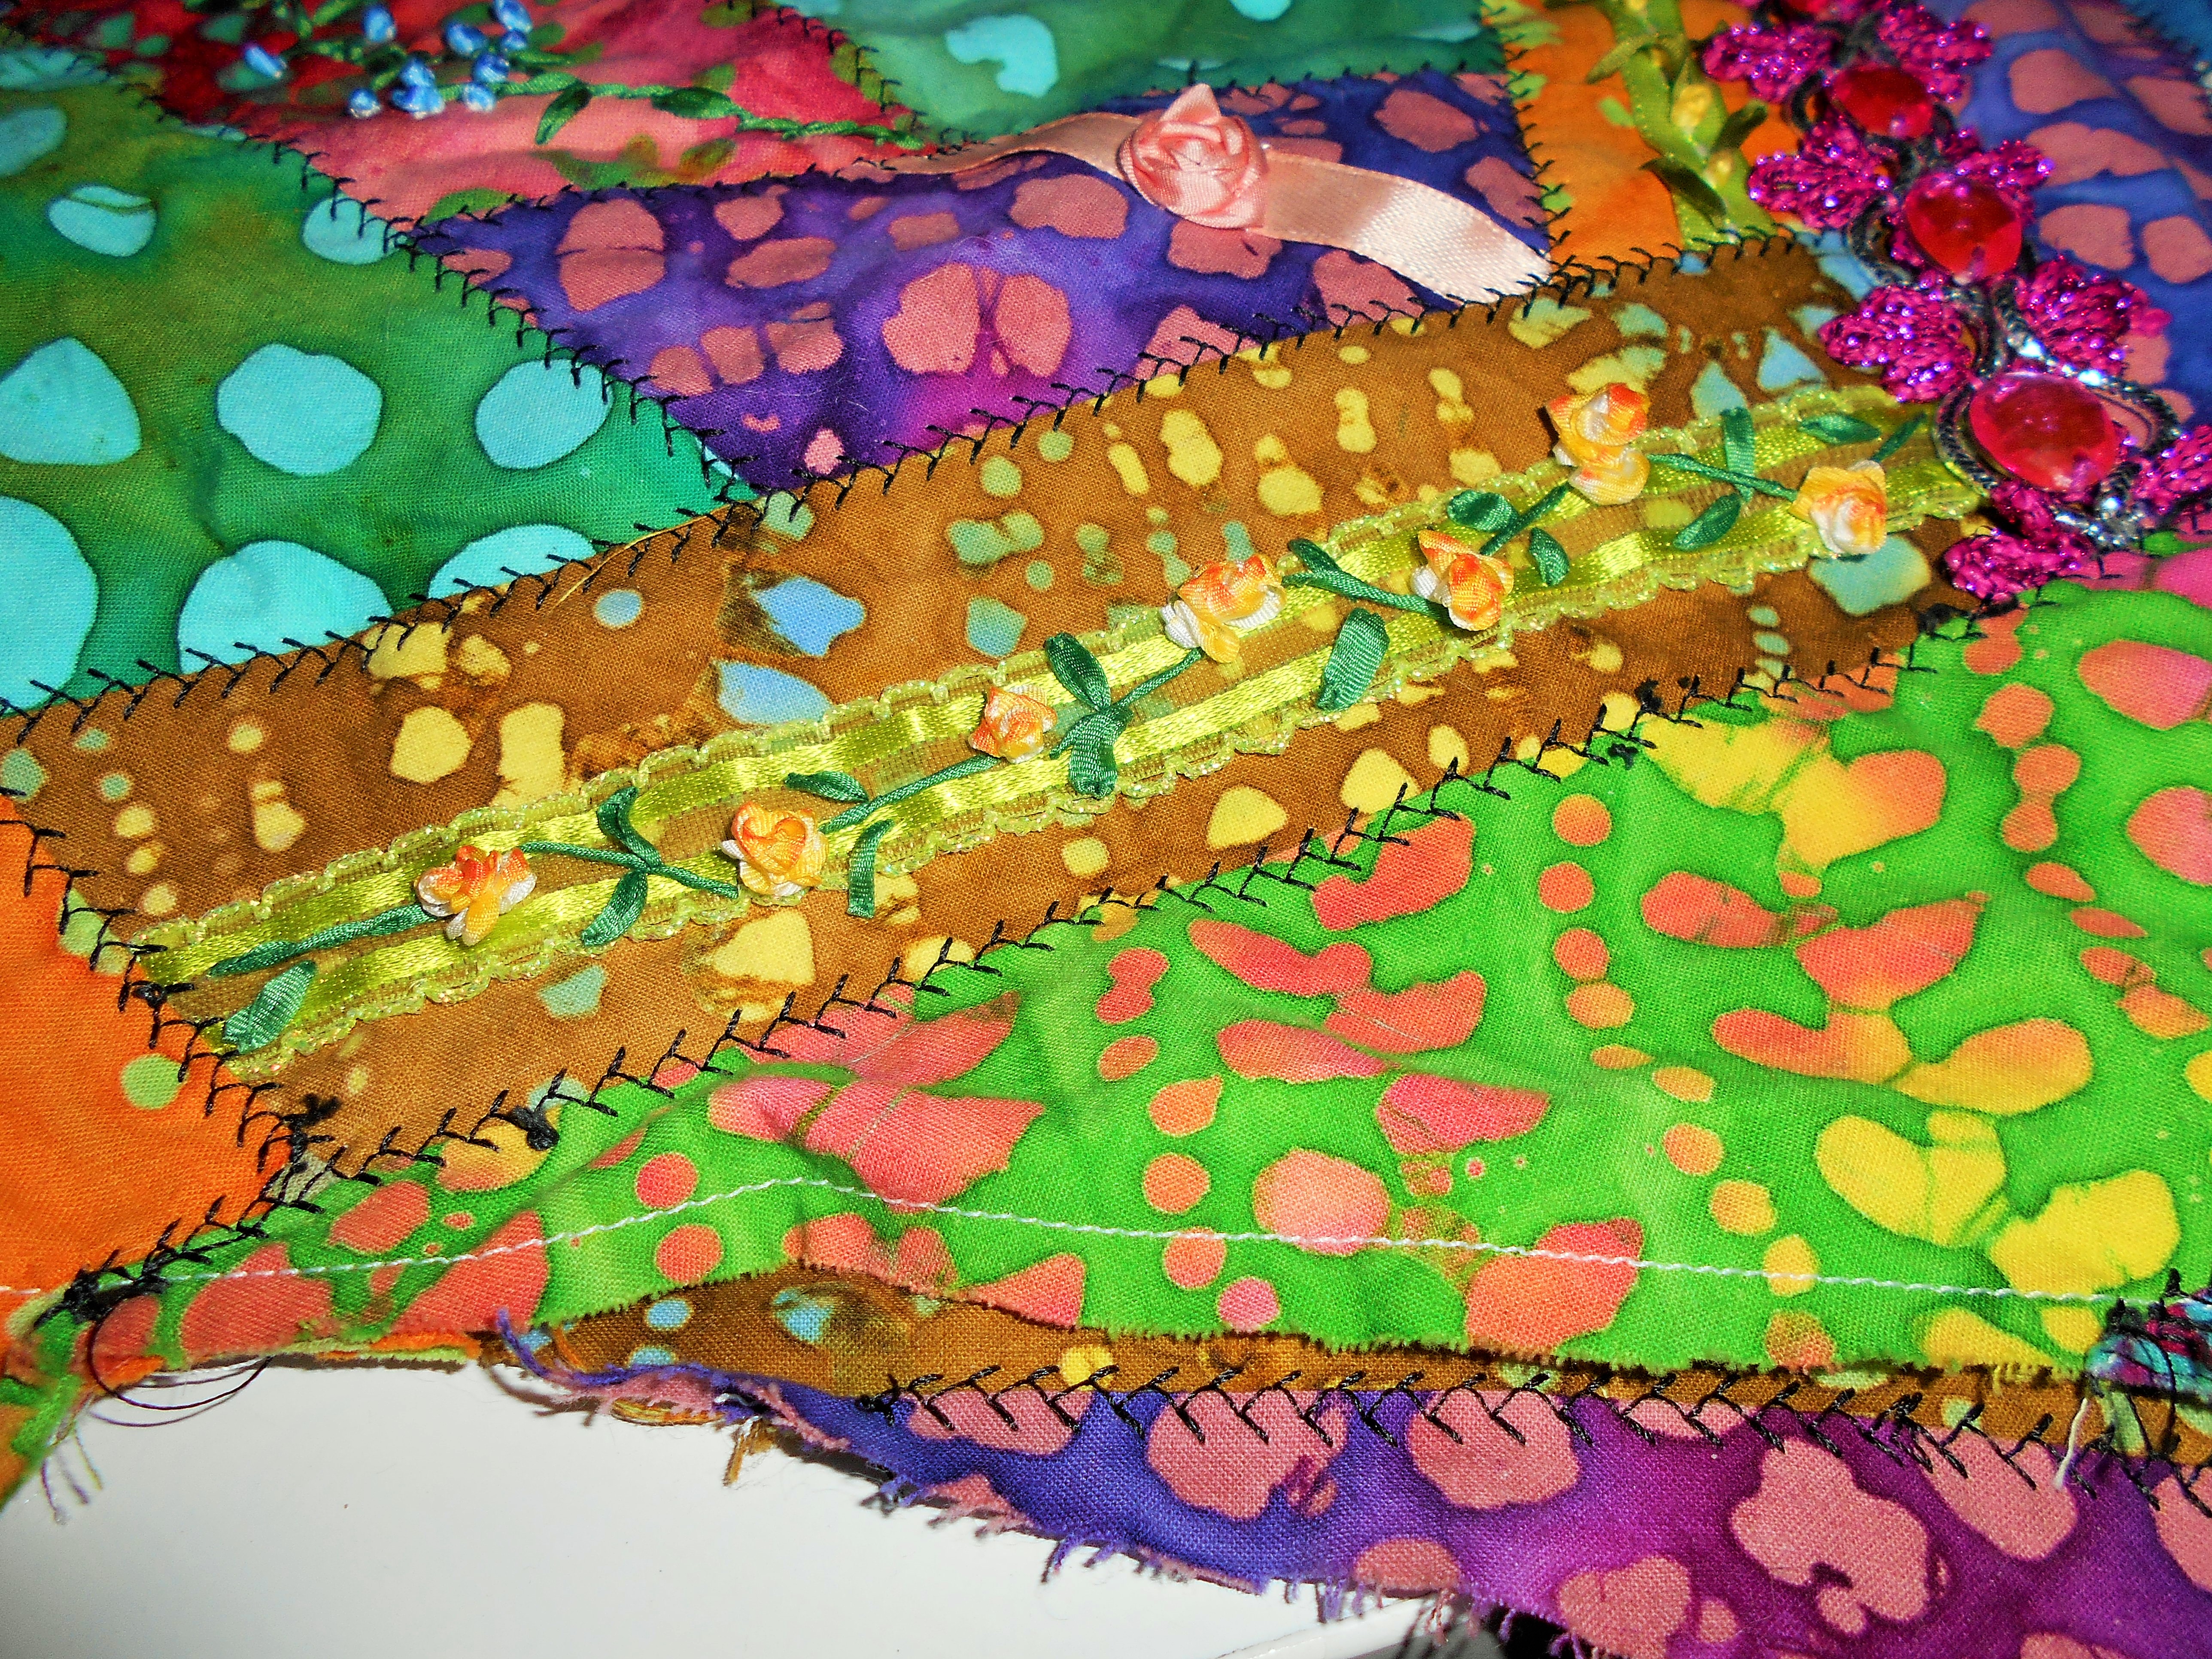
Most of the traditional embroidery done on the bag was done with pearl cotton. I cut the length I want, hold it up, separate out the number of strands I want, and then let it “spin” until they’re separated out. All of the pearl cotton went through the quilting, which is through two layers of cotton and maybe some ribbon quite easily. When I was using the 13mm silk ribbon, I did need a small pair of needle-nosed pliers to pull the ribbon through. The gold roses were done using French knots. I used white silk ribbon, and then used yellow and orange Promarkers to dye them. http://www.craftyattic.com/tutorials1.html#frenchknotroses
LikeLike
Something else for me to try, that’s beautiful! I love it.
LikeLike