
The Narrow Rolled Hem on a Sewing Machine
This is the task that gets a lot of seamstresses off to the serger store, but there are times when a serged narrow rolled hem just doesn’t cut it. So to take our sewing up a notch we just have to learn how it’s done on our machines. Or hire those little French nuns my grandmother always told me would put my hand sewing to shame. I don’t know why but she always compared my sewing to theirs and my eating habits to the starving children in India. (She was a terrific Nana.)
Kickin’ It Old School
Ladies have been doing narrow hems this way since the sewing machine was invented. Cut your garment the length you want it plus twice the width of the hem. Typically, that’s the length plus 1/2” or less. Make sure you have a good clean cut. Sew a row of straight stitches around the hem at the width you want the hem. For a 1/4” hem, that means sew a row of stitches 1/4” from the edge. If you have a 1/4” foot, this would be a good time to use it. Or use the edge of your regular presser foot, but it’s important to make this line of stitching as accurate as you can get it.
 1/4″ foot. I’m going to use the hole to guide the fabric for the first row of stitching, and the slot to do the rest of the hem.
 The first row of stitching
Take your garment to the ironing board and press the bottom of the hem up toward the inside exactly along the stitching line. The stitches should form a slight ridge on the edge.
Next, sew a row of stitches near the top of edge of the folded over and pressed part. Try to keep your stitches the same distance from the fold. The more accurate you are, the better the hem looks when you’re done.
 Like this.
Now fold the hem up again along the second row of stitches. It should roll quite easily for you. You shouldn’t have to press it. Stitch along the top edge of the hem once again being as accurate as possible. If you’ve been careful, you should have a beautiful rolled hem. It’s time consuming, but it’s worth the effort.
 Wrong side
  Right side
Now About that Rolled Hem Foot that Came with Your Machine
The presser foot most people want to throw in the trash is probably the ruffler attachment, but the narrow rolled hem foot is a close second. That’s because nobody told them they come in different widths. If you haven’t been able to get your rolled hem foot to work for you, it’s probably because your fabric is too heavy for it. If you lucked out and your sewing machine came with the right width narrow rolled hem foot for what you want to narrow hem, you’re probably scratching your head about why so many people can’t figure out how to use this. If you can’t get the foot to work for you following these instructions, then take your narrow hem foot to a place that sells feet to fit your machine. Turn your foot over and look at the channel the hem is supposed to slide through. Buy another rolled hem foot with a bigger channel. Or buy a whole set. These aren’t expensive as sewing machine feet go.

The foot on the left would be great for a lightweight cotton. The one on the right for a lightweight sheer.
I’m using the same batiste I used for the first rolled hem. It’s a semi-sheer cotton often used in heirloom sewing. I’m using the foot on the left.
First step is to fold your fabric over, lay your presser foot on top, and take a few stitches.
 Then gently pull the edge of the fabric so it fits into the spiral slot in the presser foot. Hold the fabric up at a slight angle and it should easily slip through the foot, as you sew, maintaining the proper fold as you go. This isn’t a race. Take it kind of slow.
 Continue sewing until you finish the hem.
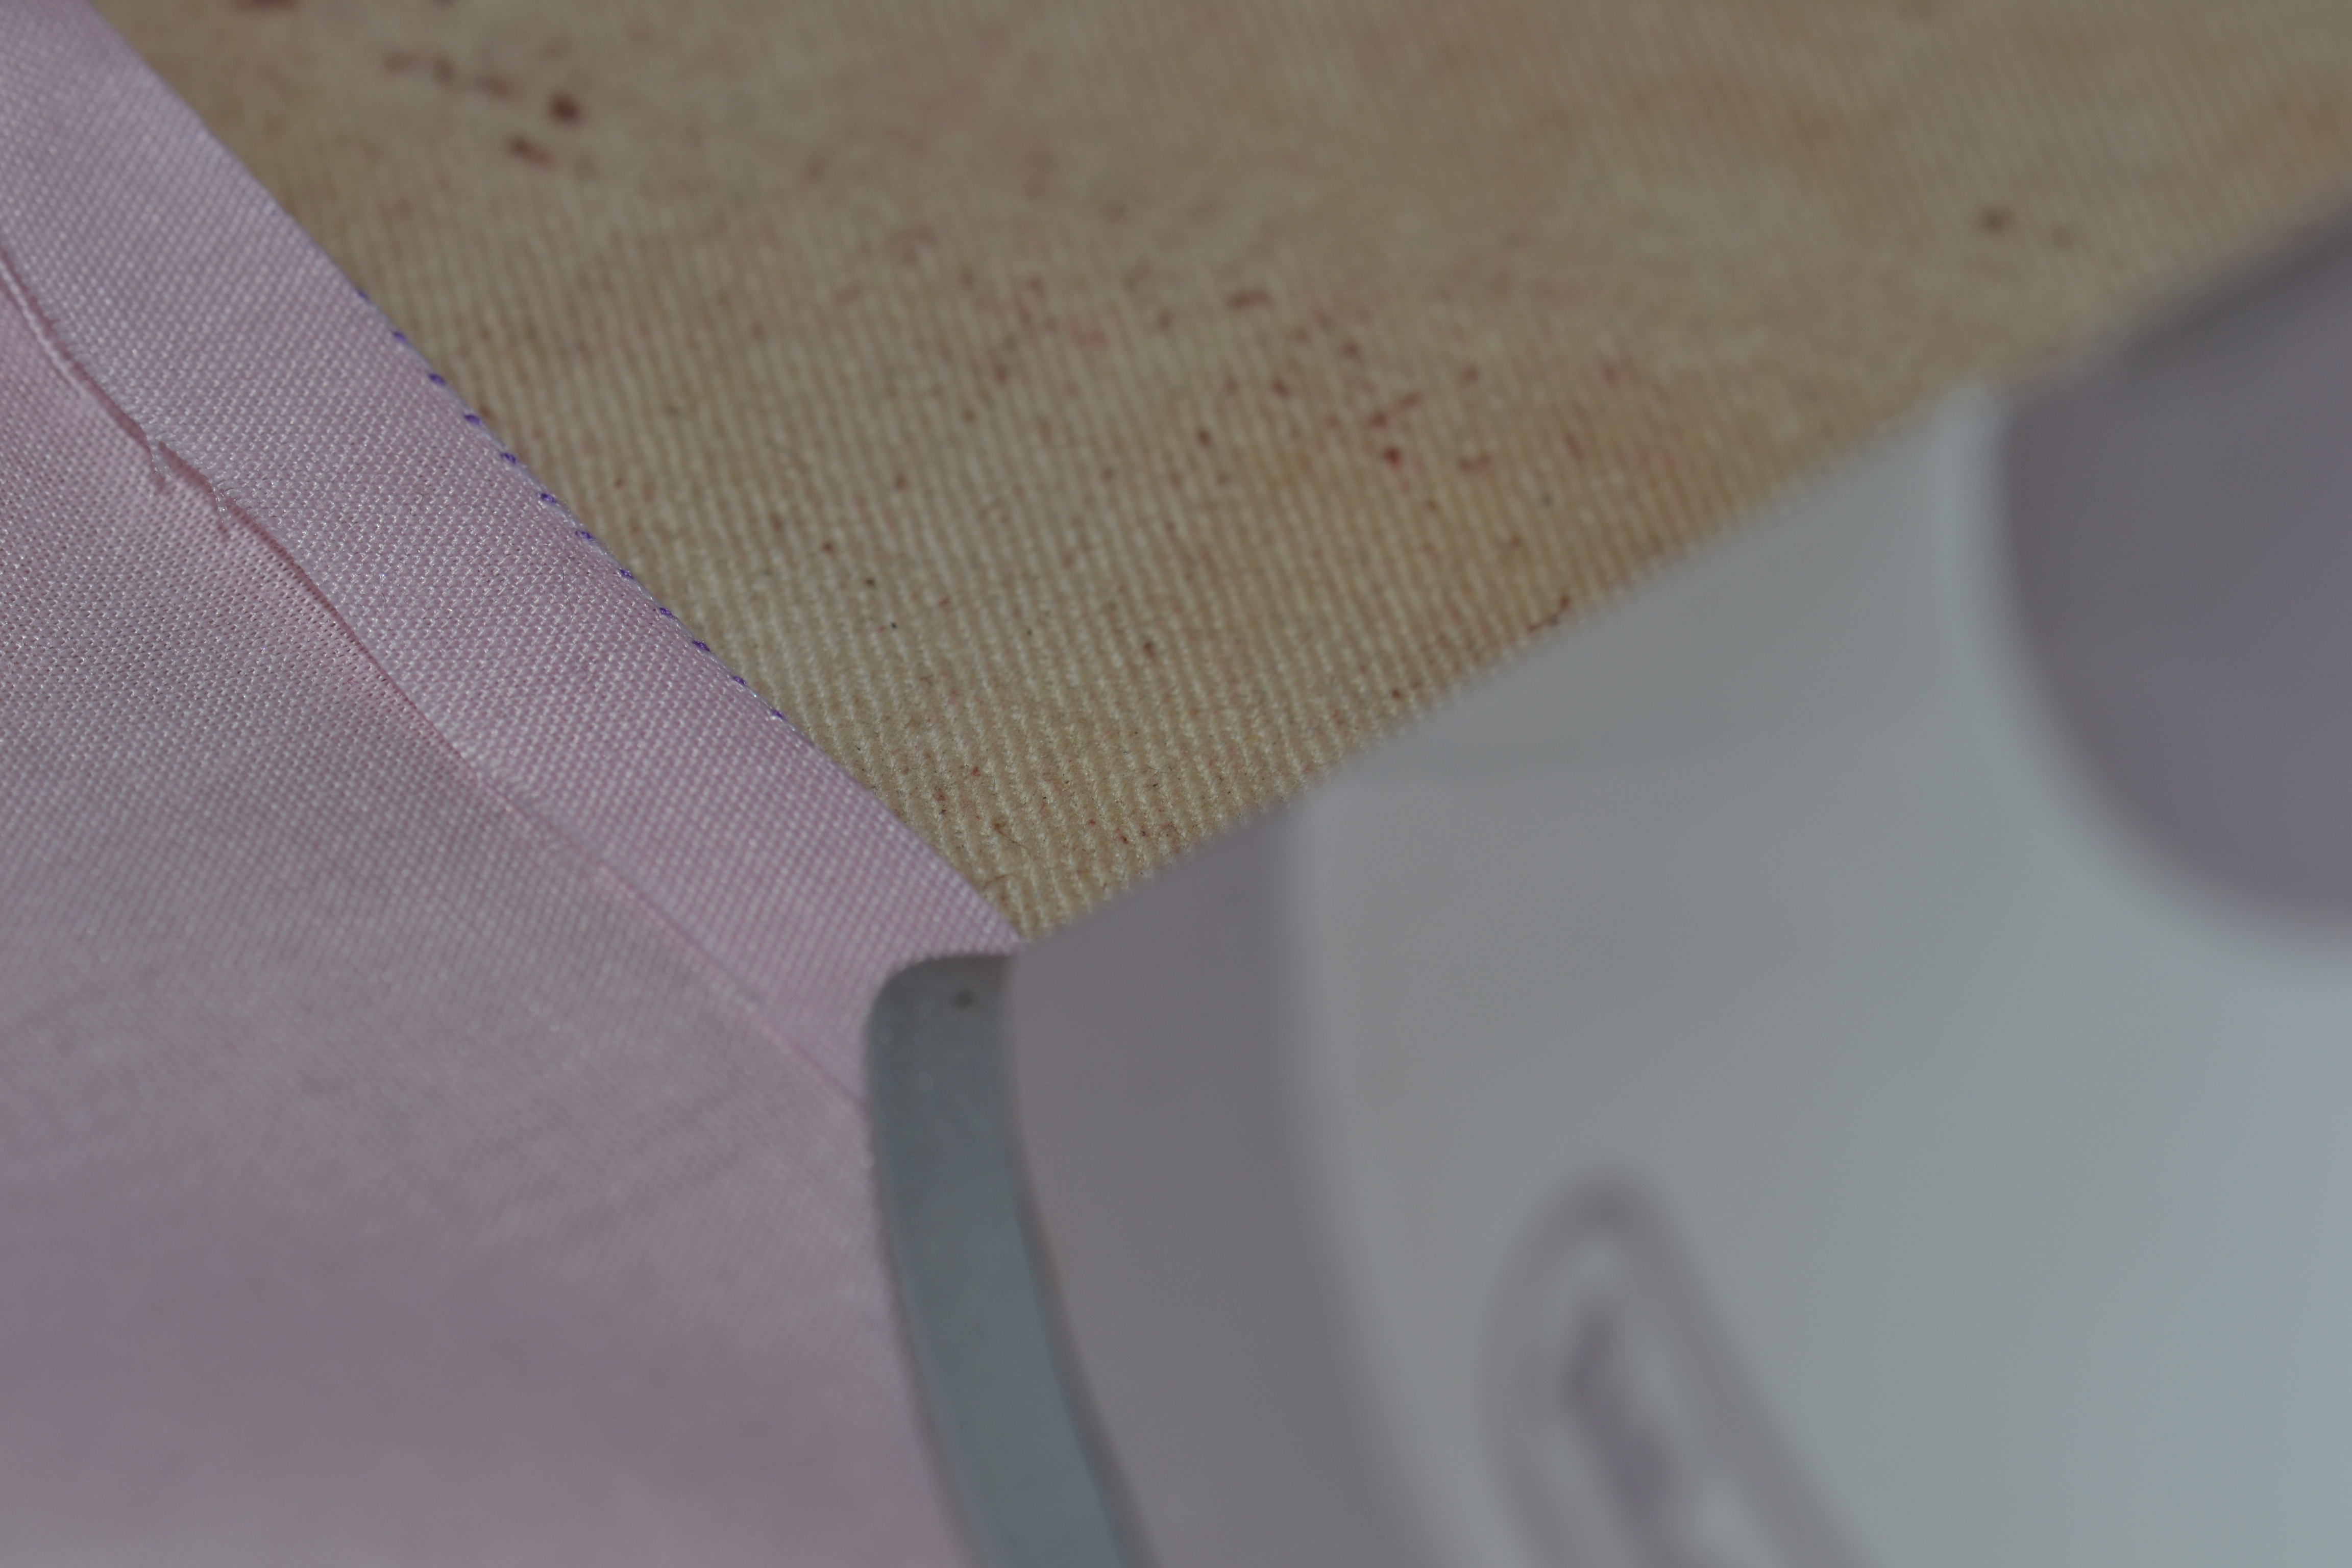
 This is what it looks like from the wrong side.
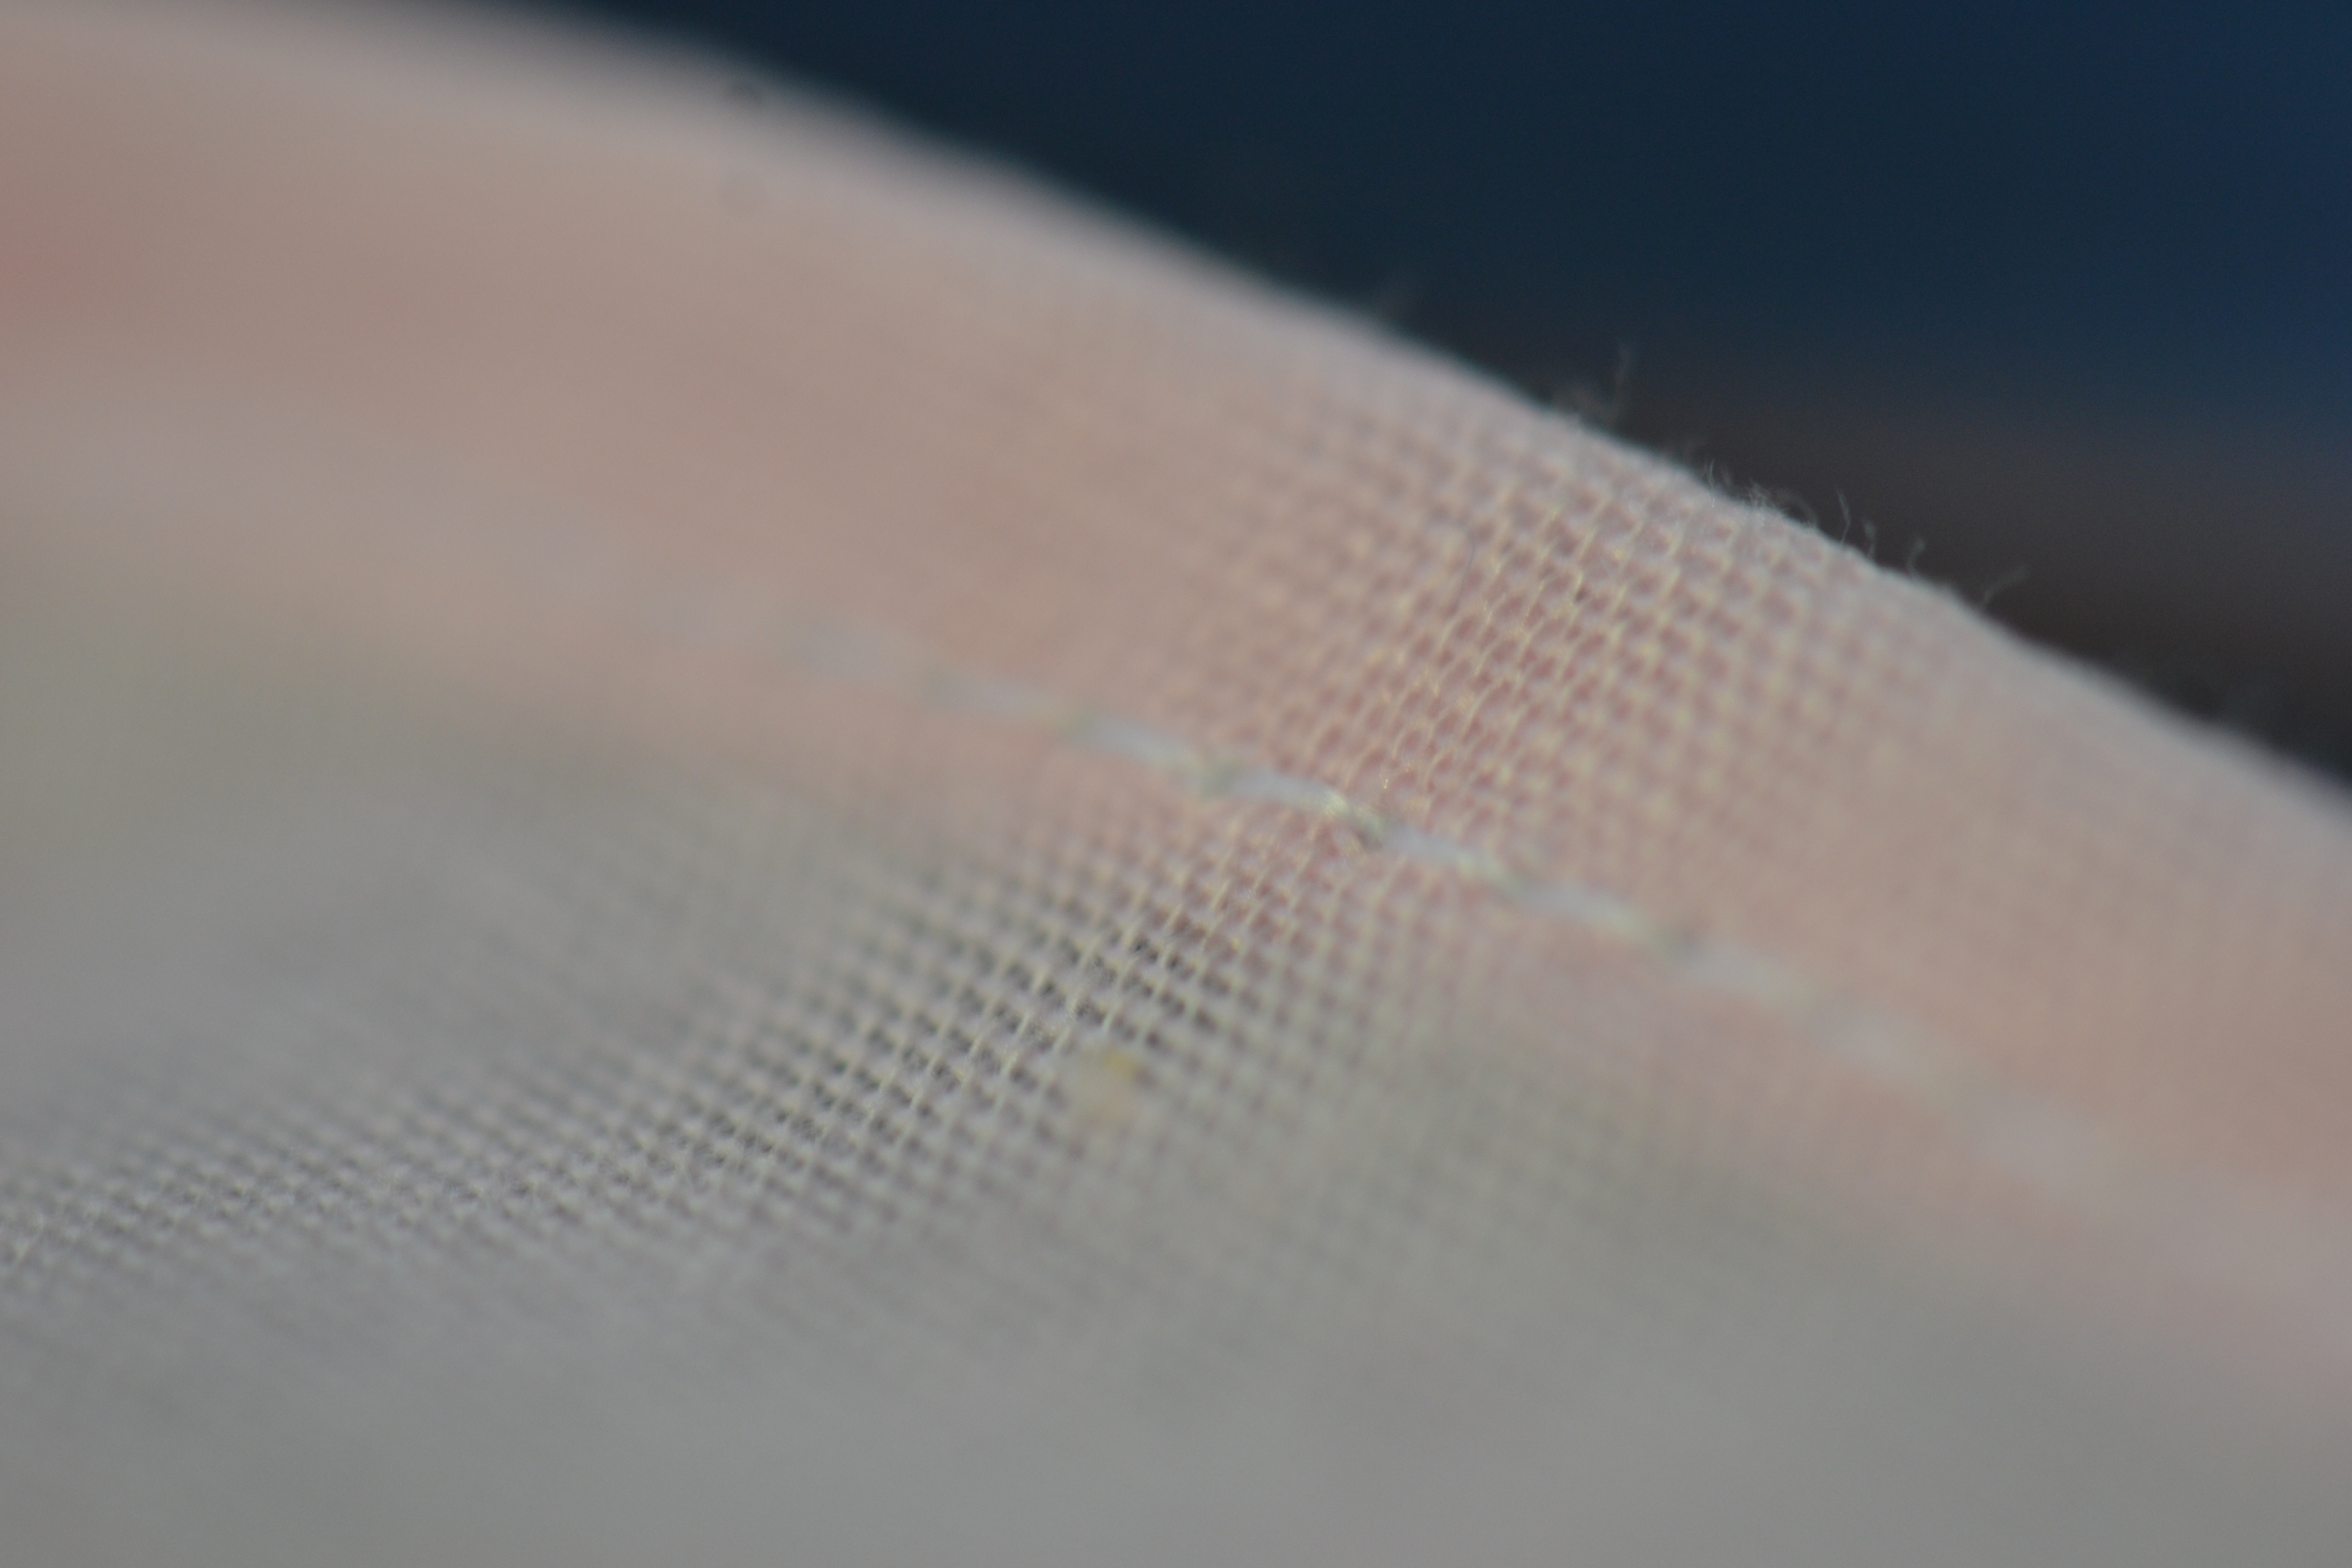 And this is what it looks like from the right side.
Narrow rolled hems on your sewing machine aren’t difficult when you have the right tools. It’s the best way to hem circle skirts, pretty sheers, and other delicate fabrics. Give it a try! Not difficult at all.

I’ve done many narrow rolled hems similar to your first description, but using a specialty thread that melts away when ironed. The melting helps create a crisp fold, and the upper thread pulls away completely. No residue or staining on the fabric, either.
LikeLiked by 1 person
Forgot to say melting thread is used in the bobbin only for the first fold. Regular thread for the second. 🙂
LikeLike
I’ve never used fusible thread, but I have used water soluble thread for the first two rows of stitching when the fabric was delicate, and I didn’t want the extra rows of stitching left behind. Of course, then there was the time I accidentally put the bobbin filled with water soluble thread in the machine and used it to sew seams. . .
LikeLike