
The Twin Needle Hem on Knits
You can sew knit garments with a regular needle on a sewing machine, and from the outside they will look just the same as if you sewed them on a serger except for one place, and that’s at the hem. When I worked for Stretch and Sew way back in the 1970’s, we either sewed a ribbed band around the bottom of the garment or just did a narrow zigzag stitch to make a hem. A zigzag stitch was the only “stretch stitch” most home sewing machines had at the time. My colorful work history includes a couple of summers working in a sweater factory so I had experienced using an industrial serger, but they hadn’t made it into the home sewing market yet. A lot of home seamstresses who were not satisfied with the zigzag hem used an early version of Heat and Bold to “glue” their hems. That wasn’t a very satisfactory solution because Heat and Bond wasn’t as good a product then as it is now. After a few trips through the wash, the clothes had FDH. (Falling Down Hem)
But it’s 2014, and we have better choices. Most home sewing machines come with at least a couple of stretch stitches, but the best invention for hemming a knit fabric is the twin needle. My first sewing machine of my very own would accept two needles. It was difficult to get them in, and the spacing wasn’t far enough apart to be of much use, but the idea was a good one. Now almost every sewing machine comes with a post for a second spool of thread for twin needle sewing, and if yours didn’t, you can fool the machine by sticking another spool on the bobbin winder. Twin needles come in different widths and sizes with regular or stretch points. While purists will tell you to only use a stretch needle on knits, I’ve used regular point twin needles to hem knits when it was the only one I had in the width I wanted with no problems. I use Schmetz needles, and the blue posts are stretch, and the red ones universal.
 Typical Twin Needle
When you’re straight stitching with a twin needle, you end up with two rows of straight stitches on the top and a zigzag stitch on the bottom. Because of the zigzag there’s enough stretch in the seam you don’t need to use a stretch stitch. You will find the twin needle stitches make a slight ridge between the stitches. (You’ll love that they do that when we get to pintucks.) A real coverstitch on a serger lies flat, but the ridge isn’t so well-defined to make it look substantially different from the coverstitch unless they’re side by side.
We’re going to be sewing with the stretch of the fabric, and we don’t want the fabric to stretch as we sew it, but we do want it to retain most of its stretch when we’re done. The best way to accomplish this is to stabilize the hem with something that will keep it from stretching out of shape as we sew, but is also a knit. A great thing to use is fusible tricot interfacing. You can buy it in 1/2″ rolls or you can buy it by the yard just like any other interfacing and use your rotary cutter to slice into 1/2″ strips. Just be sure you’re cutting the strips across the stretchier width of the interfacing.  Tricot Fusible Hem Tape
Stitch the tricot interfacing to the inside edge of the garment, fusible side up. Use a stretch stitch or a narrow zigzag to retain the stretch of the knit.
 Hem Tape Sewn In
Then press the hem up, fusing it to the rest of the garment.
 Pressed Up Hem Tape
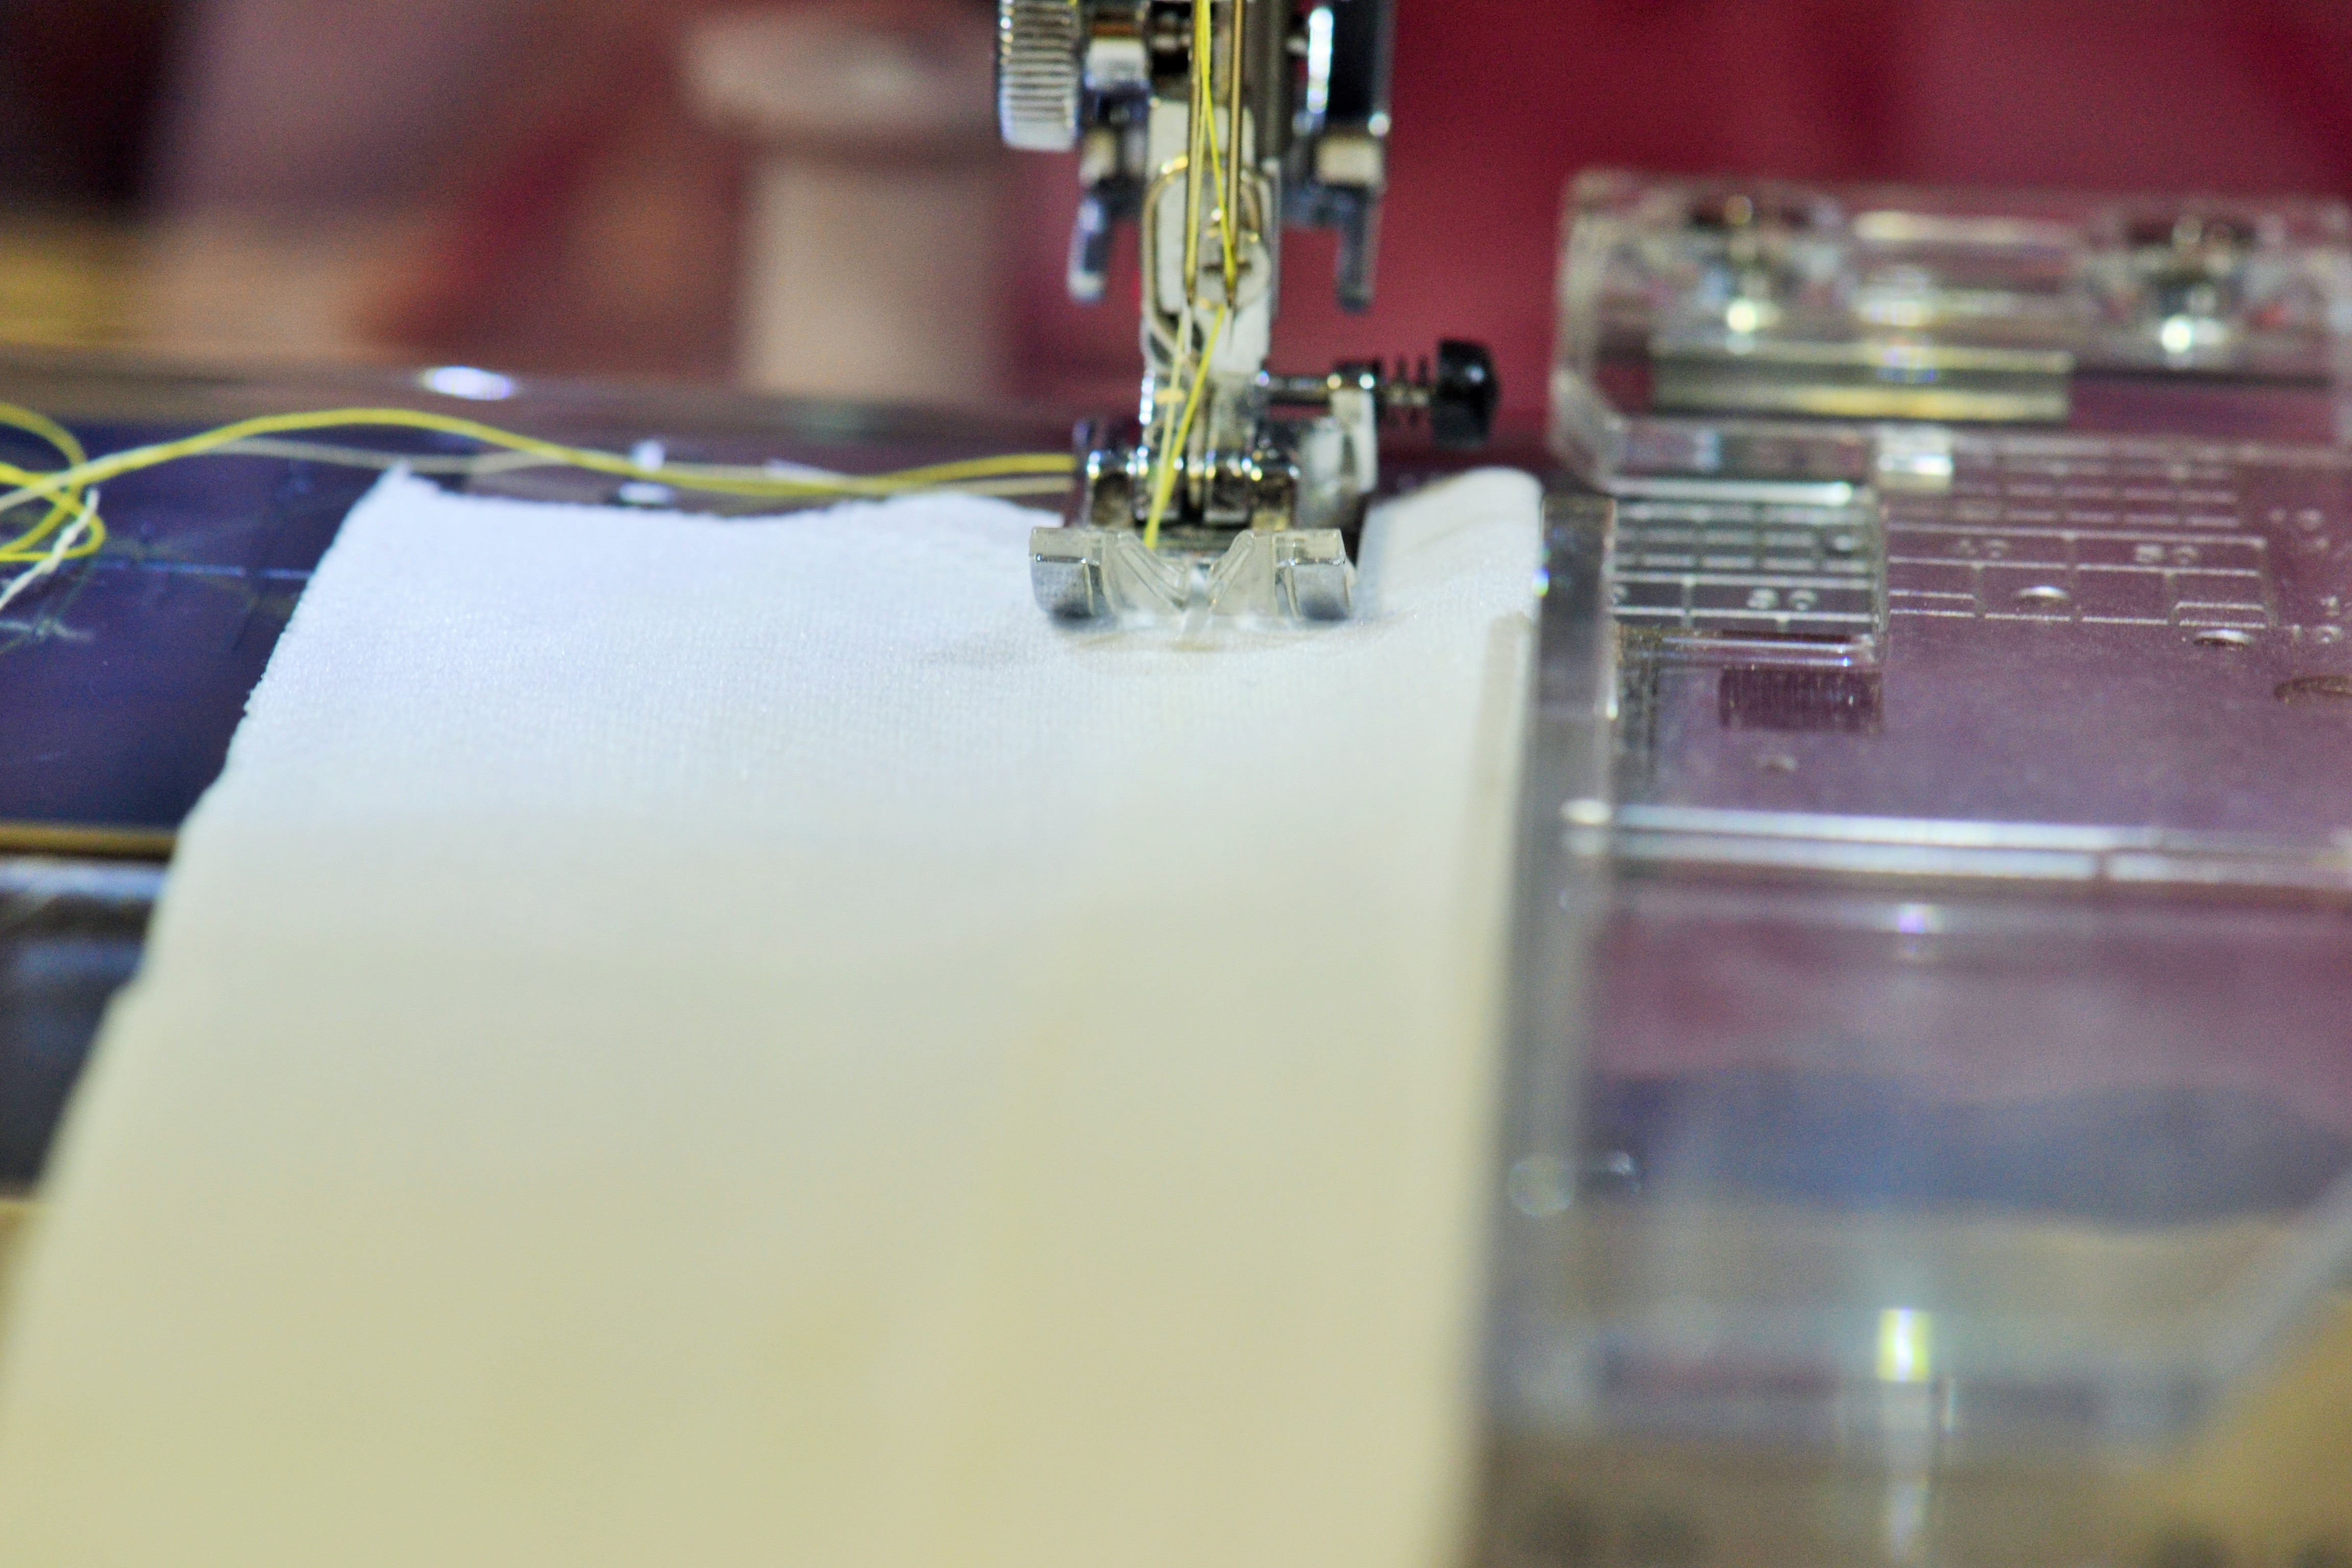
Now insert a twin needle into your machine. Thread it up according to your machine manual’s instructions. You usually just follow the same path with both threads. Unless I’m sewing with a color I use enough to have two spools, I wind some thread on an extra bobbin and use that for my second spool of thread. Try not to get the threads too tangled up with each other, but don’t stress about it. They have to be tied in knots before they won’t go through your machine. Set your machine for a basic straight stitch a little longer than you usually use for seams.
 Threaded Twin Needle
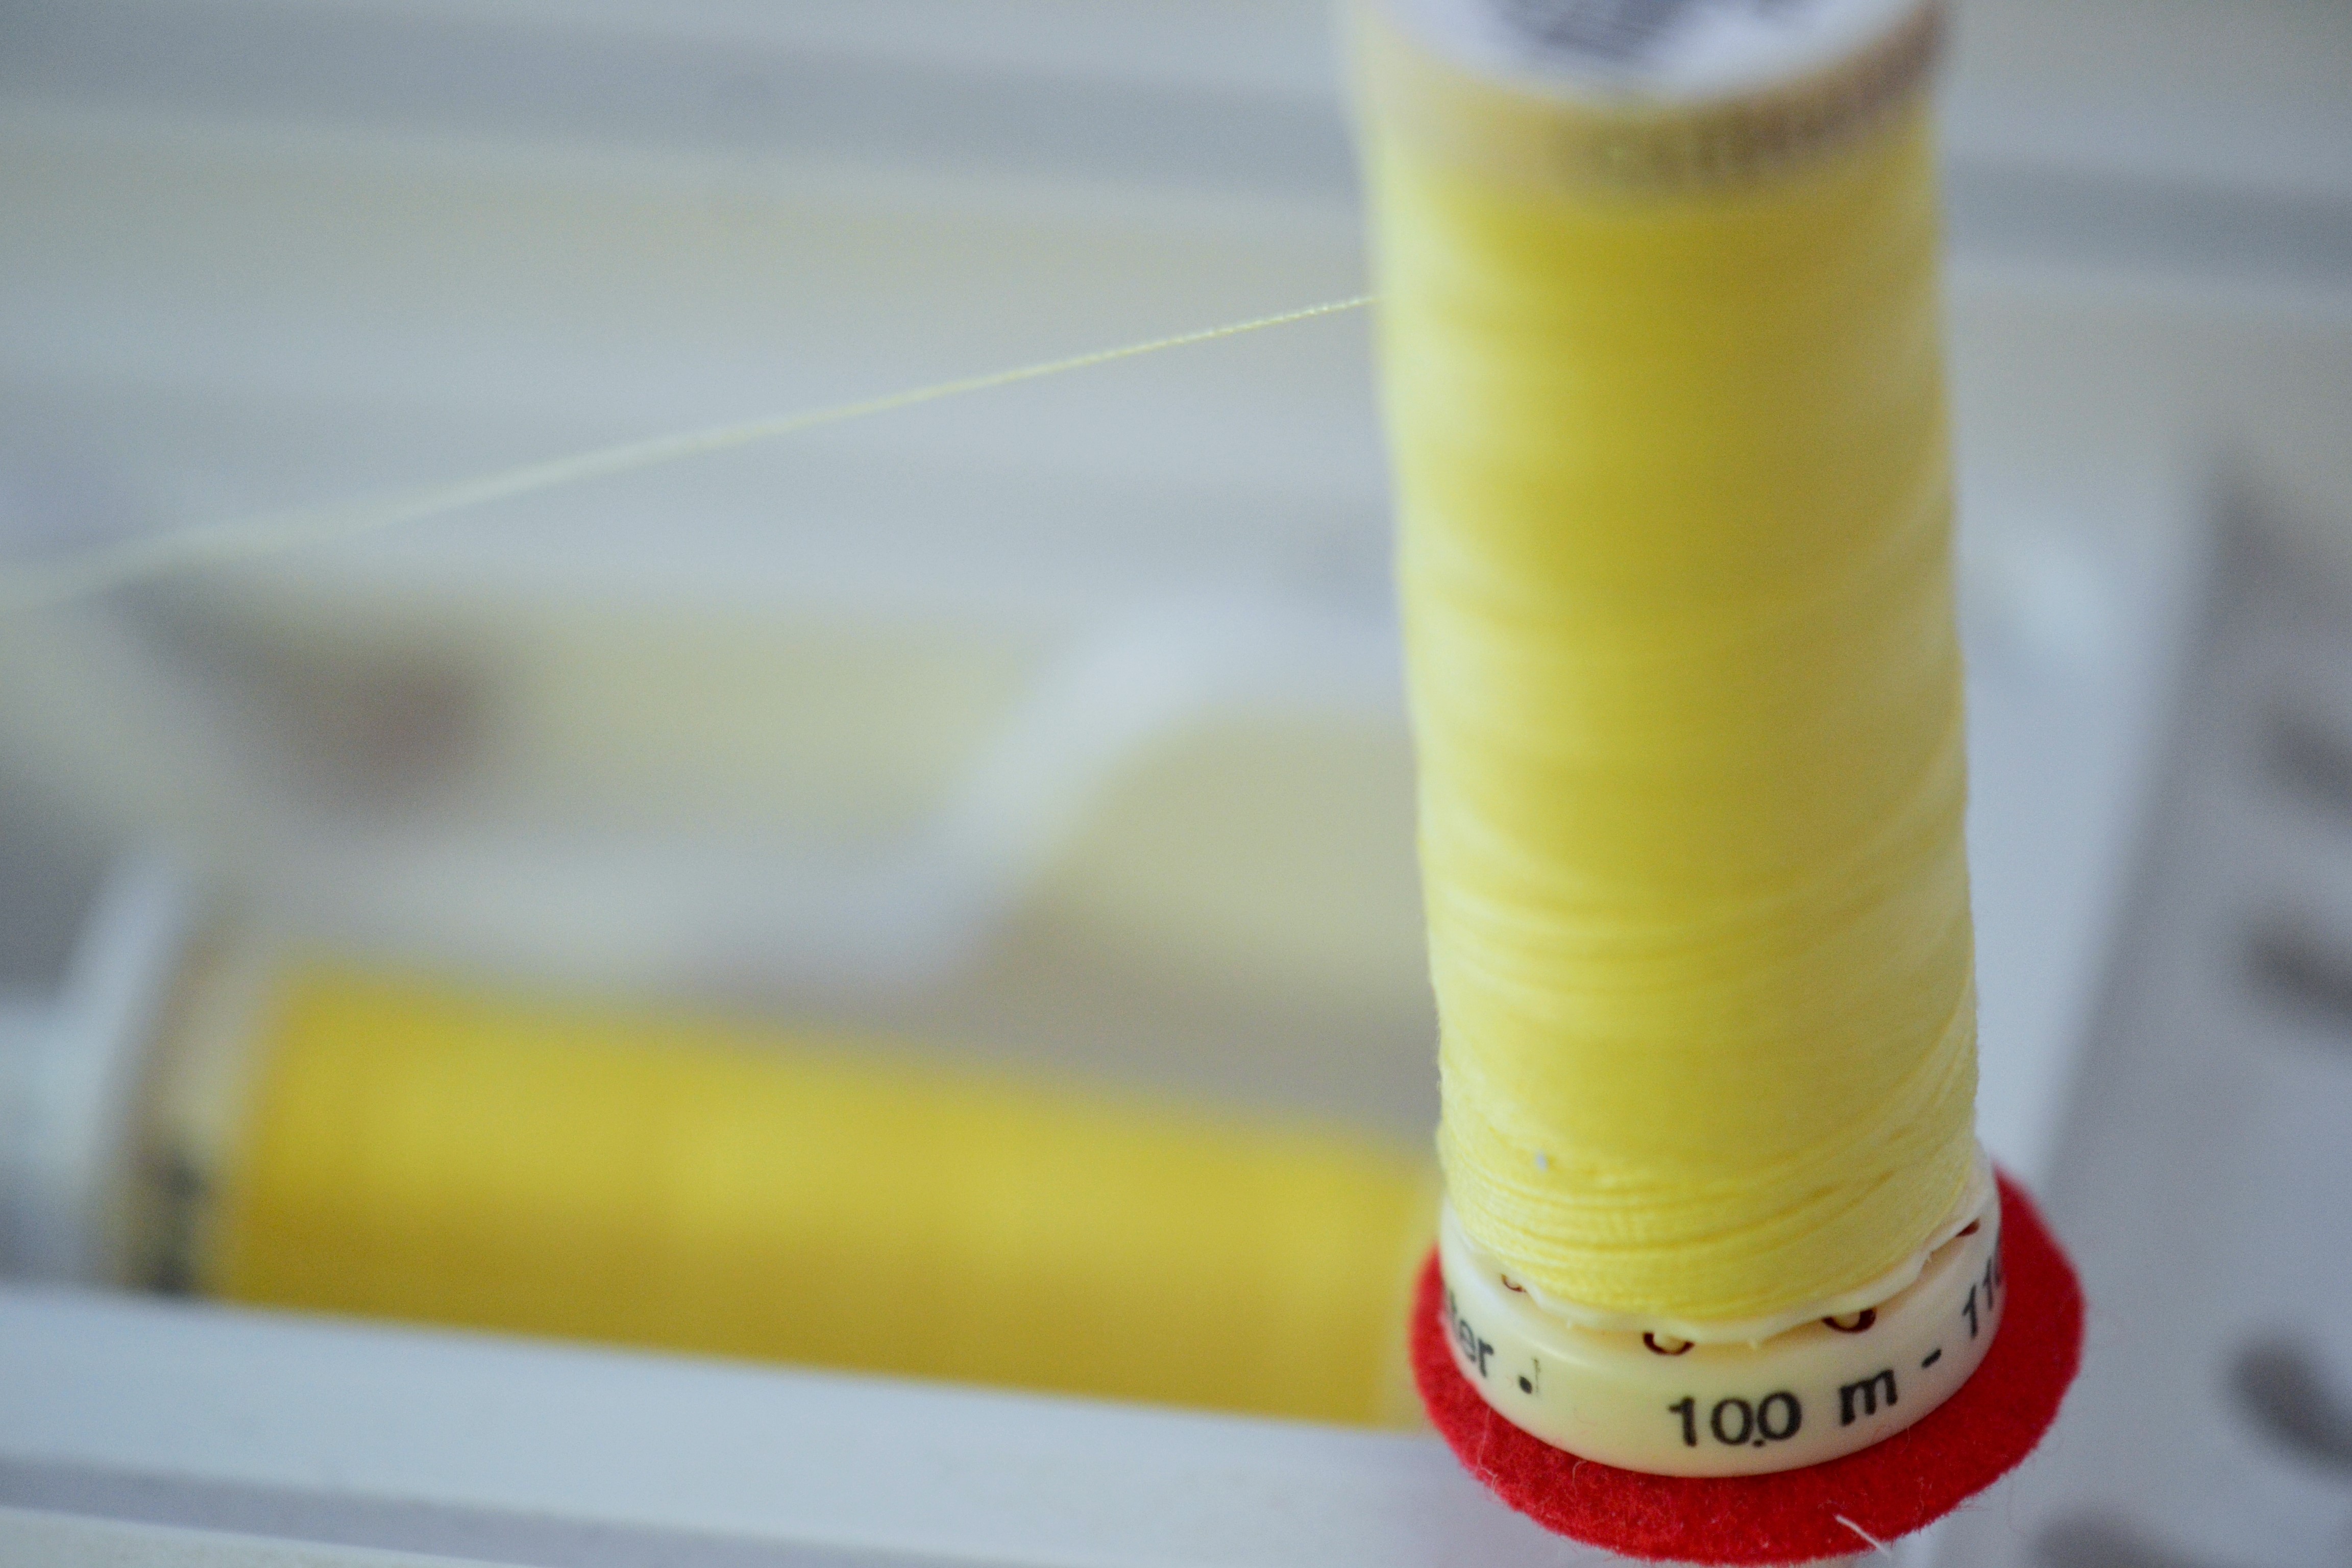 Two Spools of Thread
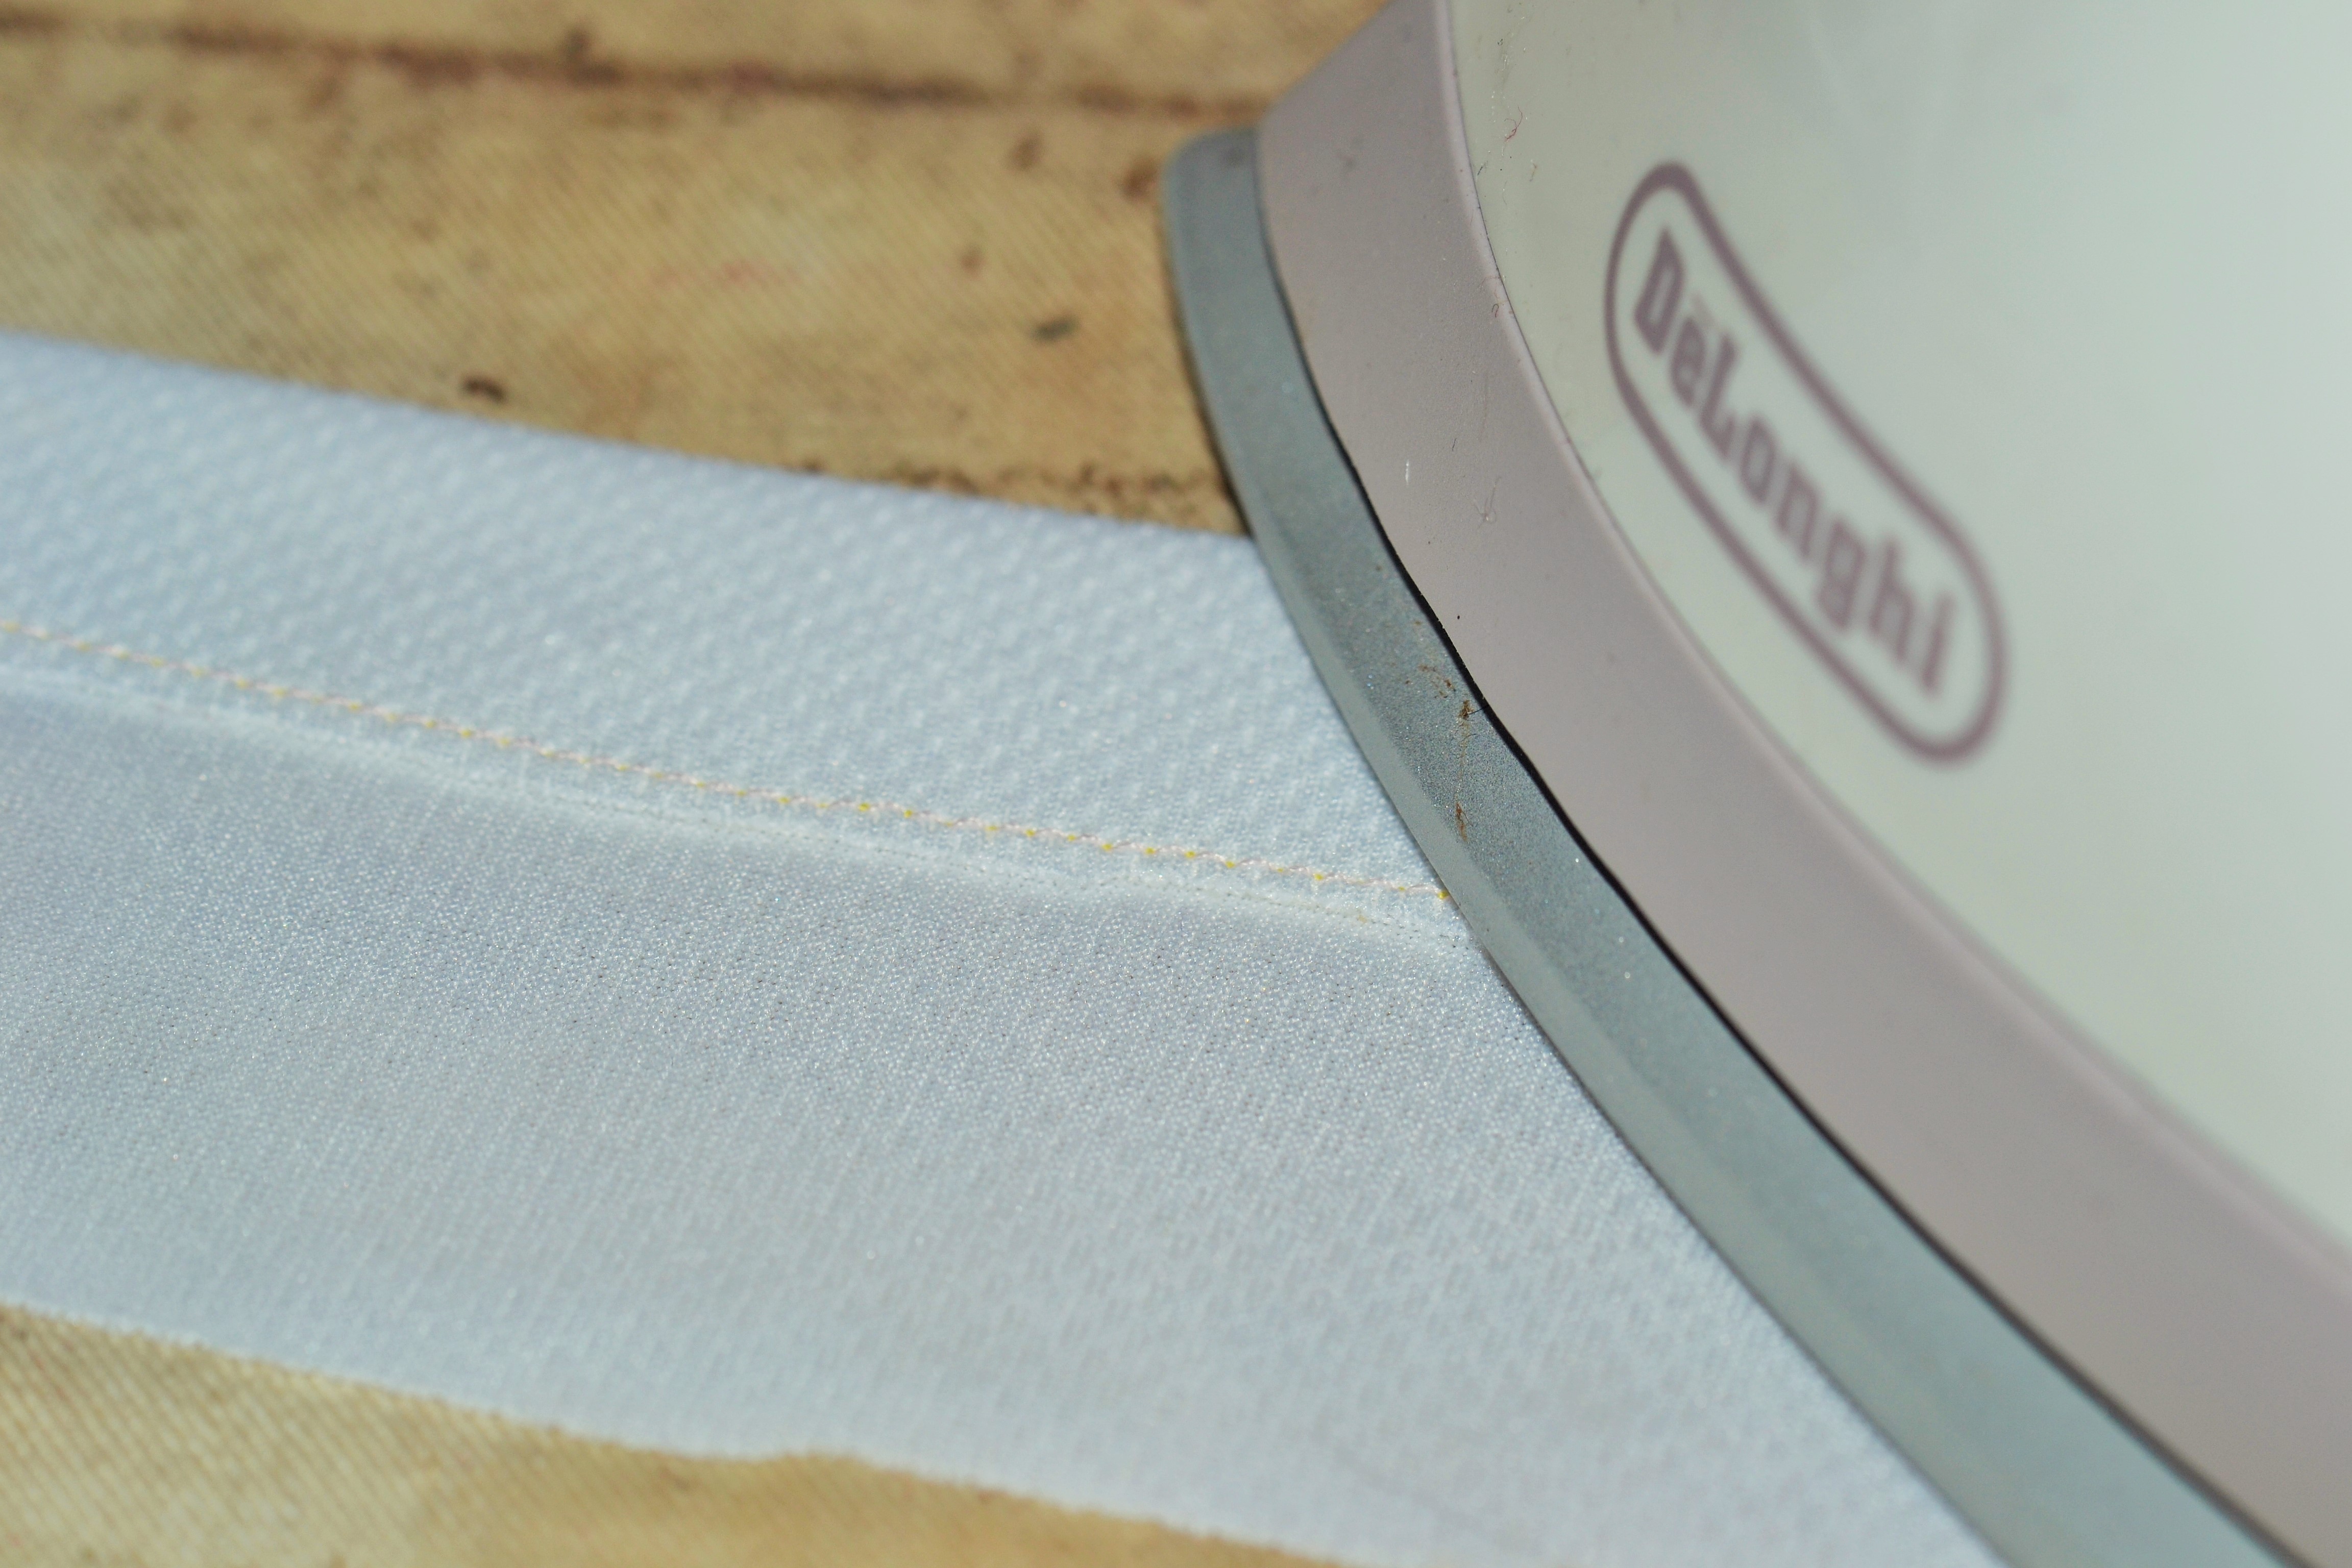
You need to sew the hem from the right side of the garment so the straight stitches end up on the outside and the zigzag is on the inside. You won’t have the cut edge as a guide so you need to make sure you can keep the hem stitches the same distance from the edge. My sewing machine has a cool fabric guide you can move back and forth, but you can put a strip of masking tape or draw a line on your machine with a marker.
 Seam Guide
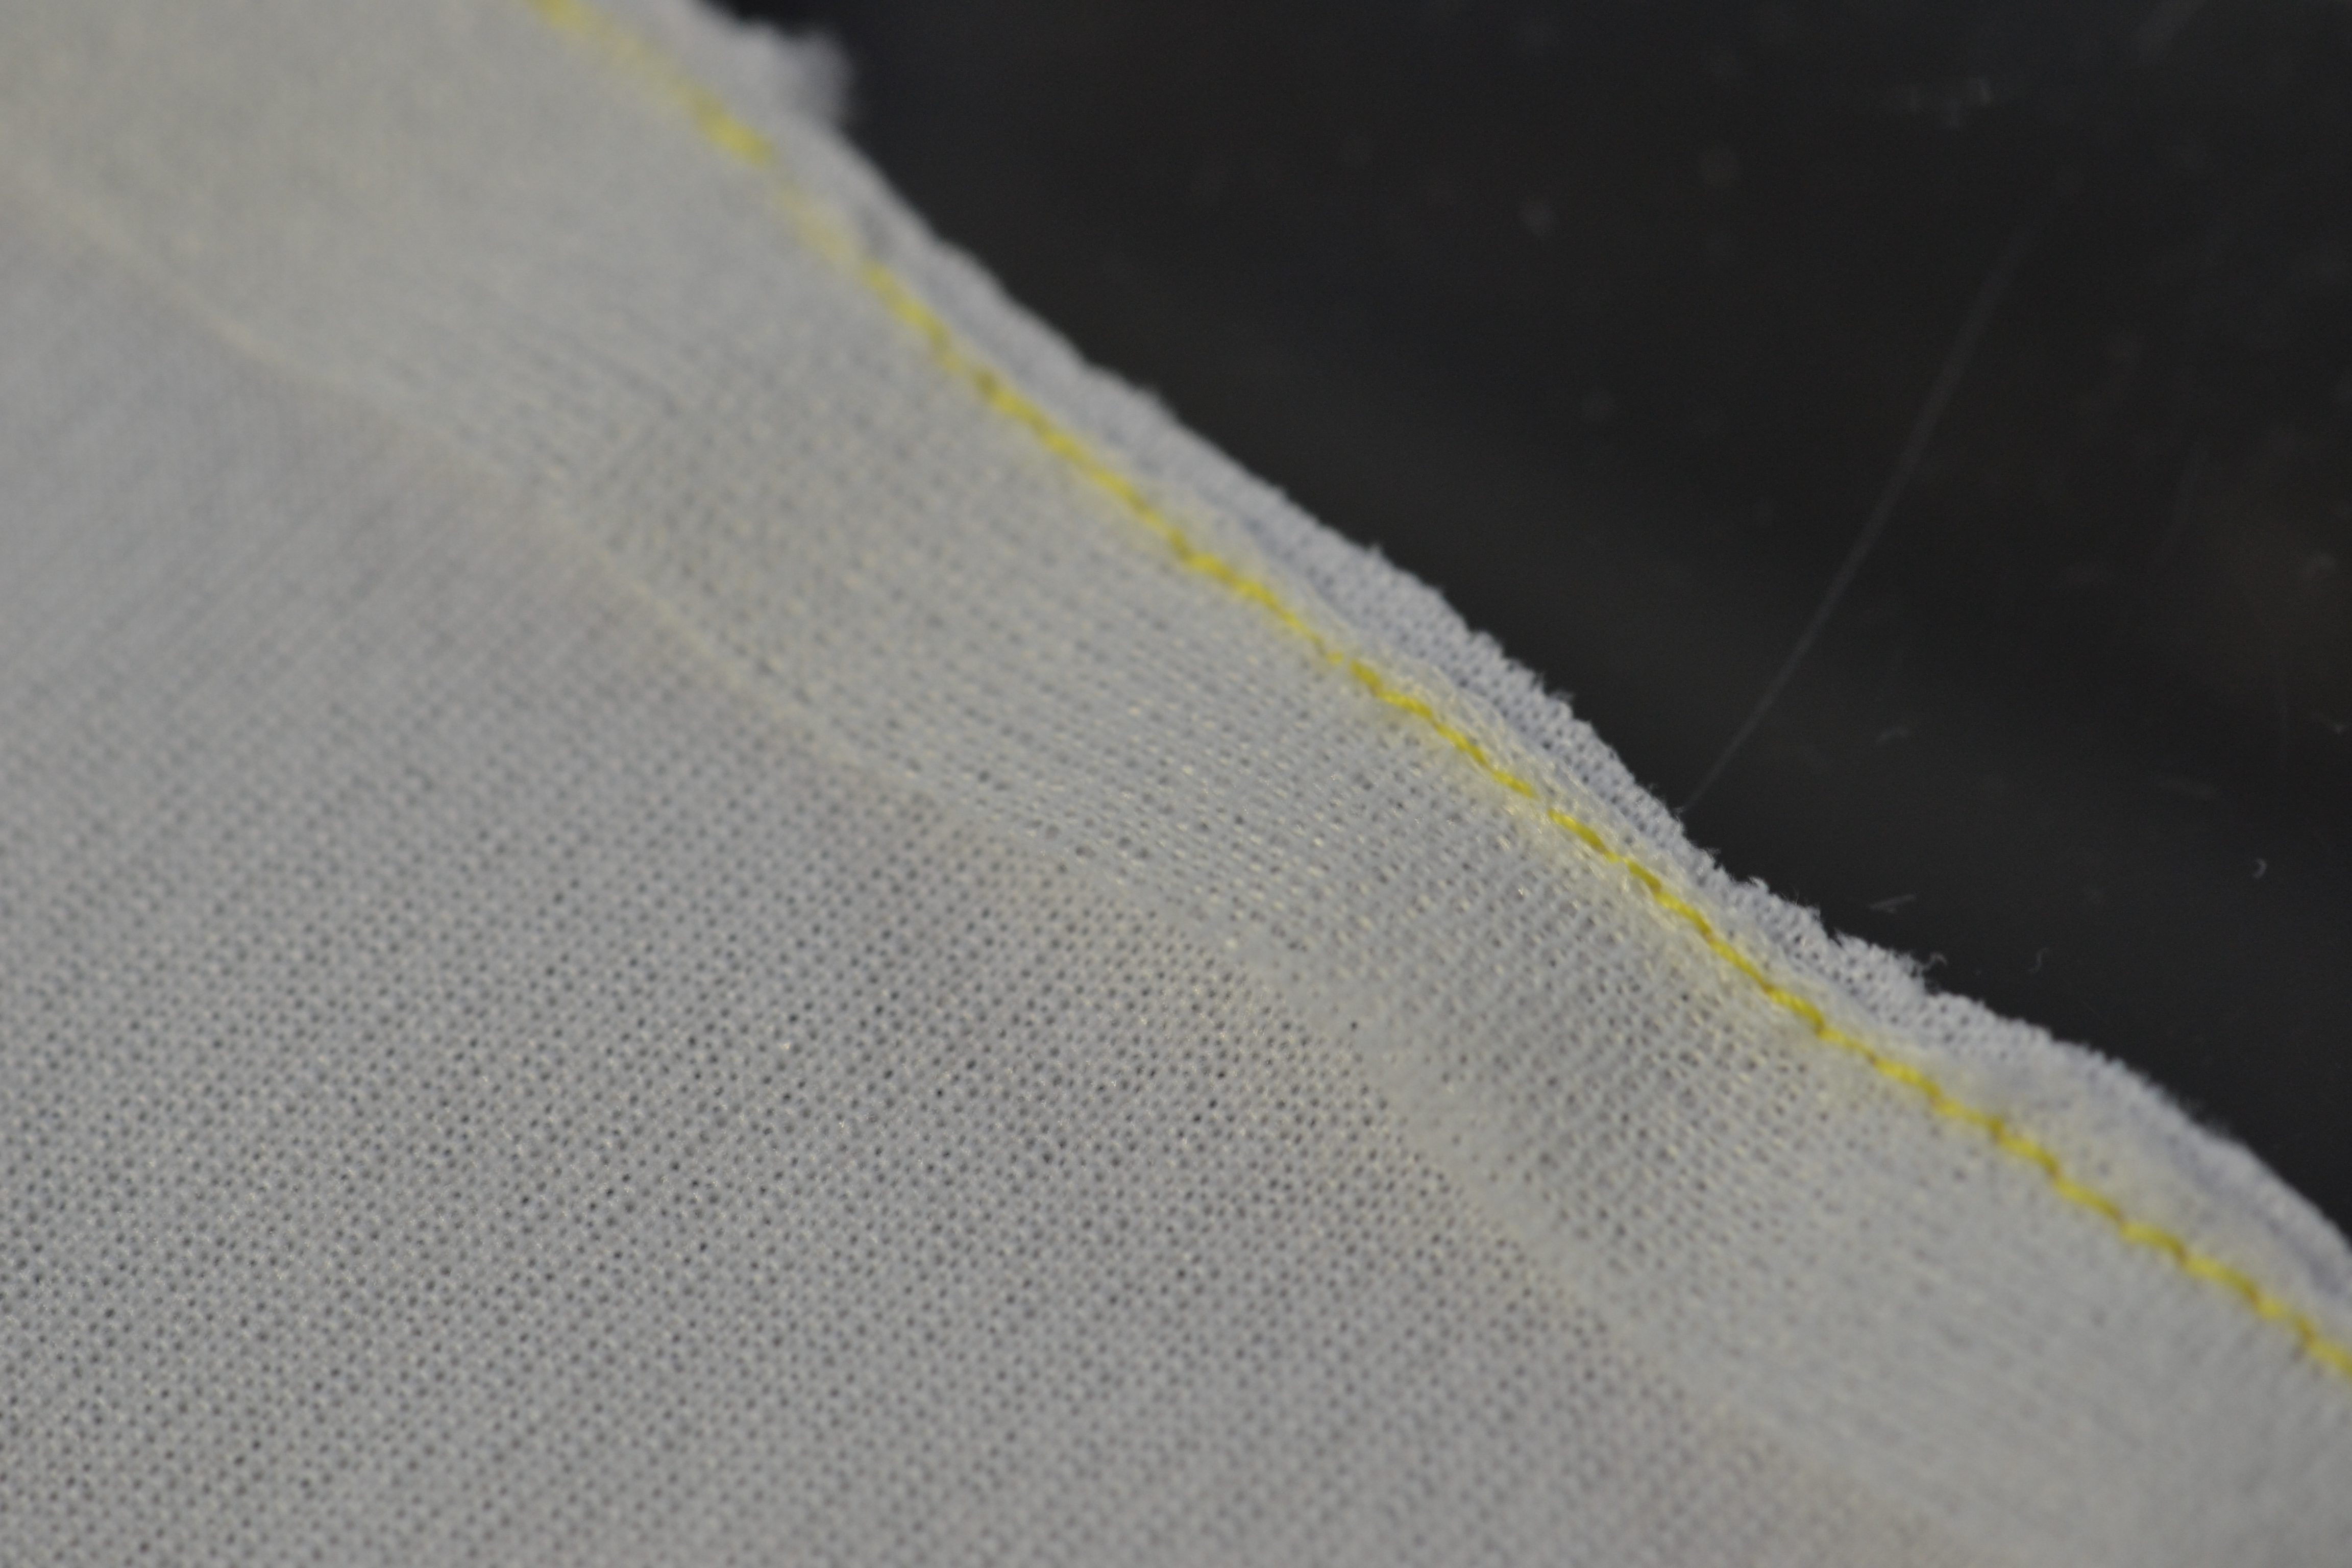
For a professional look accuracy is important. Lock your stitches and sew the hem. If you’ve done a good job, when you get to the other side, your two rows of stitches should match up perfectly.
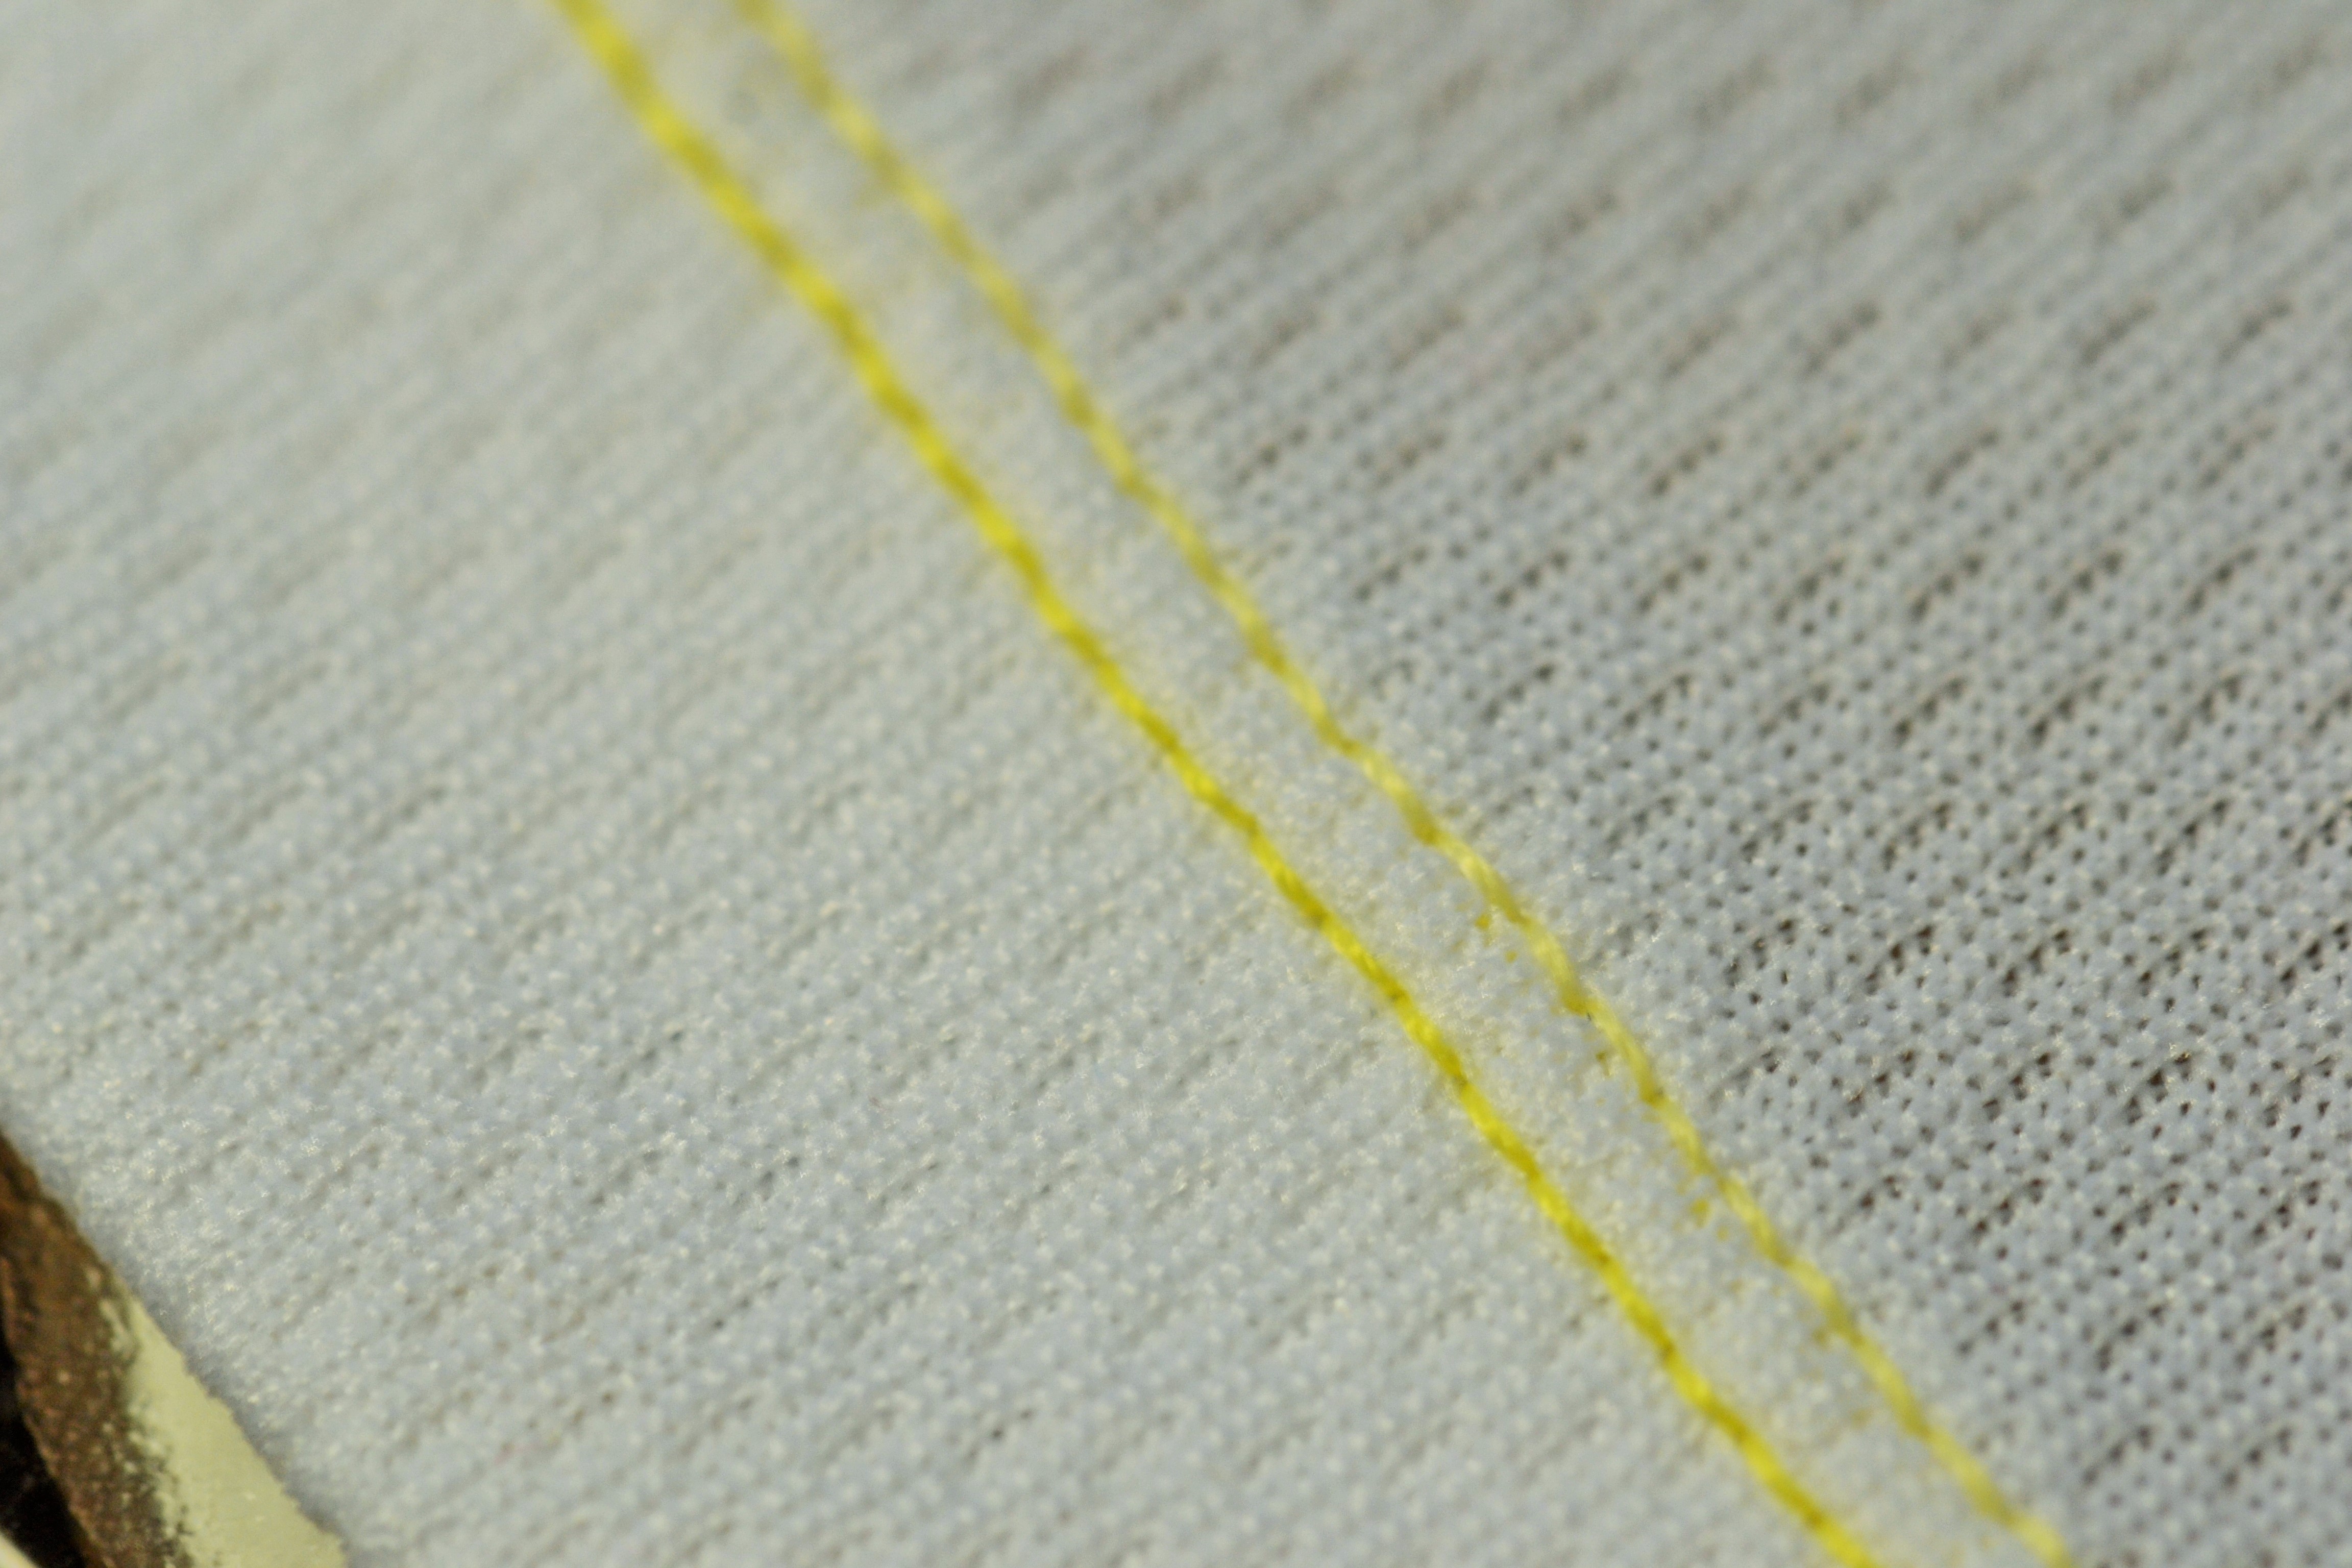 Right Side Twin Needle
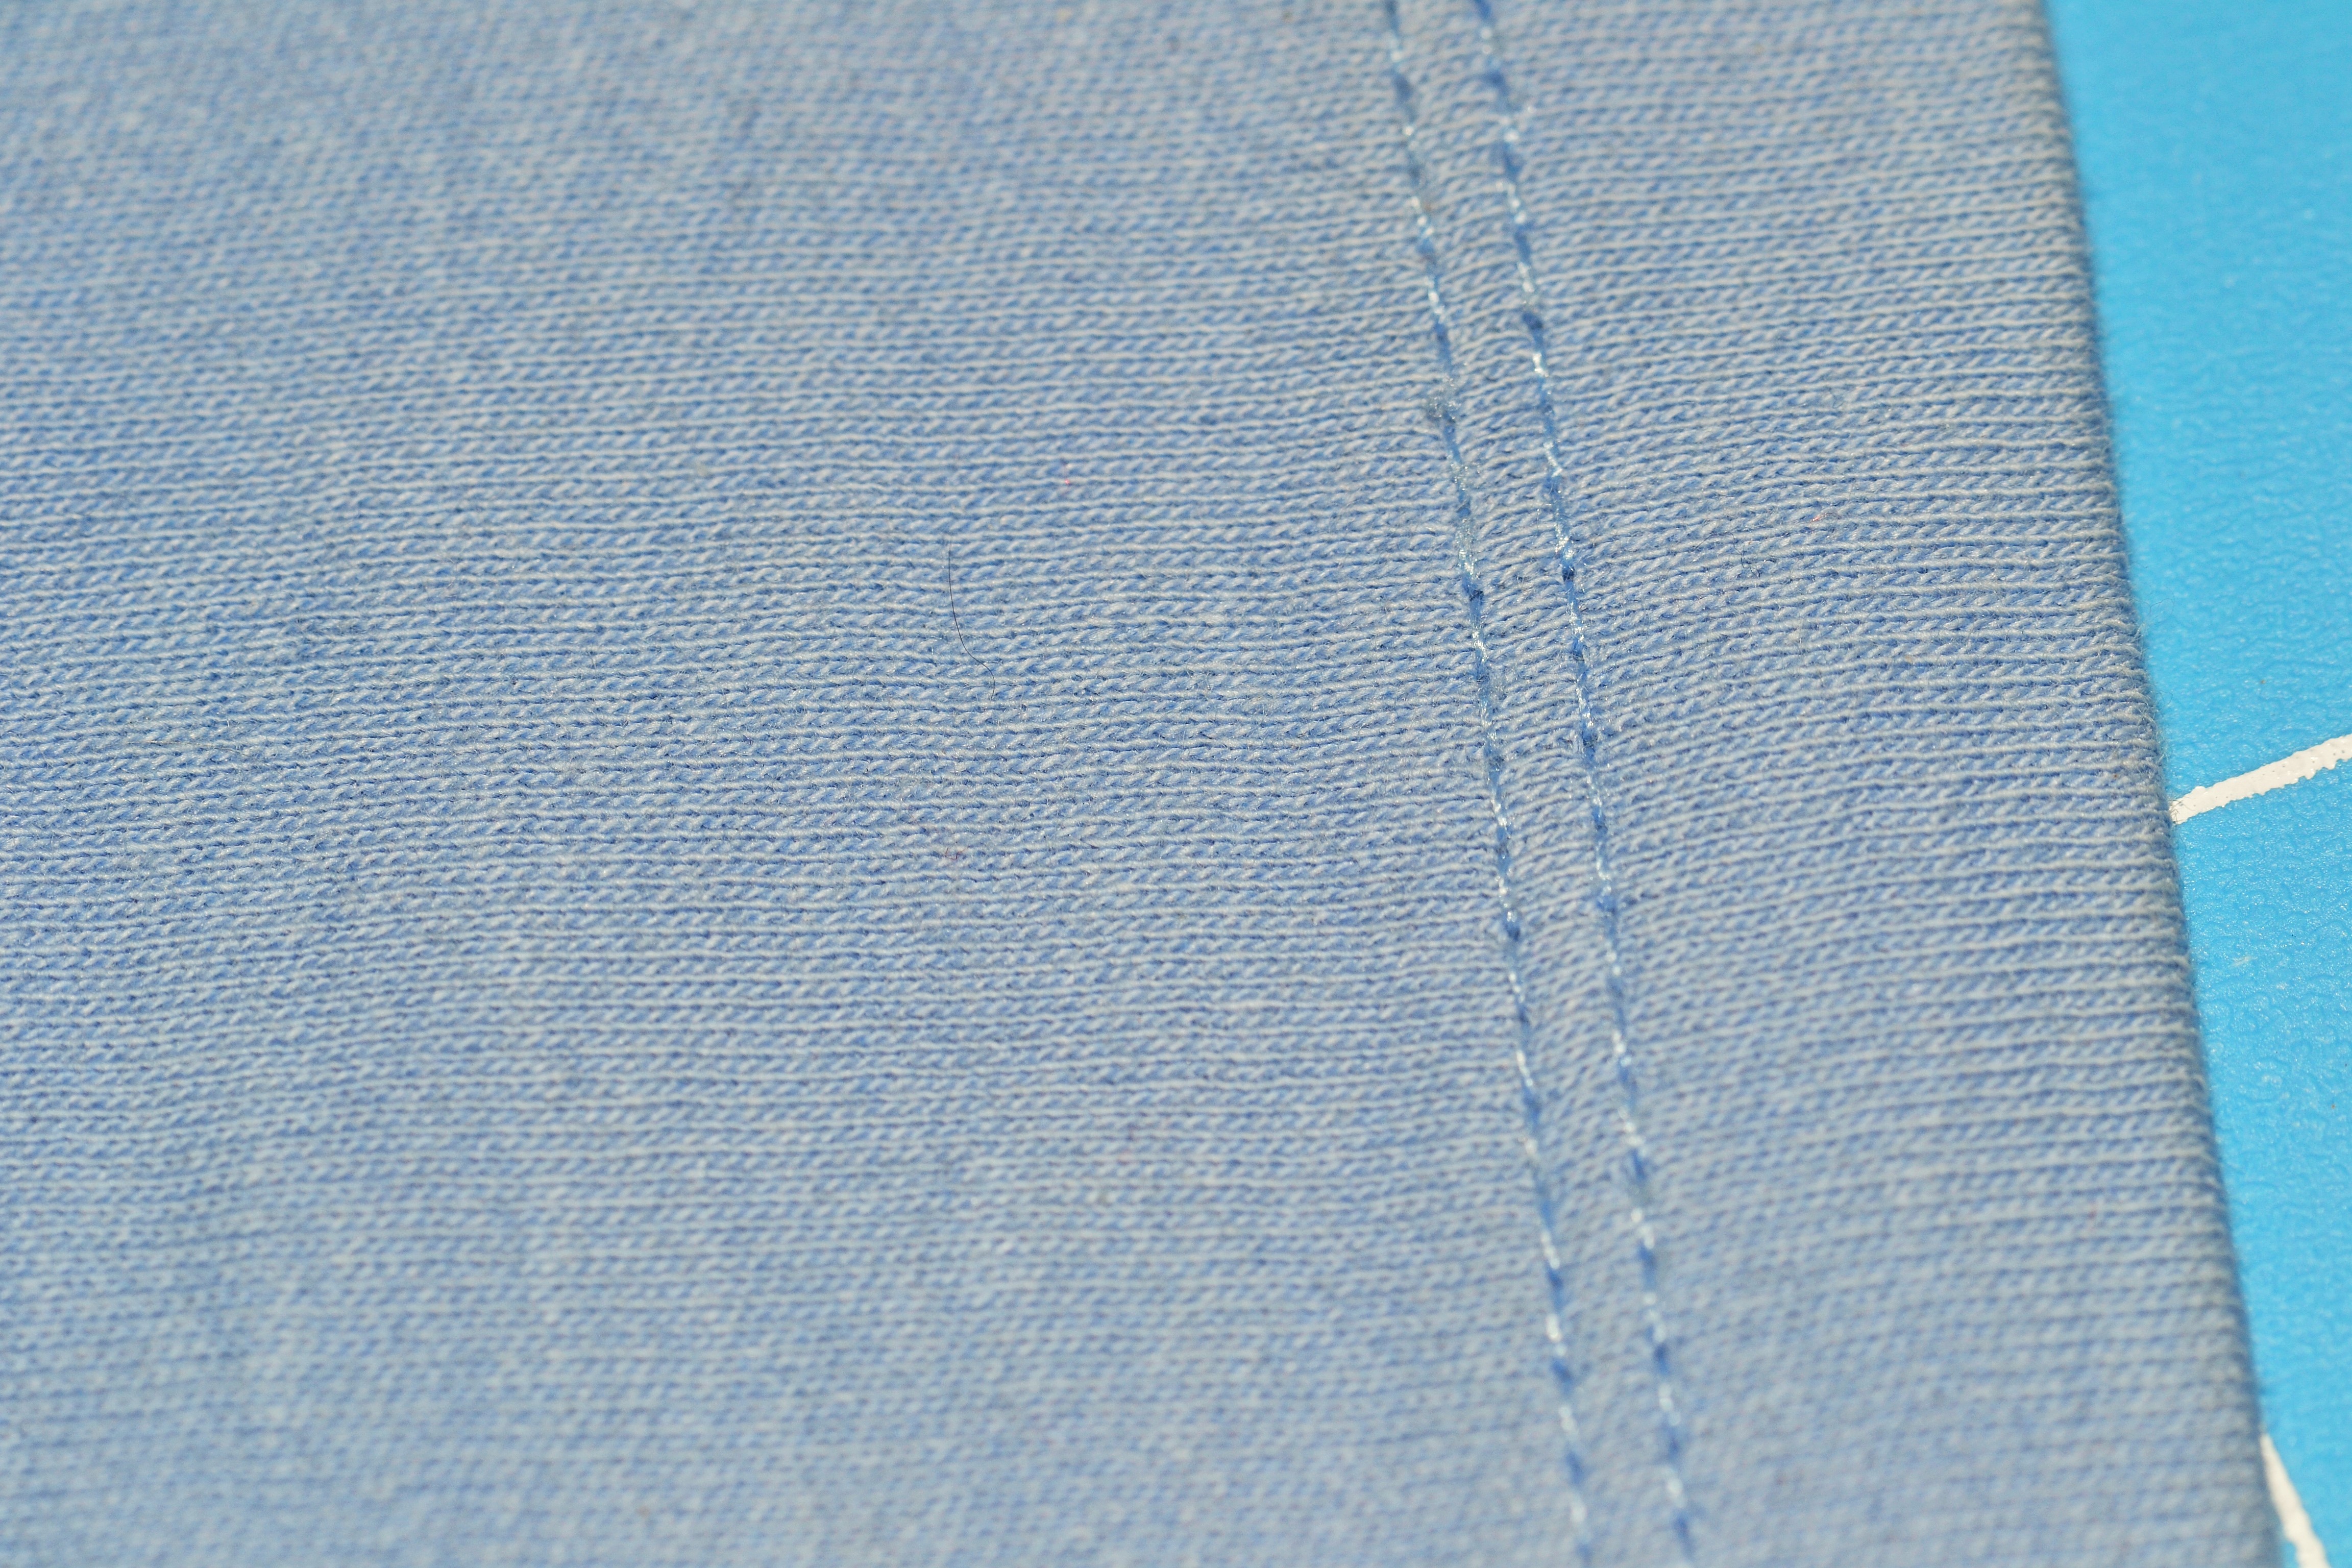 Right Side Coverstitch
 Wrong Side Twin Needle
 Wrong Side Coverstitch
A word here about walking feet. A lot of people swear by them when they’re sewing knits. If I’m working with something slippery, I might take the time to attach a walking foot, but with interlocks and other tee shirt type fabrics, I’ve never found it made enough difference to take the time to attach it. My old Pfaff machine had a built in walking foot. I don’t miss the machine, but I do miss how easy it was to engage it. But if you’re having a hard time with your top fabric sliding around on you, give one a try.
A twin needle hem is what I would call a “sportswear hem”. If you’re making an elegant dress out of a knit, you might want to do a blind hem instead. You should still use the tricot interfacing to stablize the hem, but just fuse it on the edge of the garment. It won’t hold your hem in place as you sew, but it will keep the fabric from stretching. A regular blindstitch does have some stretch, but a lot of machines also have a blindstitch stitch for knits. The straight stitches are replaced by tiny zigzag stitches.
So add a twin needle or two to your sewing notions collection if you don’t have a coverstitch machine or maybe even if you do. It only takes a couple of minutes longer to give your tee shirts, knit pants and shorts, and tunics a more professional look.

I was doing a swimsuit the other day, and gave up on my twin needle, I couldn’t make it work. Thank you for all the great tips, I know better the next time.
LikeLike