

Centered, No Lining
Zippers are a wonderful invention. Think about all of the buttonholes you have to make to replace an 18″ zipper. My 1881 White treadle sewing machine has a zipper foot. Without a doubt your sewing machine has one, too. There are several variations on how a zipper foot looks, but they all function the same way. They are designed so you can get your stitches very close to the teeth of your zipper. While you can insert a zipper with an all-purpose foot, unless your dog ate yours, why not use the right tool for the right job?
The easiest zipper to install is a centered one without lining. Anytime the construction process offers you the opportunity to insert the zipper before you connect the back of the garment to the front, do it. It’s a lot easier. If the zipper is in a side seam, see if you can insert it before you sew the opposite side seam.
You need at least a 1/2″ seam allowance to insert a zipper. The zipper needs to be long enough to open the garment past the places where you need room to easily put on and remove it. You can buy a zipper you know is too long and shorten it to any length you want. You make a bar tack across the zipper teeth, and then cut the zipper. The easiest way to make the bar tack is to set your machine to sew on a button. Set the stitch width so it’s wide enough to span the zipper teeth.
Use your button foot to shorten a zipper
Cut off what you don’t need
Adding interfacing to the seam allowance of the zipper
I like to interface the zipper opening. It strengthens the fabric supporting the zipper. and it gives the fabric next to the zipper opening a crisp fold that is less likely to get stuck in the zipper. Cut two strips of fusible interfacing the length of the zipper and twice the width of the seam allowance. Fuse it to the seam allowance in the area where the zipper will go.

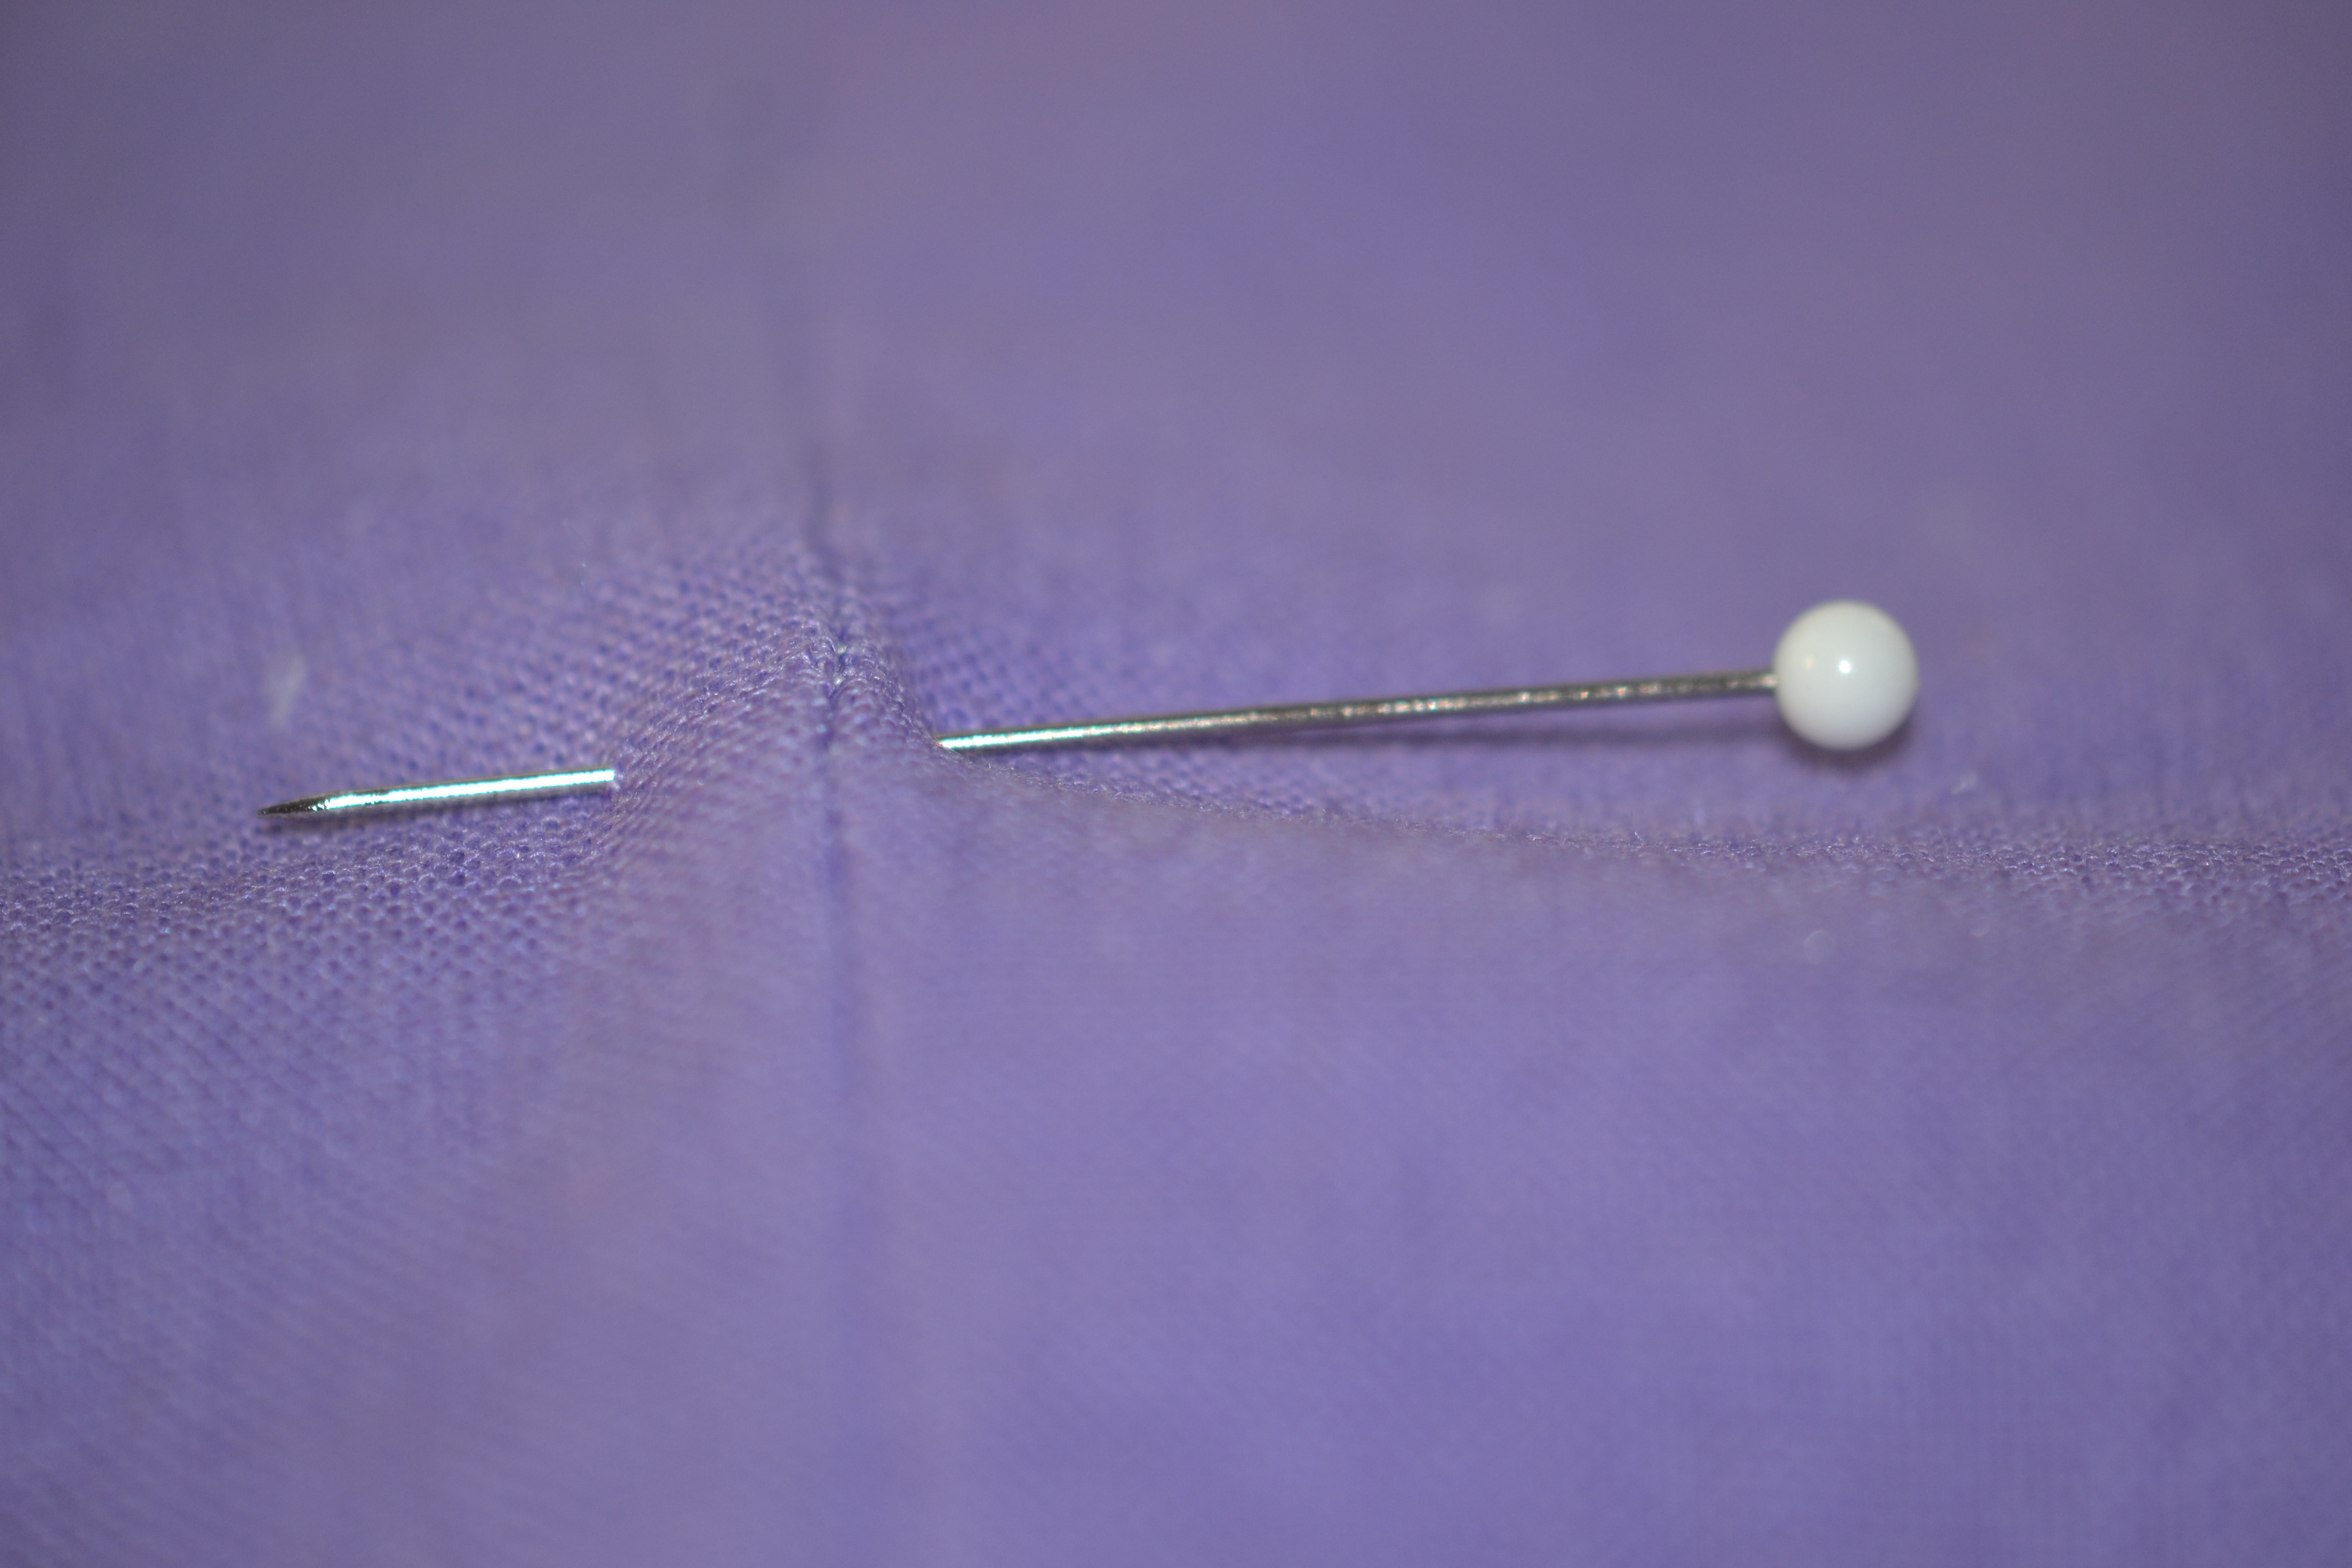
Put a marker at the point where the zipper will end
Now pin the seam closed. Mark where the end of the zipper will be. I usually put a pin with a red glass head there. Sew the seam using a regular stitch length until you get to the marker. Then lengthen the stitch to the longest length your machine has and sew the rest of the seam.
Press the seam as you sewed it. Then press the seam open. Finish the seam allowances.
Now either run a glue stick down the right side of the zipper or put a strip of water soluble basting tape on it.

Water soluble tape on the right side of the zipper
Press the zipper face side down on the seam allowance, centering the zipper teeth over the seam line.

Place the zipper right side down on the seam allowances
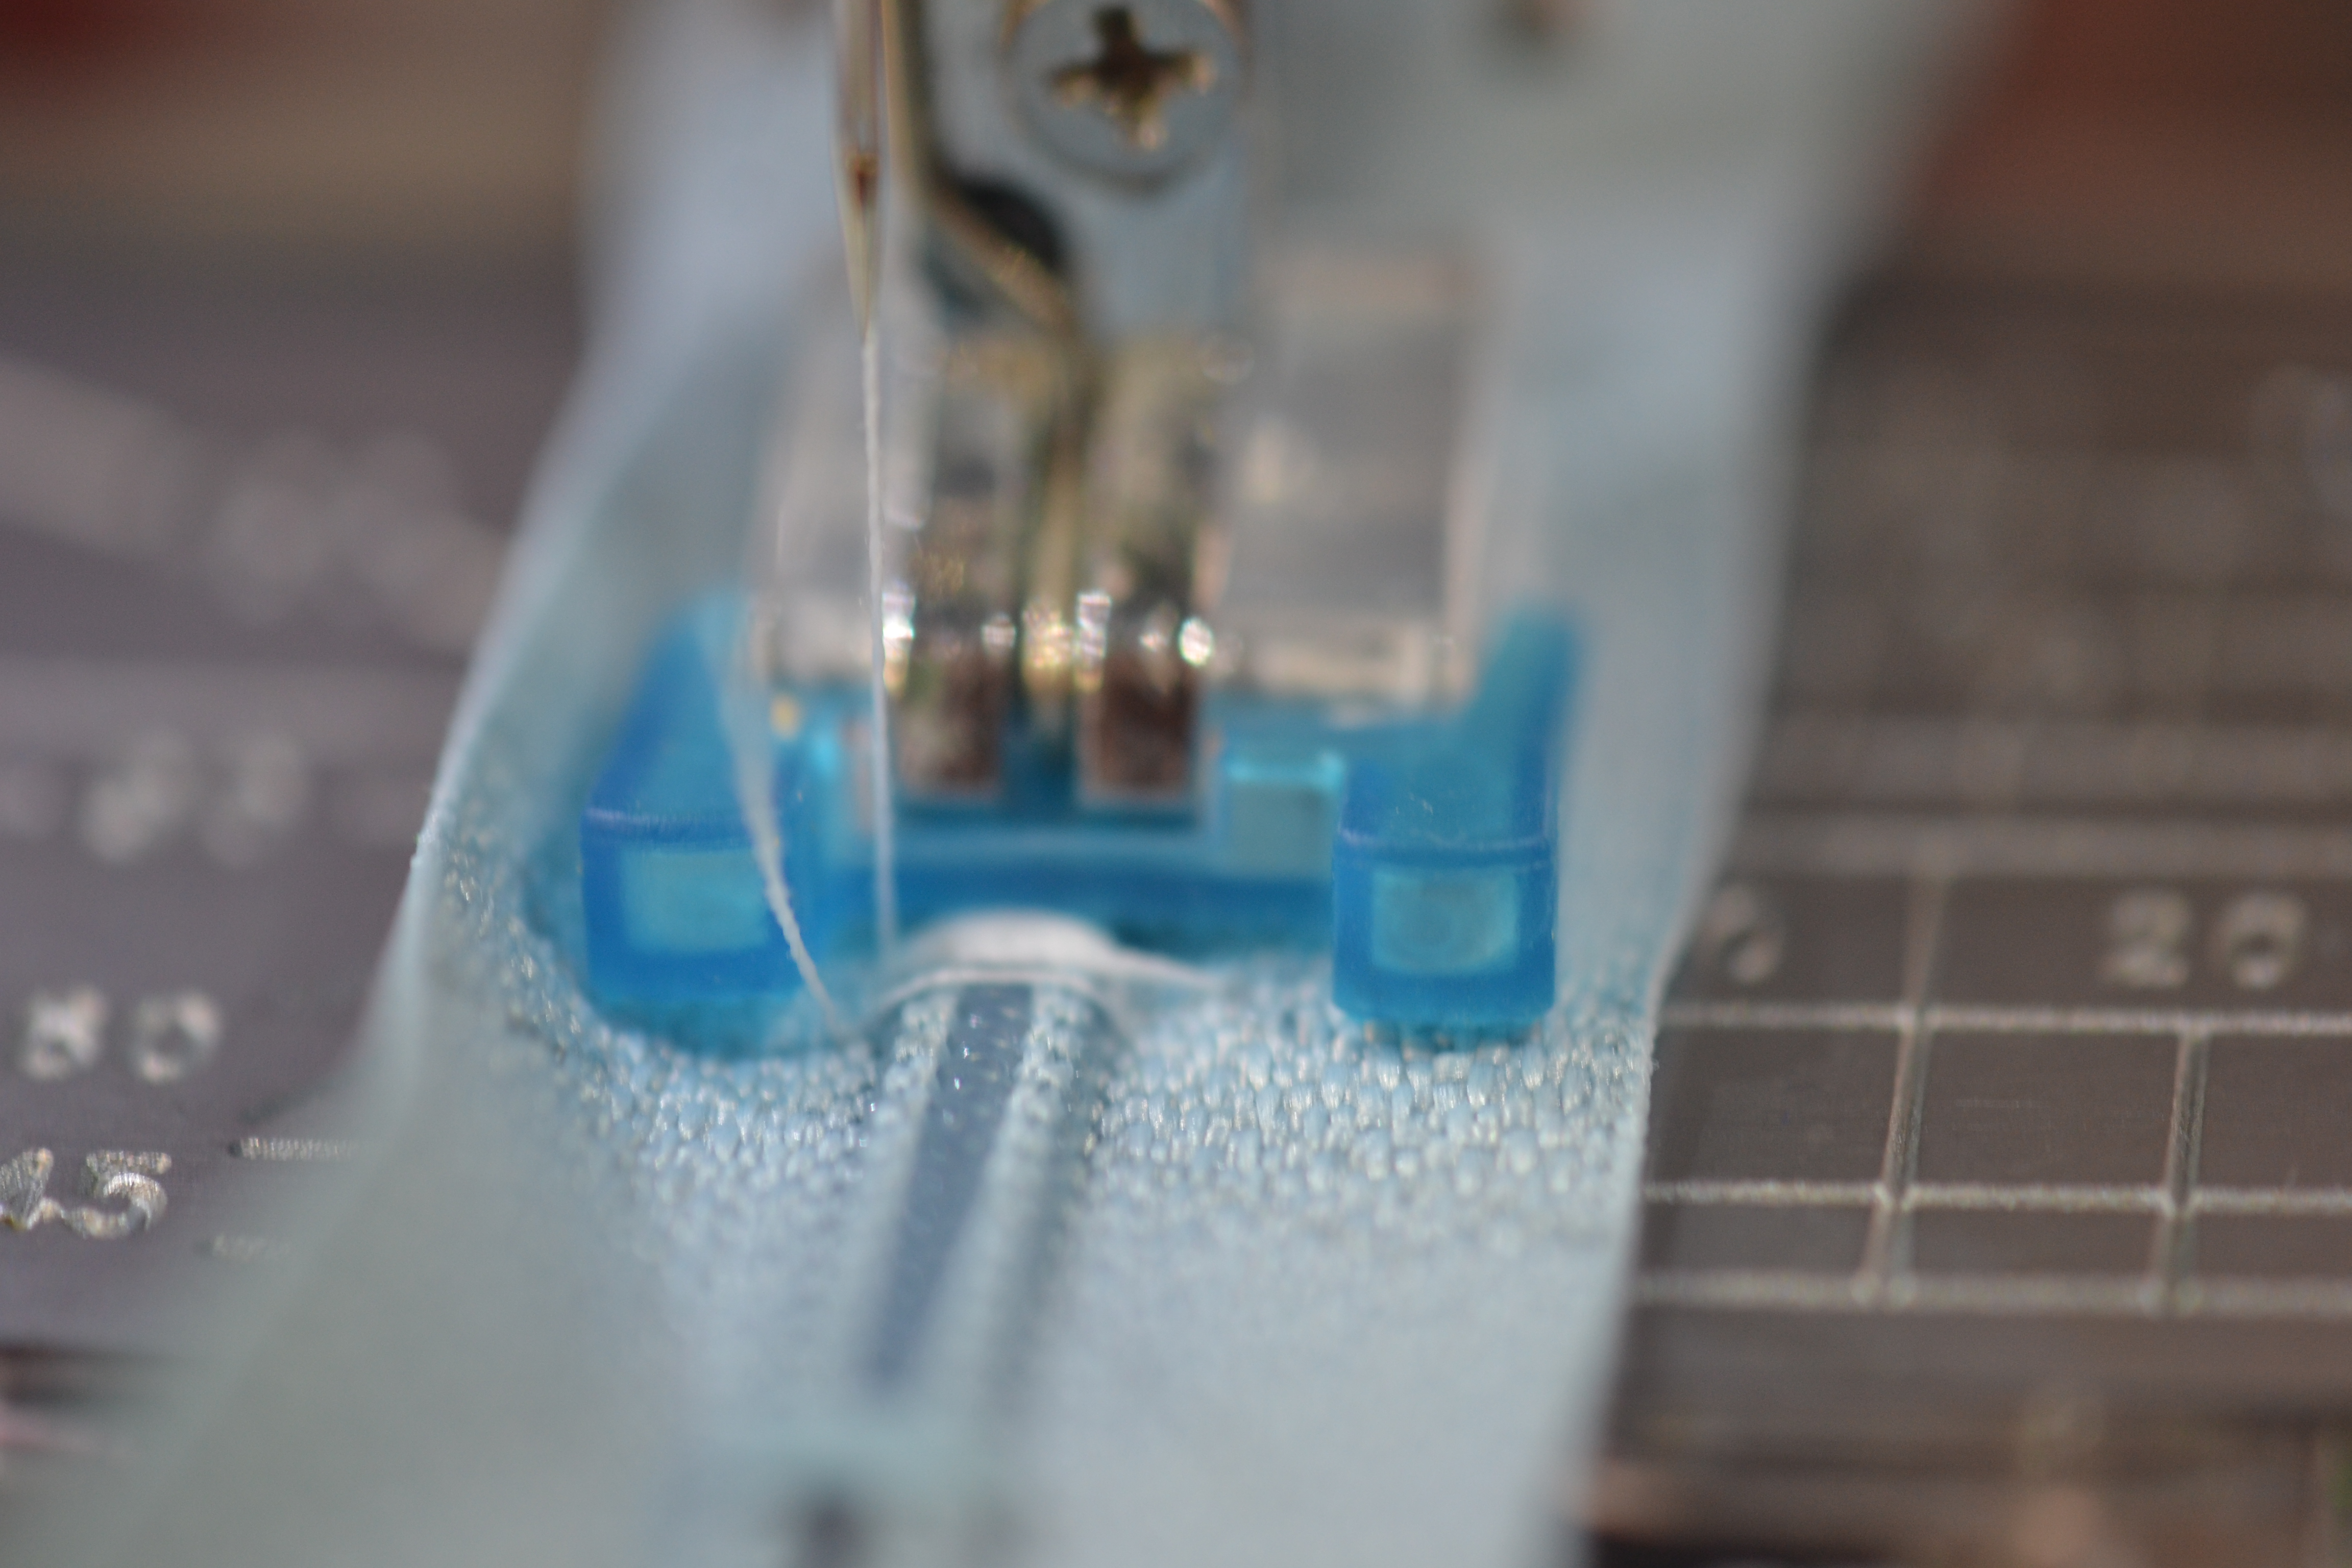
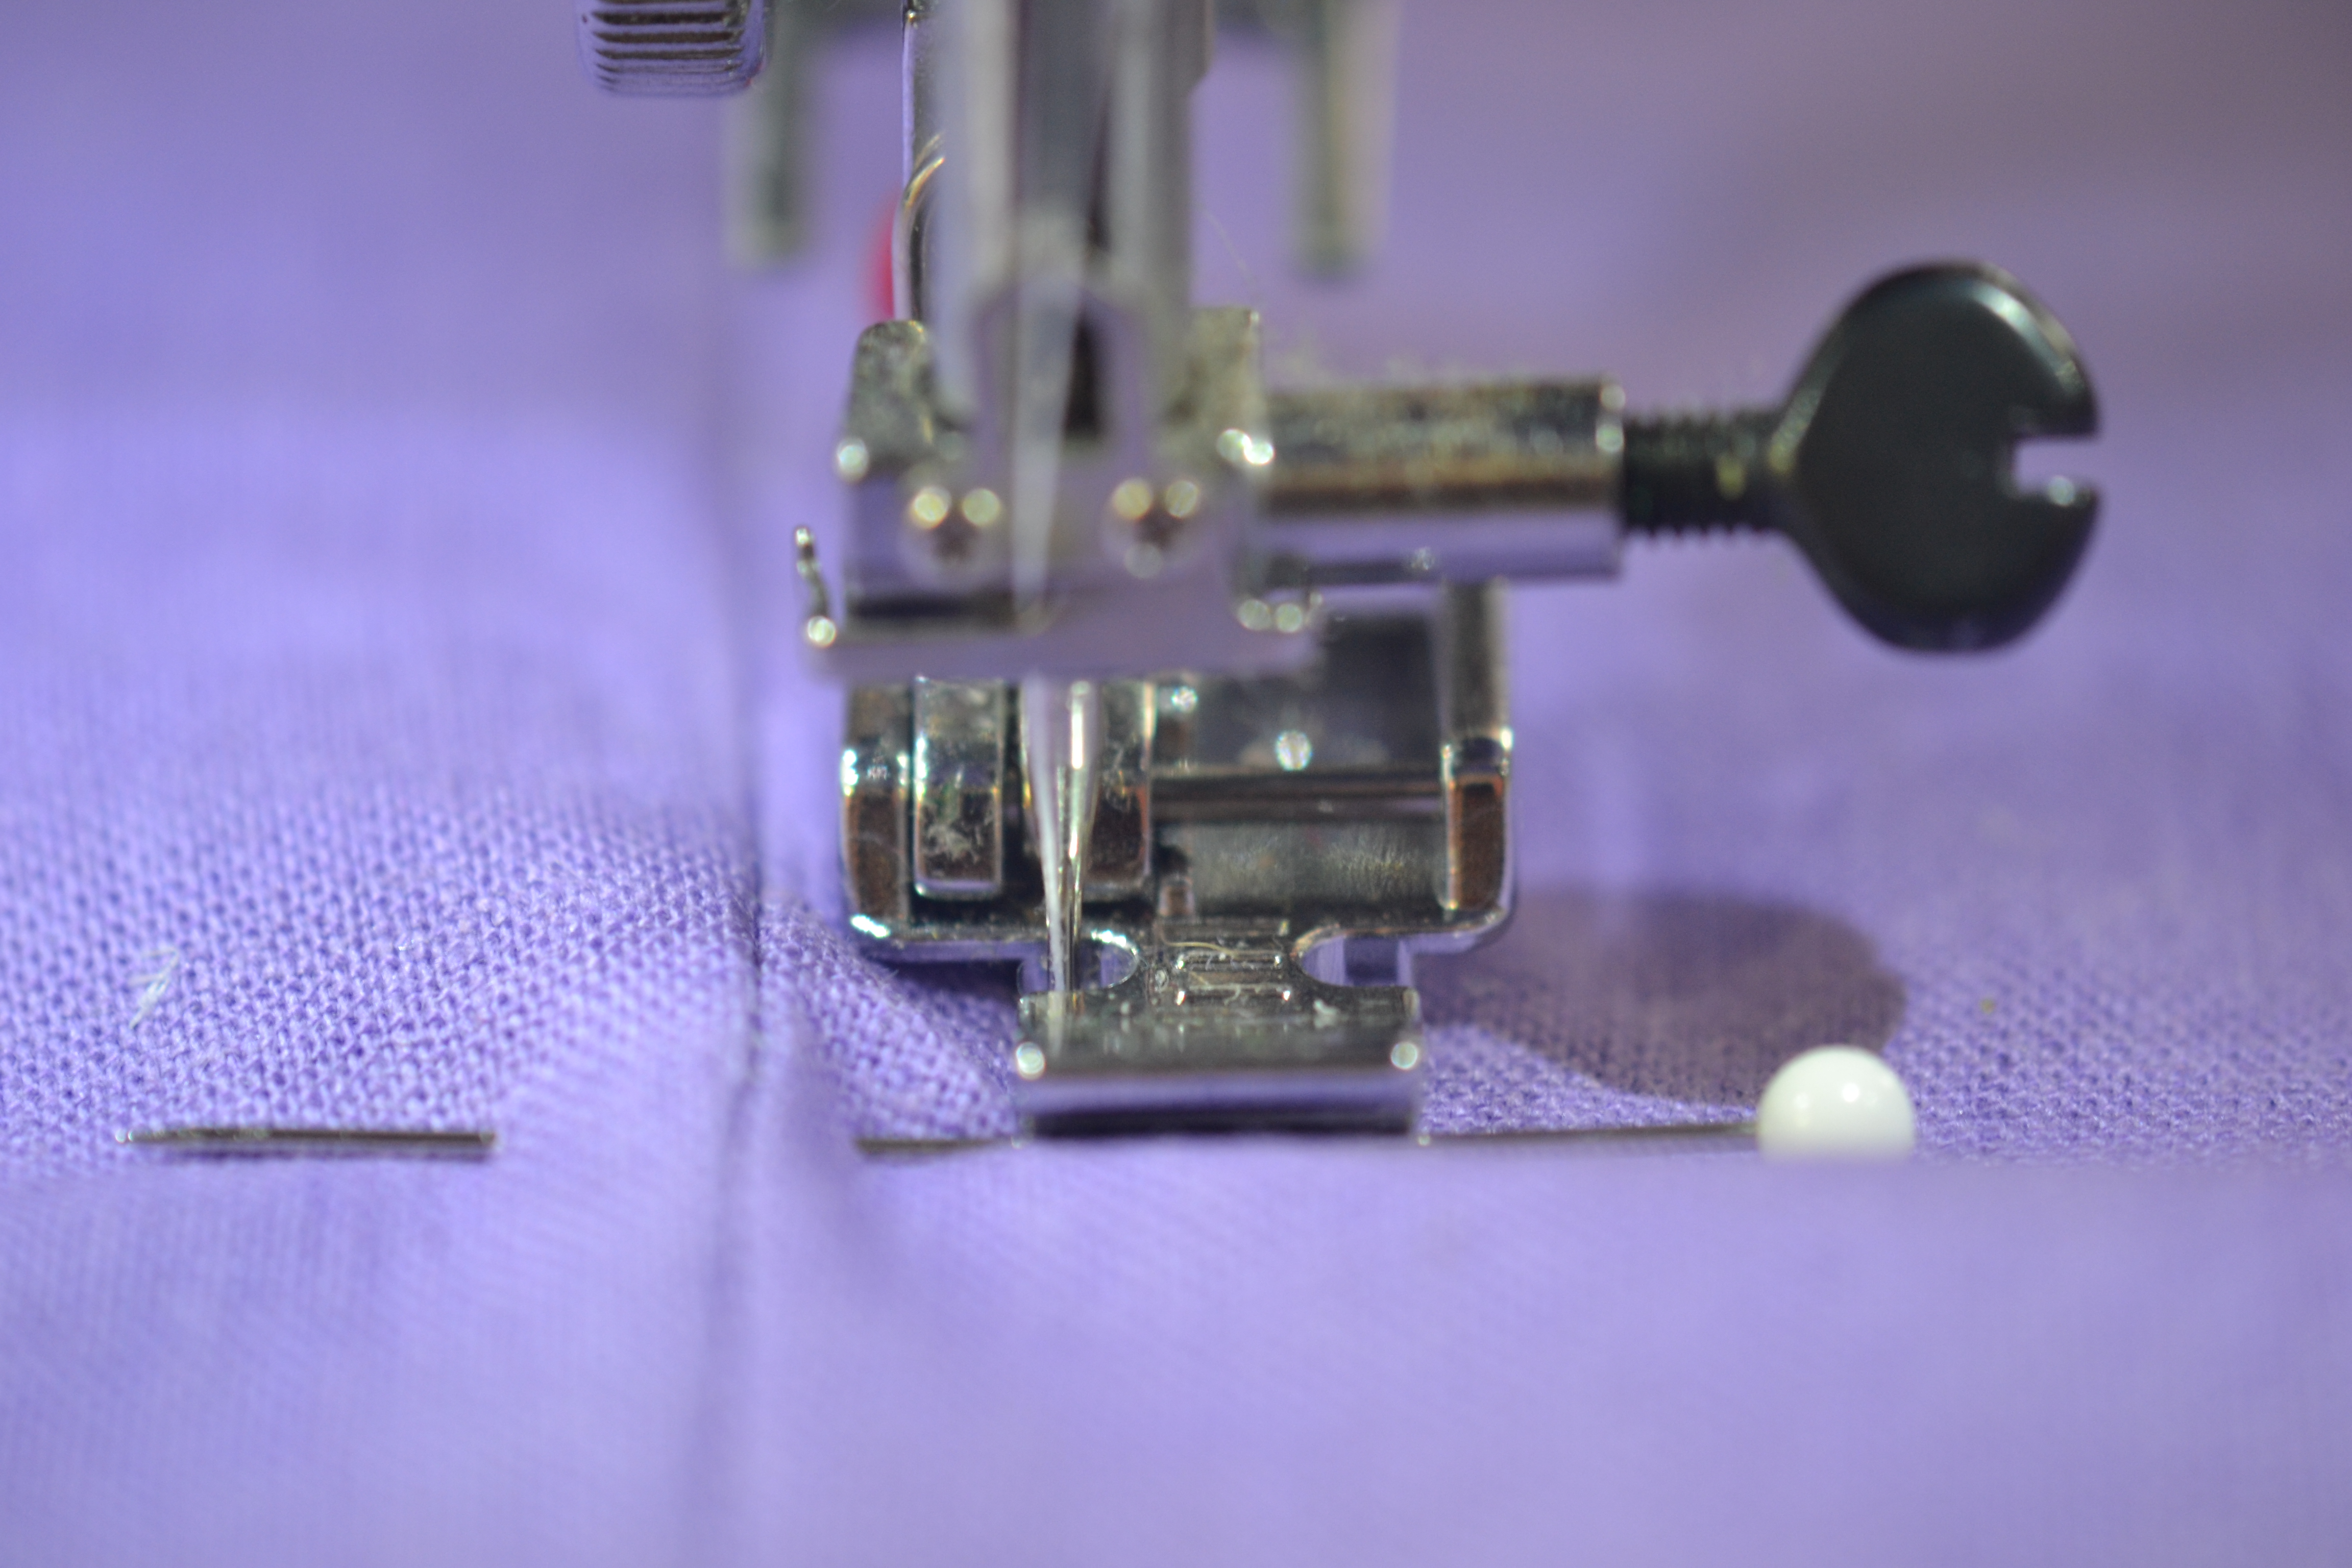
Put your zipper foot on your machine. Adjust your needle so it’s 1/8-1/4″ away from the seam line and clear of the zipper teeth. It doesn’t matter which side of the zipper you sew down first so do what feels comfortable to you.

Zipper foot
If you have an electronic machine, set the needle to the down position. Sew down one side of the zipper, keeping your stitching line nice and straight.
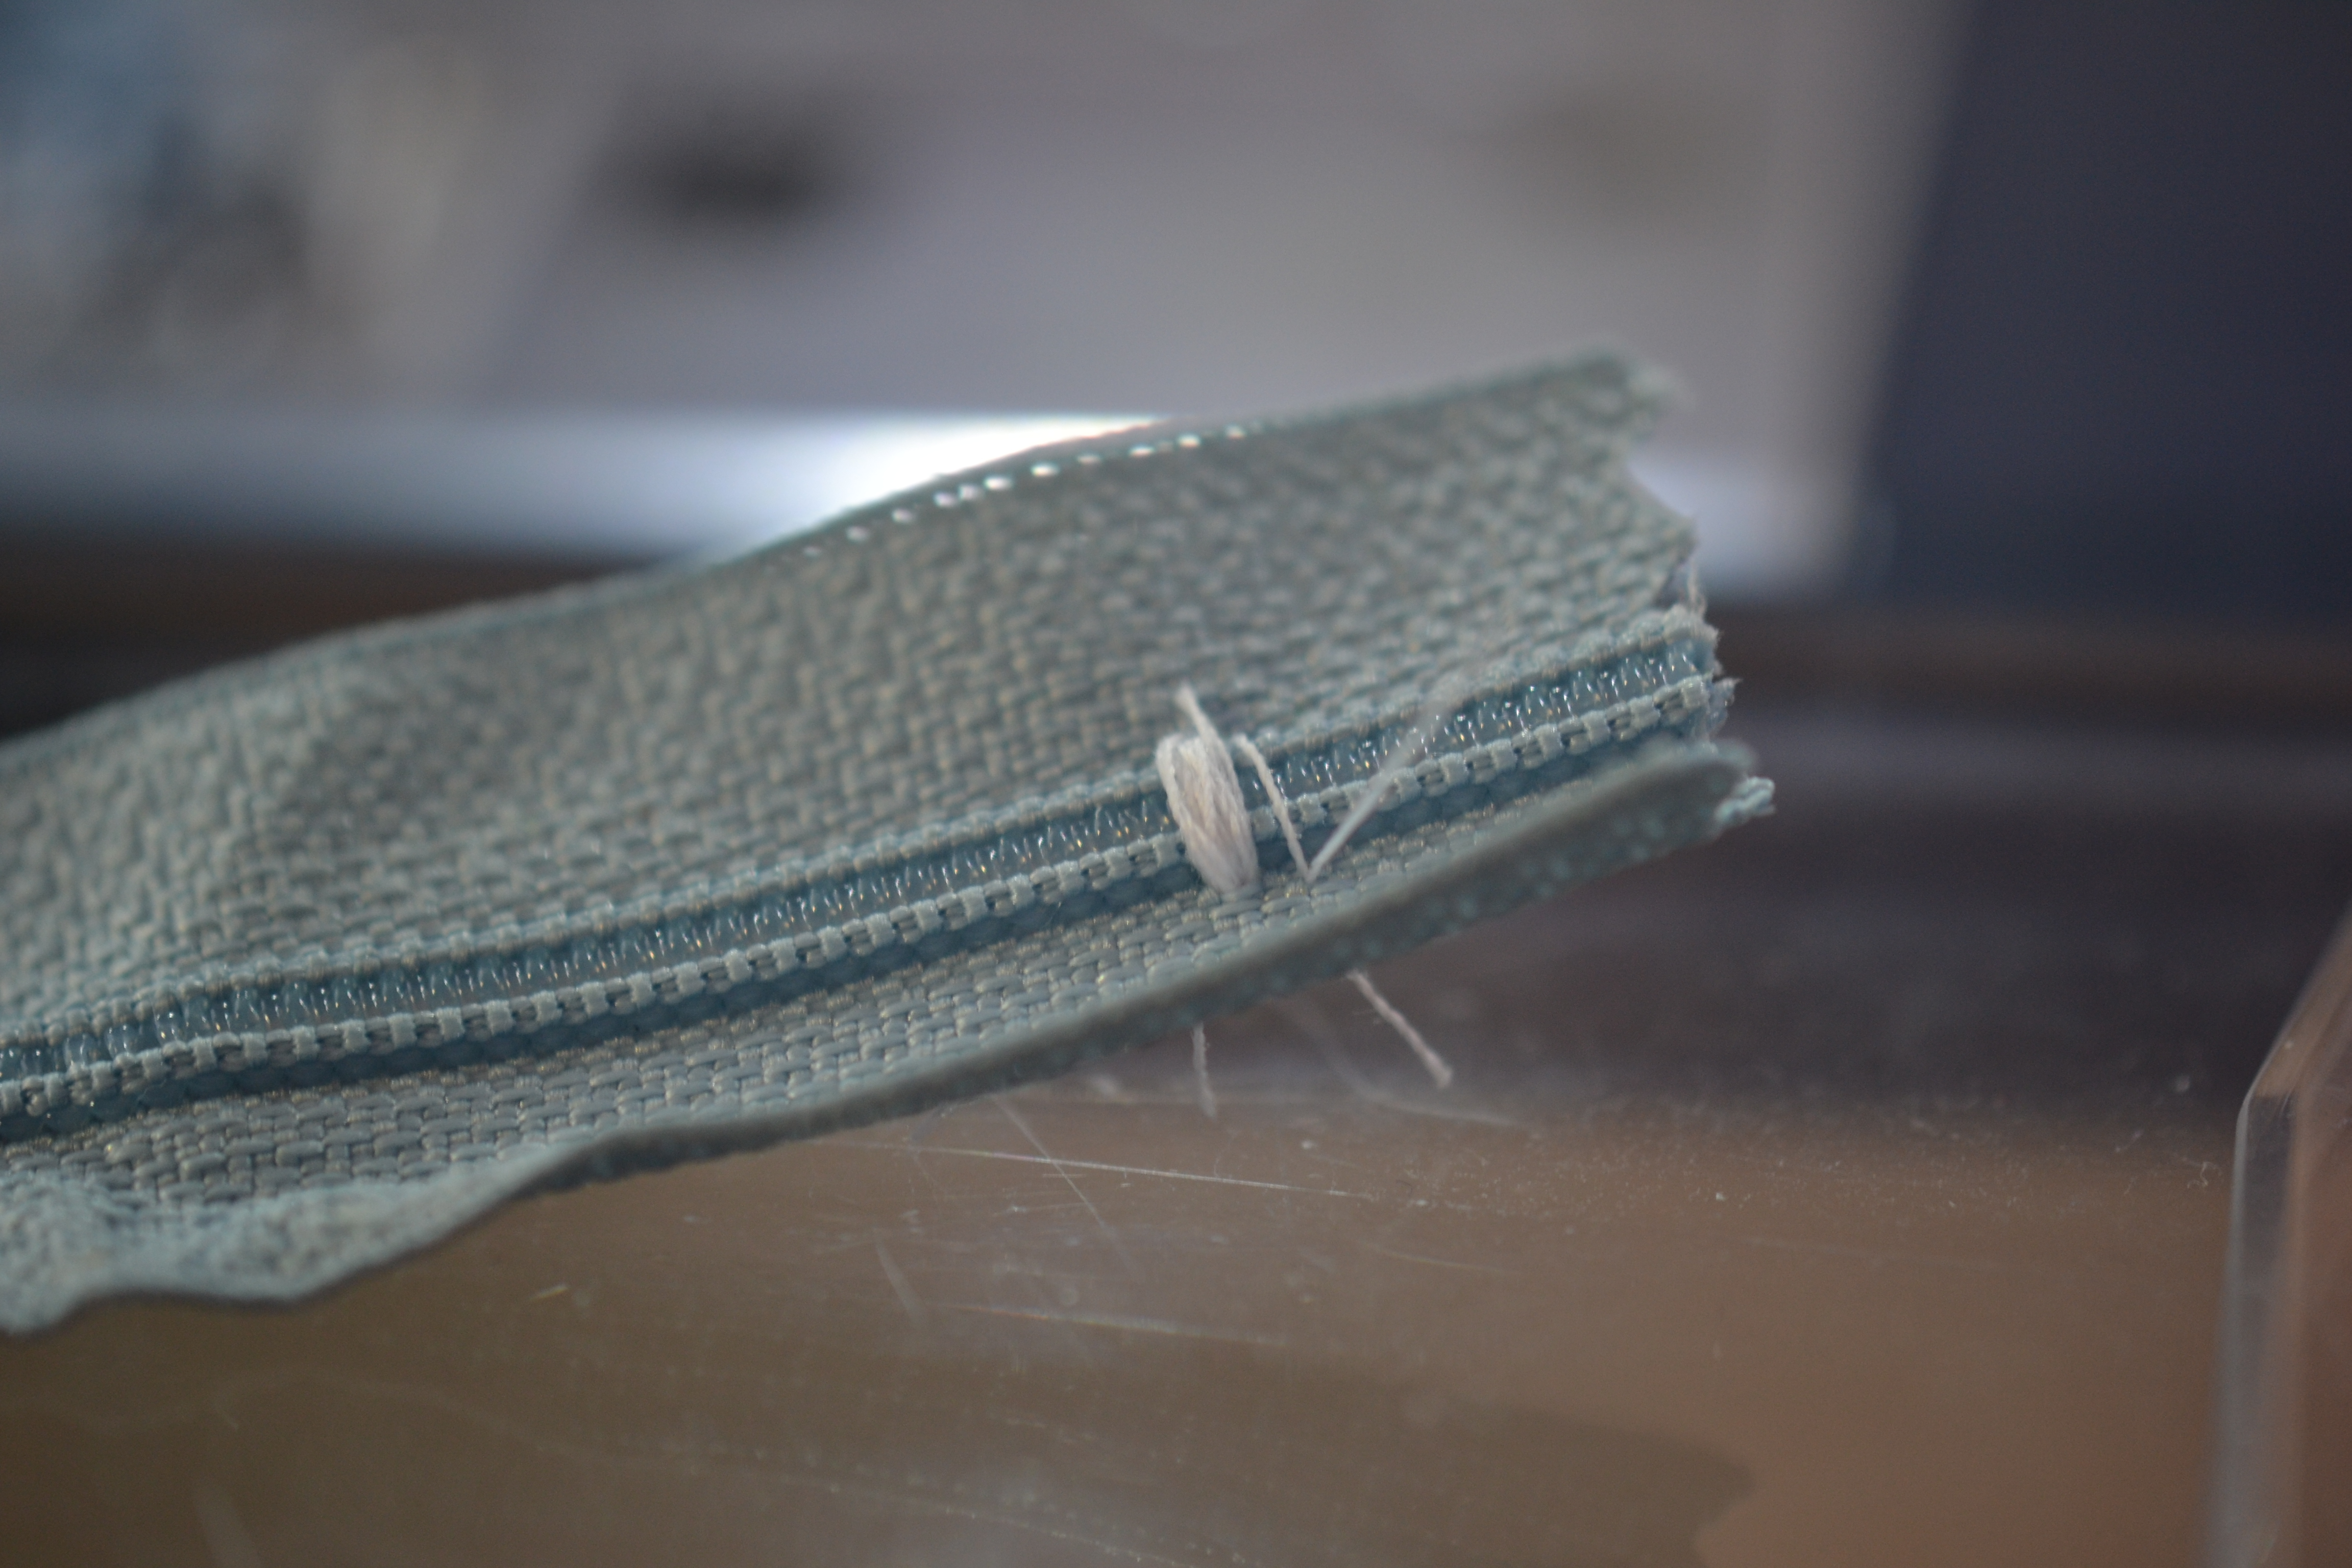
Mark the end of the zipper with a pin. Funny, that didn’t rusty in person. Need to chuck that one.
When you get to the bottom of the zipper, with the needle down, and the presser foot up, turn your garment so you are sewing across the bottom of the zipper.
Stop when you get to the end of the zipper
Very carefully sew as far as the seamline, counting the number of stitches it takes to go that far. Now sew that many stitches on the other side of the seamline.

Sewing across the bottom
With the needle down and the presser foot up, pivot again so you can sew up the other side of the zipper. Keep the stitches straight again. You should be the same distance from the seamline as you were on the other side.

Sewing back up the other side
When you’re done, take your seam ripper or a small pair of scissors and carefully remove the basting stitches the length of the zipper. The zipper should be completely covered, but it should slide easily up and down.
Completed zipper
If your zipper crosses a horizontal seam, this method works very well. Just make sure the horizontal seams (usually at a waist) match up when you baste the seam.
See! Not scary at all.

Thank you for the tutorial I knew some of these techniques, but did not know about interfacing the zipper. Good tips.
LikeLike
AWESOME!
“Some” people who are afraid of zippers MIGHT need this one. 😀 😀 😀 😀 😀
LikeLike
Thanks for sharing this! It is a great post.
LikeLike