
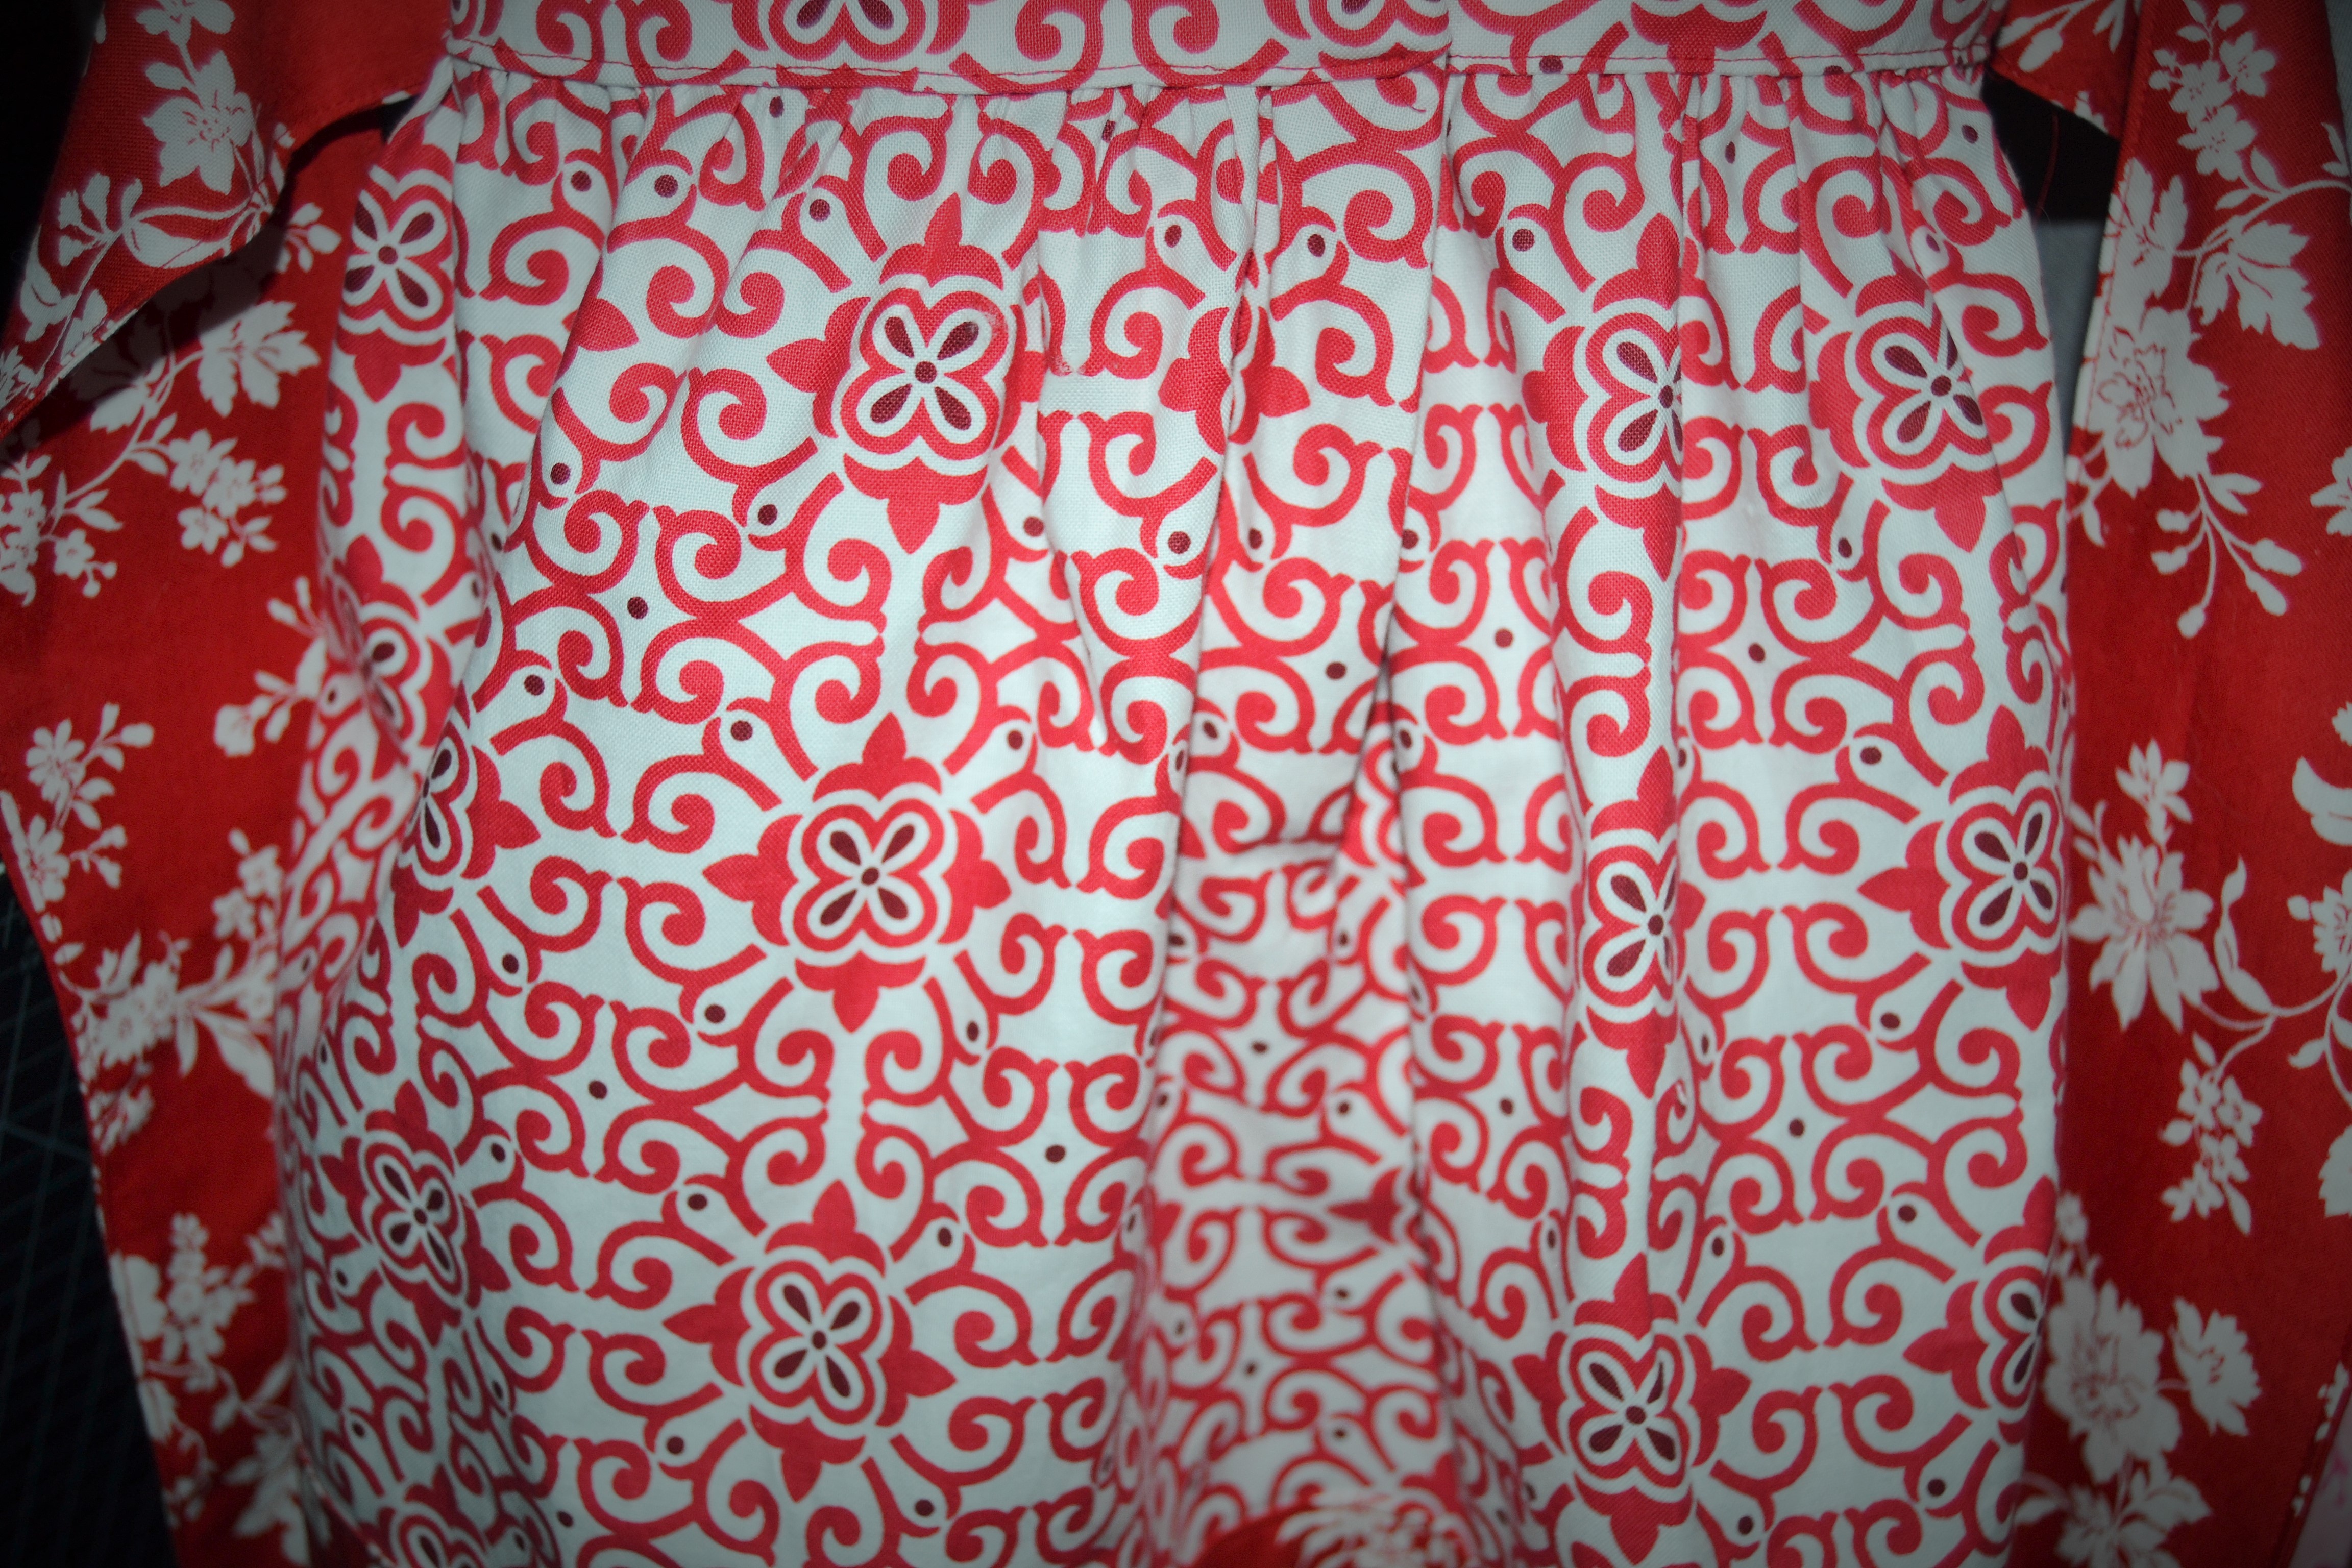
Completed skirt placket
There’s no one right way to make a skirt placket, but there are things we can look for when we decide if a method will work for us. The first thing seamstresses look for when we check out a skirt placket is how much pucker is at the bottom of it. It’s the part of putting in a skirt placket that frustrates beginners, and choosing a method that makes eliminating all or at least 99% of the pucker is important. But the second thing is actually more important, and that’s making sure the method we choose provides full coverage of the body underneath. A skirt shouldn’t provide a “peeky hole”. A good method for making a skirt placket should give us the option of snapping or buttoning the placket closed invisibly if the skirt isn’t full enough to give us confidence our modesty is safe.
Some patterns come with instructions for making a skirt placket, but others don’t. Sometimes after we make a dress without a placket, especially for a child, we find it’s a struggle to get the dress over her head and arms. Unfortunately, once the dress is finished, it’s a big job to take it apart and put a skirt placket in. I always err on the side of caution and put a skirt placket in even if the pattern doesn’t have one. No little girl ever complained about its being too easy to get dressed.
If the pattern already has a skirt placket in it, the designer will tell you how long the opening in the skirt needs to be. If it doesn’t, you’ll need to decide. I have found a 5″ opening is usually enough for small children, 8″ for bigger girls, ans 10-12″ for woman’s dress. Skirt plackets are usually only in costumes for women, but I have encountered a skirt placket or two in wedding gowns.
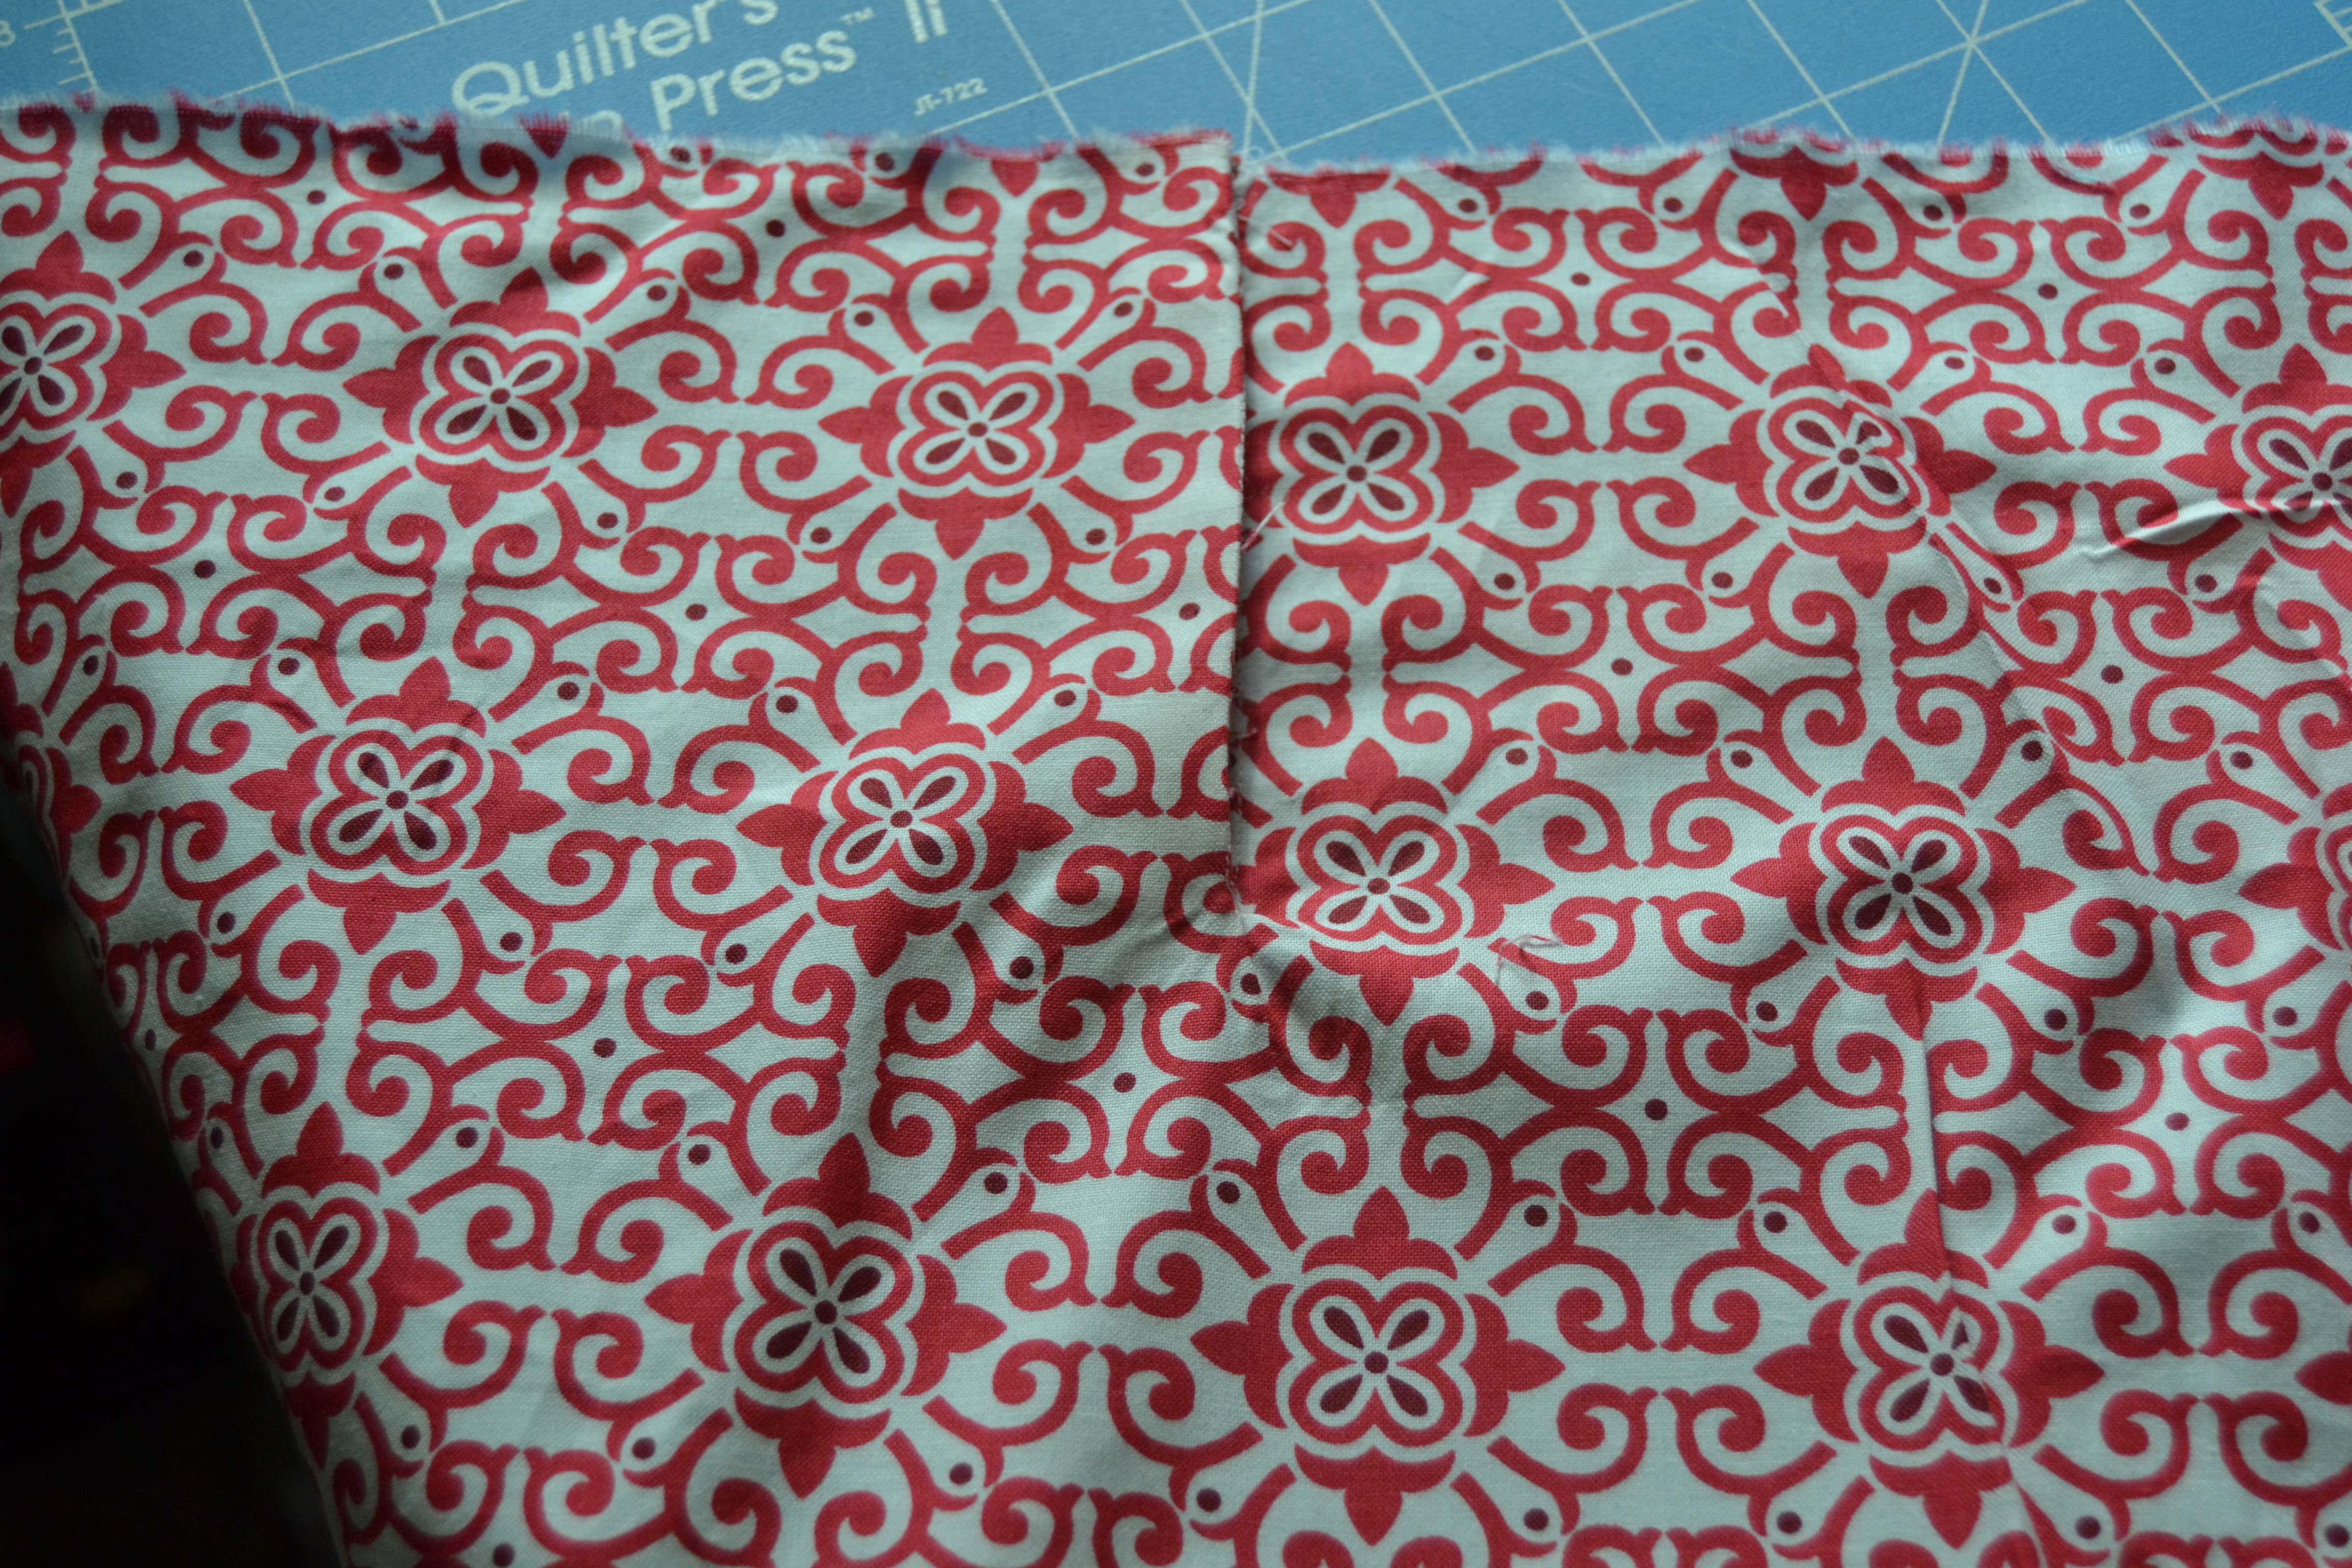
Draw the opening line
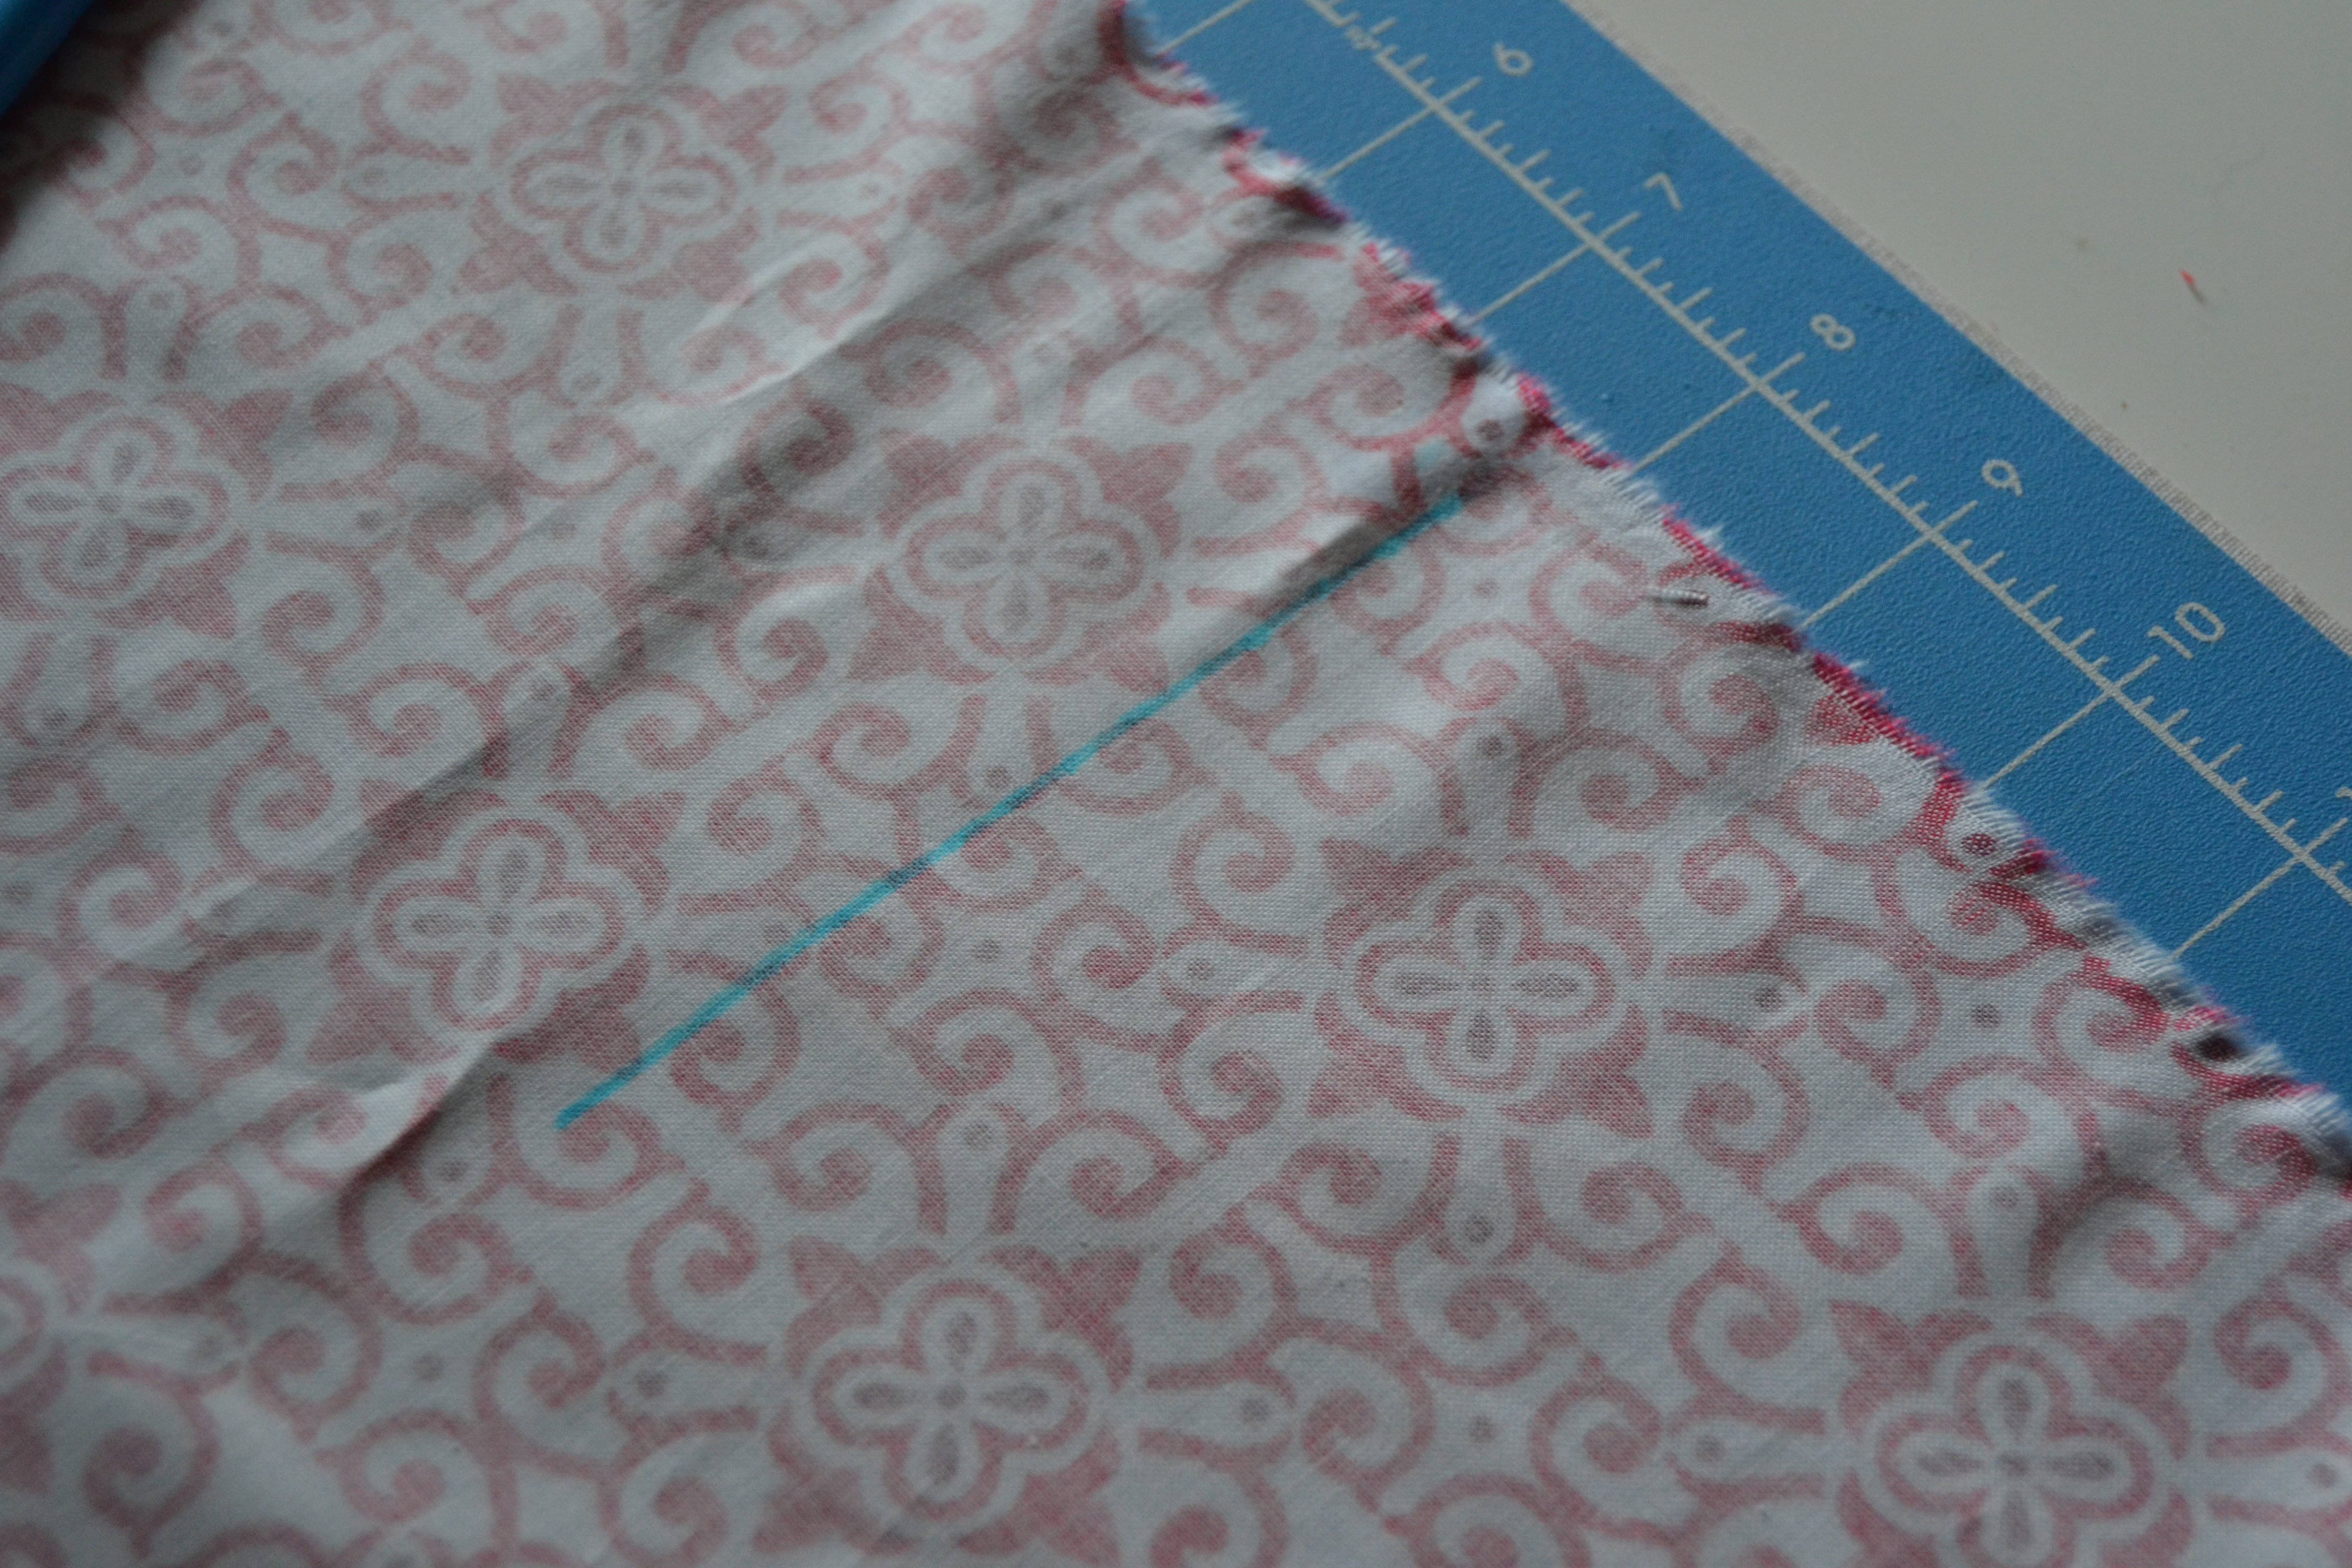
Using an erasable marker draw a line where the skirt placket will go the length of the placket. If it’s not part of the pattern instructions, on most dresses it will go at the center back. In cases where it doesn’t, the designer should have provided instructions and probably did.
While it isn’t absolutely necessary, I like to stay stitch the opening before I slash it. It controls where I cut and keeps the fabric from stretching while I’m sewing the packet in. Start 3/8″ from the line at the waist seam and taper down to the end of the line. Take one stitch across the bottom and sew up the other side ending 3/8″ from the line at the waist.
Stay-stitch the opening
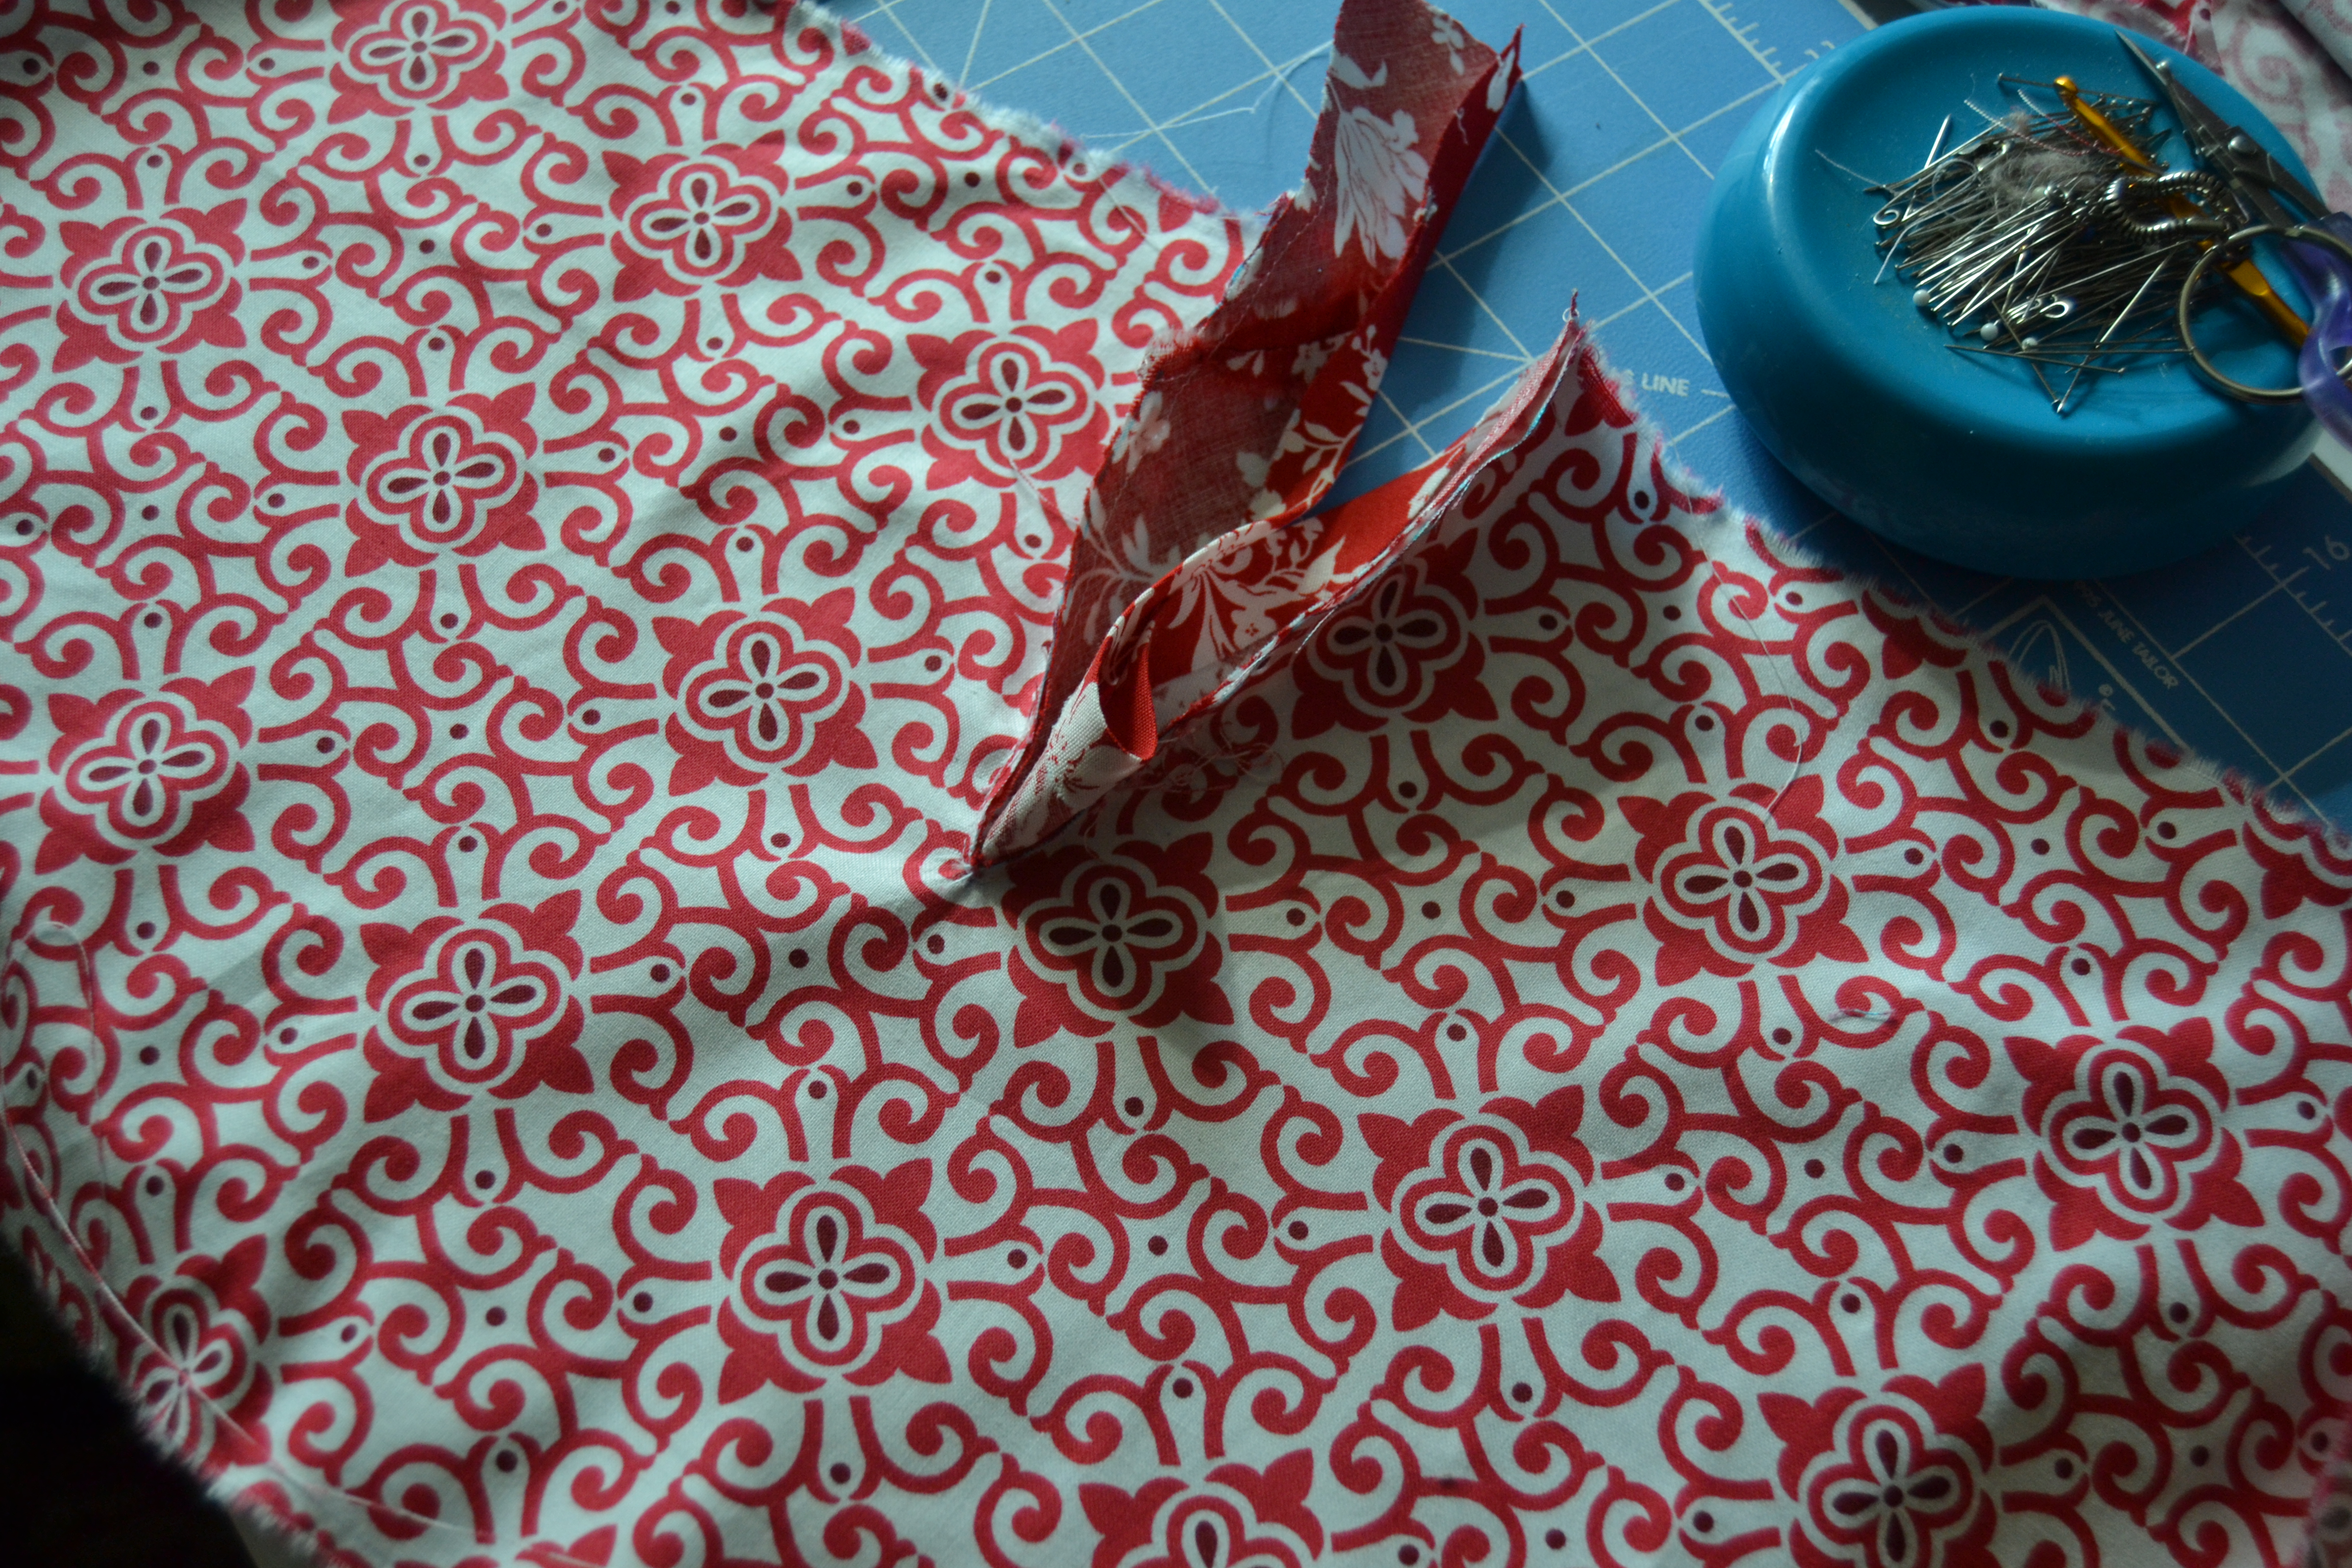
Carefully cut on the line.
Cut on the the line
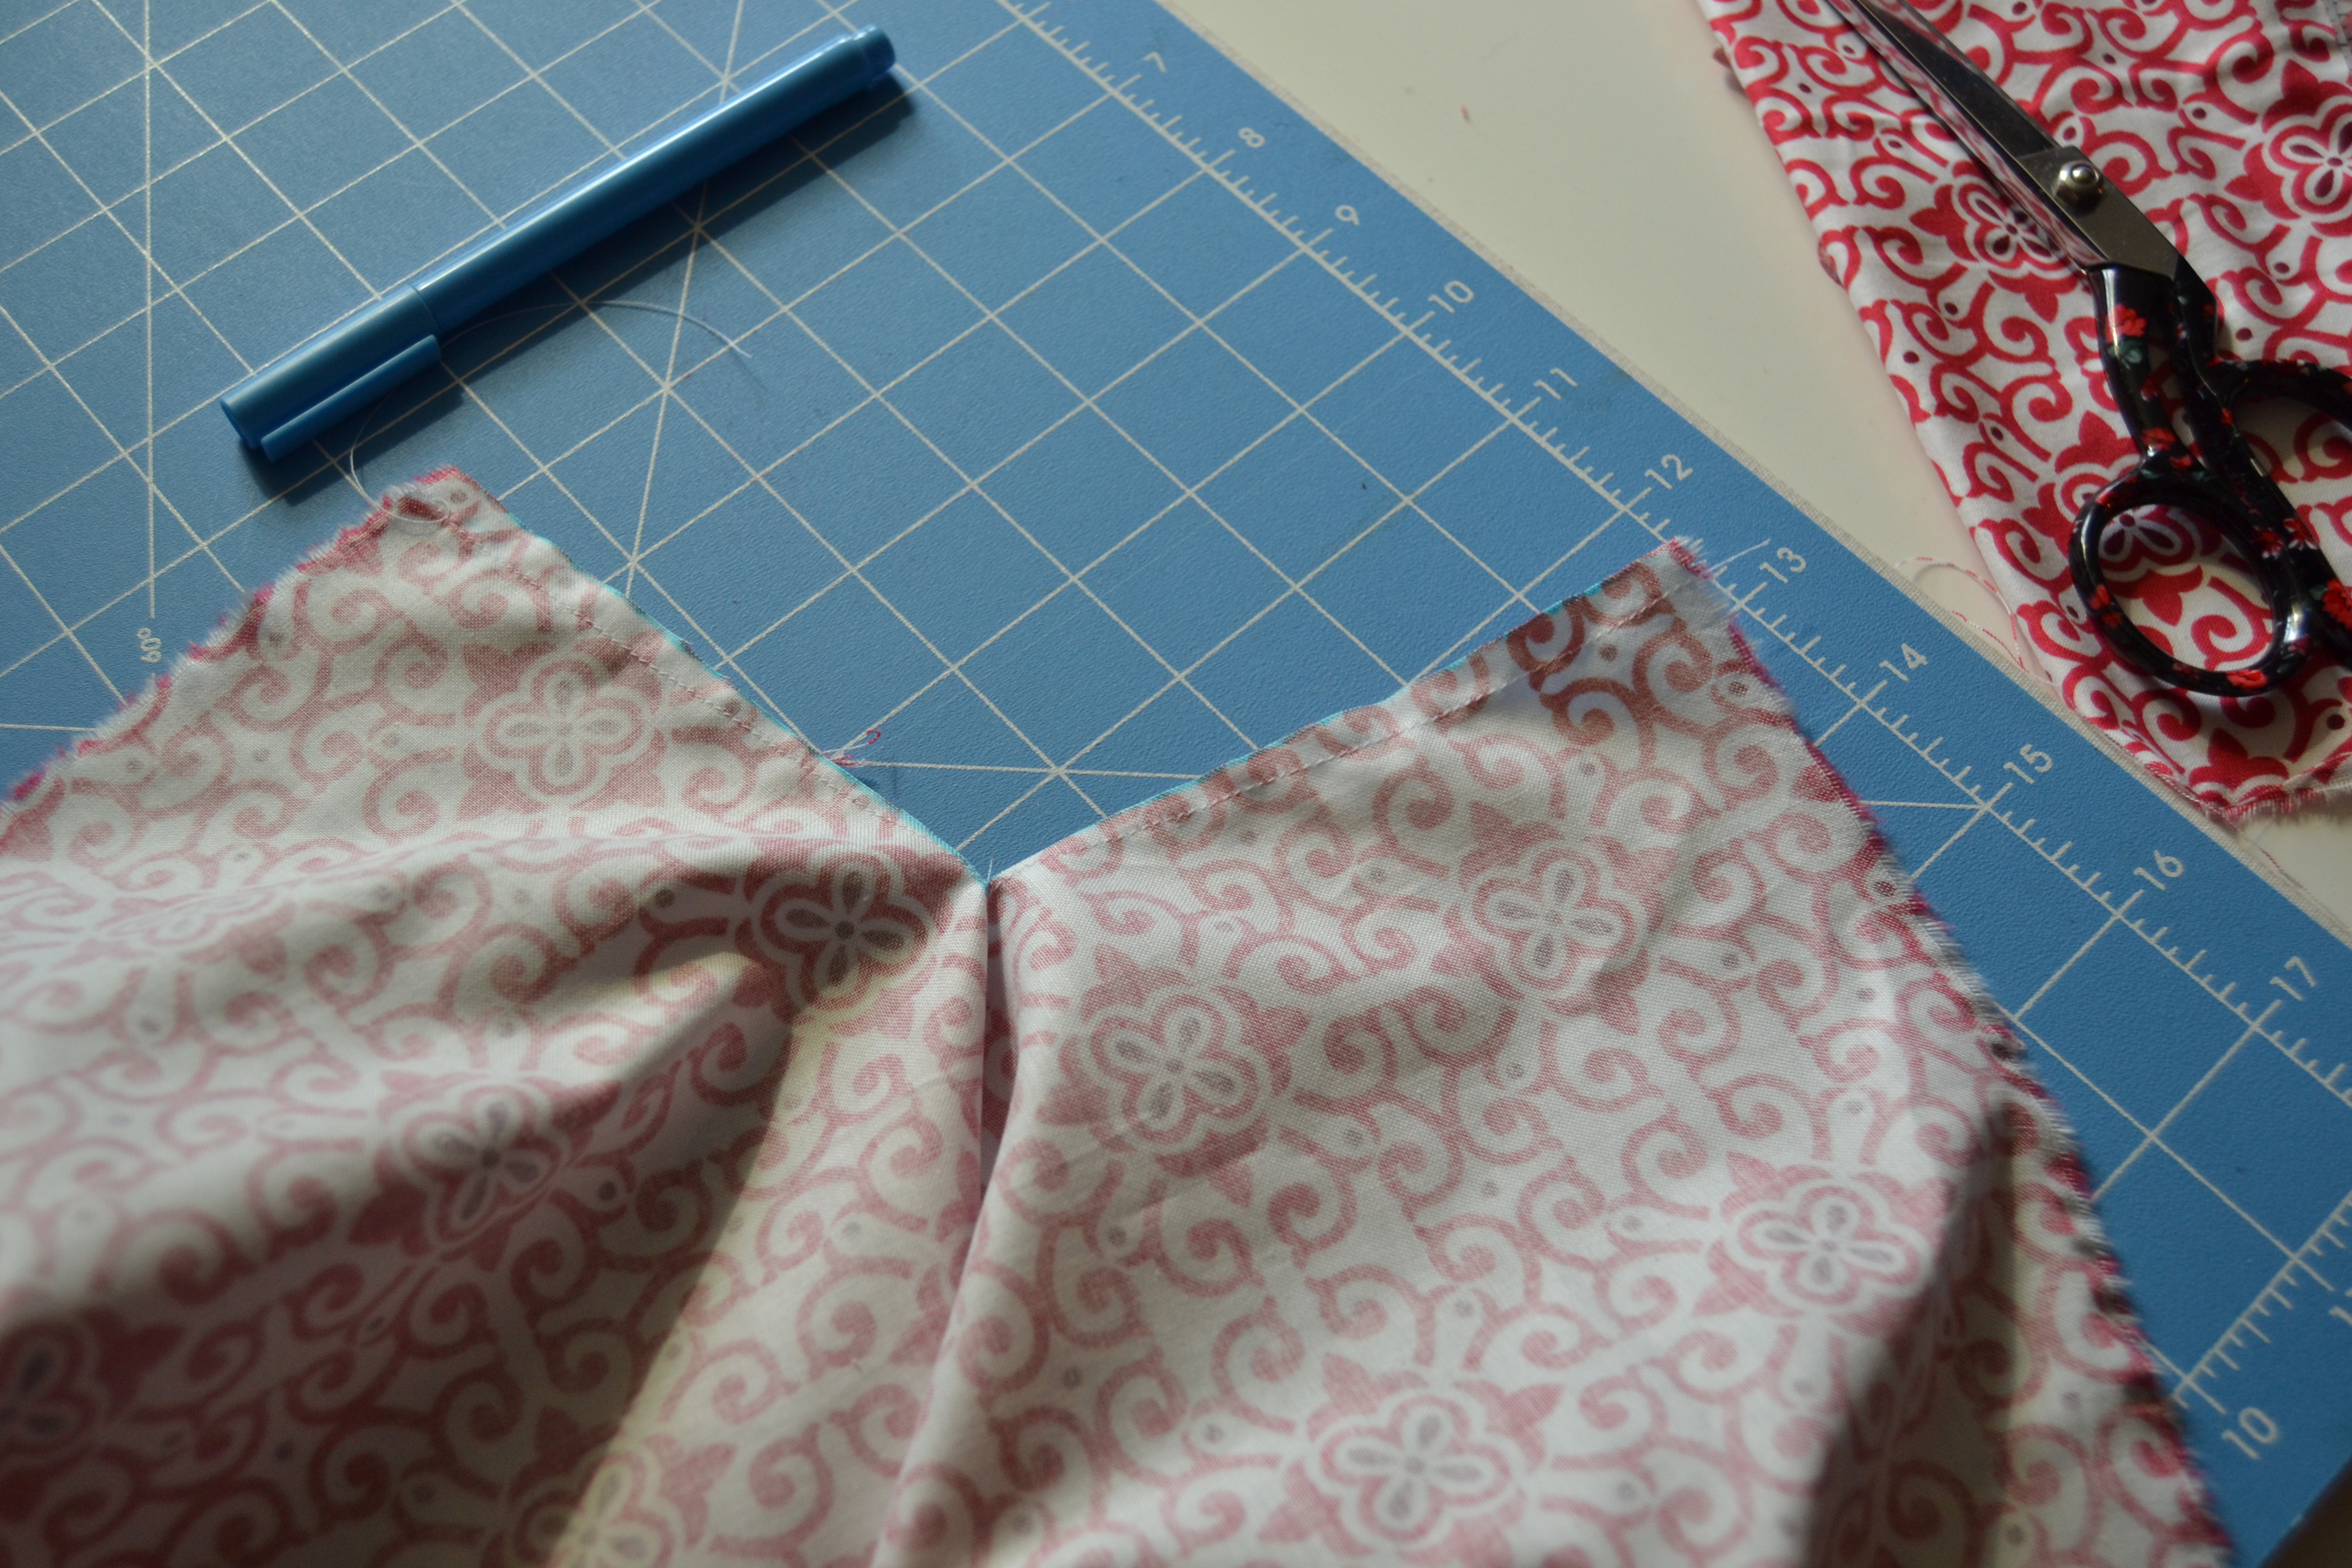
Straighten the fabric out, measure the length of the opening. This is the length you need to cut the fabric for your placket.
If the designer hasn’t told you how wide to cut the placket, you get to figure it our yourself. You’re going to need two 3/8″ seam allowances, plus twice the width of the placket. I like my plackets to be 1/2″ wide when they’re finished. That gives me good coverage and room for small buttons or snaps if I decide I want to secure it shut after I’m done. So I would cut my plackets 1 3/4″ wide. You can choose whatever width you like. Cutting the placket on the bias makes it easier to manipulate the fabric at the bottom of the opening. You can make the placket work cut on the straight grain if you don’t have enough fabric to cut it on the bias It’s just not as easy to sew in.
Press 1/4″ inch of the placket piece to the back.
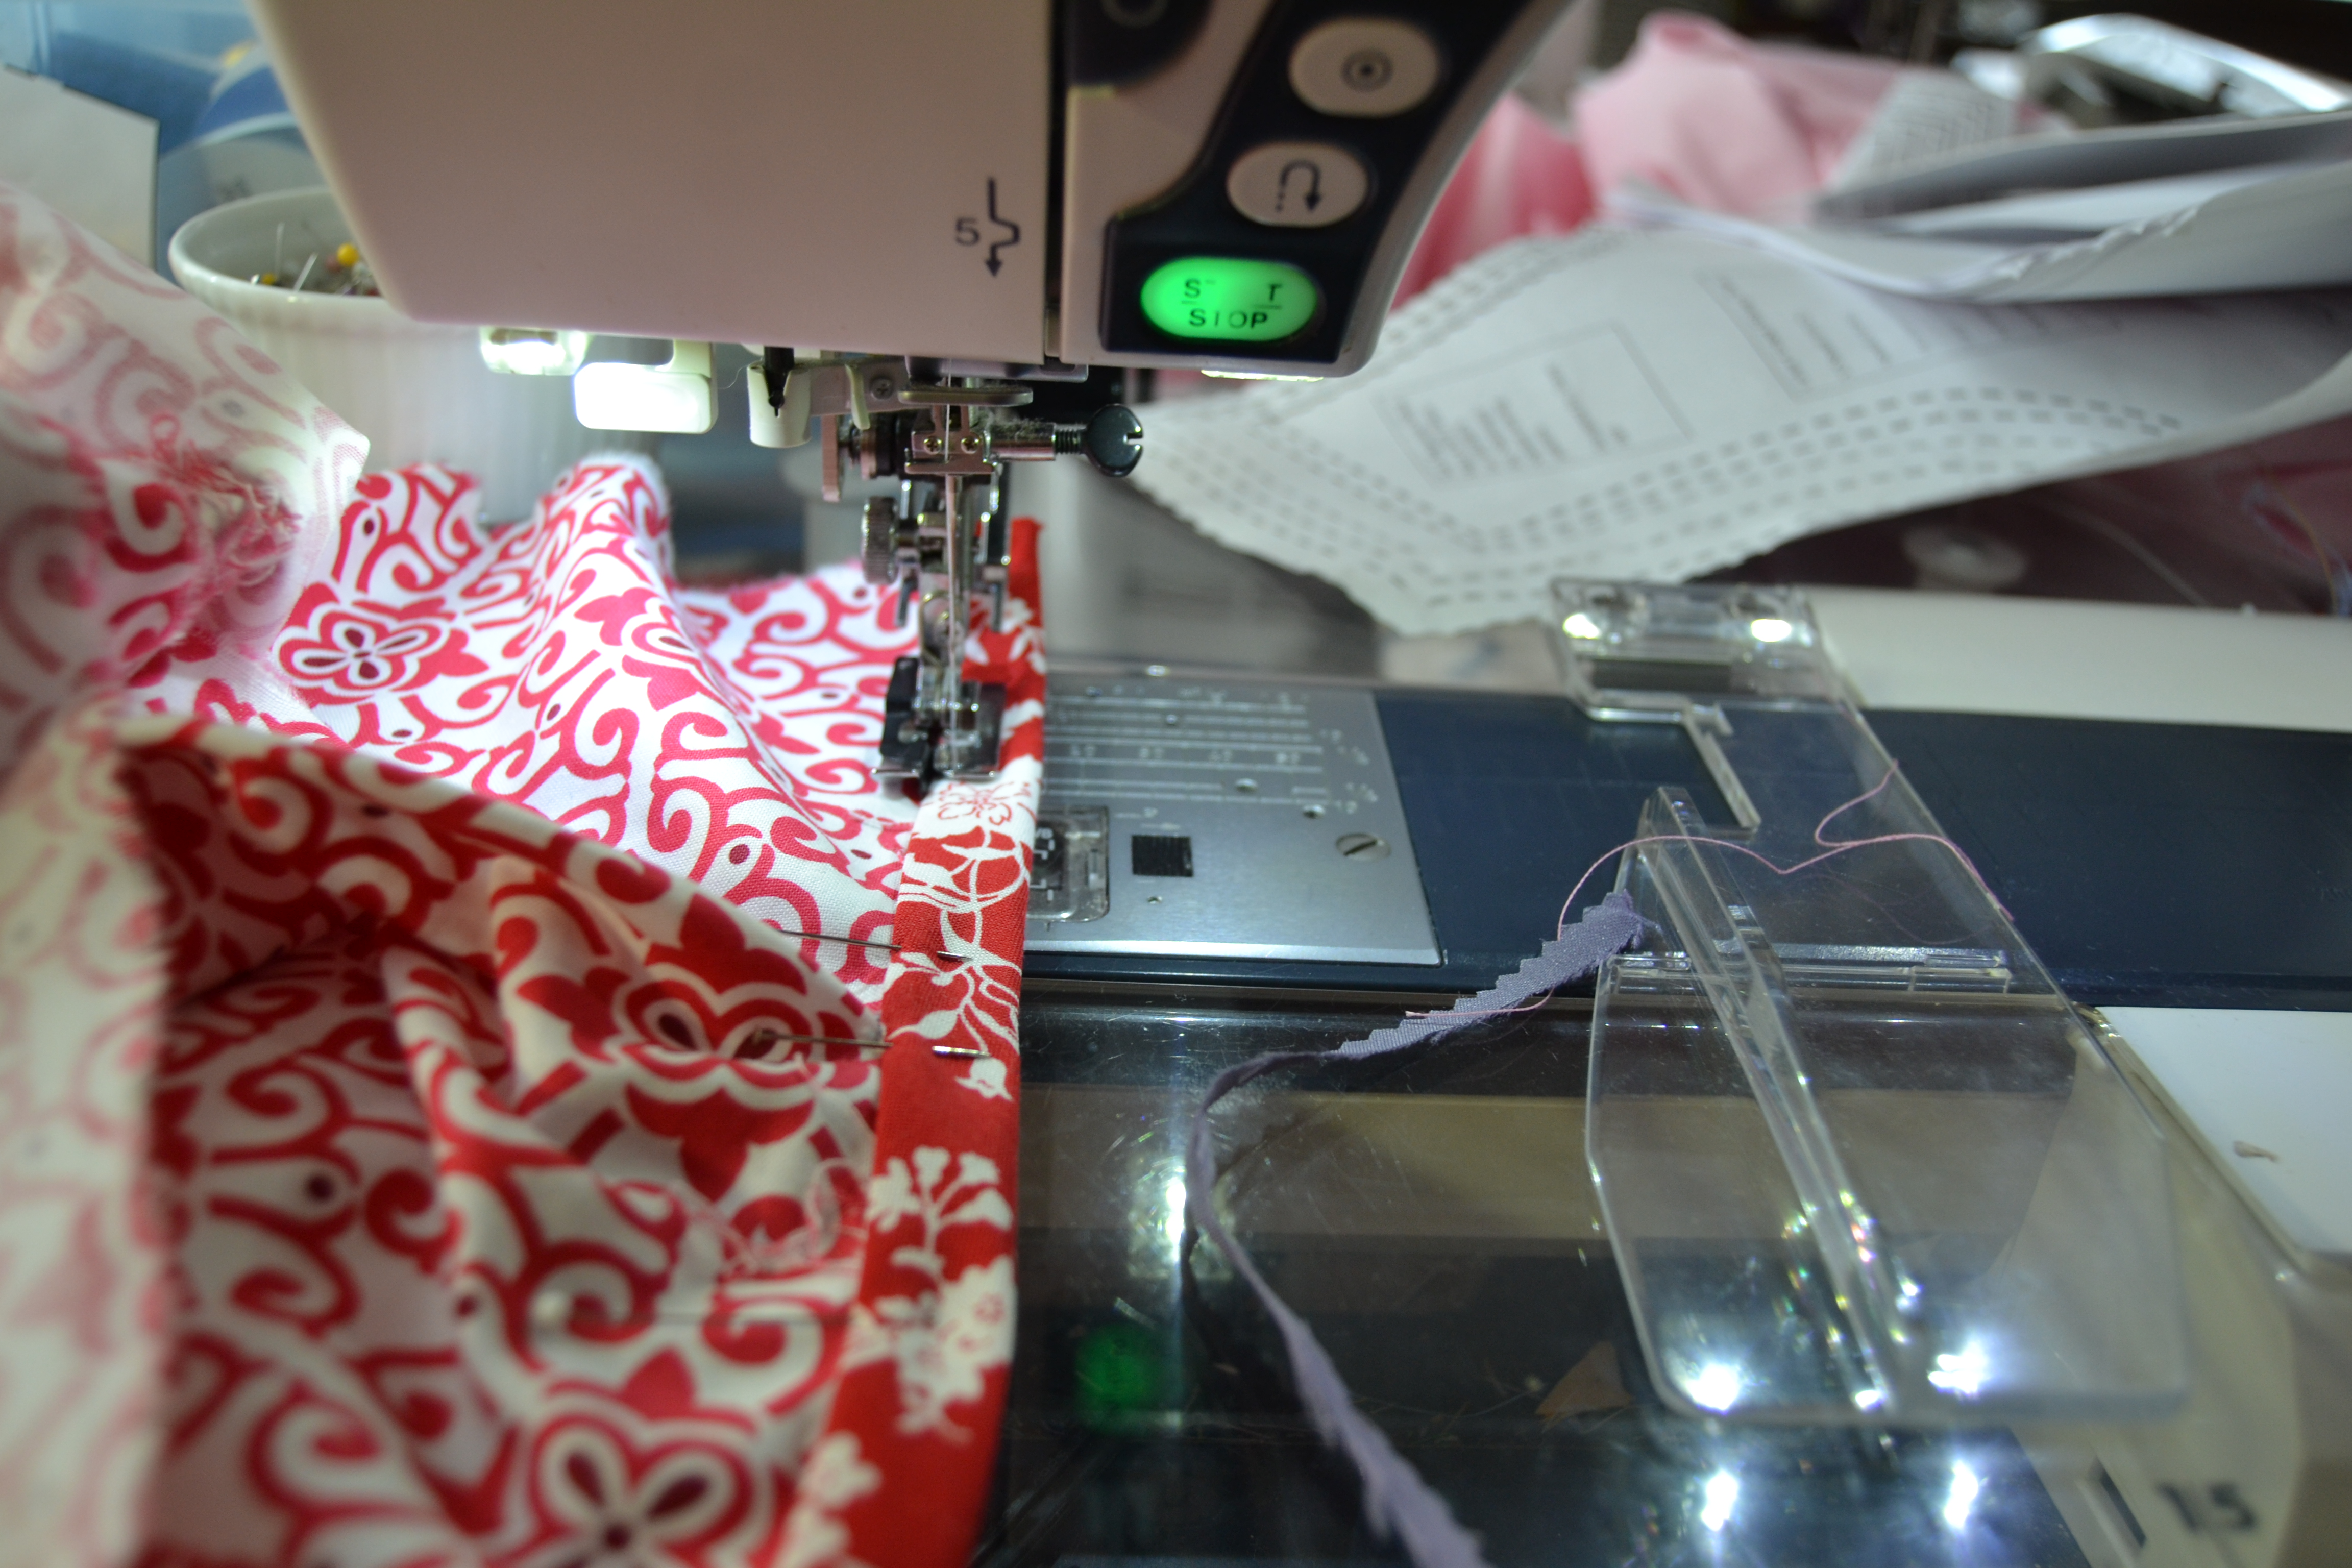
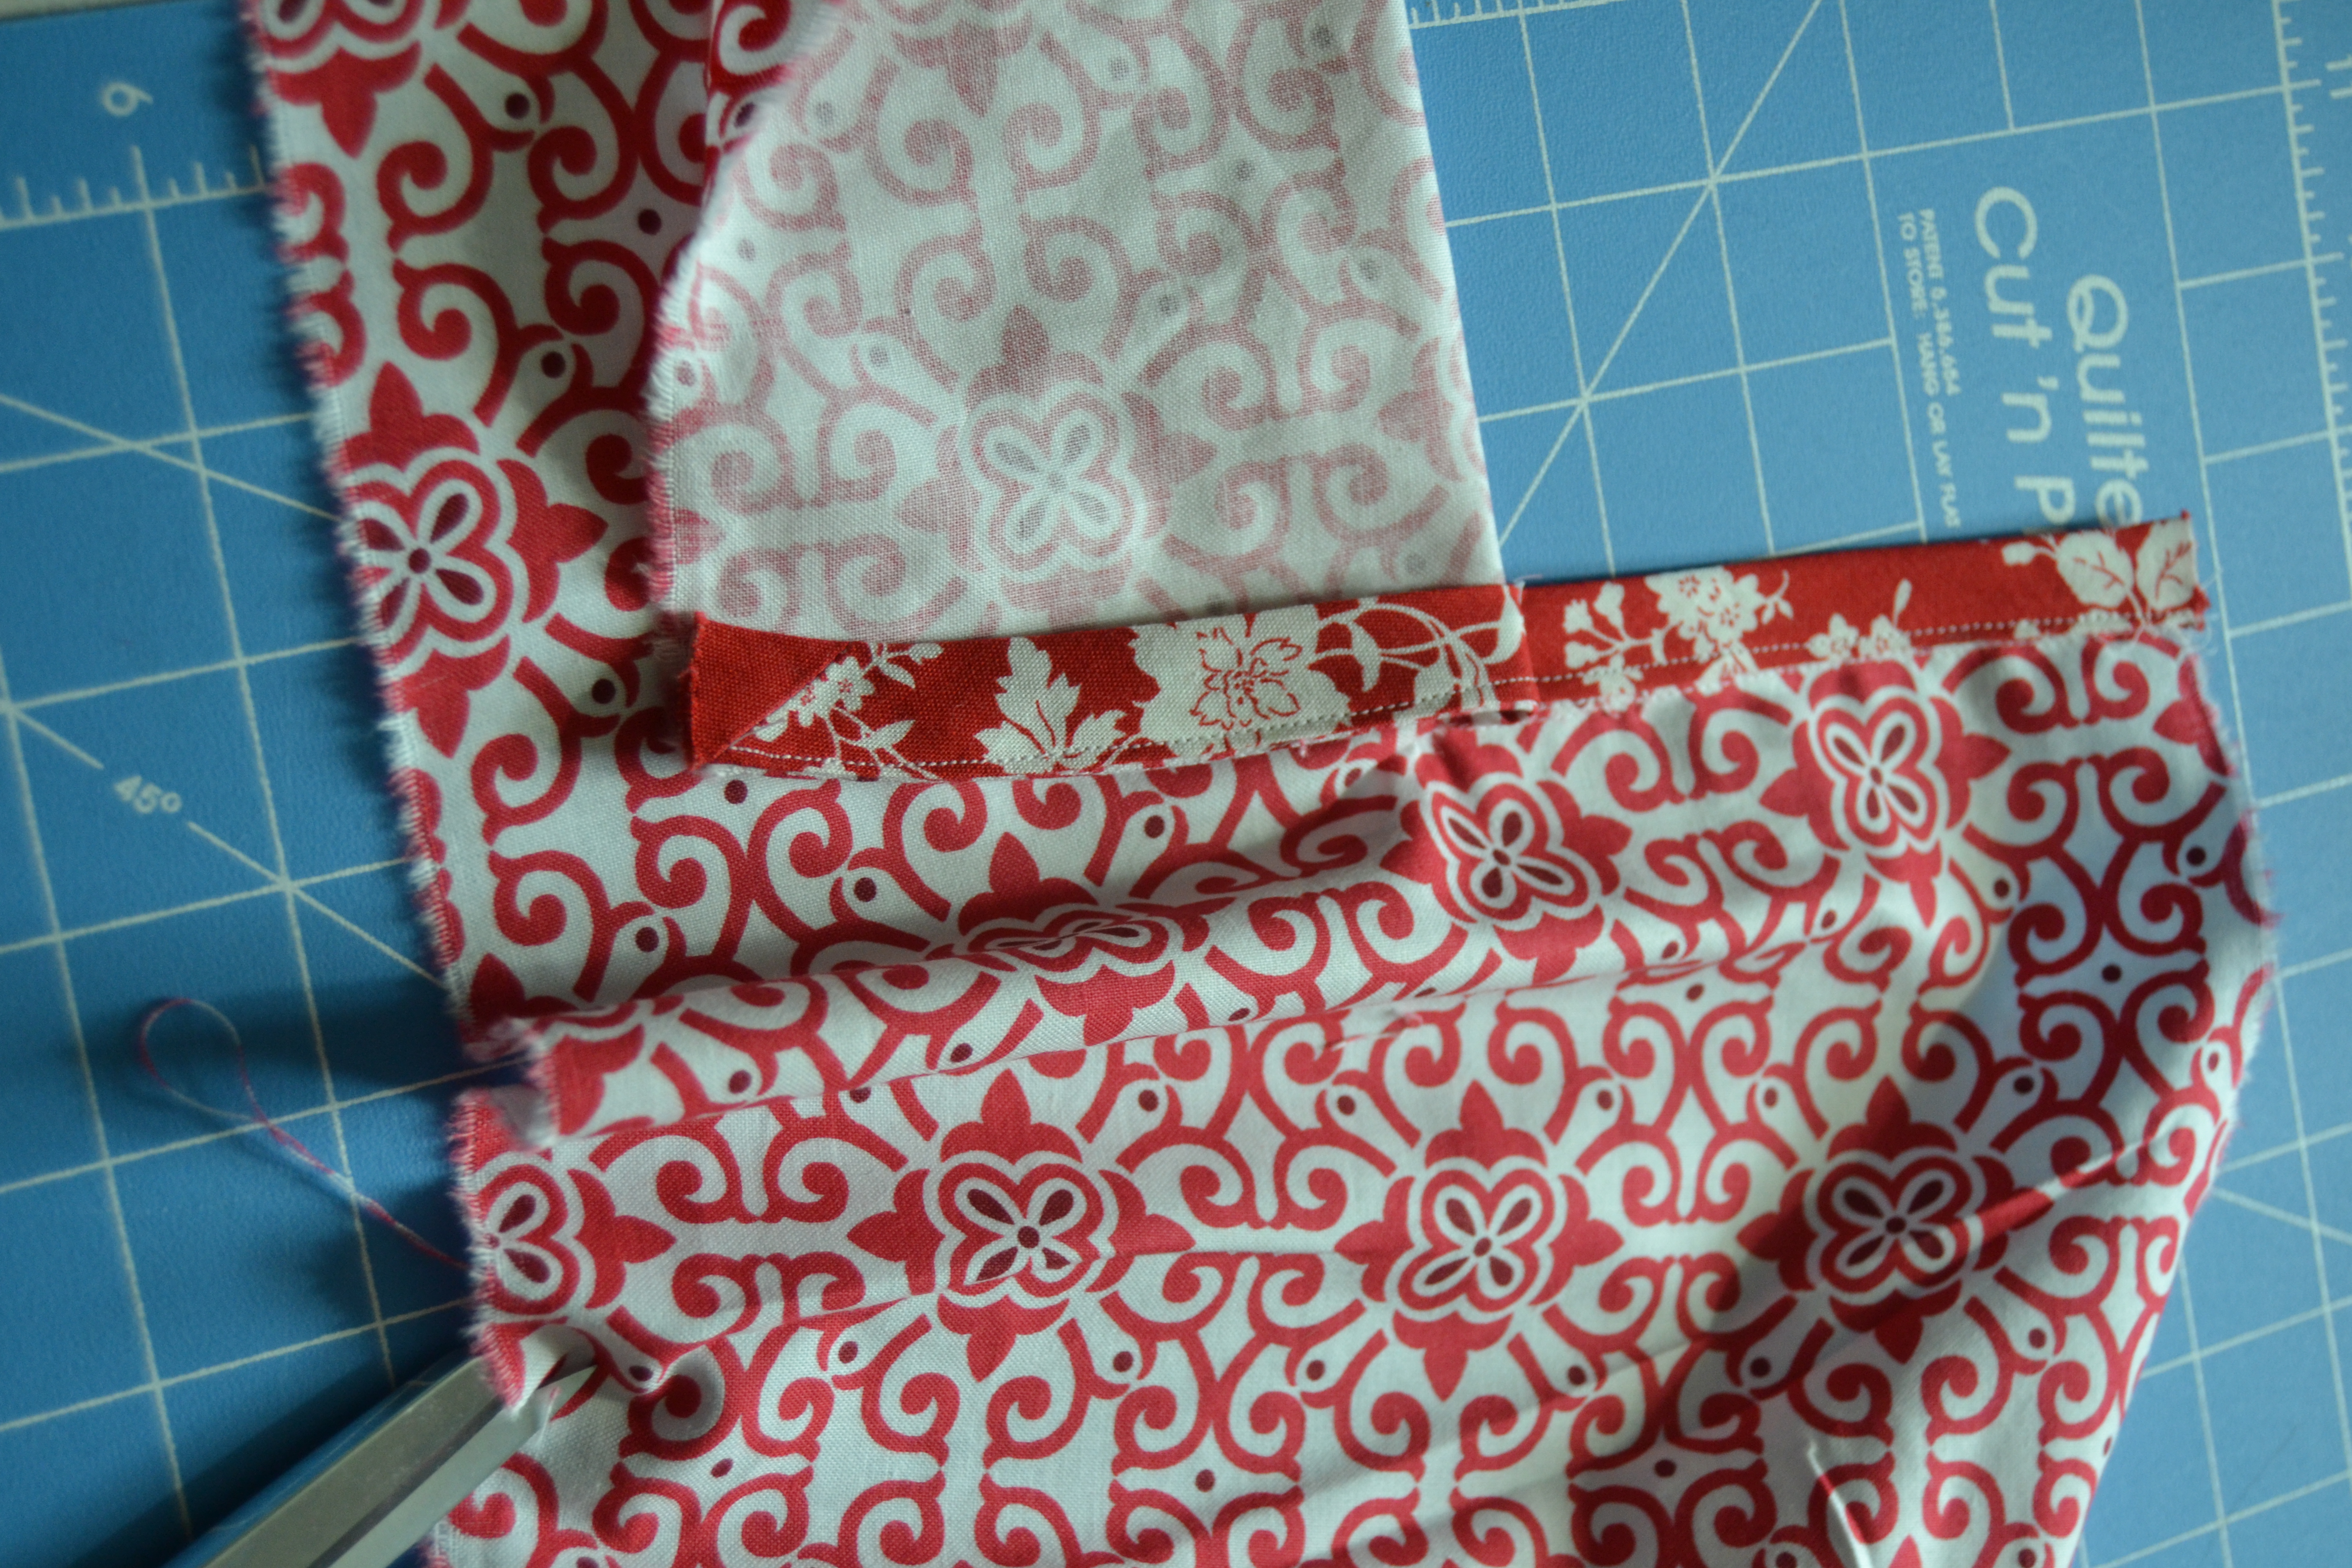
Pin the placket to wrong side of the opening. I like to put a red pin at the bottom at the placket.

Pin the placket piece to the wrong side of the opening
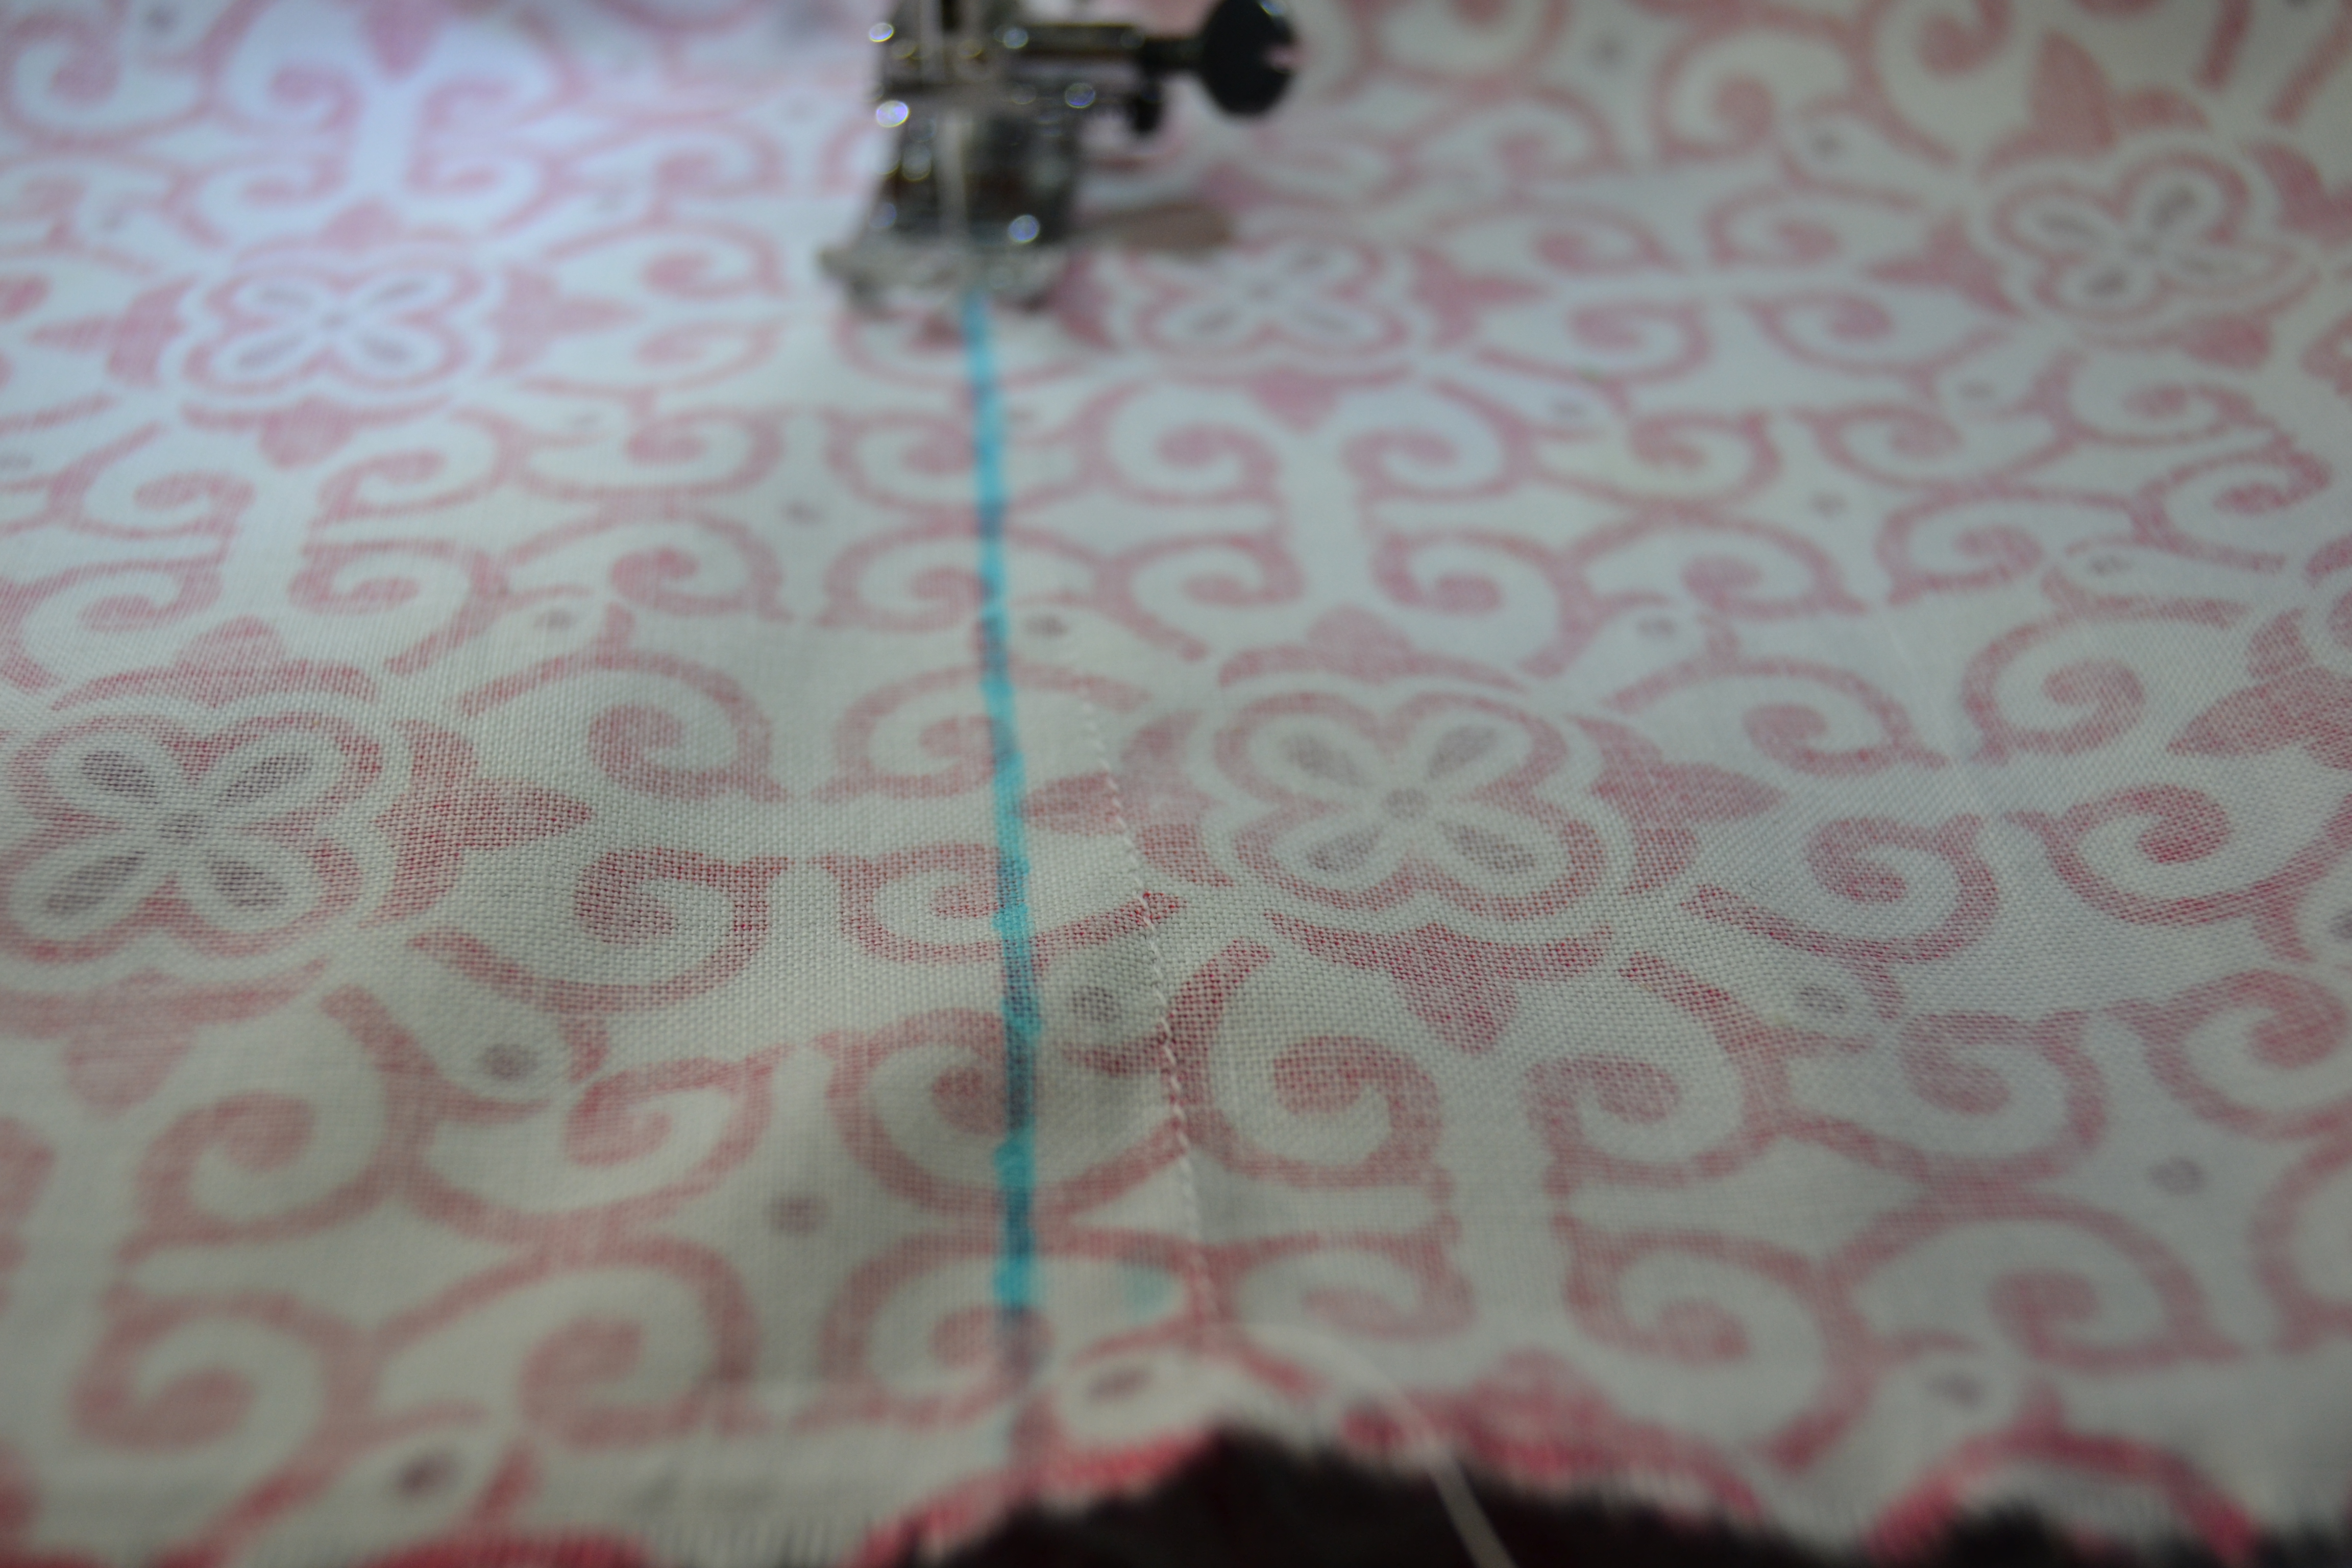
Starting with a 3/8″ seam allowance, sew down to the point, tapering the seam allowance to next to nothing, but not nothing.
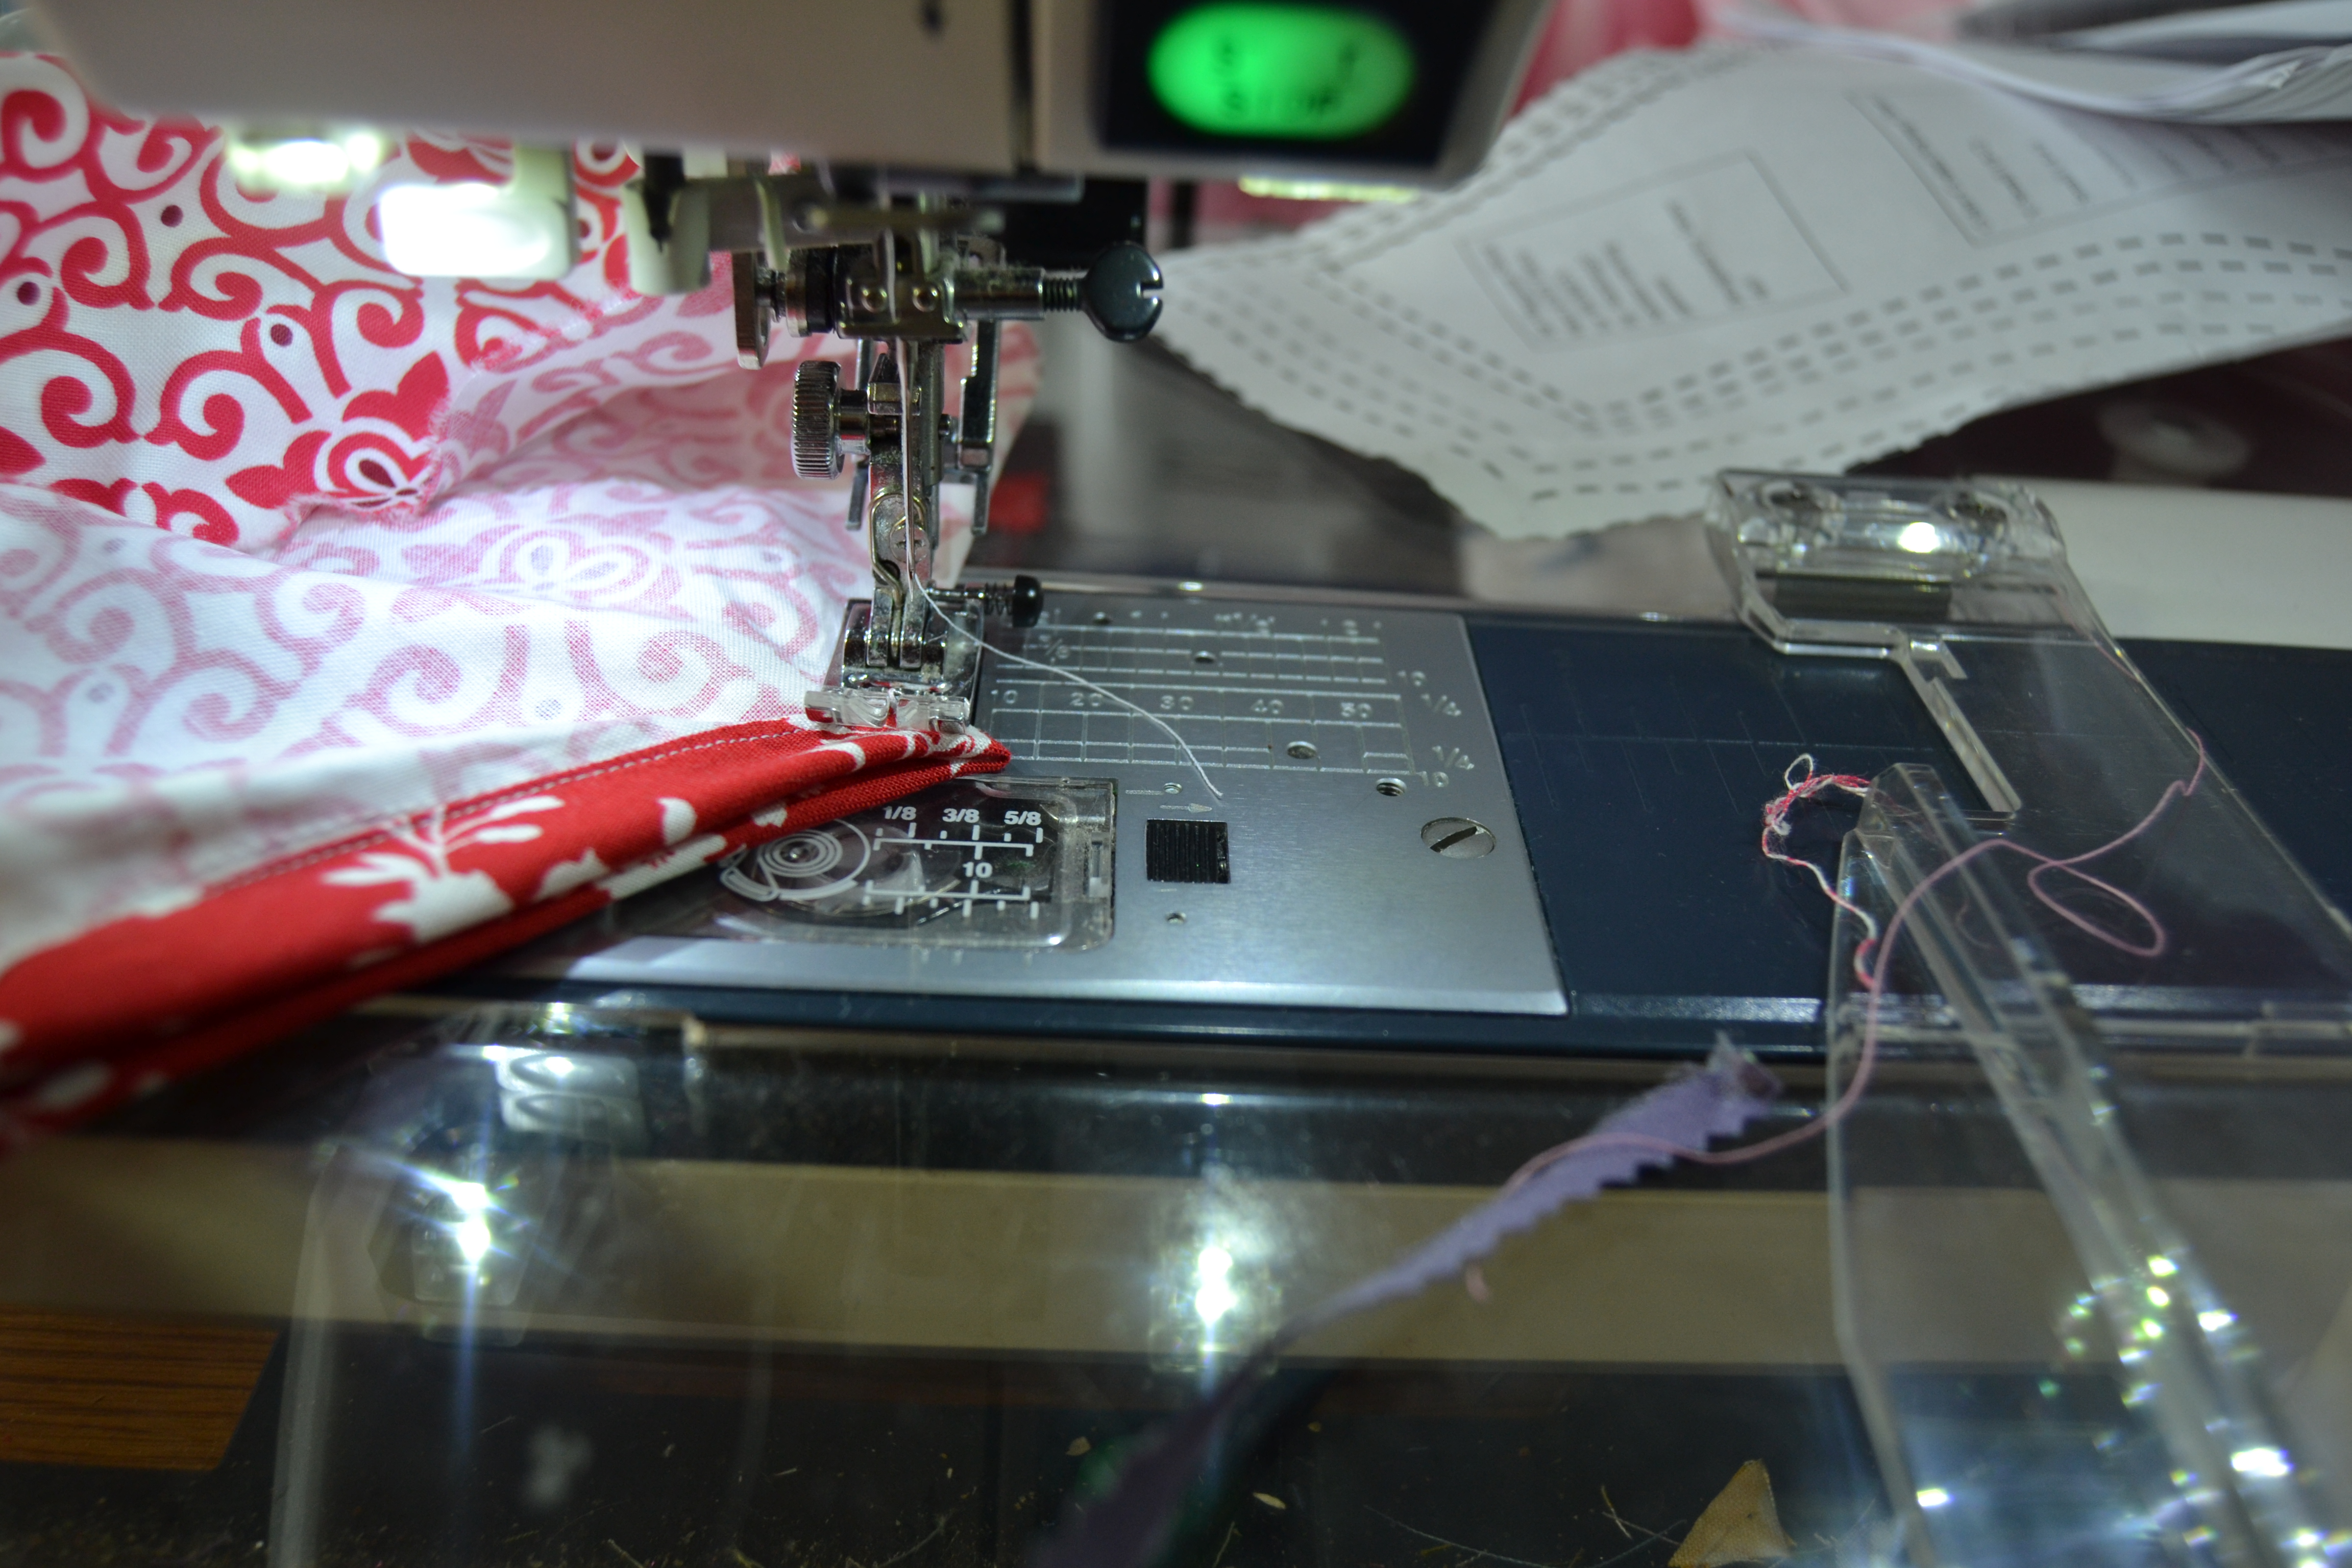
Lower the needle into the fabric and pivot so you can sew up the other side being careful to slide the skirt toward the back of your machine.
Sew up the other side gradually increasing the seam allowance to 3/8″ again.
Check to make sure the skirt has been caught in the seam, and there is minimal puckering.
Check on the puckering
Use a small zigzag stitch to finish the seam. A serger seam finish is too wide here.
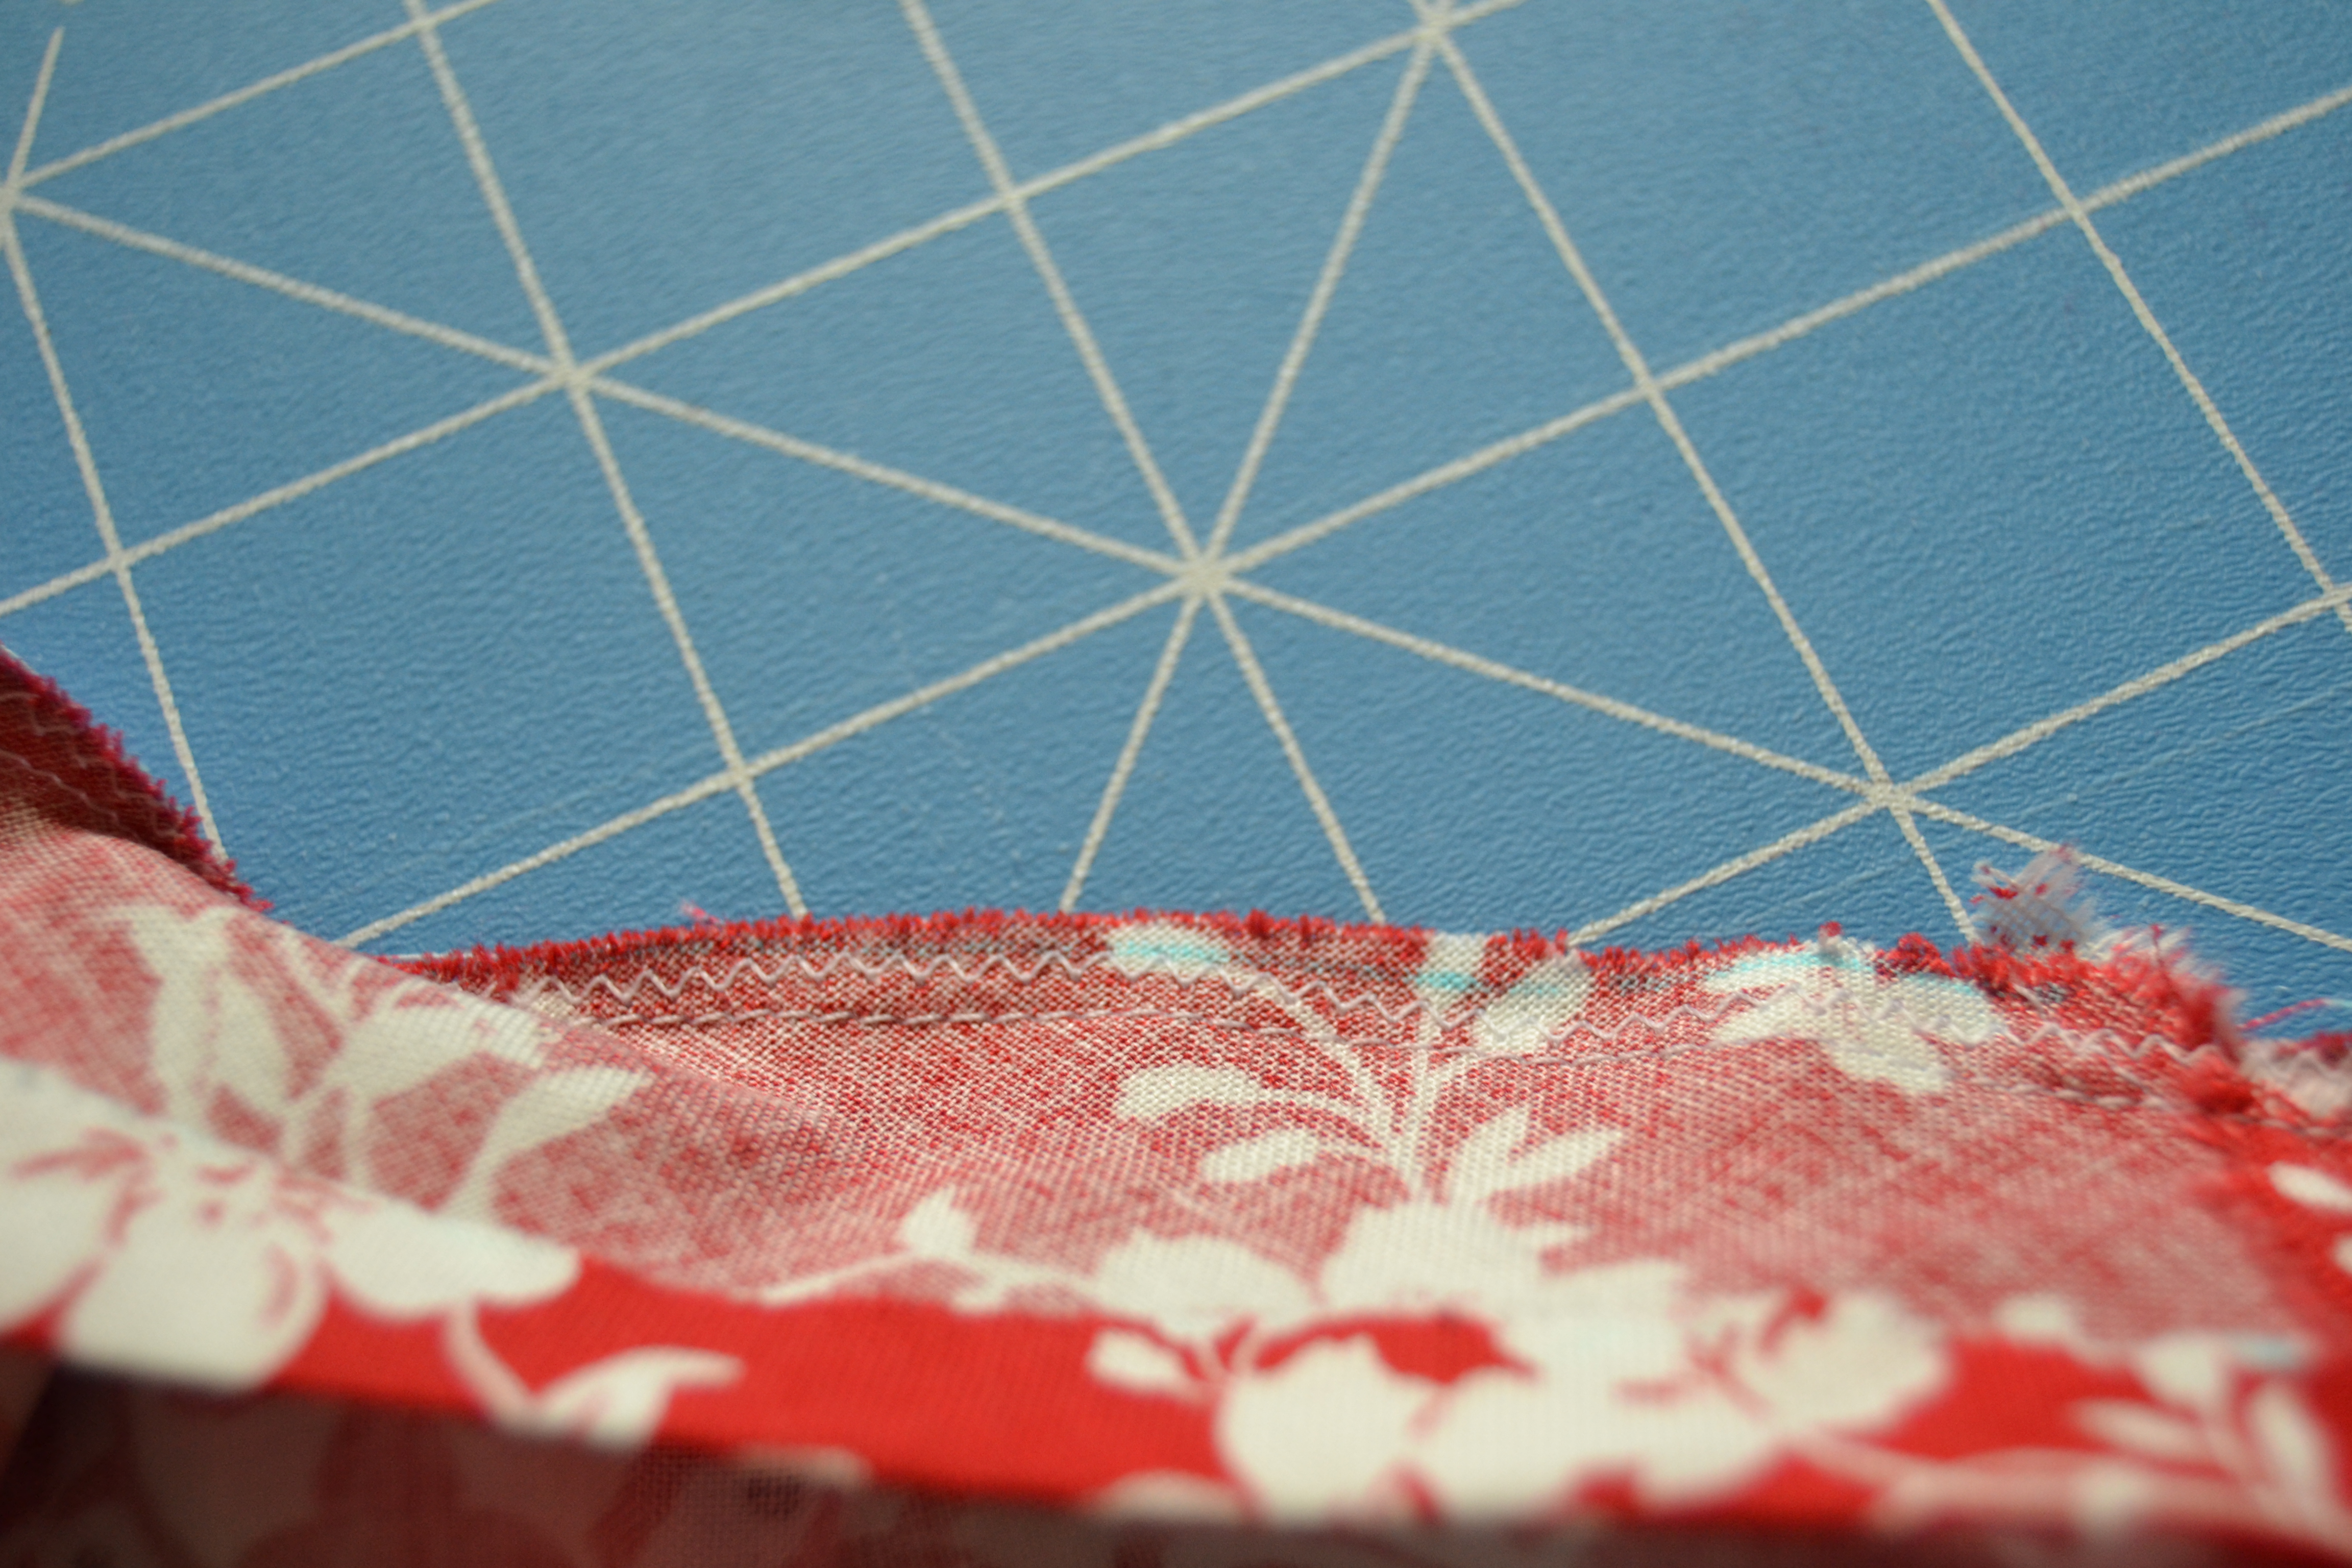
Zigzag the seam
Wrap the folded edge over the raw edge and
edge stitch it.
Edge stitch the placket piece
Sew across the bottom of the placket at a 45 degree angle.
Make an angel at the bottom of he placket
The placket should now be invisible from the outside and the pucker should be minimal.
Finished placket
If you need to add buttons or snaps to the placket, they will be invisible from the outside of the garment as well. You can sew them in the placket piece with no stitches on the outside.
This is just one way to make a skirt placket. I like it because it gives full coverage.
Placket
Just so you know not every lesson ends up in the trash bucket – Here’s the completed dress-


Another great post thankyou
LikeLike
Thank you!
LikeLike