
Now that you have your piping made and sewn on, what do you do when need to join piping to itself? The primary concern if you’d like your piping to look neat, tidy, and professionally done is to choose a method that eliminates as much bulk from the seam allowances as you can.
When the piping meets at a seam line-
One of the situations where this happens is when you’re using piping between two pieces of fabric that will be joined in a circle. You could just sew across the piping when you sew the seam. The problem is a lot of sewing machines will push one piece of piping to the side, and when you look at the seam from the outside, your piping won’t line up.

Piping won’t line up
You can pin the piping to itself and carefully sew over the pin, but a better solution is to pull on the piping cord until you have enough exposed to cut off so it will be eliminated from the seam allowance. Now your sewing machine can easily sew over the bias tape, and you have a perfect join. The fuzzies are because I re-used the same seam. My camera sees things I can’t. lol

Piping meets
When you need to end piping, but it’s not at a seam –
When you don’t have a seam at the end of the piping, the easiest way to end the piping is to turn it down into the seam when you do the initial sew on. You should remove the piping cord from the part of the piping that is within the seam allowance.

Remove the piping cord at the seam line
Then curve the bias tape down into the seam.
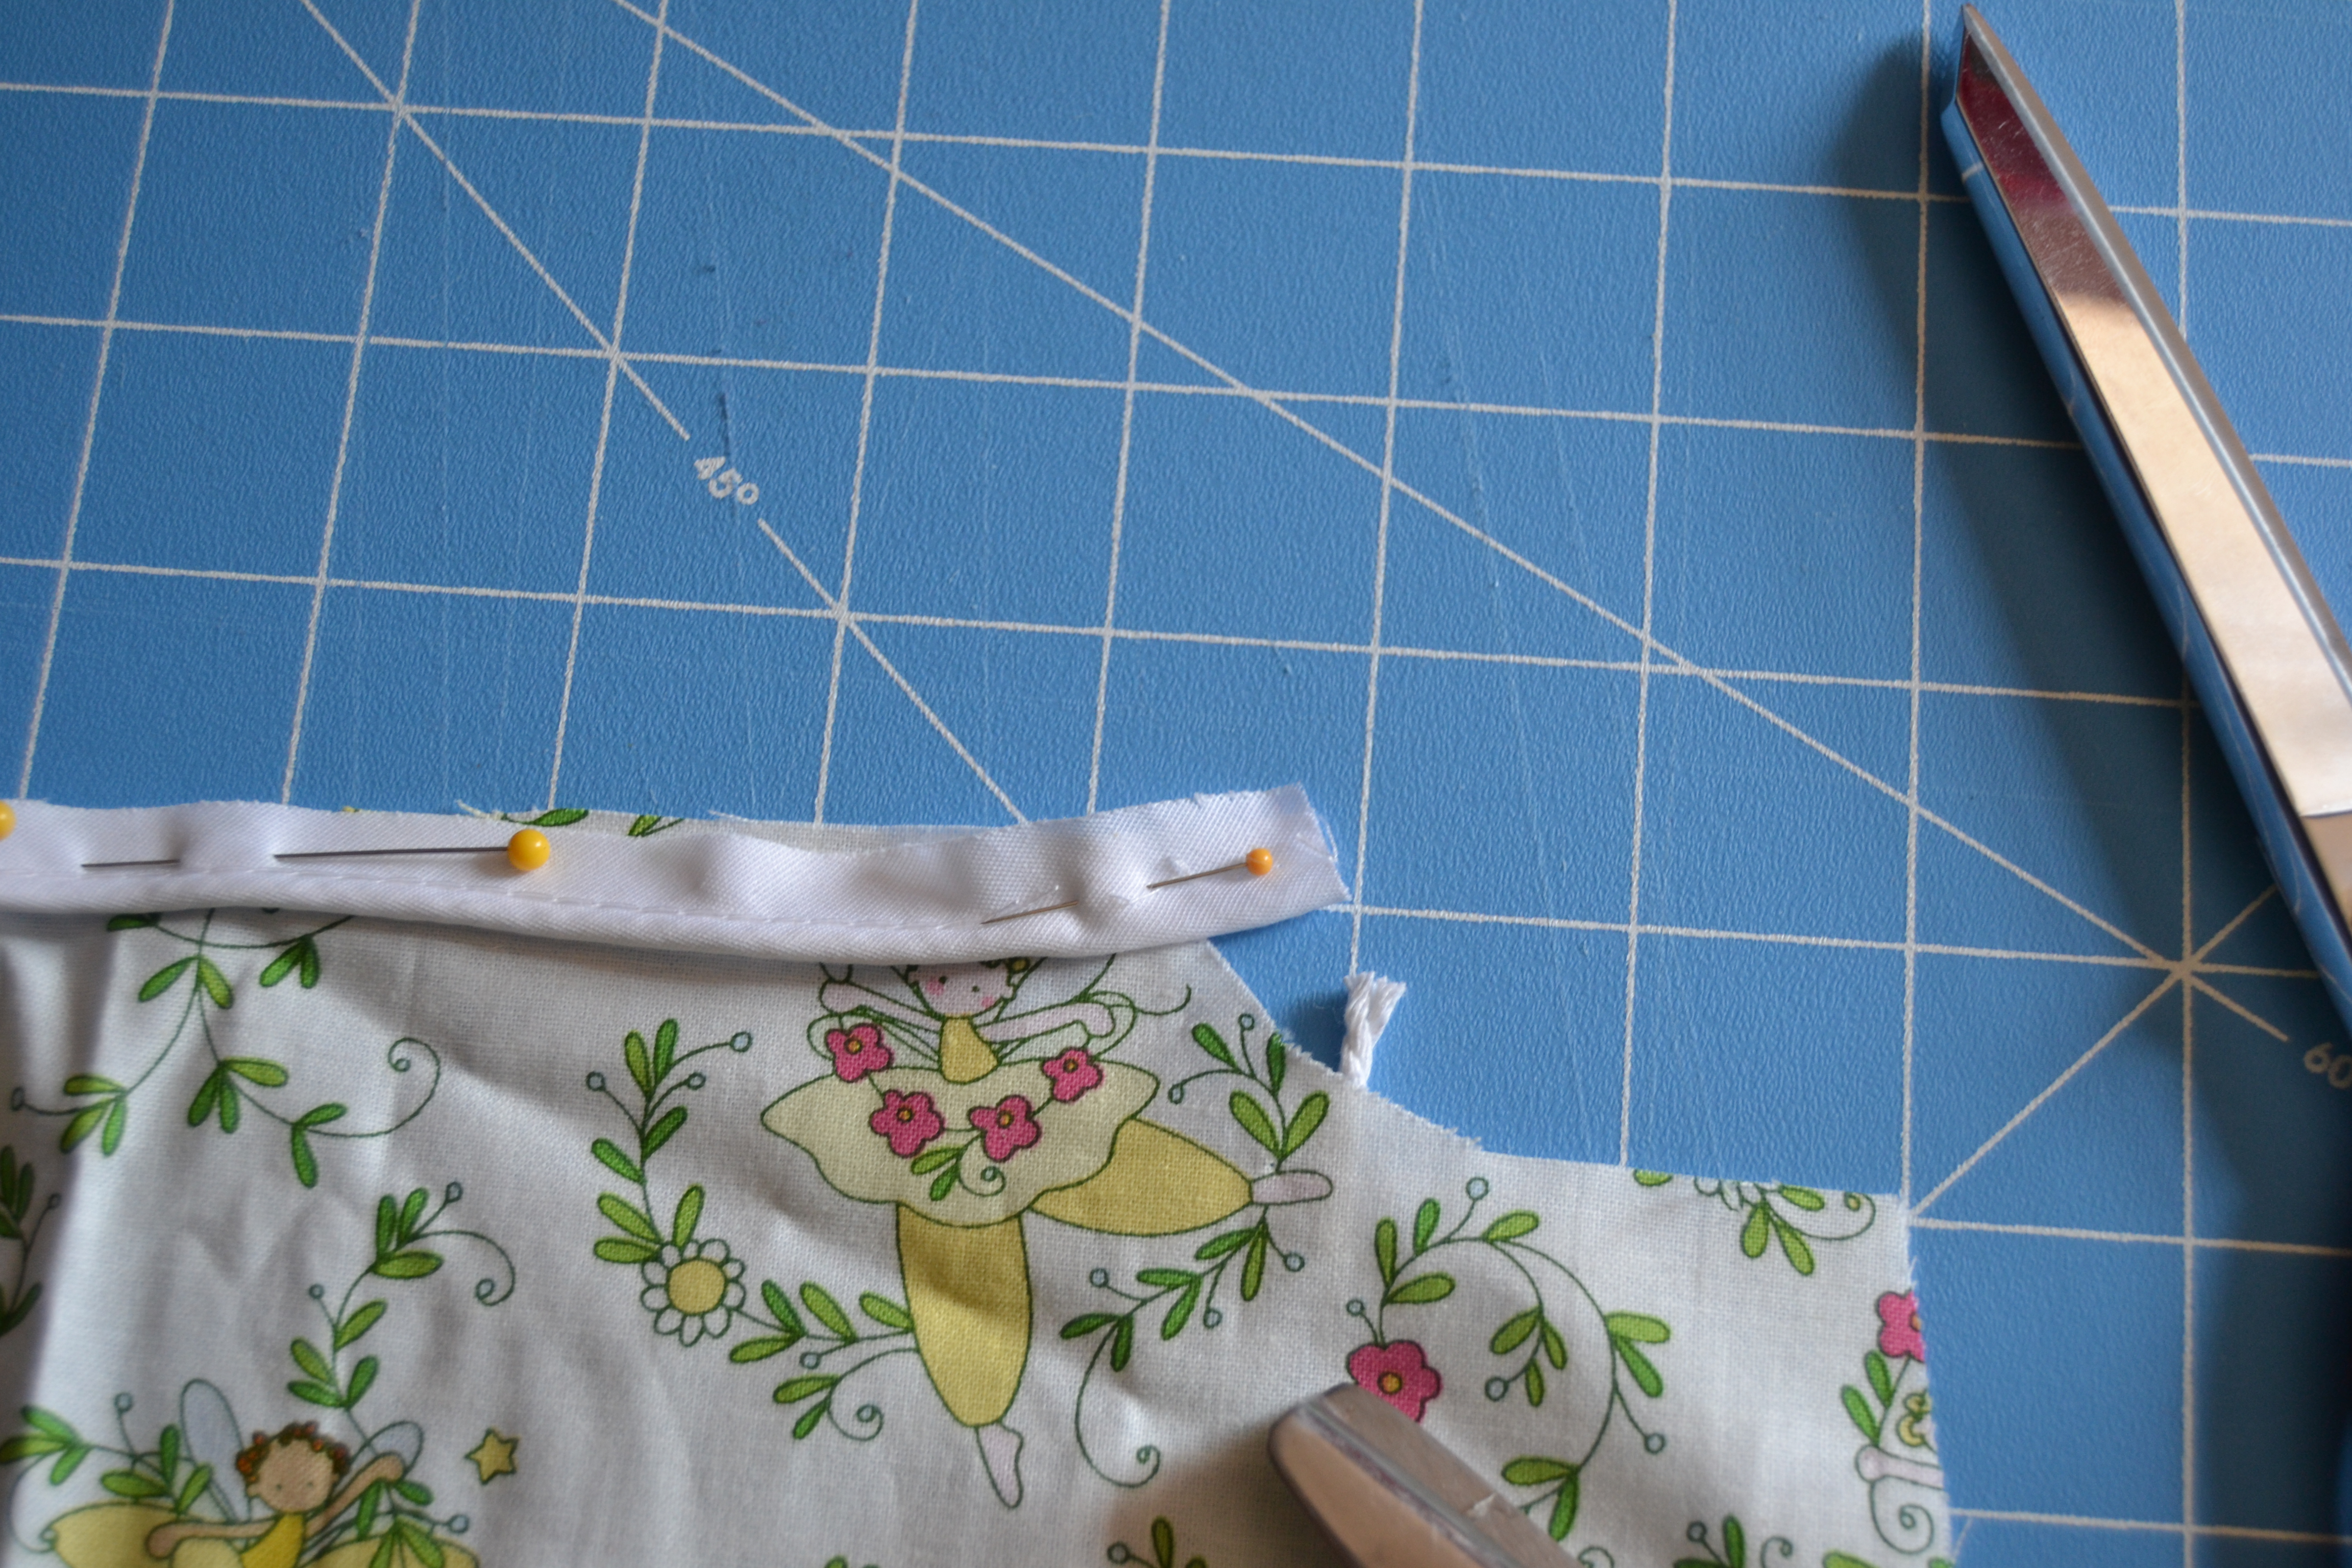
Curve the bias tape down.
Stitch across the seam.

Stitch across the seam.
The piping will “disappear” into the seam line.

Disappearing piping
What if you want to connect your piping in a circle? A lot of purse and pillow instructions will tell you to just cross the piping over itself and sew the ends down into the seam allowance.

Like this
But you can make an almost invisible join in the piping that looks much better.
Sew the piping on your fabric leaving a couple of inches of the seam free on both ends.
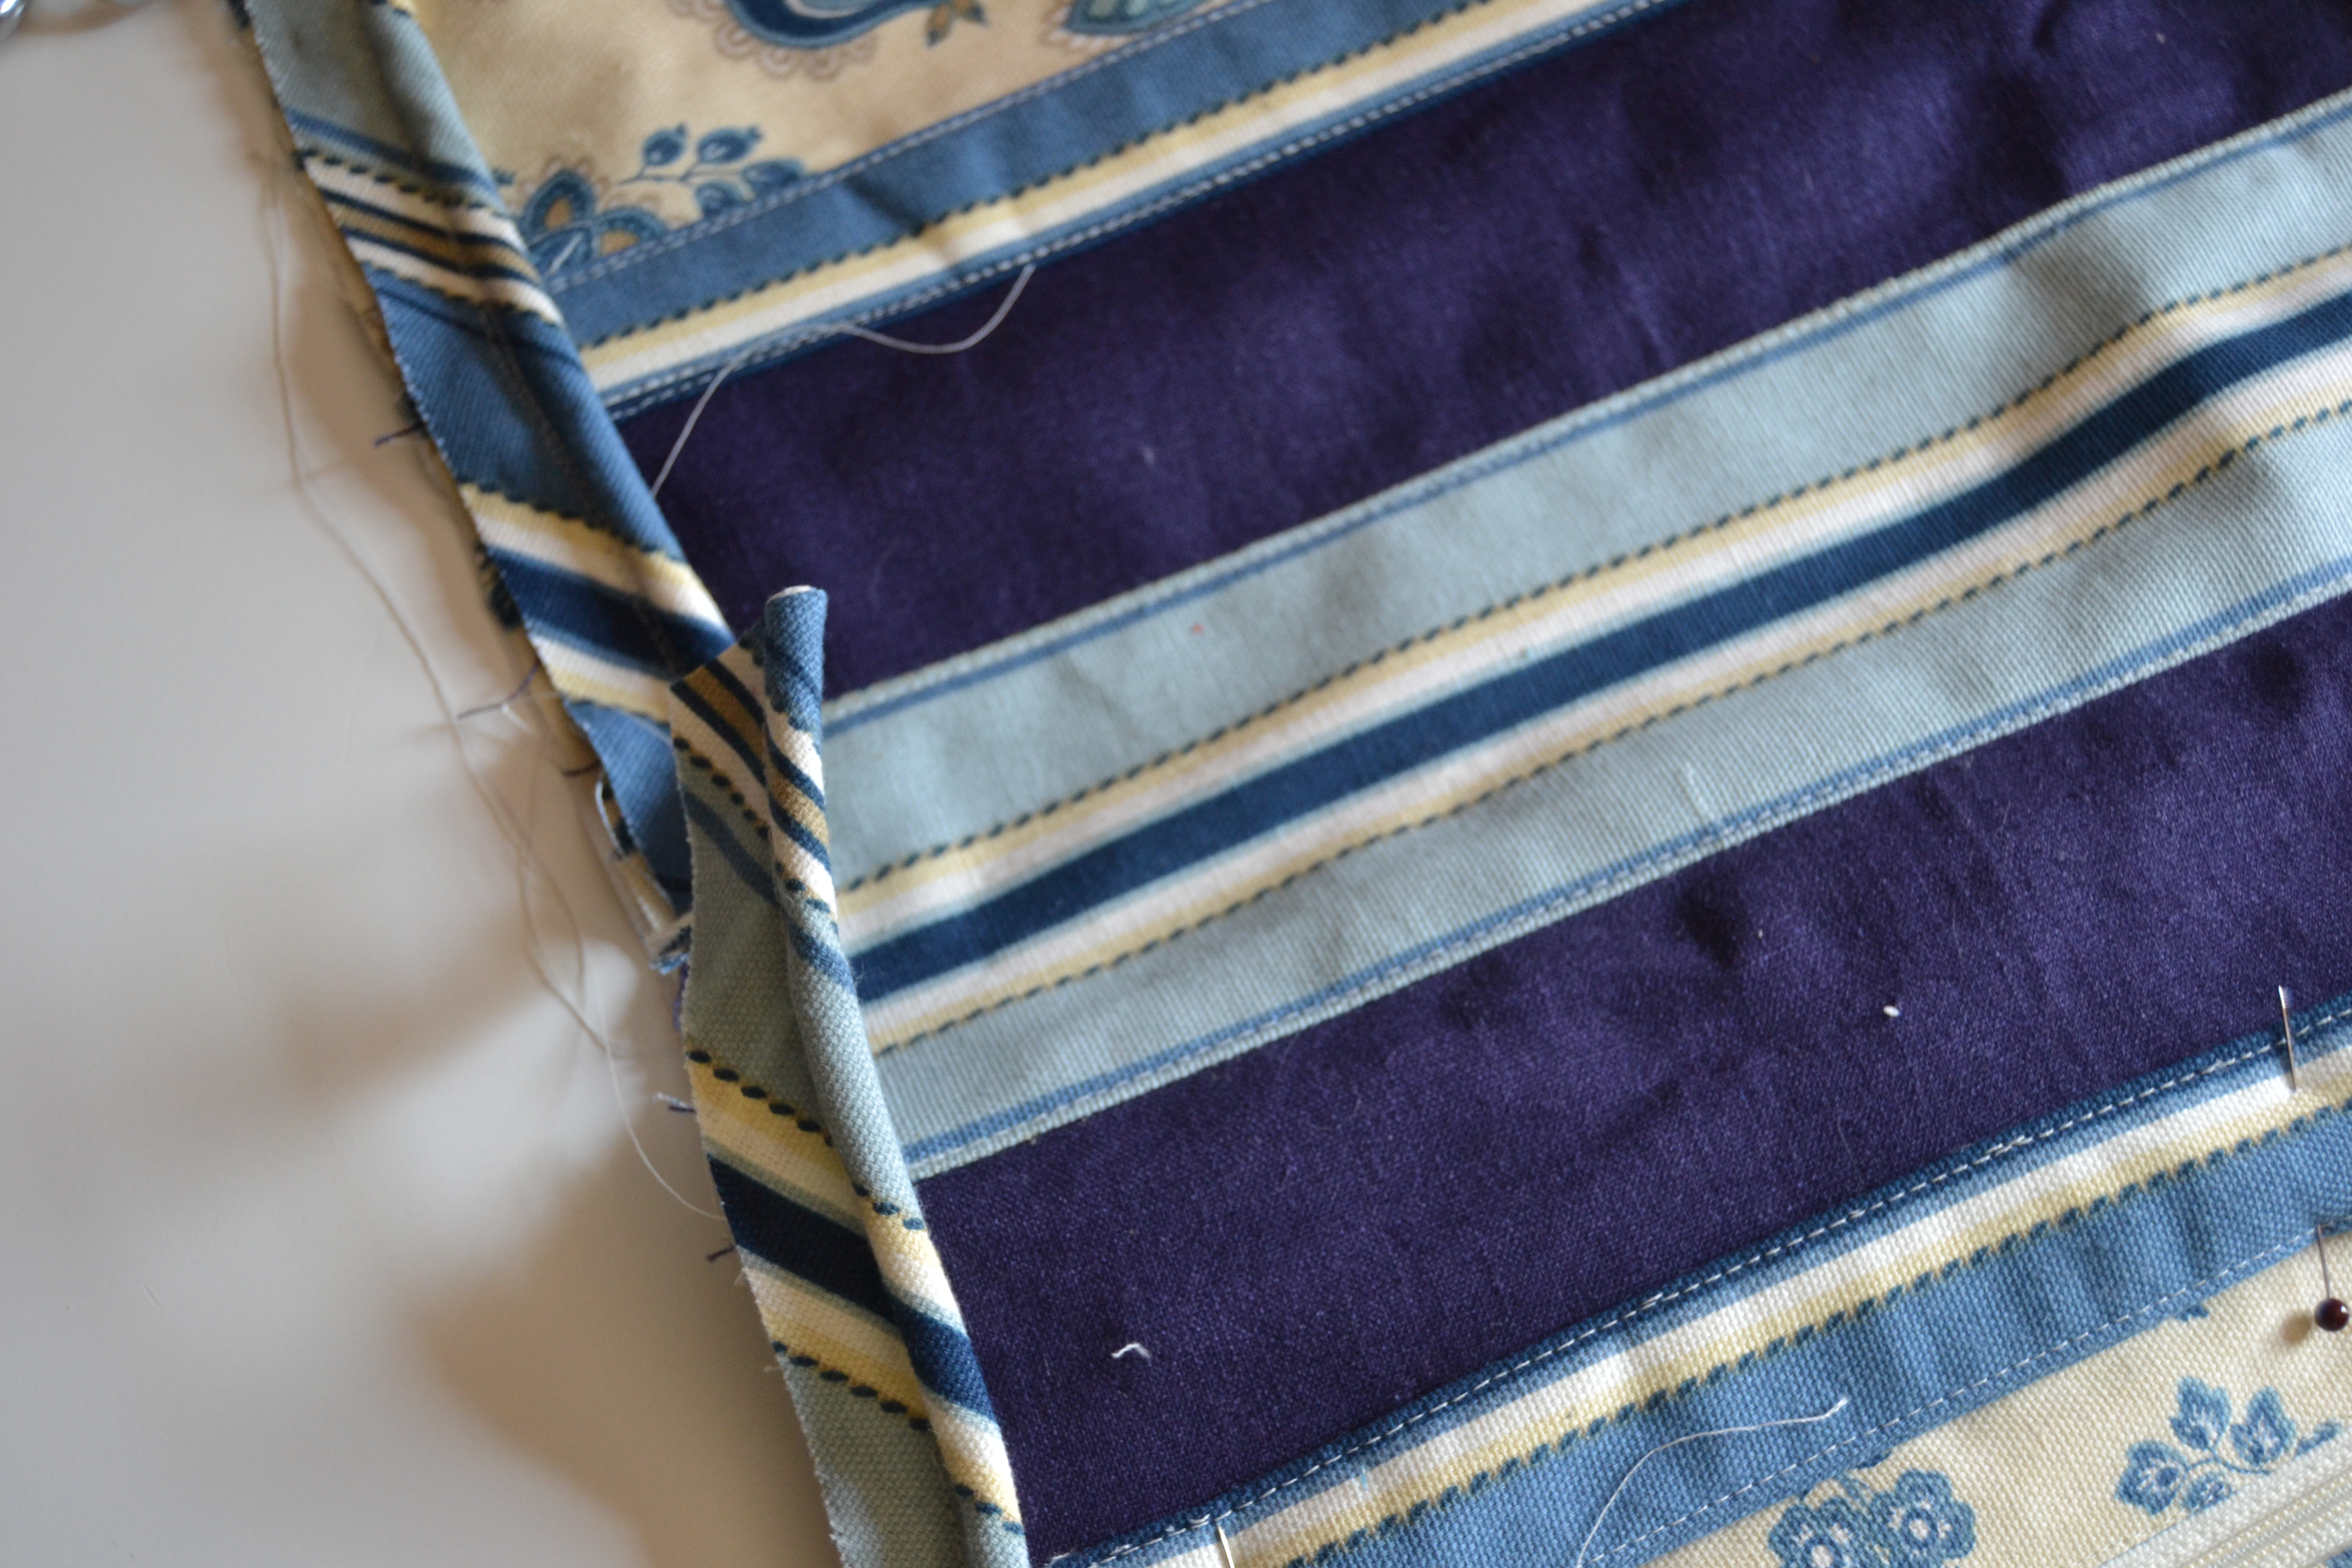
Like this
Cut an inch or so of the piping cord out of the piping on both ends.
Remove the cording from the ends of the piping.
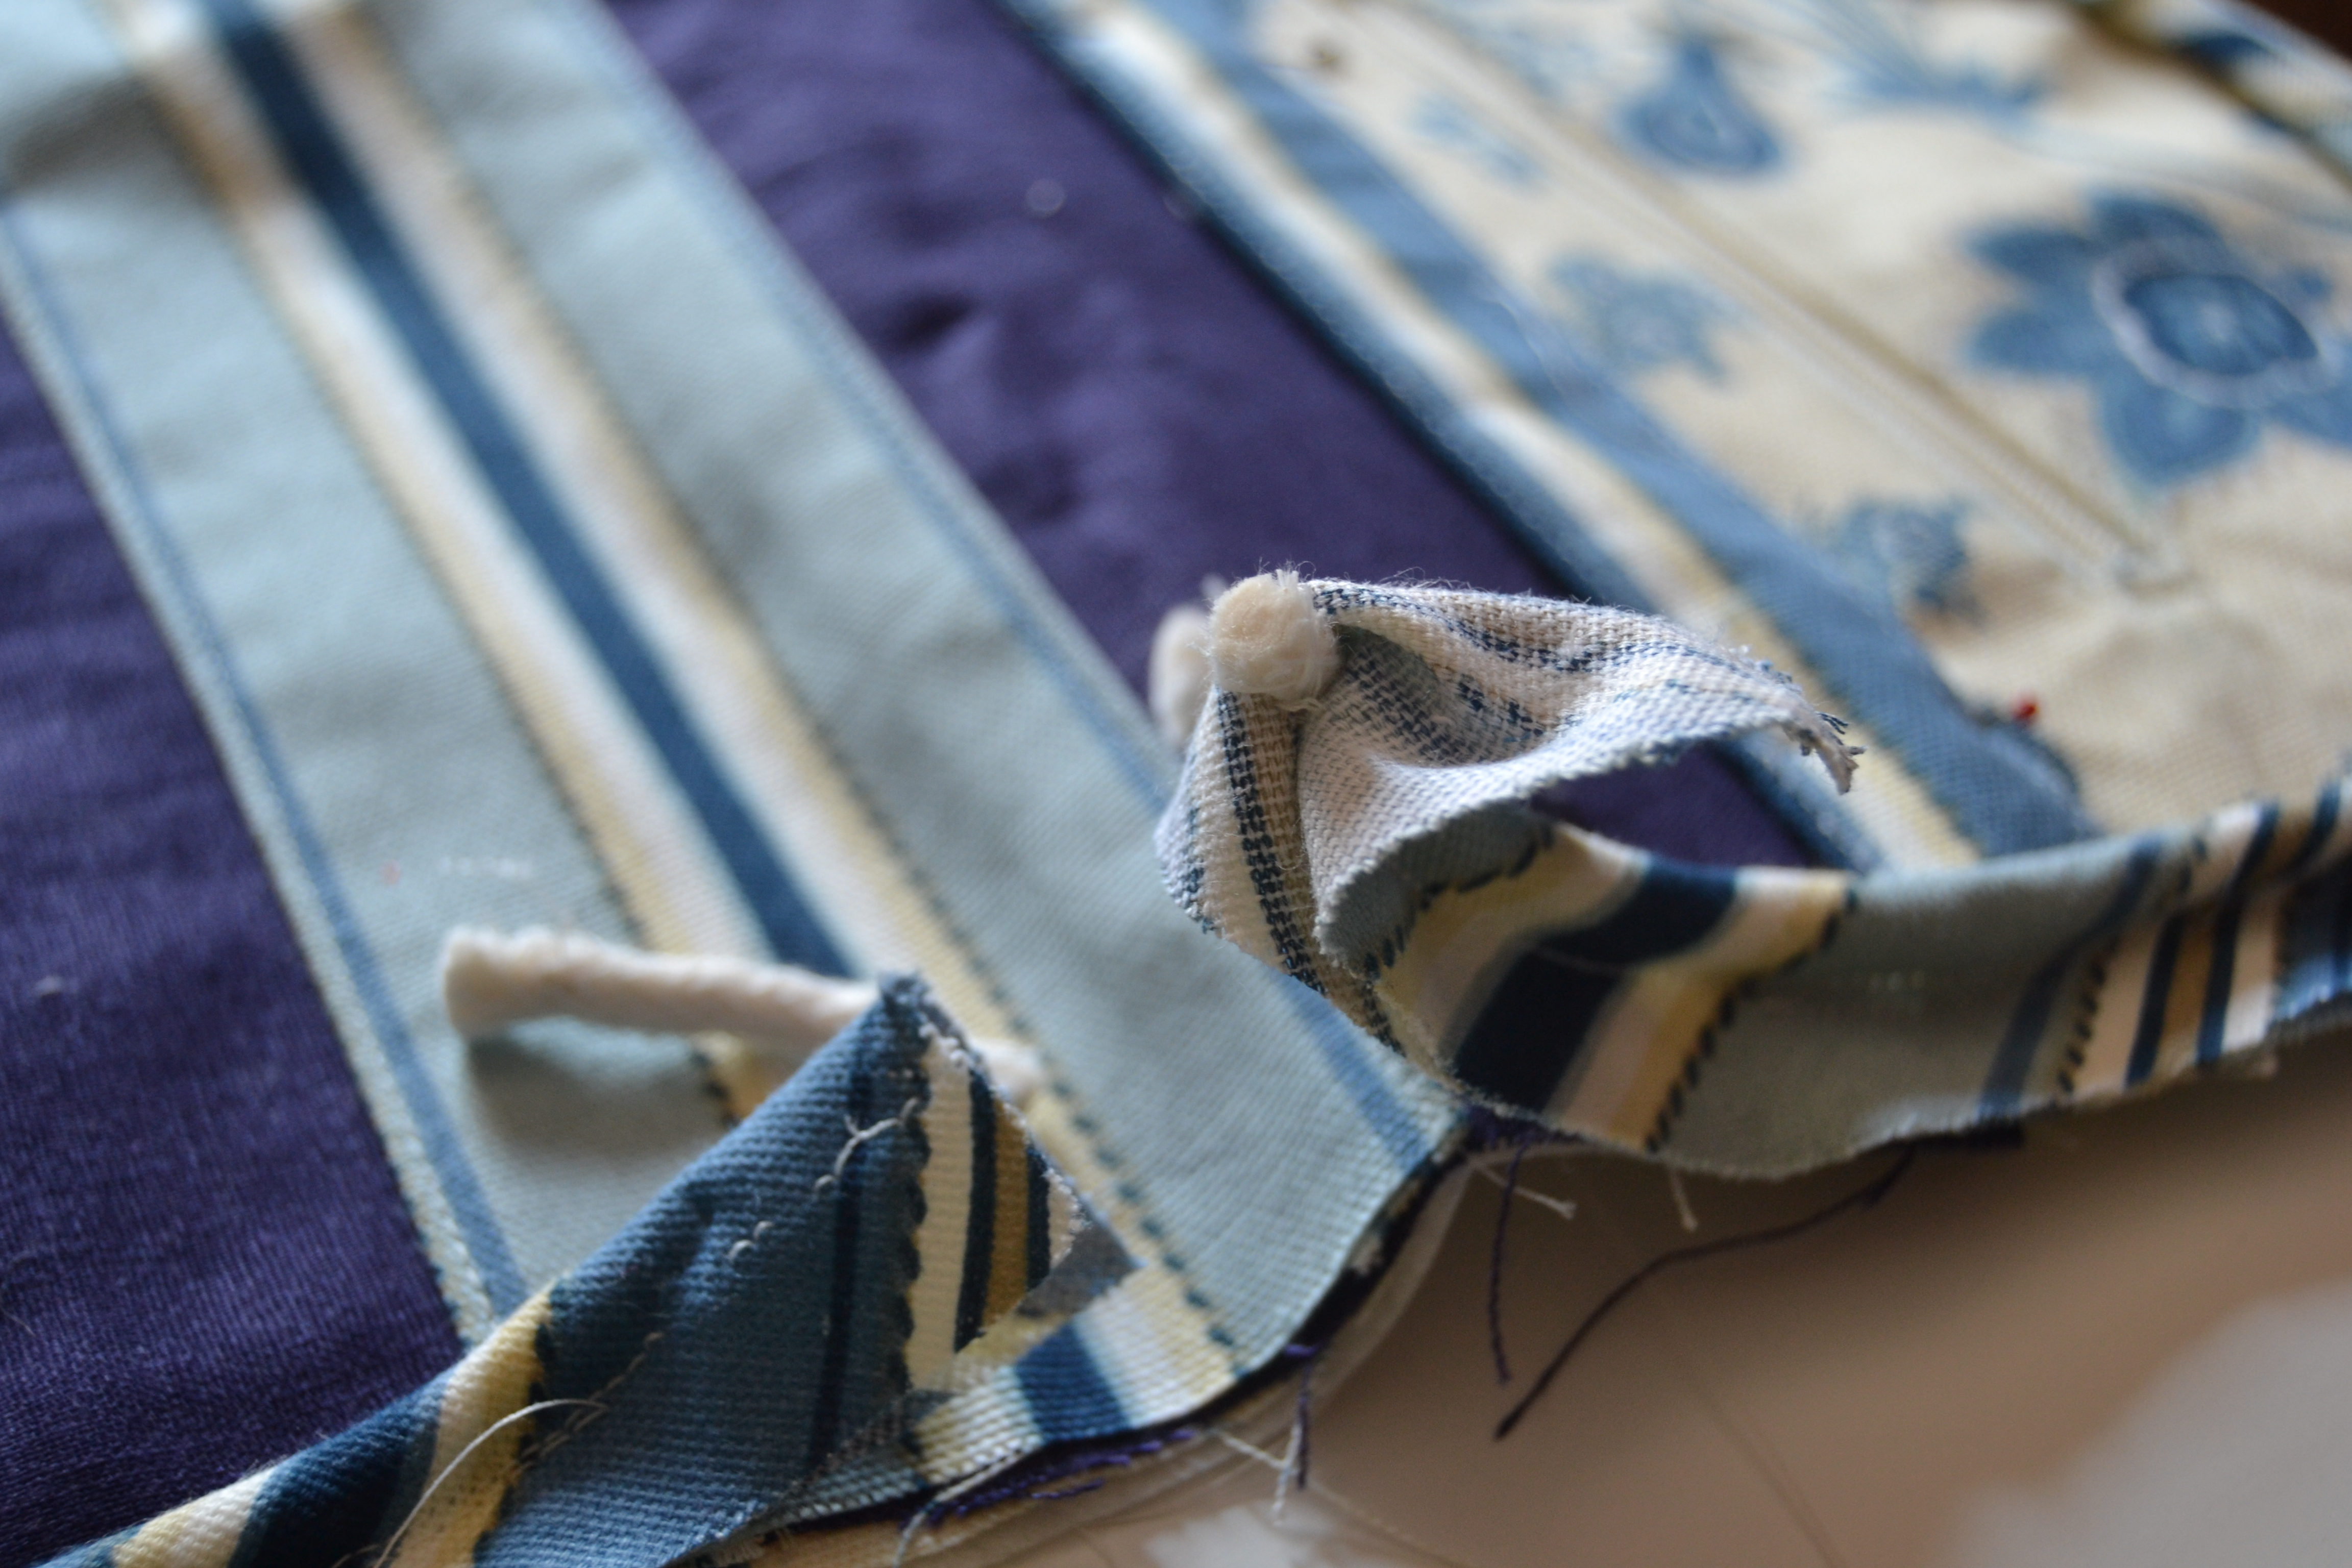
Now fold the ends of on one side of the bias tape over and cover the other end of the piping with it. Unless your piping is really big, you don’t want piping cord under the folded fabric. You’re going to have extra layers of fabric in this spot. and it will hide the join better if there’s not cord under it.

Making the join
Now use your piping foot or zipper foot to sew the rest of the seam.
Doesn’t this look better?

Completed join
