
There are a lot of patterns for pants and skirts that say they have a “fly front”. A true fly front has a facing that covers the zipper and a fly shield that blocks the view of your underwear should your fly be flying at less than full mast. It’s every teacher’s nightmare to be standing in front of the class unzipped, but if your fly has a fly shield, you really aren’t showing anything but your zipper. Then there was the time I escaped from a store with the security tag still attached to my jacket. The kids spied it and wanted to know where I had “lifted it”. I taught in a school where that would make me a hero.
But some pants or skirts have a “mock fly”. All of the elements of the fly front are there except for the shield. You hardly ever see the shield eliminated in men’s wear, but it’s often missing in women’s clothing. Today I’m going to demonstrate how the true fly front is made. If you can do that one, you’ll be able to do the mock one. And if you stand up in front of people in a position of quasi-authority, it’s the fly you should be making in your clothes. Trust me.
I was going to use a popular pdf shorts pattern to demonstrate how a fly is made, but it has a fly that’s a separate piece. Most fly facings are cut in one piece with the pants fronts.Making it separate is a perfectly good way to design a fly, but I try to keep my sewing lessons as generic as possible so I’m going with a folded facing. You can use the same method to construct that kind of fly. You just need to start by sewing the facings to the pants.
Just as we put buttons on shirts on opposite sides depending whether we are sewing for men or women, flies are gendered, too. If you’re sewing for a woman or girl, the facing that covers the zipper goes on the right of the zipper. If you’re sewing for men or boys, it goes on the left. Because life is full of sewing interruptions, I use a piece of chalk to mark the sides of the pants. I use a disappearing tailor’s chalk when I’m marking pants for flies because a lot of the markings go on the right side of the fabric. Here the pants’ markings on the wrong side:
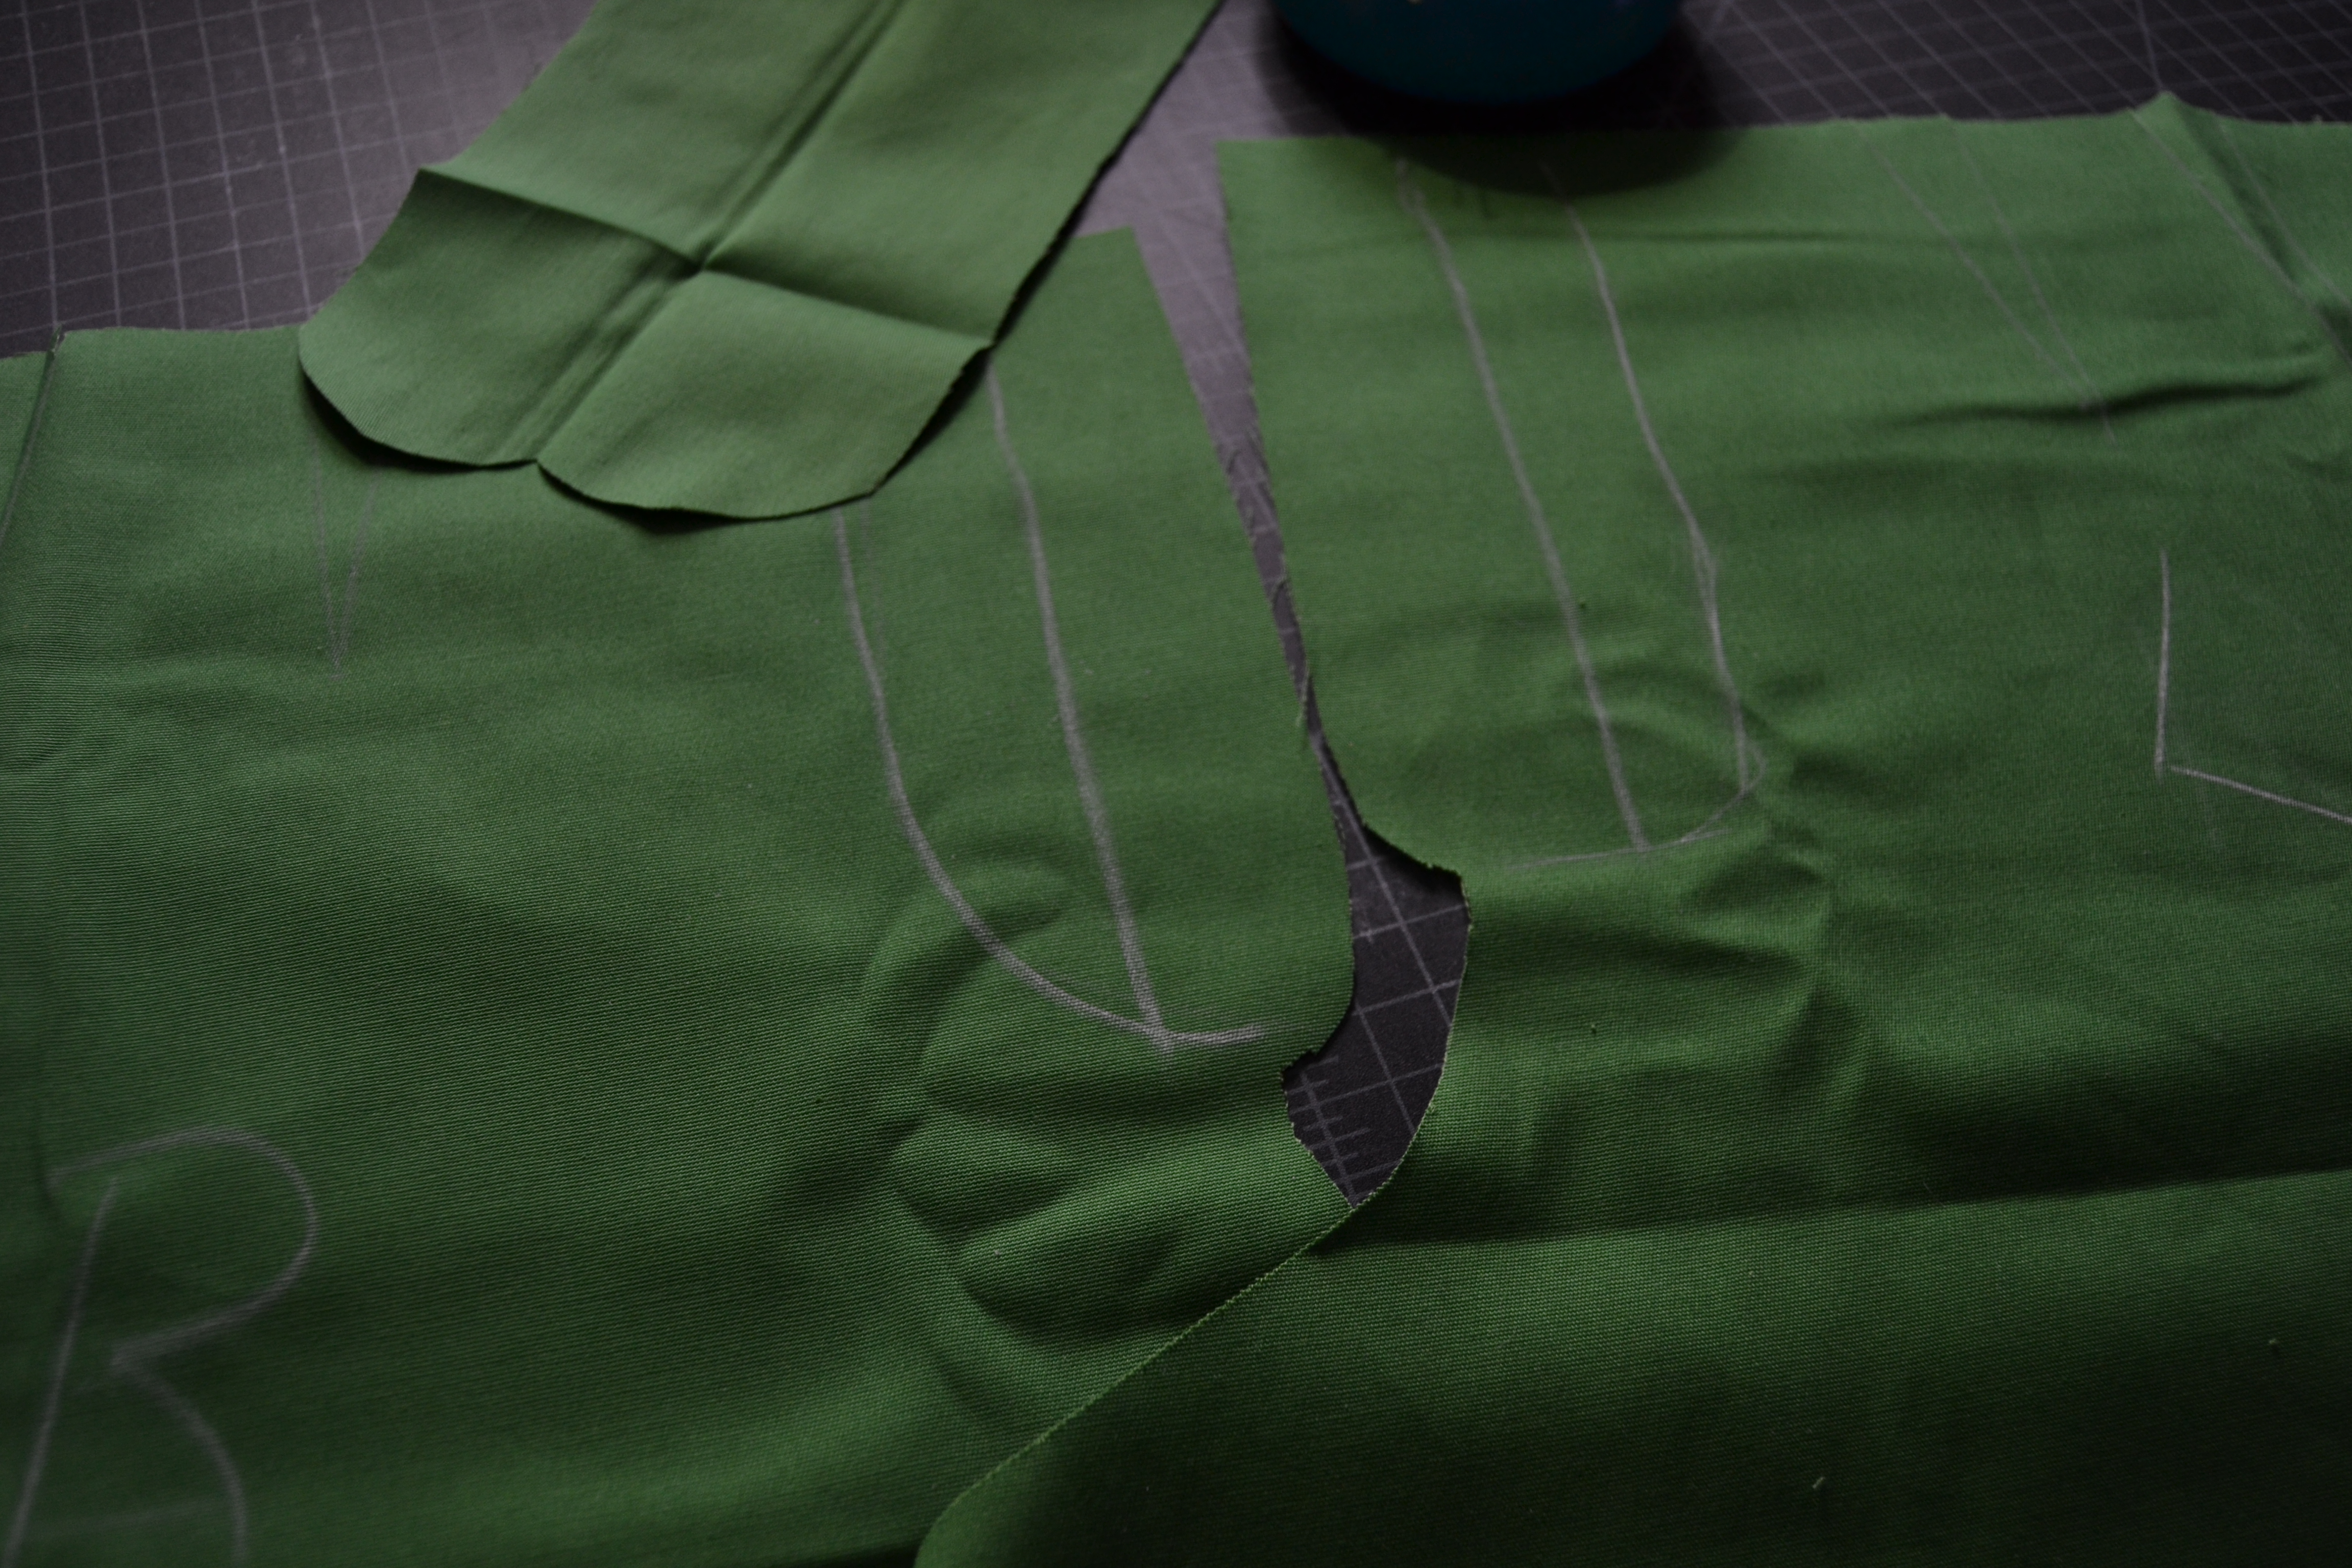
Center front and the fly marked
The first stitching is to sew part of the crotch seam and baste the center front in one stitching. If your pattern doesn’t tell you where to start on the crotch seam, a couple of inches will do. Don’t sew the whole seam just yet. I like to use a stretch stitch on the crotch seam because it gets a lot of stress. When you get to the place where the crotch seam meets the center front line, switch to a long basting stitch.

Stitch part of the crotch seam

Baste the center front
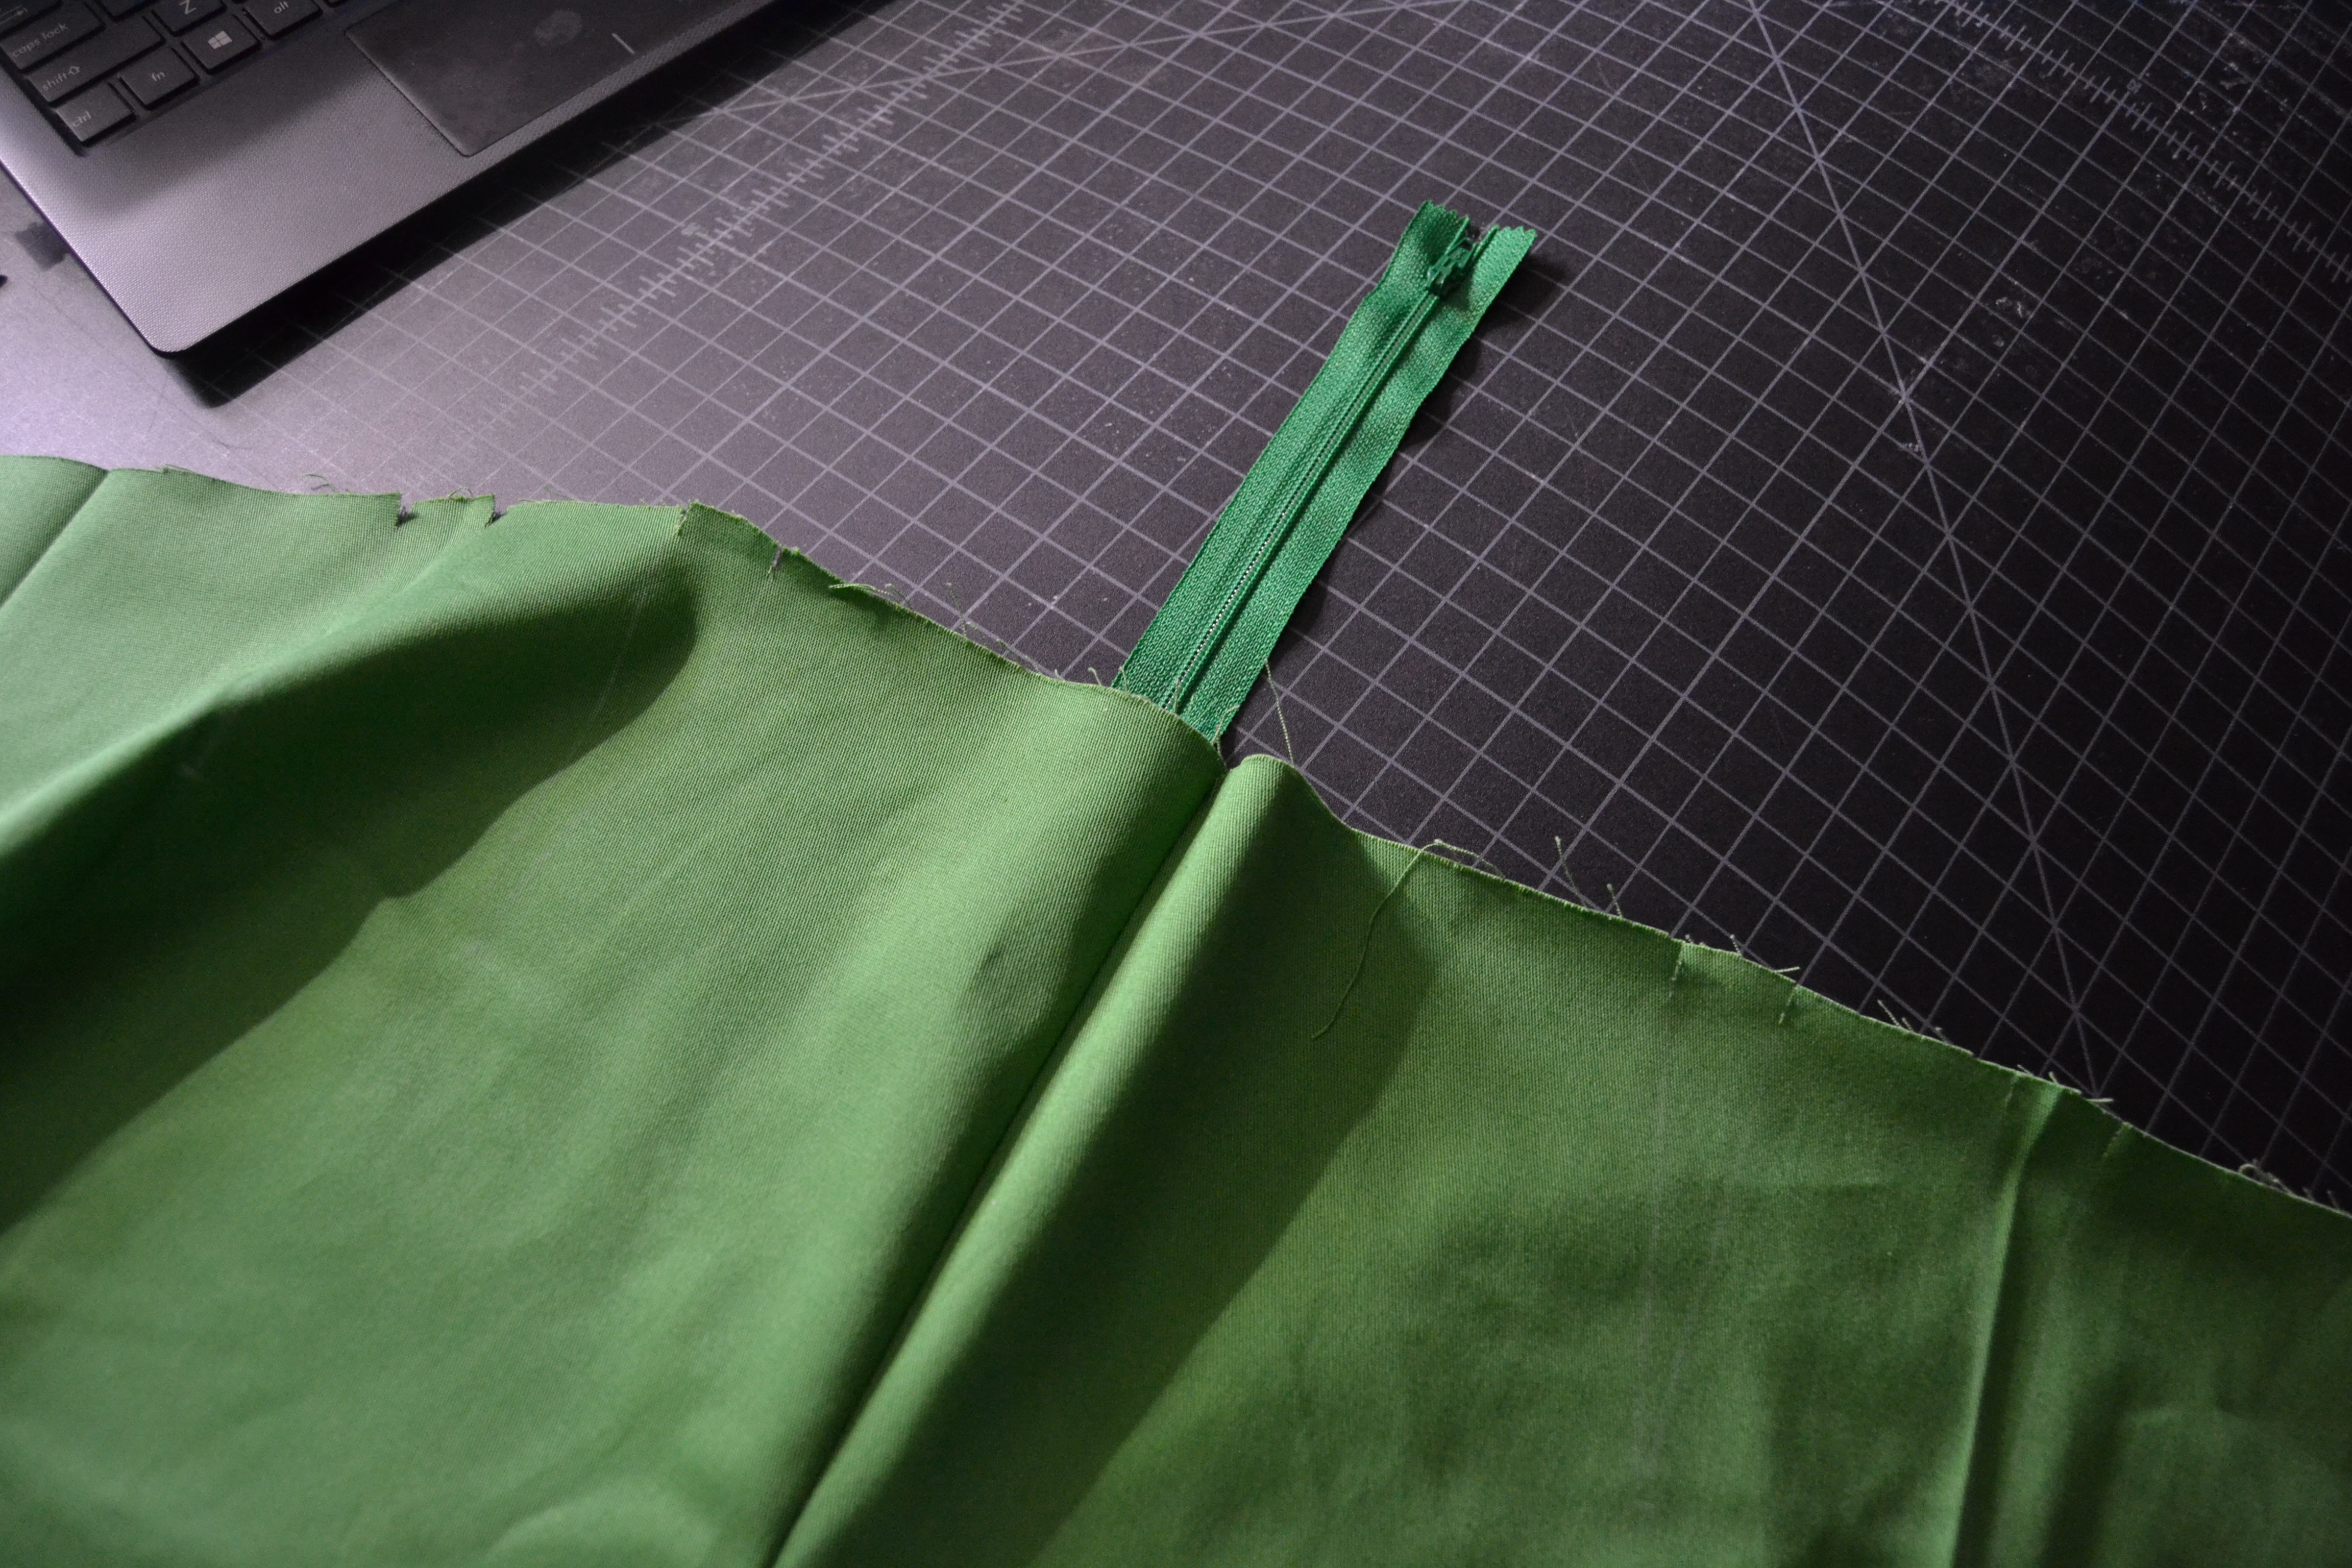
Now press the front open along the center front. Clip the curve where the crotch seam meets the center front.

Press the seam open. Run some basting tape or glue next to the center front seam on the fly facing. Left side if it’s for a girl. Right side for a boy.
Run some basting tape down the left side of the fly facing near the center front for left for a girl, right for a boy.
Lay the zipper down so the zipper tape edge runs along the center front seam line.

Lay the zipper along the center front seamline
Stitch close to the zipper teeth with a zipper foot through the facing only. The zipper should be face down and the stop should be just below where the center front seam meets the crotch. Don’t worry if the zipper is too long. We’ll be attaching a waistband, and we can cut the excess zipper off then. I like to make a second row of stitching down the zipper to make it strong.
Now we’re going to begin to construct the fly.
Basting tape down the other side of the zipper tape.
Run basting tape or glue down the other side of the zipper tape. Lift it up and over to the other side of the fly, keeping everything smooth.

Lay it down keeping everything smooth
If you turn your pants over, you’ll see the zipper has now moved over, and the fly is beginning to take shape.
The fly is beginning to take shape
Stitch down the other side of the zipper still sewing only through the fly facing.
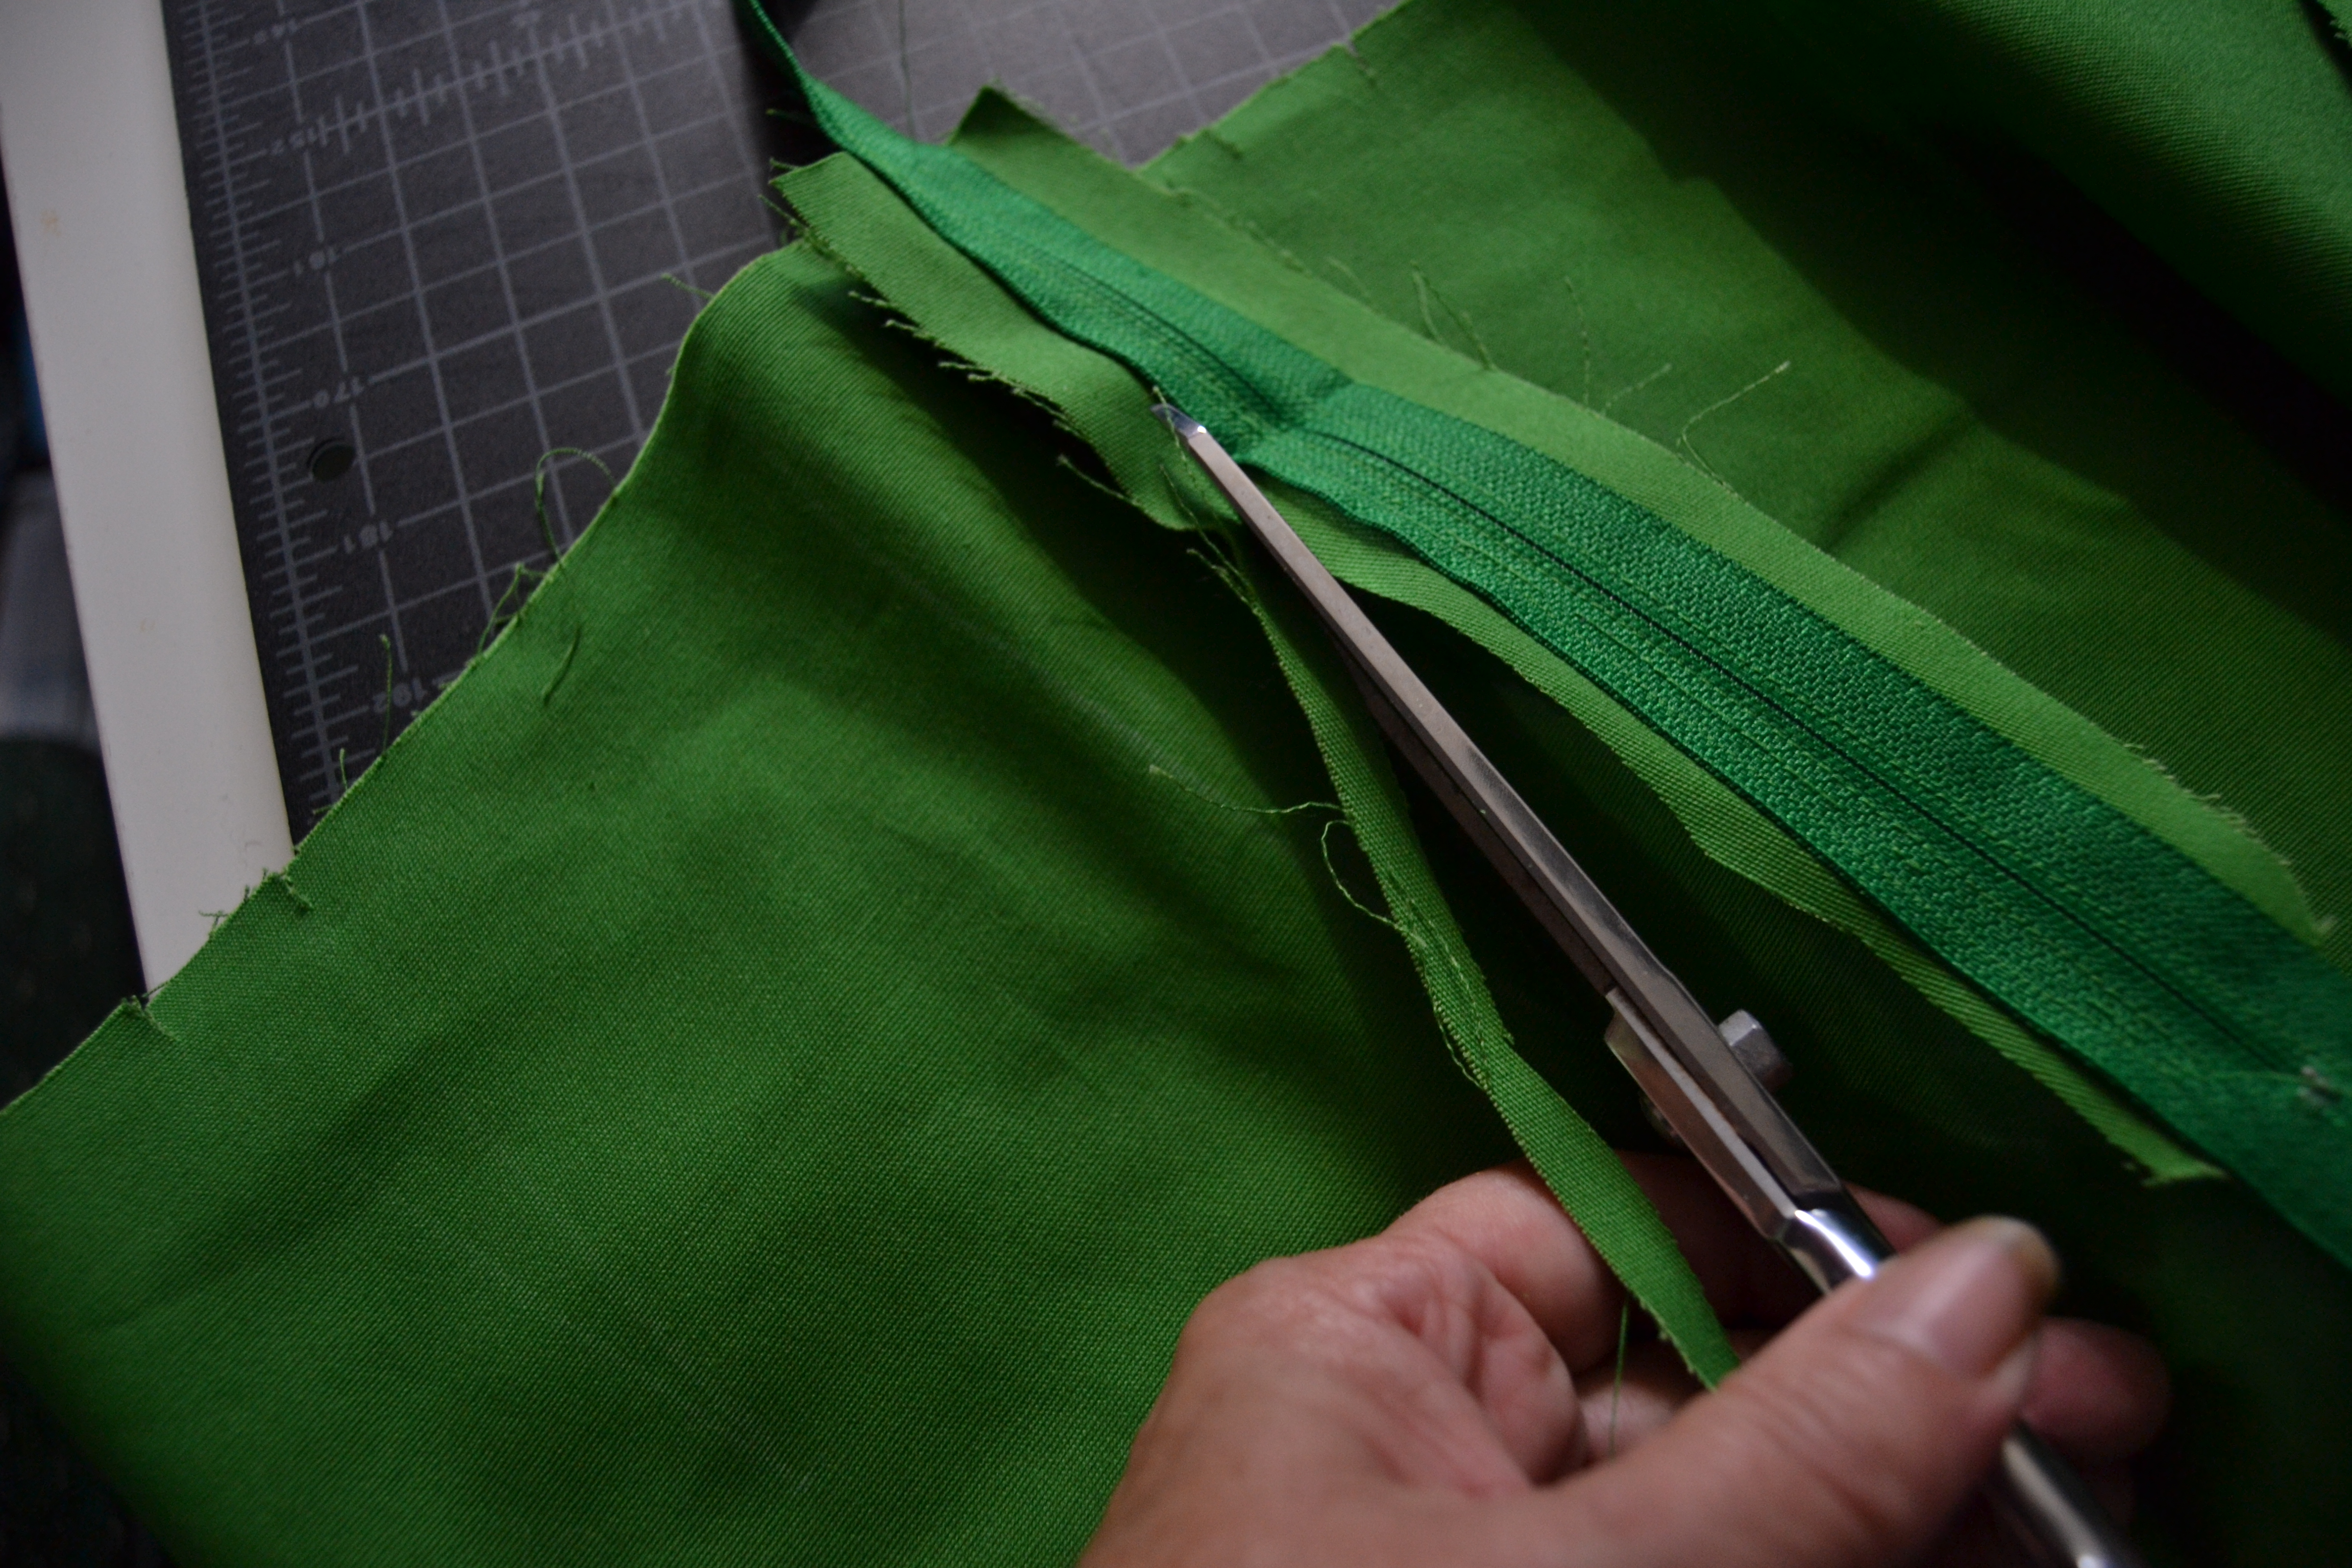
Trim away the excess facing on the left for a girl or on the right for a boy.
Open up the center front basting.

Remove the basting stitches
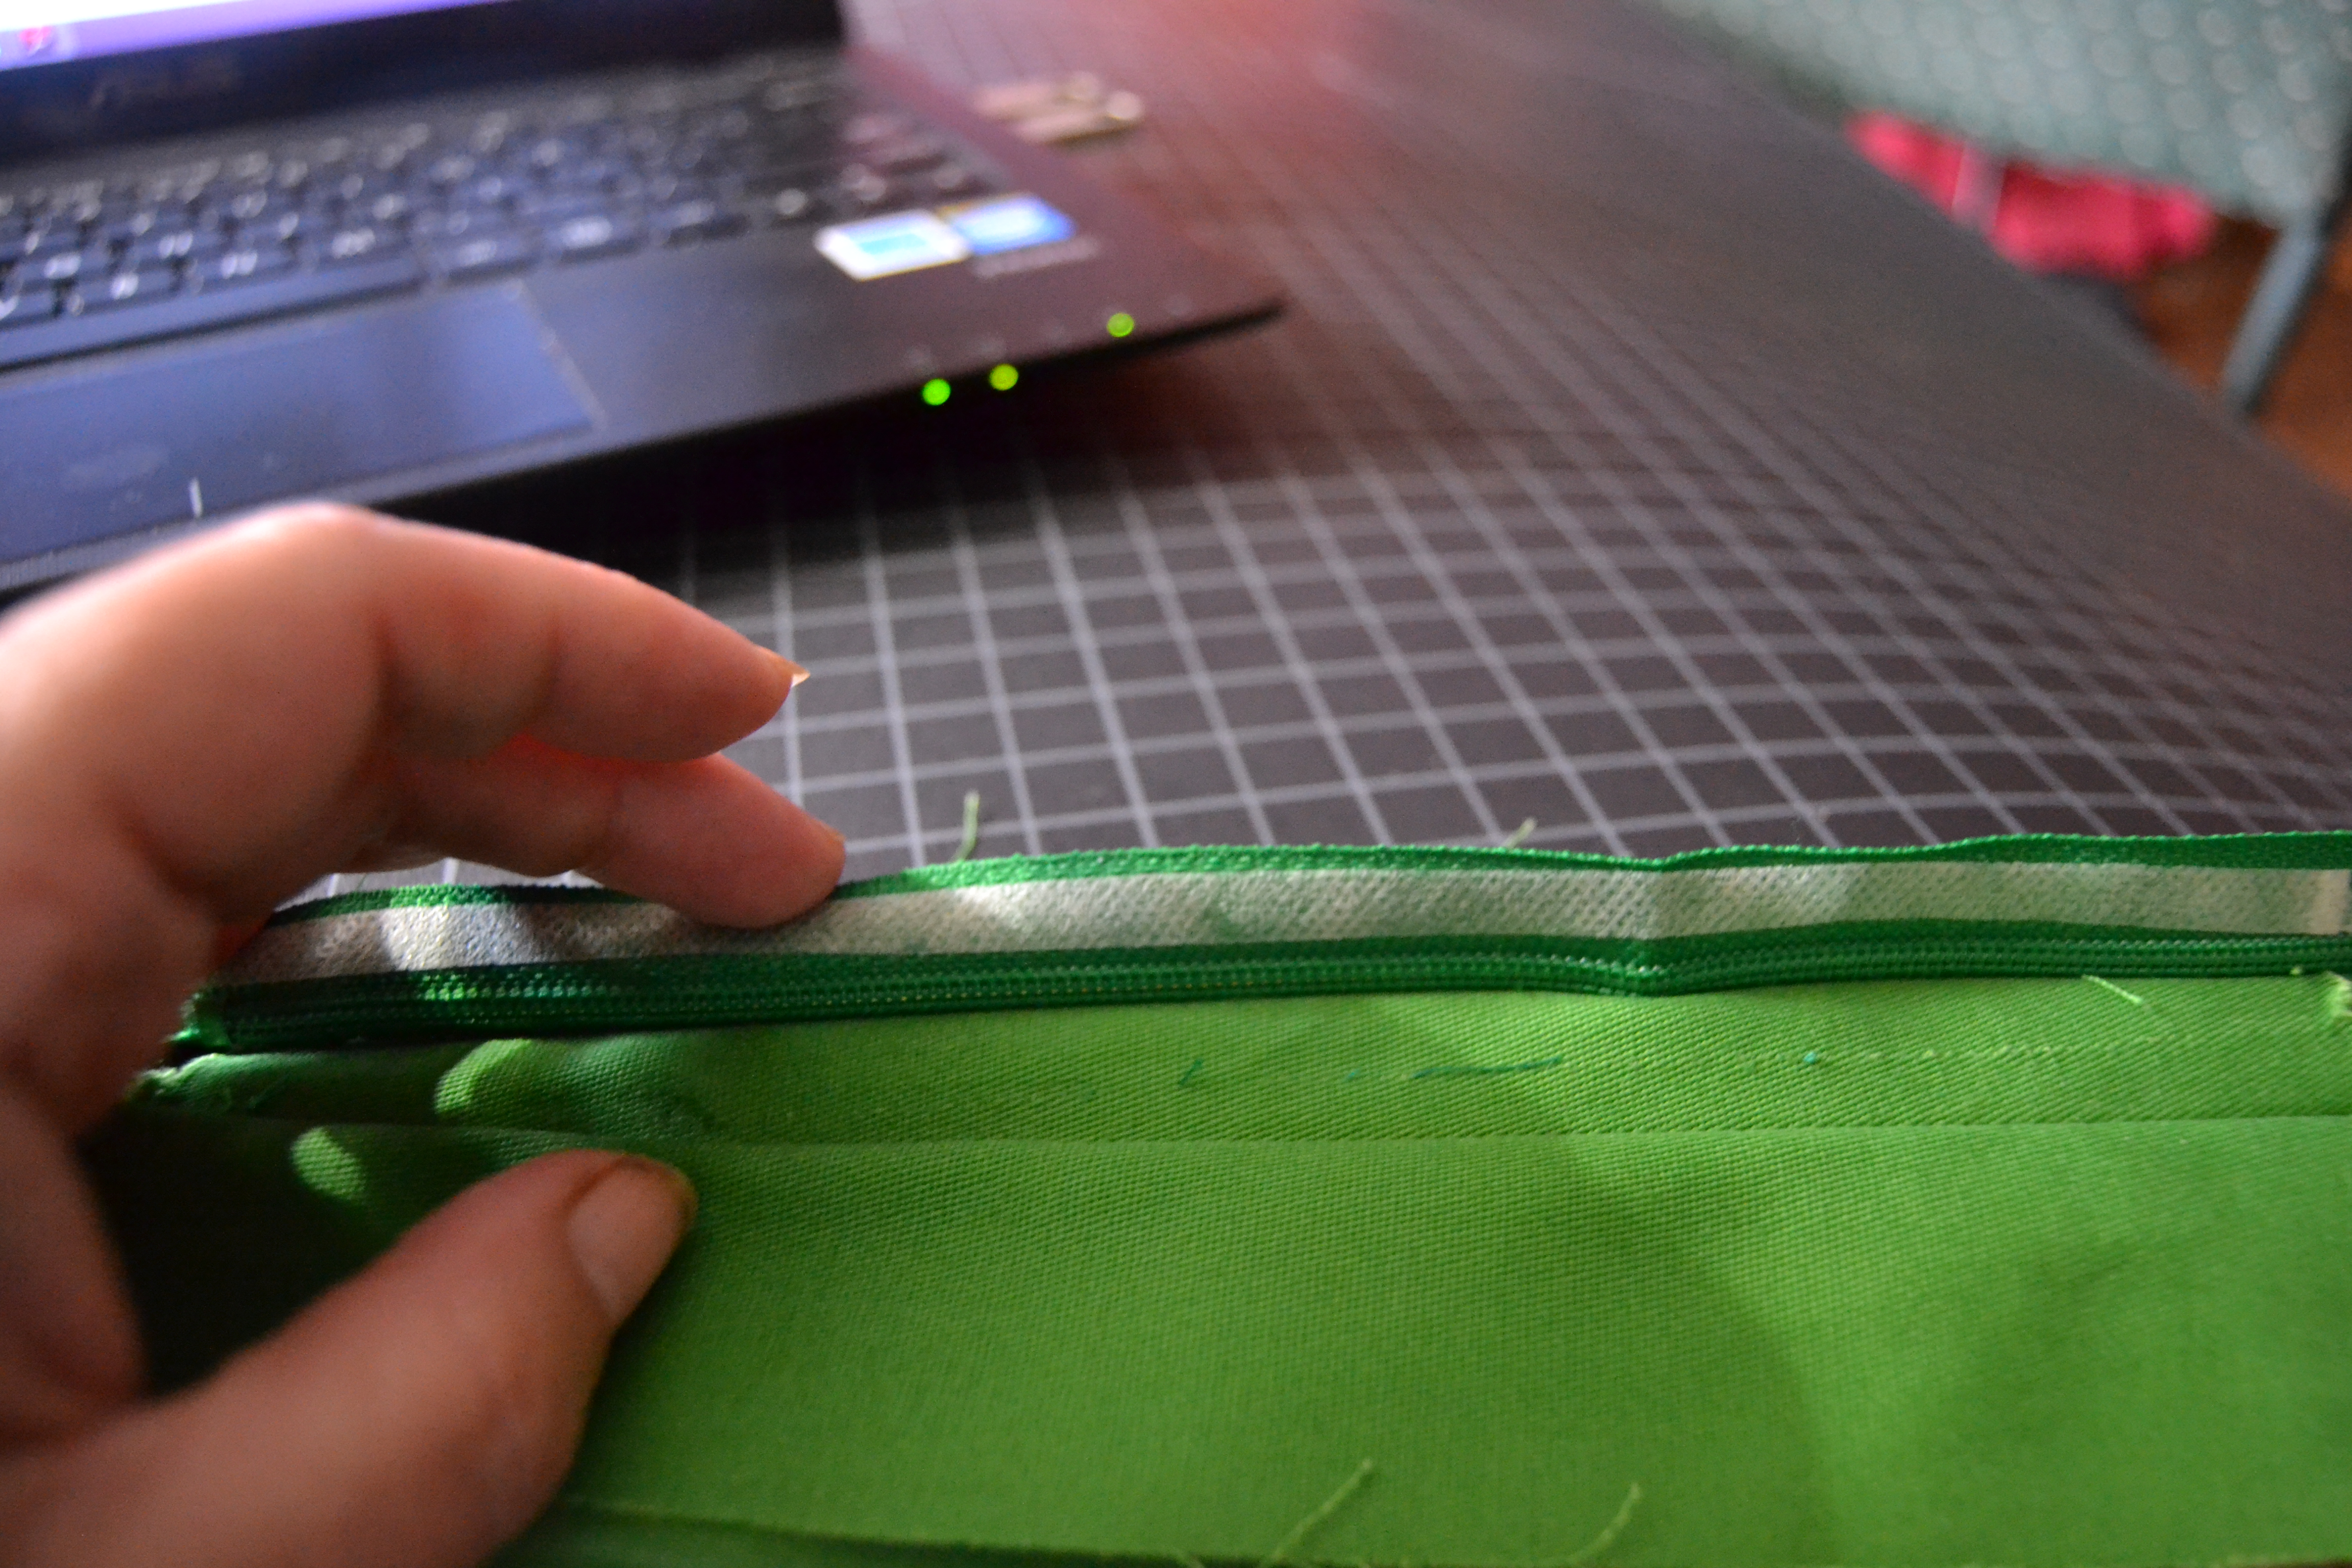
The fly should now look like this:

The zipper

And closed
Now it’s time to add the fly shield. It’s the piece that adds some modesty and also prevents skin from getting caught in a zipper. The shield should have a fold on one side and raw edge on the other. Start by zigzaging the bottom of the shield to give it a rough finish.
Finish the curved end of the zip shield.
Pin the raw edge of the fly shield to the raw edge of the left side of the fly for a girl, right side for a boy. Use your zipper foot to sew a row of stitching next the zipper teeth and then overcast the raw edge of the shield.

Sew the shield to the fly
Because the zipper teeth can get caught in the fly shield, it’s a good idea to run a row of topstitching down next to the zipper. Then you can press the center fold seam out of that side of the fly.

The fly shield is almost complete
Now from the back side of the fly, pin the fly shield out of the way.

Pin the fly shield out the way.
From the front of the pants sew the fly facings on the right for a girl, or left for a boy. through all of the layers. It’s helpful to use a marker you’re sure will disappear to draw a nice curved line for your stitching to follow. Put a bar tack (a short row of satin stitches) at the end to secure your fly.

The fly completed

Shown open
Putting in a fly isn’t as simple as making a pair of elastic waist pants, but none of the sewing is difficult. There are just a lot of steps. When you’re ready to step up to making that perfect pair of fitted pants, knowing how to do a real fly will be the icing on the cake.
Now I need to finish the pants. The hard part is done.

This is a good tutorial! I do the same method, but I almost always leave off the fly shield just to eliminate some bulk.
LikeLike