
My dog, Ellie, has been sick since Saturday night. She’s on the mend, but being sick to Ellie means you never leave Mom’s side – ever. So today’s sewing lesson will be about something I’m sewing rather than something one or more of you has asked for. I don’t have the energy to sift through the list of requests and start something new today. But I haven’t forgotten the things you want to learn to do. 🙂
I’m getting ready to go on a seven day cruise from Boston to Bermuda. It’s a cruise we’ve taken before so I have a pretty good idea of what to expect. The cruise is mid-scale. Not casual enough to be able to go to the dining rooms in shorts, but there’s only one night when anyone gets dressed up formally, and that’s limited to just one of the dining rooms. Last year I took a suitcase filled with pretty summer dresses, and that worked really well for 5 of the 7 nights, but it was a little chilly the two evenings when we were off the New England coast. Our days are still pretty warm in mid-October, but the frost is on the pumpkins at night.
For one of those two nights I’m making an outfit that’s pants, a sleeveless tank, and a sheer top. After I go out for an elegant dinner, I can exchange the sheer top for a comfortable hoodie and spend the evening poolside listening to the band and begging my husband to dance. If the barmaid cooperates, he should give in around 11 pm. If she doesn’t, I’ll still get to enjoy good music under the stars without freezing.
Here’s the pattern I’m using:

V8504
Vogue says this pattern is flattering to all body types so here’s hoping.
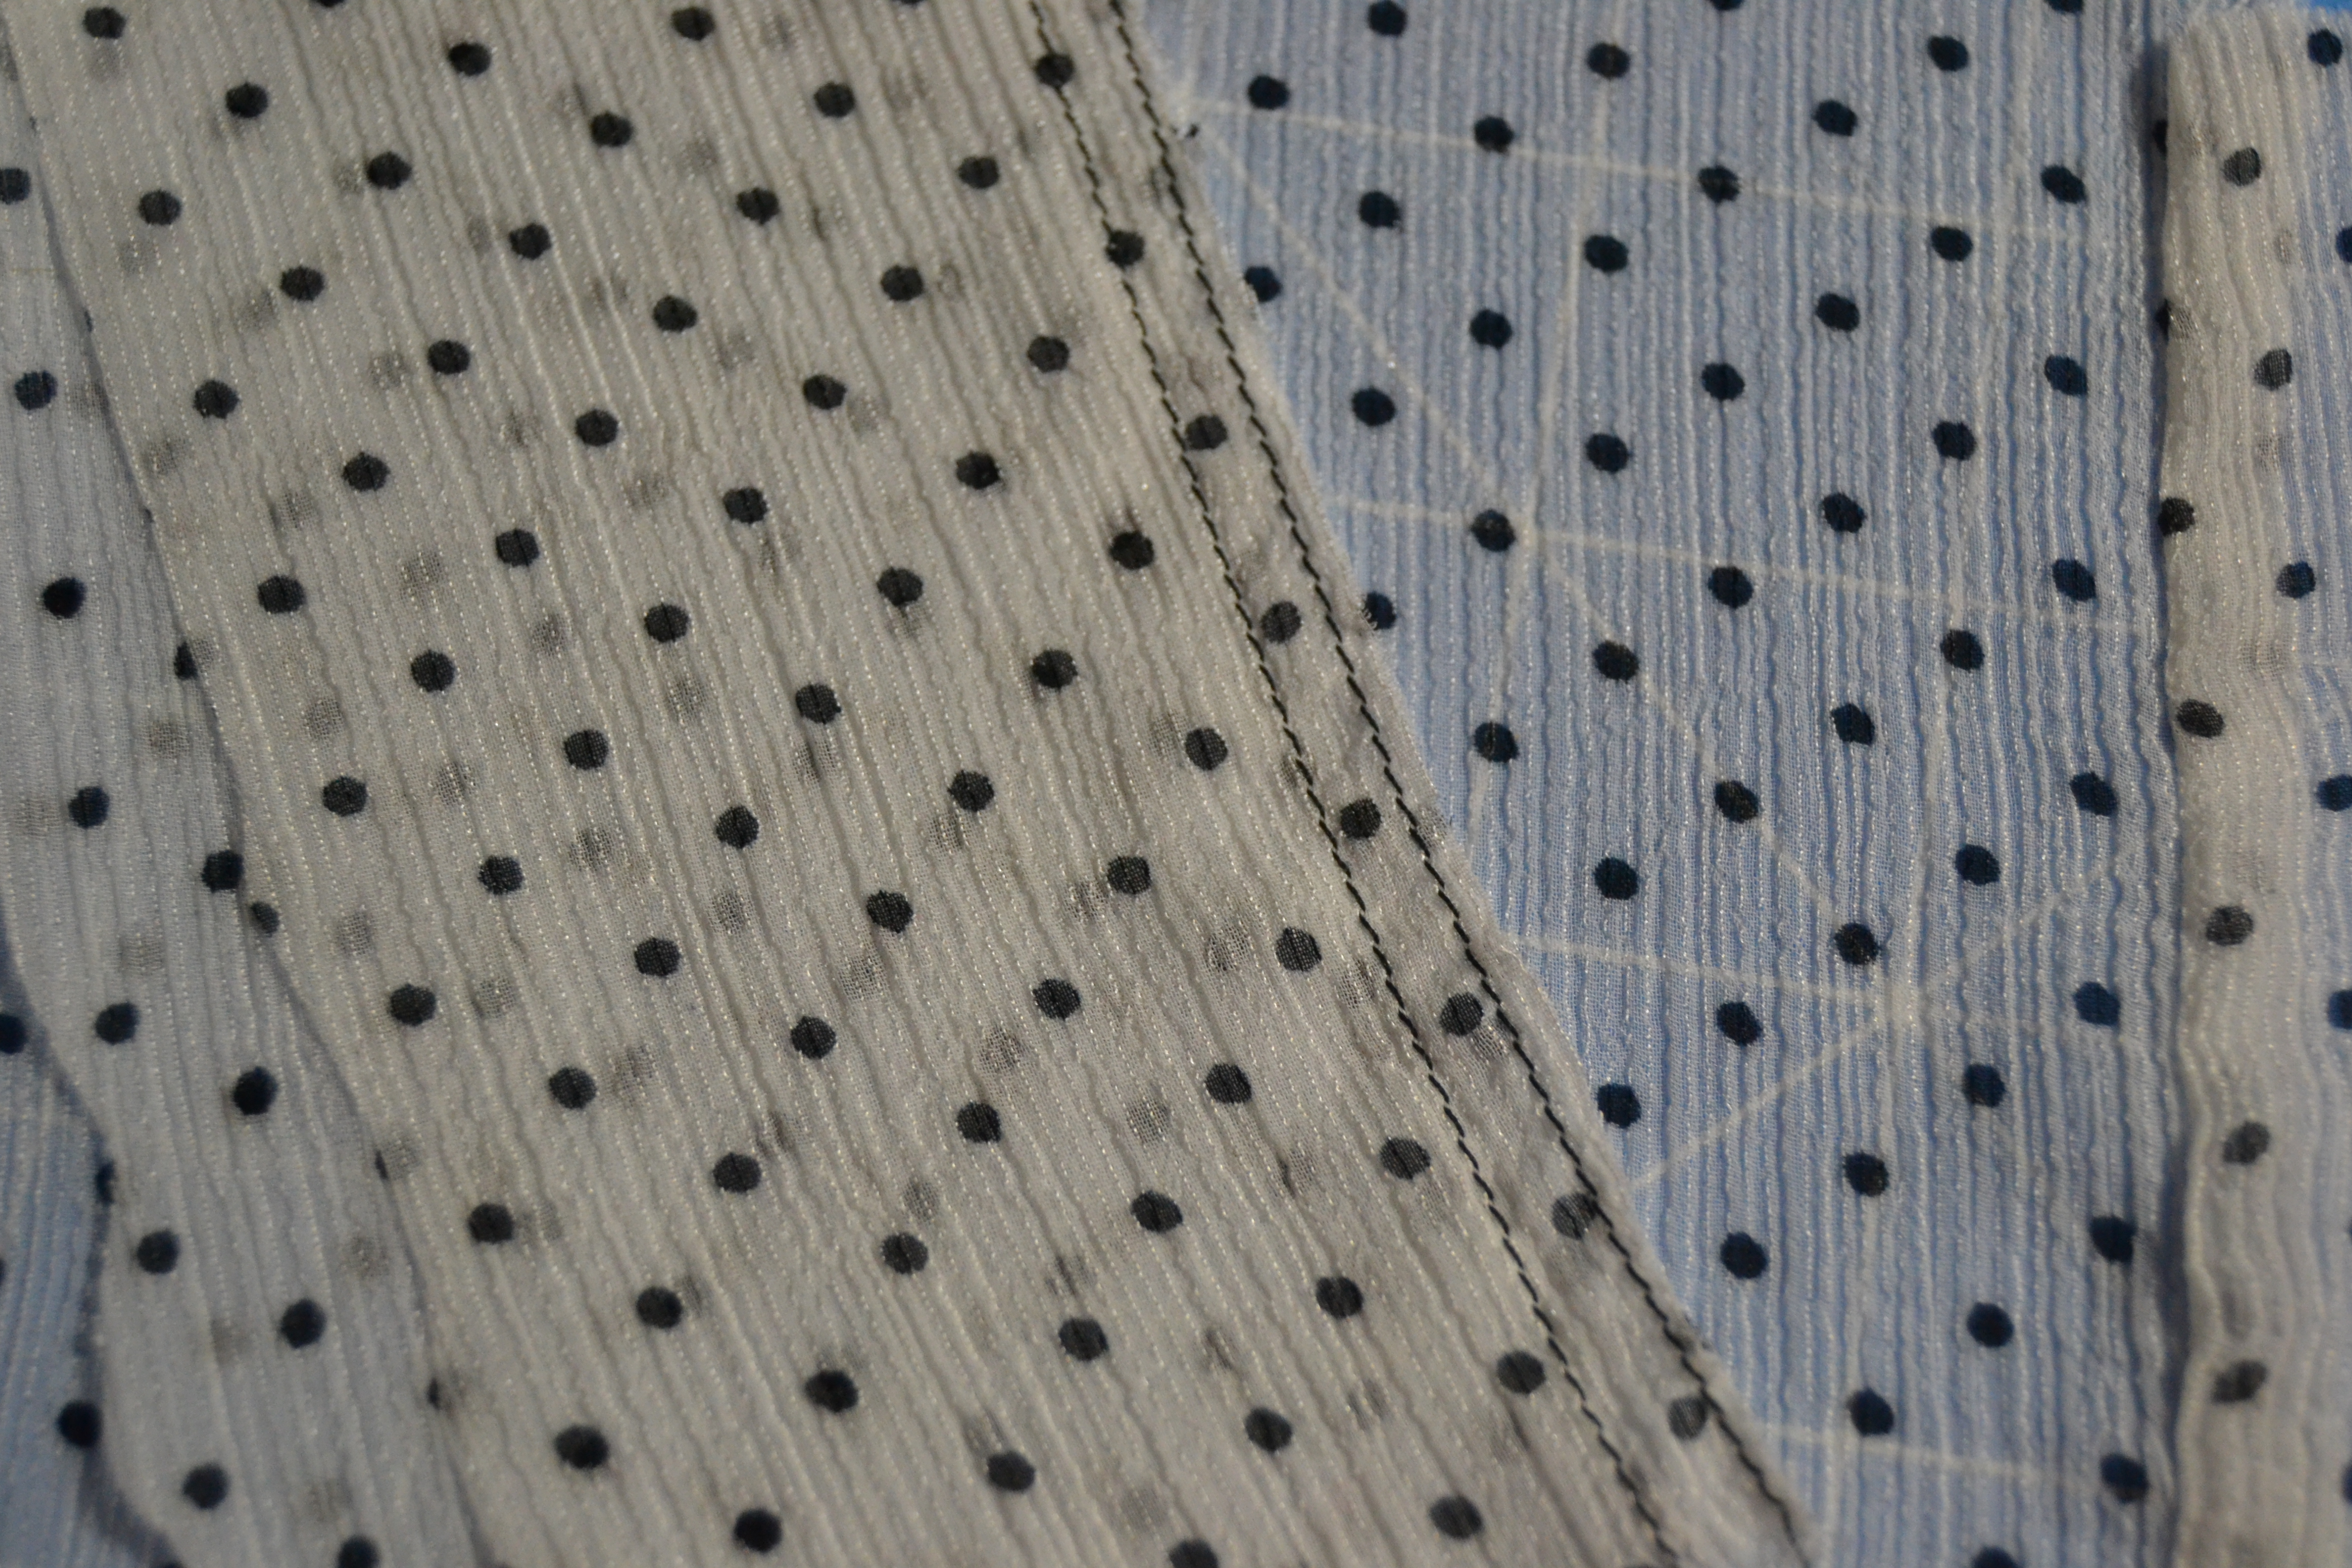
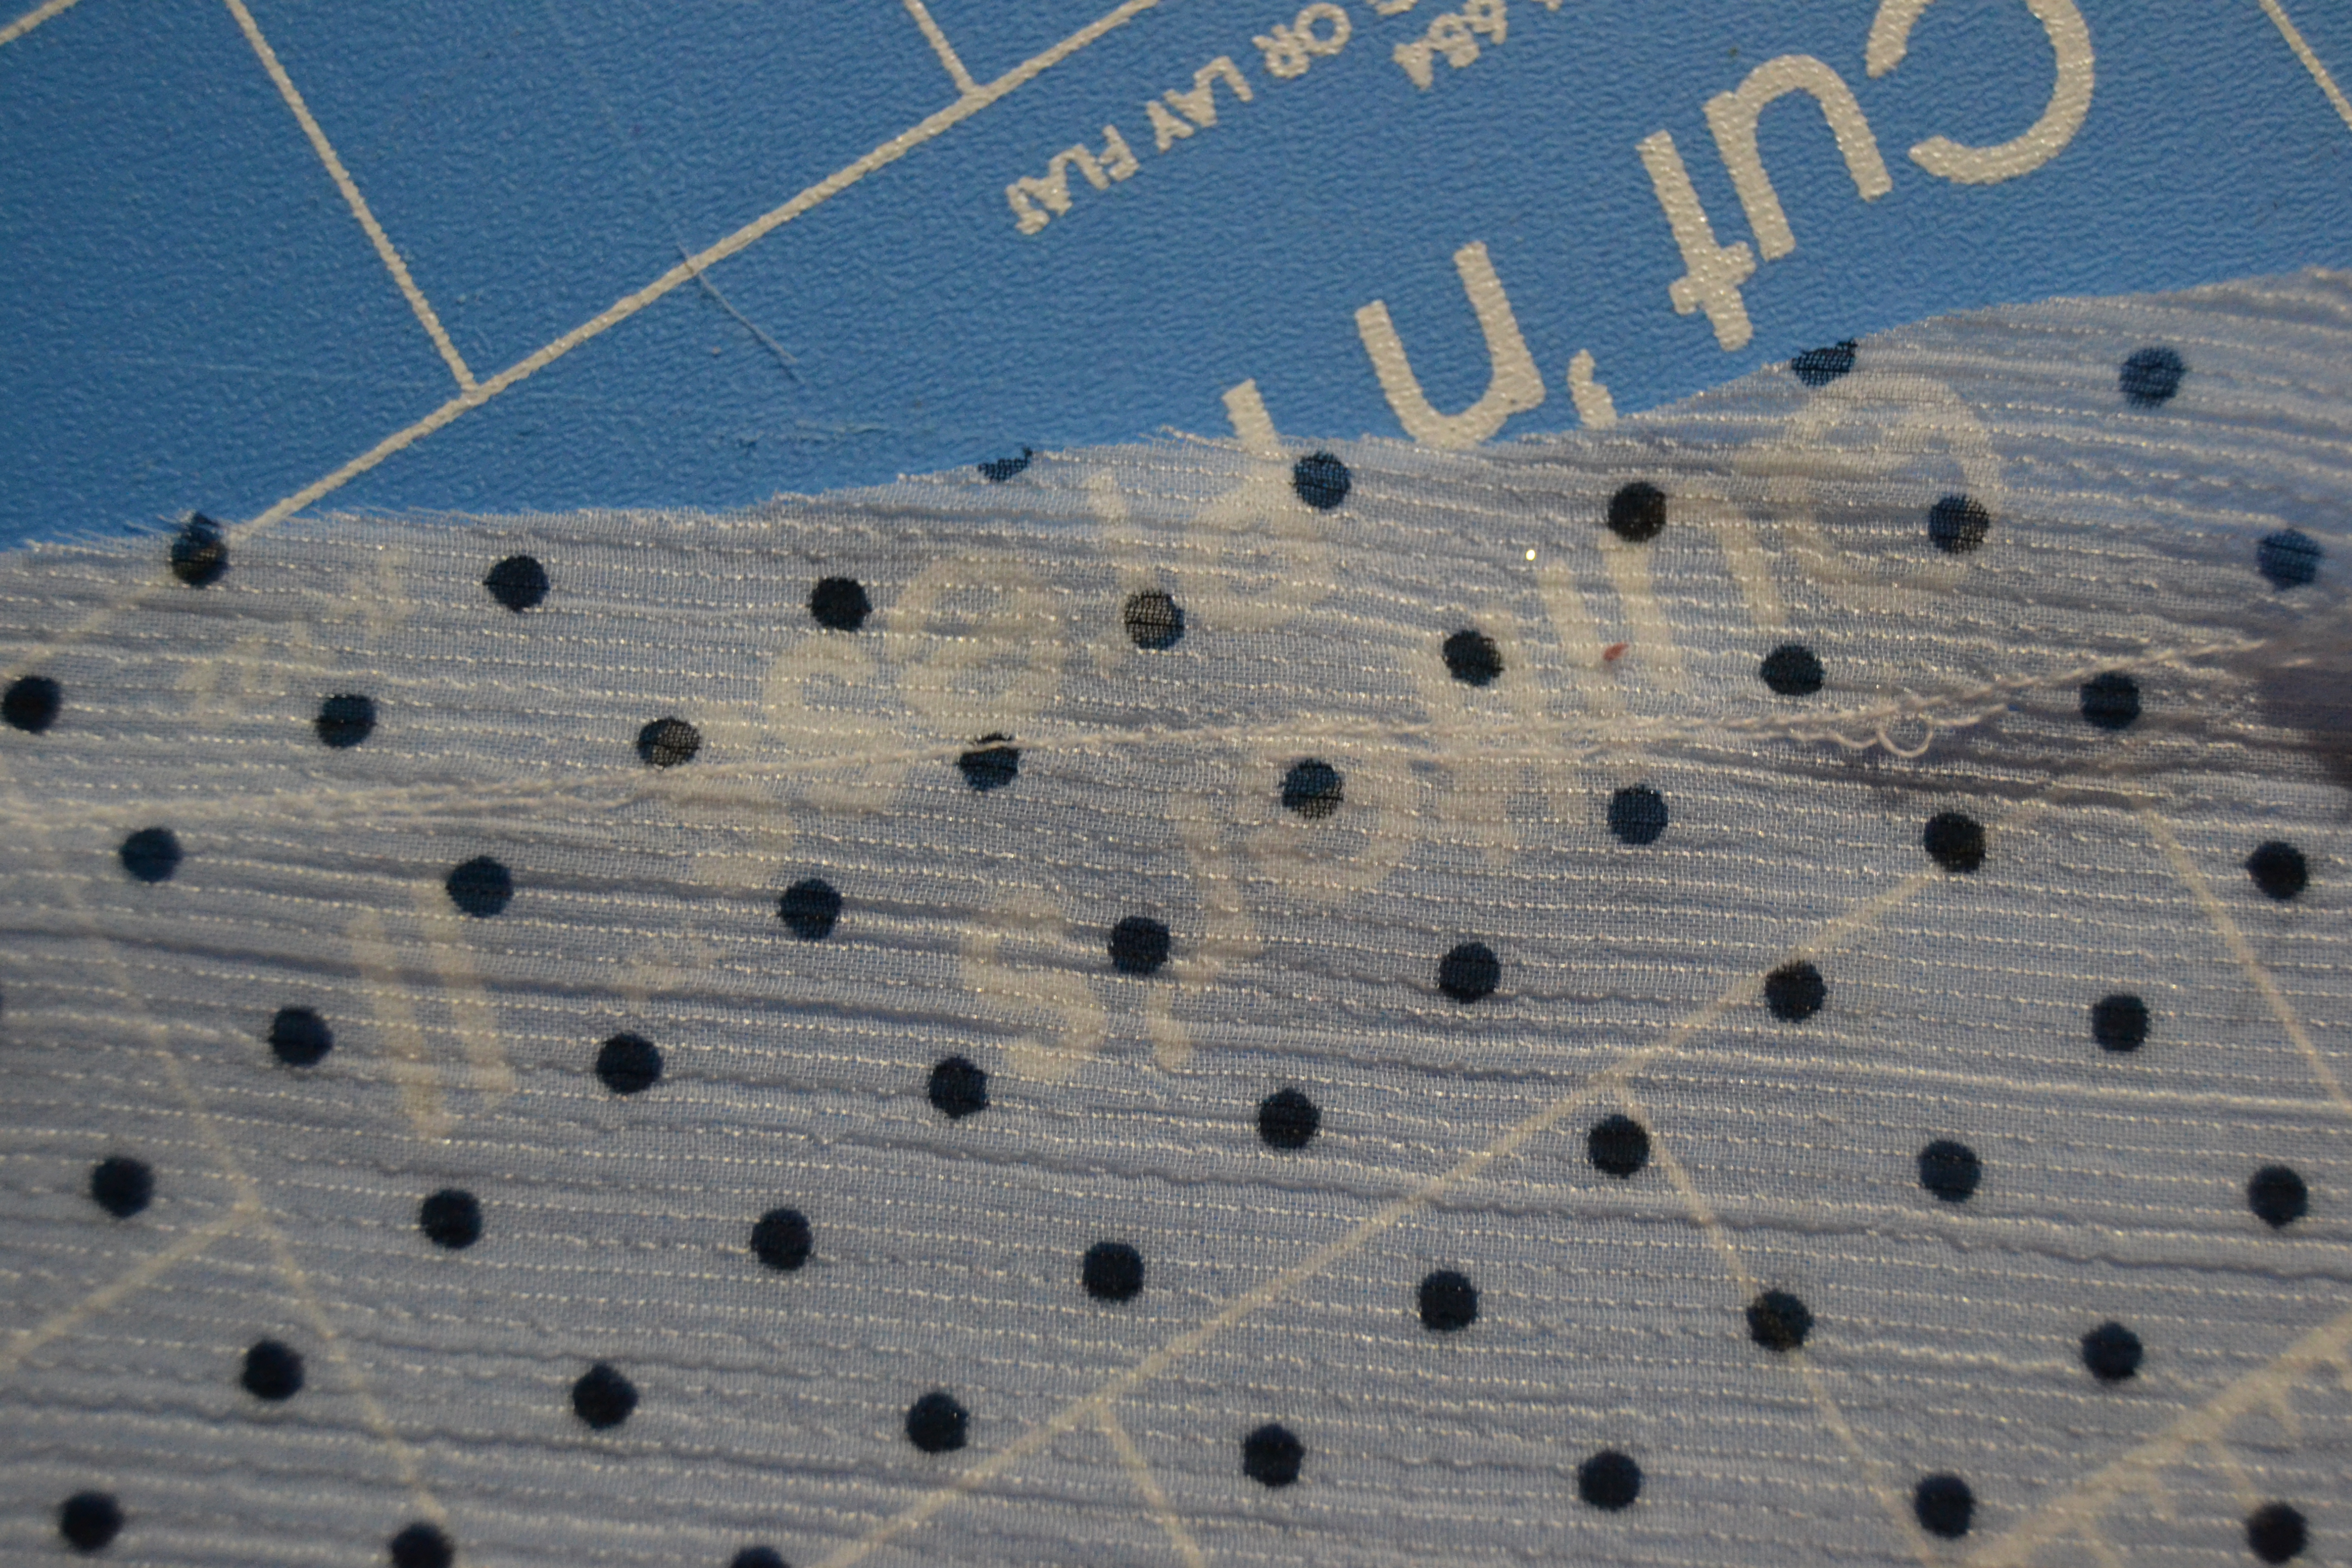
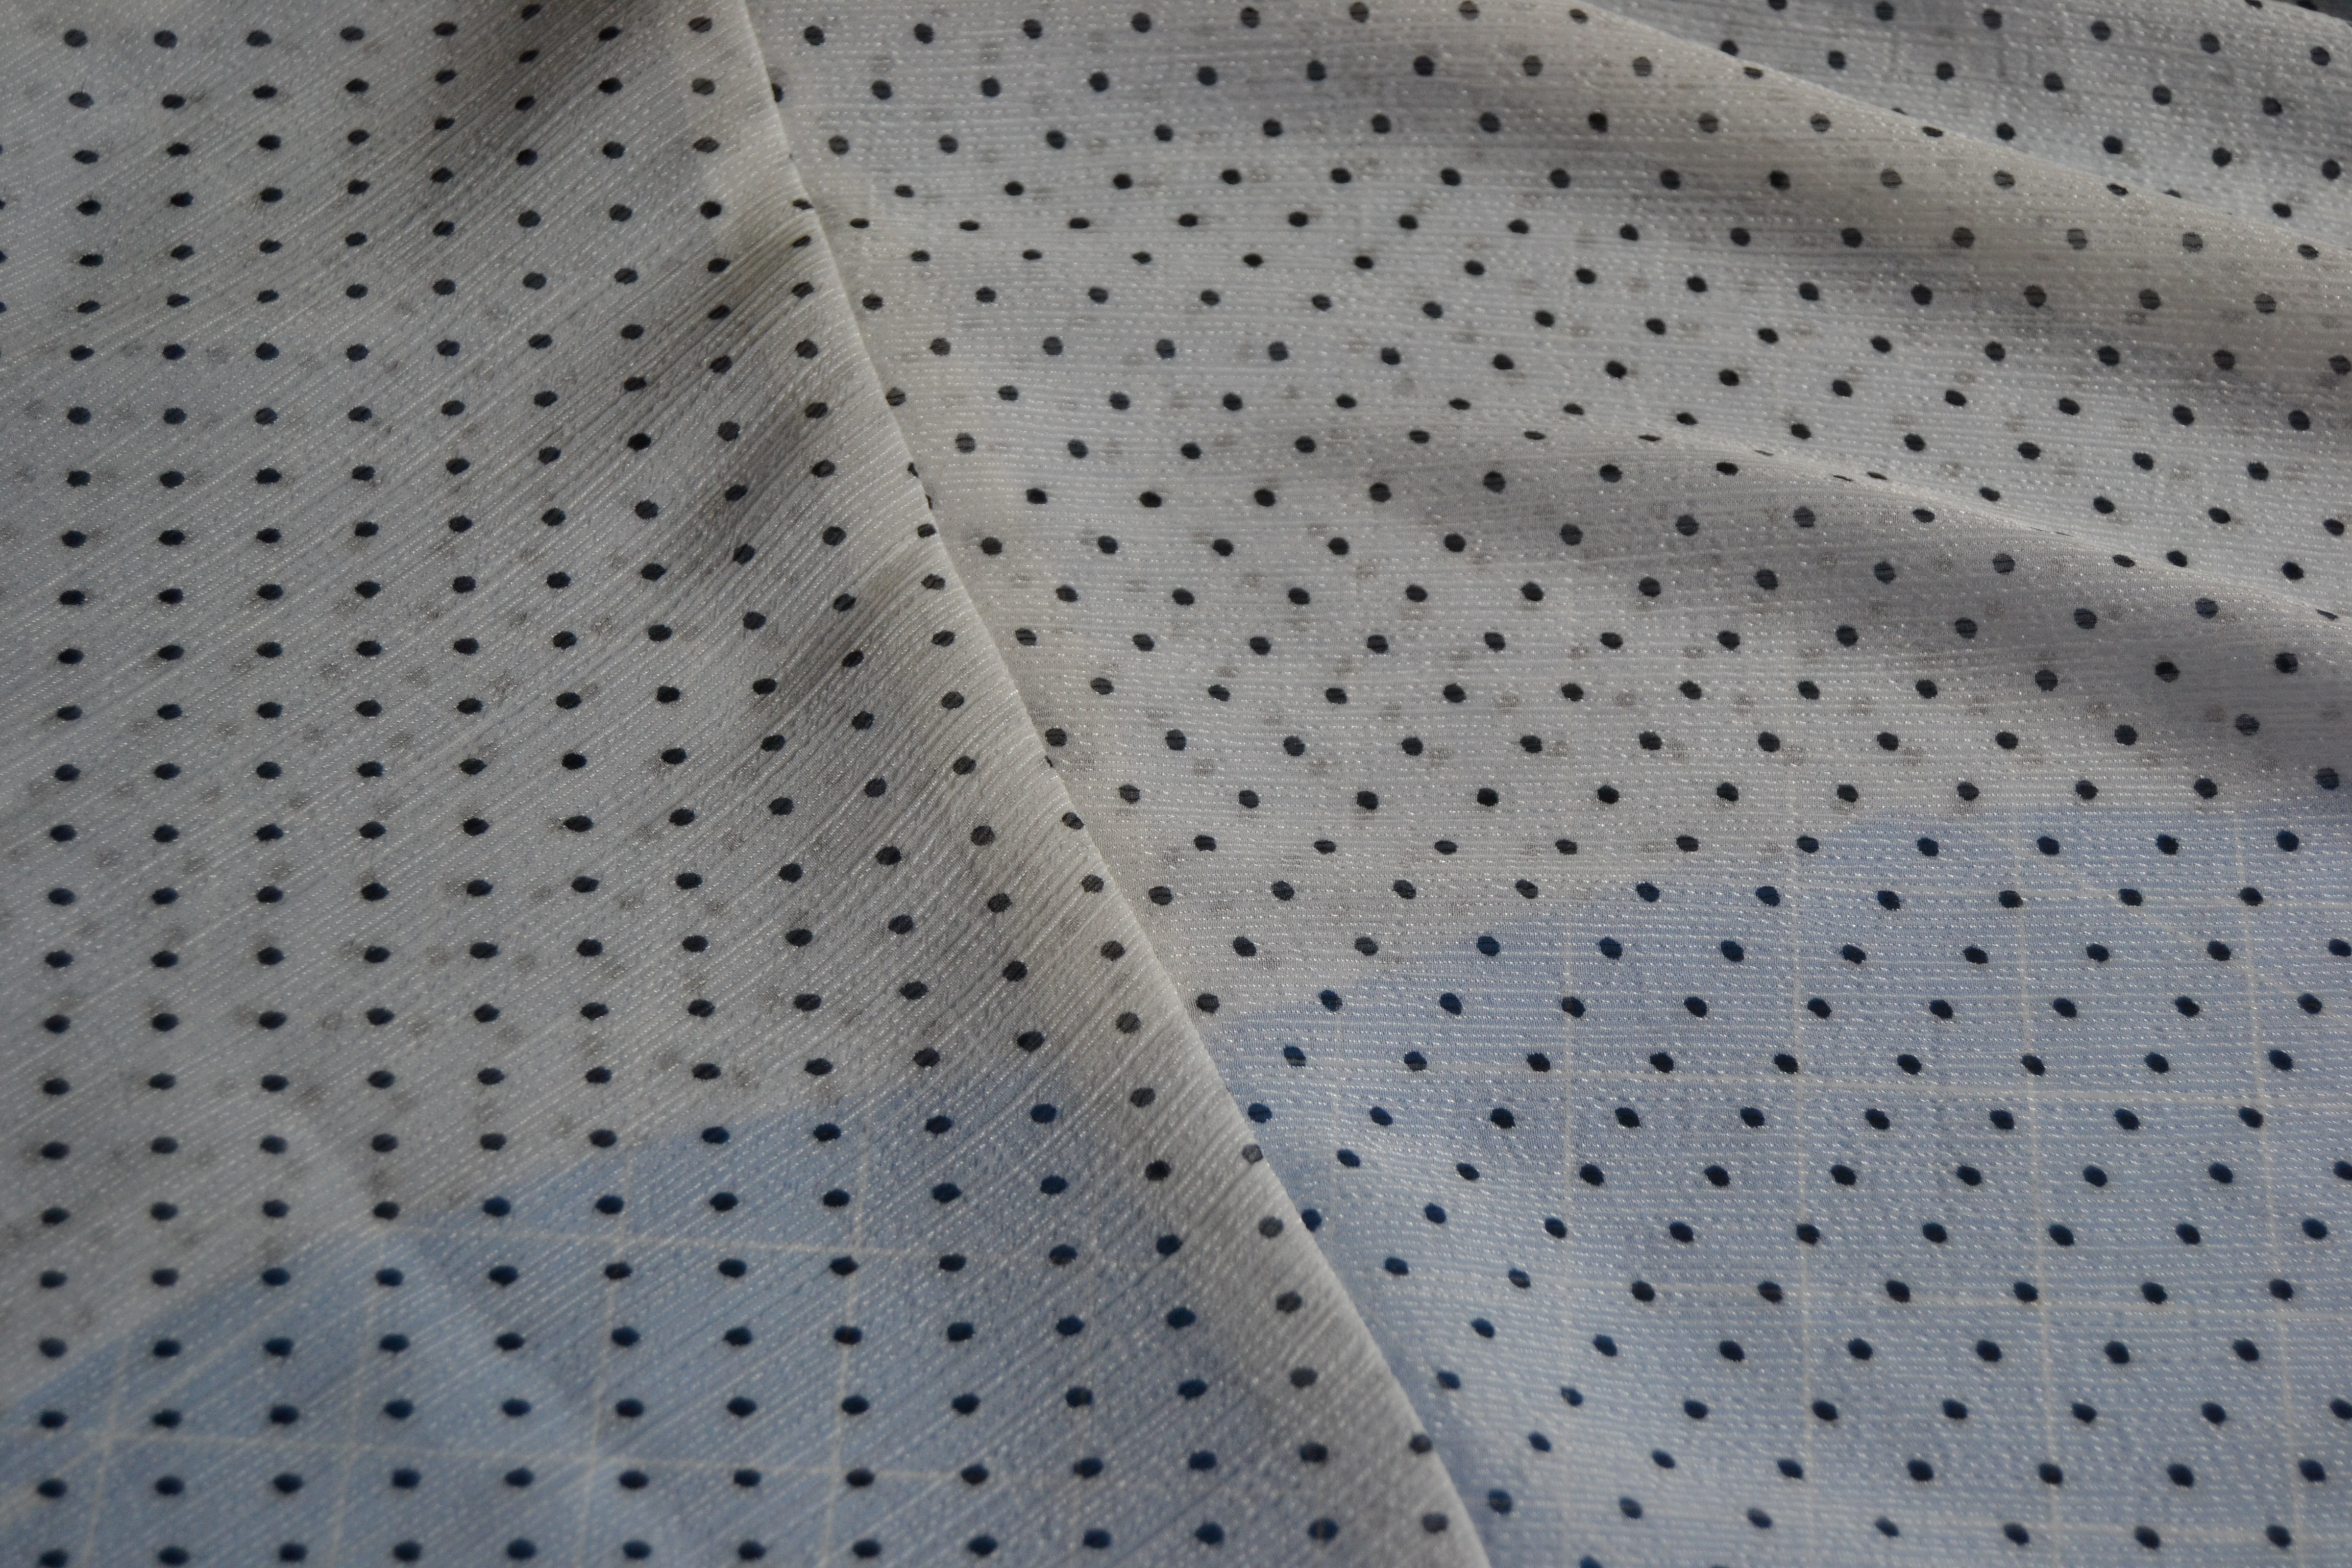
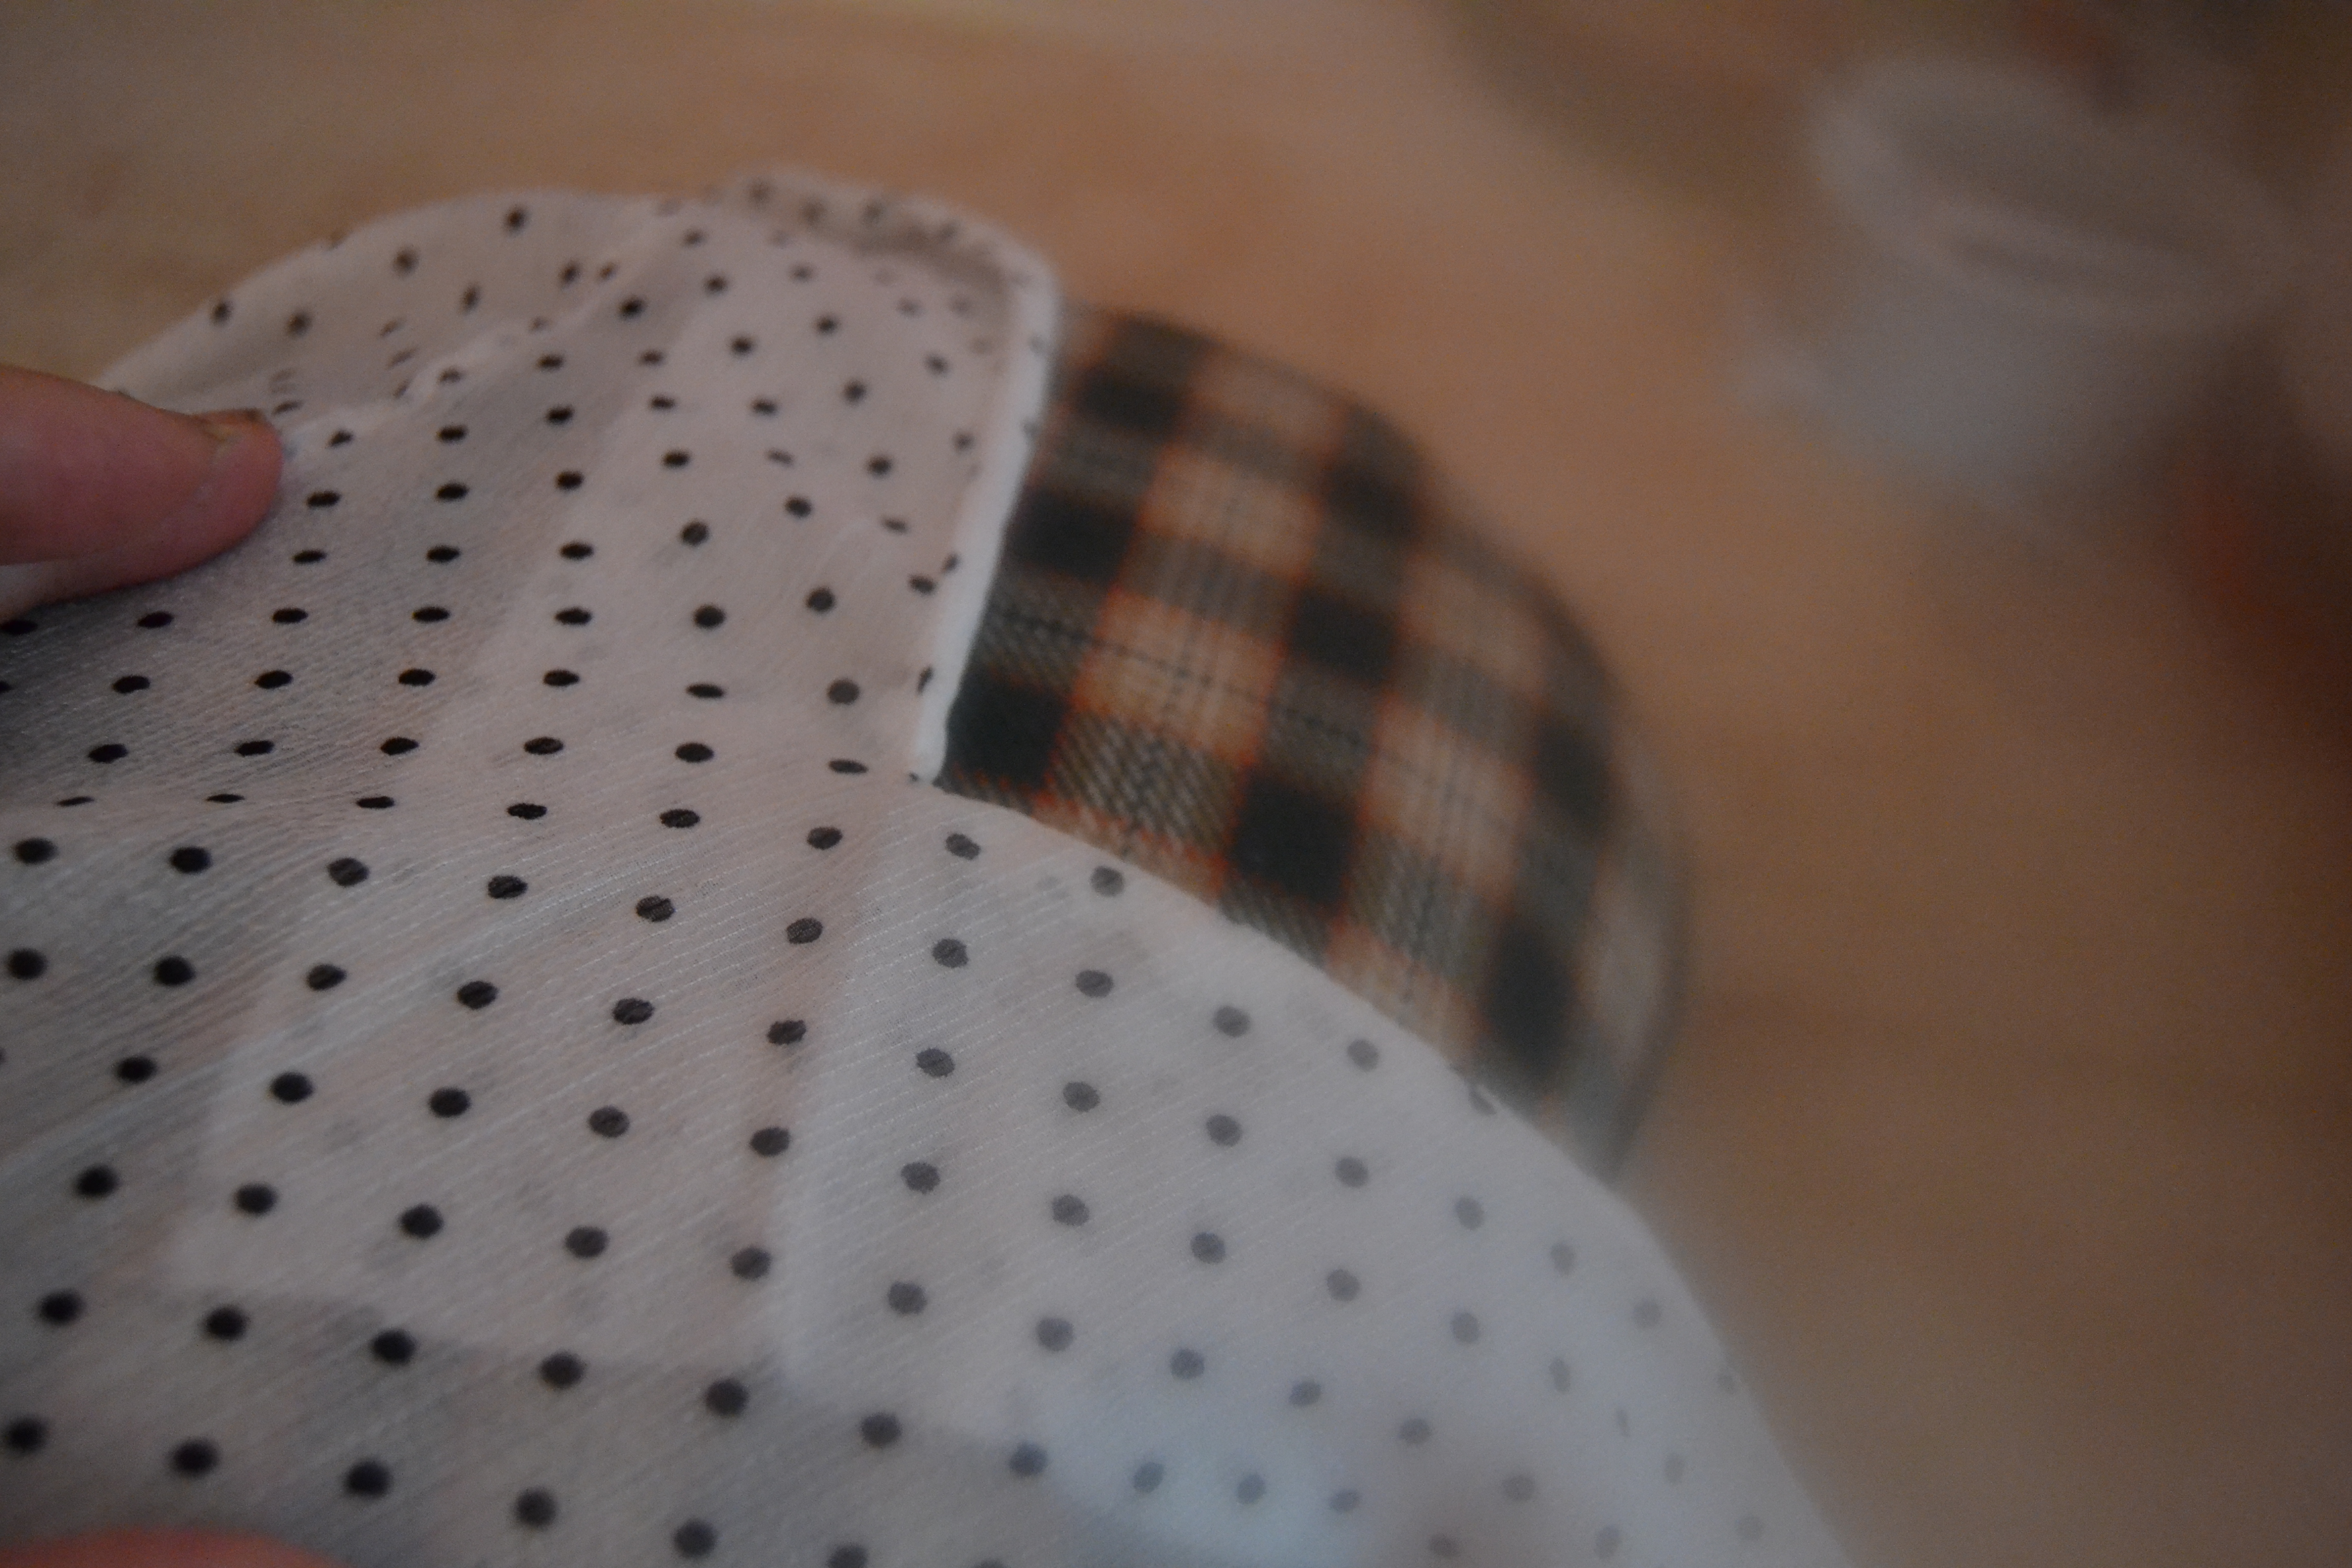
The fabric I’m using is a white silk georgette with black pin dots. It’s not flashy, but the fabric is very elegant. Georgette is a little heavier than chiffon, and this one has a crinkly or crepe surface. It’s not as slippery to sew as chiffon, but it will snag so I will need to be careful. I wouldn’t normally sew a pattern for the first time with silk, but I found this fabric on a bargain rack, and the pattern isn’t closely fitted so it becomes its own muslin. Since this top is the signature part of the outfit, I’m going to make it first. If I like it, I’ll continue with the rest of the outfit. If I don’t, it’s only the top I’ve wasted time and fabric on.

Pin dot silk georgette
Cutting out a sheer fabric
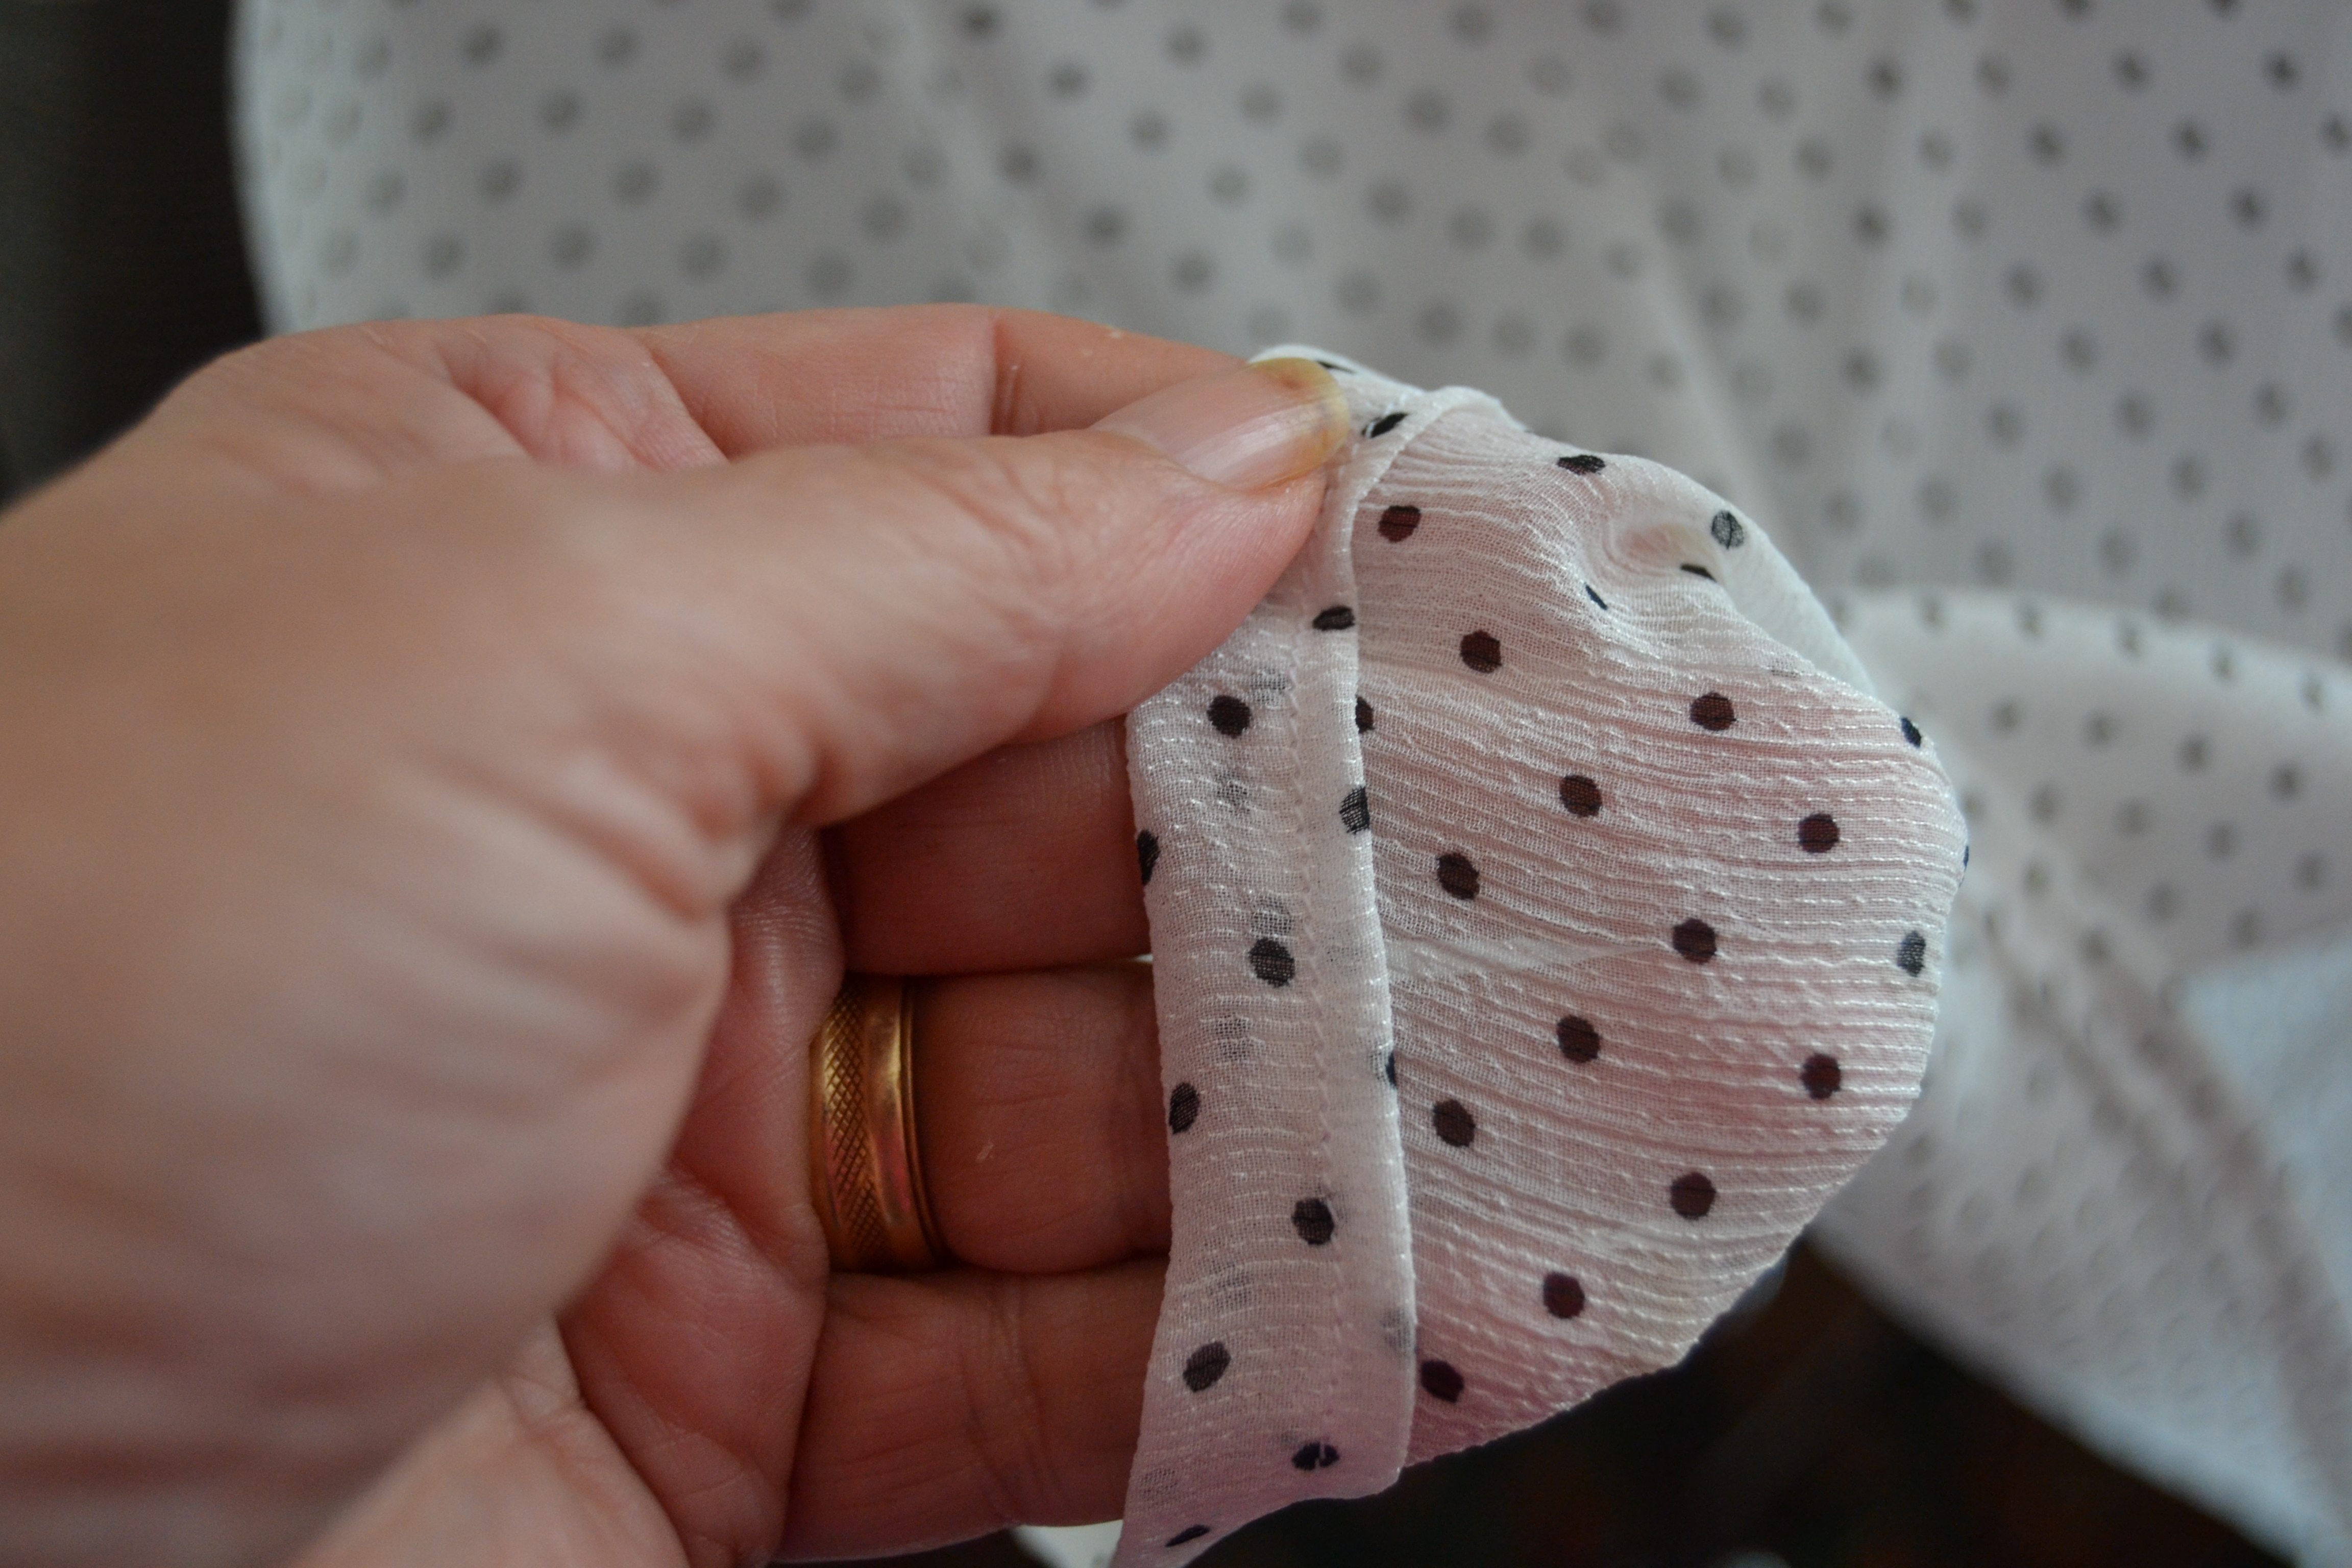
There are some things to consider when you cut out a sheer fabric. One is that it’s likely to be slippery. While I will use my pattern weights, this time I will also be using pins. Because the fabric has a tendency to snag, I will be careful to only put pins in the seam allowances. The pattern pieces are cut out single layer for the top so I need to be careful to cut all of the pieces with the fabric right side up, and the pattern pieces right side up as well. If the fabric was really slippery, I’d lay a layer of tissue paper under the fabric and cut through that as well. I’ve already made something from some of this fabric, and I know that step isn’t necessary. The crepe finish of the fabric helps keep it from sliding around as much as chiffon would.
Using pins and pattern weights
Interfacing a sheer fabric
The neckline of the top needs to be interfaced. I’m using a sheer fusible knit interfacing. It will be light enough to disappear into the fabric. For more information on interfacing check out this lesson.

Sheer fabric fused to interfacing
Stitching on sheers
When you sew seams in a sheer, you want to use a fine needle. Size 9-11. While silk thread would be appropriate in this case, I’m going to use the polyester I have. It will be fine. The stitch length should be a little shorter than you normally use. If you have a single hole plate and a straight stitch foot, this would be the time to use them. It would help to keep the beginning stitches from getting caught under the throat plate. You don’t want to backstitch to secure your beginning and ending stitches on a sheer. If you don’t have a lockstitch on your machine, leave thread tails long enough to tie them.
Seam finishes on sheers
When you’re choosing a seam finish on an opaque fabric, the most important consideration is keeping your fabric from fraying. We want our clothes to be comfortable and attractive on the inside, but those are secondary. With a sheer, while we don’t want our clothes to fall apart, we know our seams are going to be visible from the outside. Making them attractive as well as secure is very important. This is not the time for serged seams. My favorite seam finish for sheer fabrics is the French seam, but that one isn’t going to work for this pattern. The sleeves are cut in one piece with the front and the back, and it’s impossible to get a French seam around that much curve. The pattern calls for double-stitched seams on the underarm seams and topstitched seams everywhere else. Vogue does know how to do professional finishes. I’ve tested the seams to get the right stitch length and tension. I’ll be using white thread, but I also stitched them in black so you see what they look like.
Double stitched and pressed to the side
Hemming
Both the hems on the bottom of the top and the sleeves are 5/8″ narrow hems. That’s different from a narrow rolled hem. These hems are pressed up twice and stitched.
Hem
Now that I’ve read through all of the instructions, and I understand what I’m supposed to do, it’s time to pick a size and get started.
Most patterns are designed for someone with a B cup, but I have DD’s. So I need to do a full bust adjustment . If I choose the size on this pattern by my full bust measurement, the top is going to be too wide across the shoulders. So I’m going to choose by my high bust measurement, which is two sizes smaller. Incidentally, that’s the size I wear in most RTW sizing. I’ve measured the pattern at the full bust line on the pattern at the smaller size, subtracted 5″ (there are 8 seam allowances of 5/8″ each), and checked to see if that will leave enough fabric to go around me. There is, but it’s significantly less ease than the designer intended. This pattern makes it easy to make adjustments after I sew. I’m going to cut the pattern out on the smaller size lines except from the underarm to the hem. There I will switch to the larger size pattern lines. That will put half of the difference between the sizes back because I won’t be grading the pattern on the front and back seams. Adding fabric at the back and front seams from my bustline to the hem would change the drape of the fabric, and I don’t want to do that. When I sew the top, I’ll use a basting stitch on the underarm seam, try the top on, and decide whether I like the fit, or if I want to remove some of the fabric from that seam. It’s much easier to take it out than to try to add some fabric back in.
So here we go.
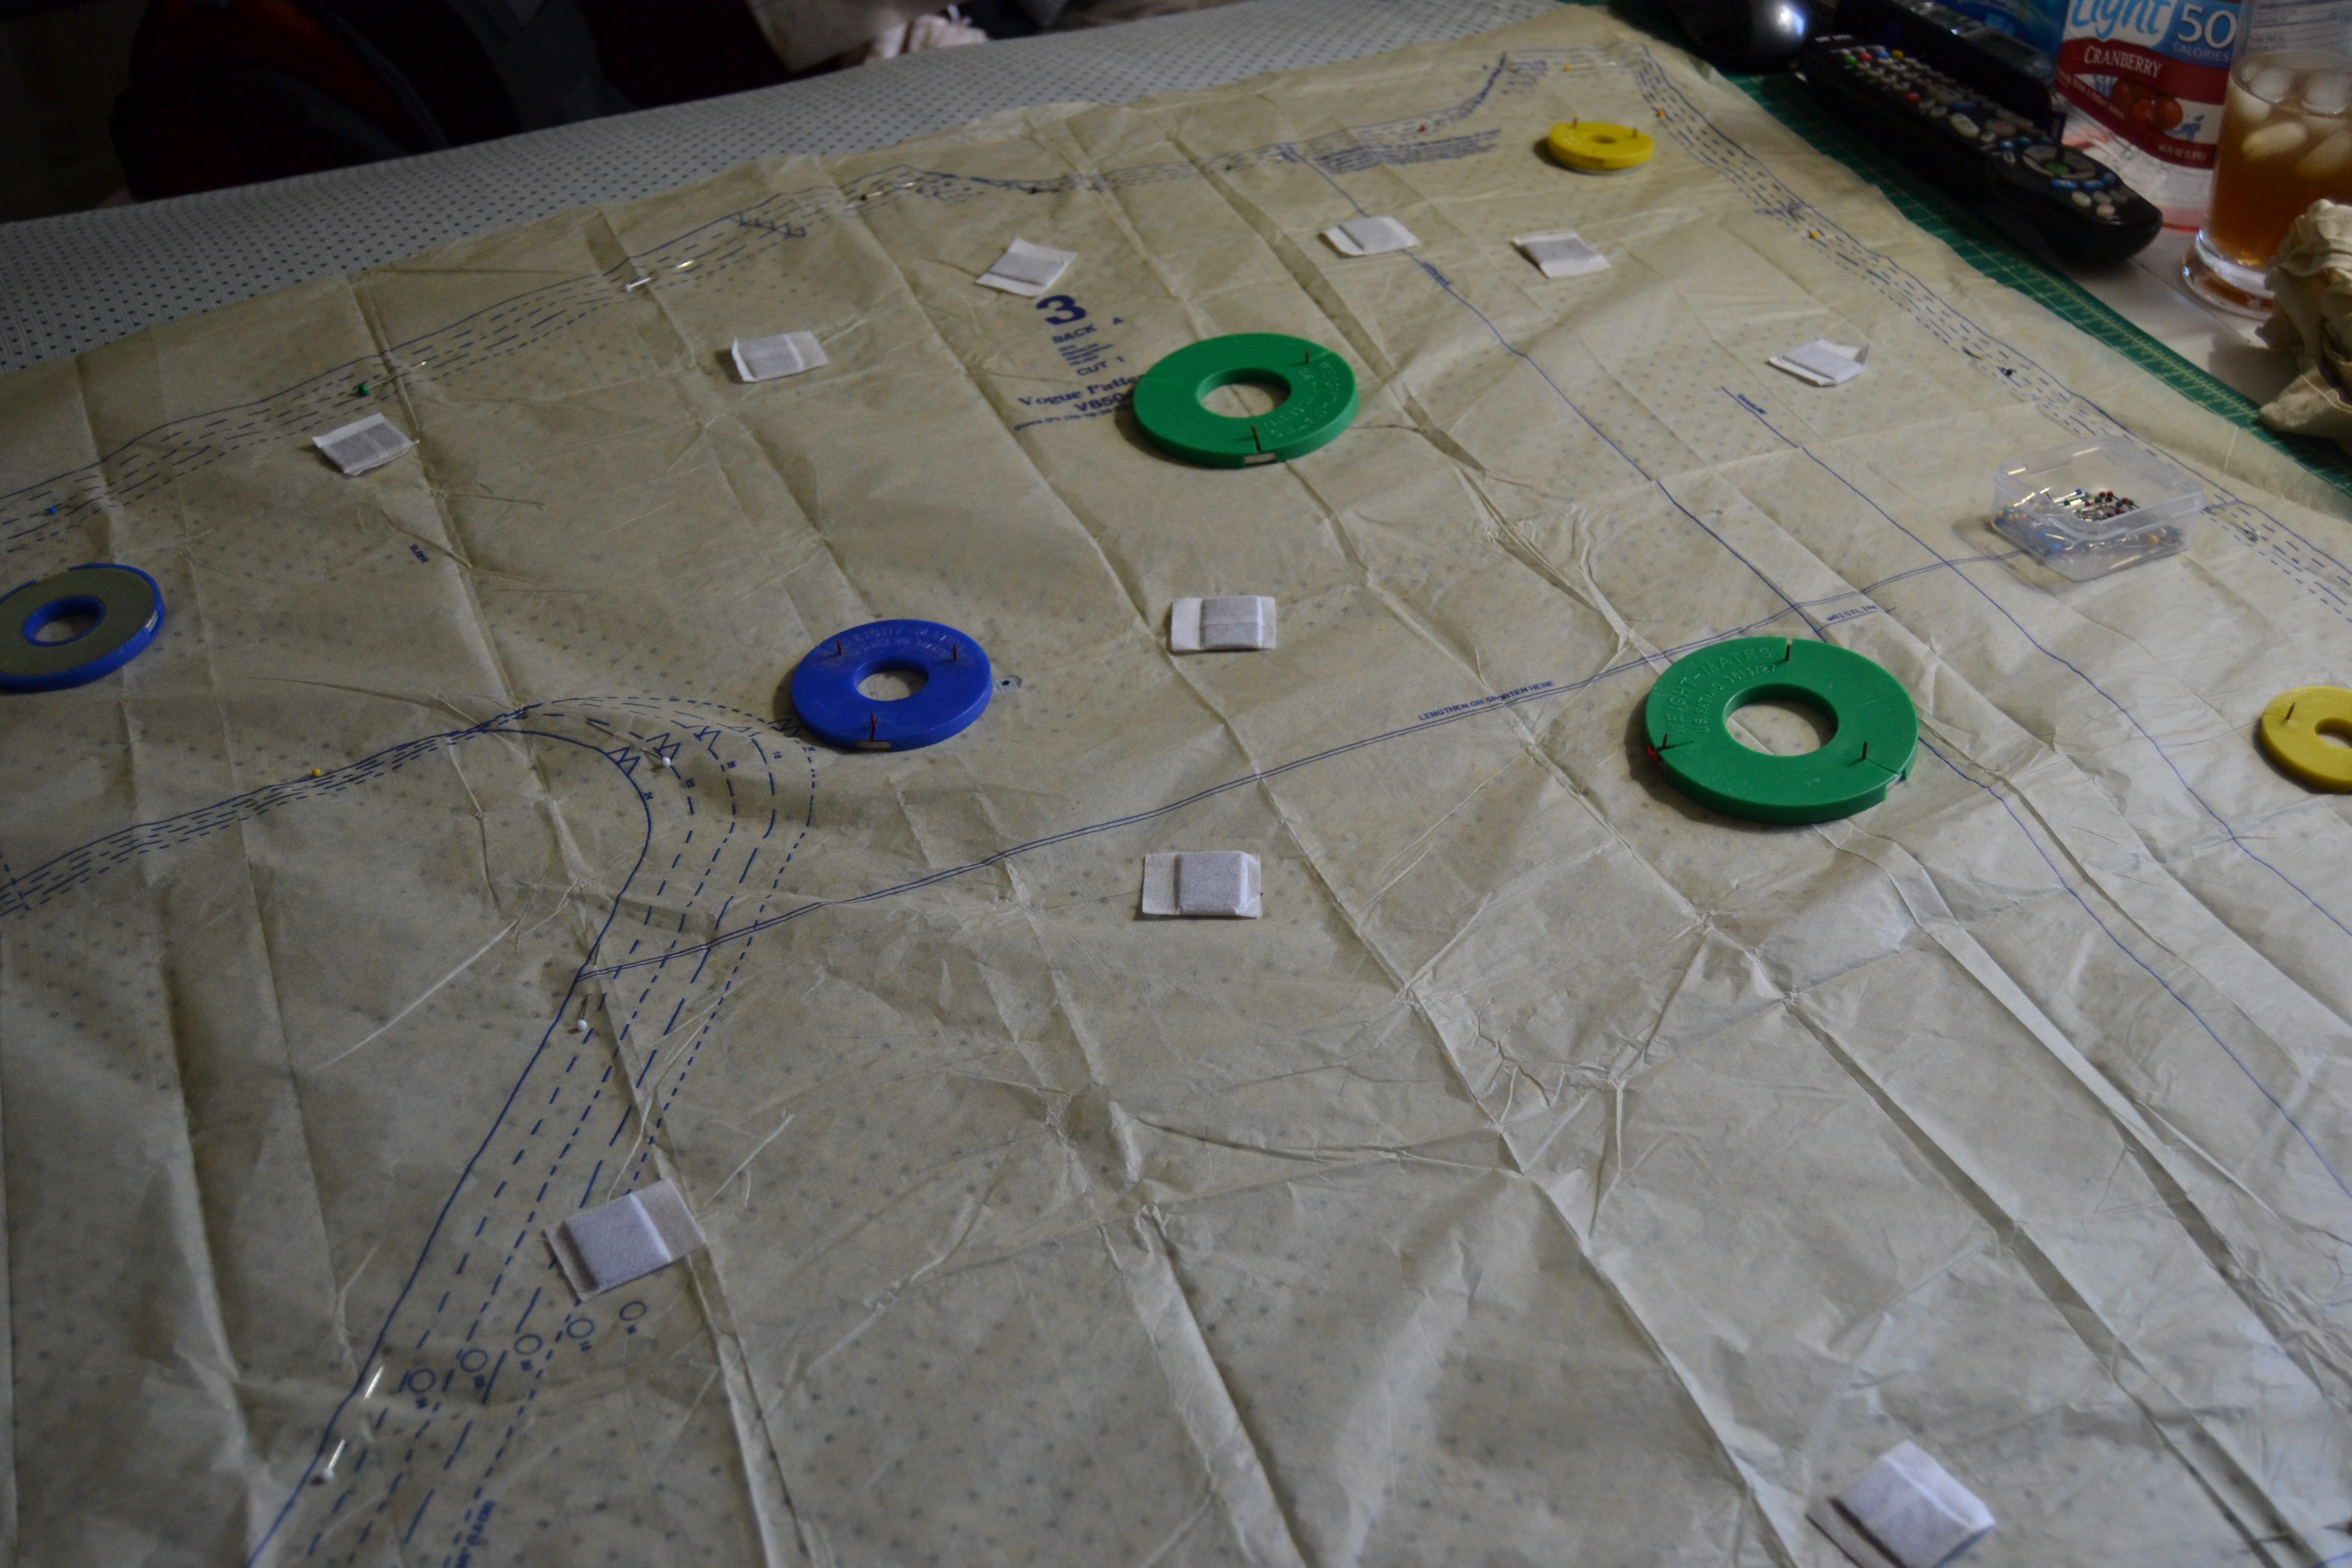
I have my pattern all cut out. If you want more information on the details of how to cut out a pattern see my lesson on cutting. The only thing I did differently than the pattern instructions is I fused some fabric to the interfacing first, and then cut out the front and back facings. I had plenty of fabric so I had no trouble doing that and the width of the pieces was almost the width of the interfacing so none was wasted.
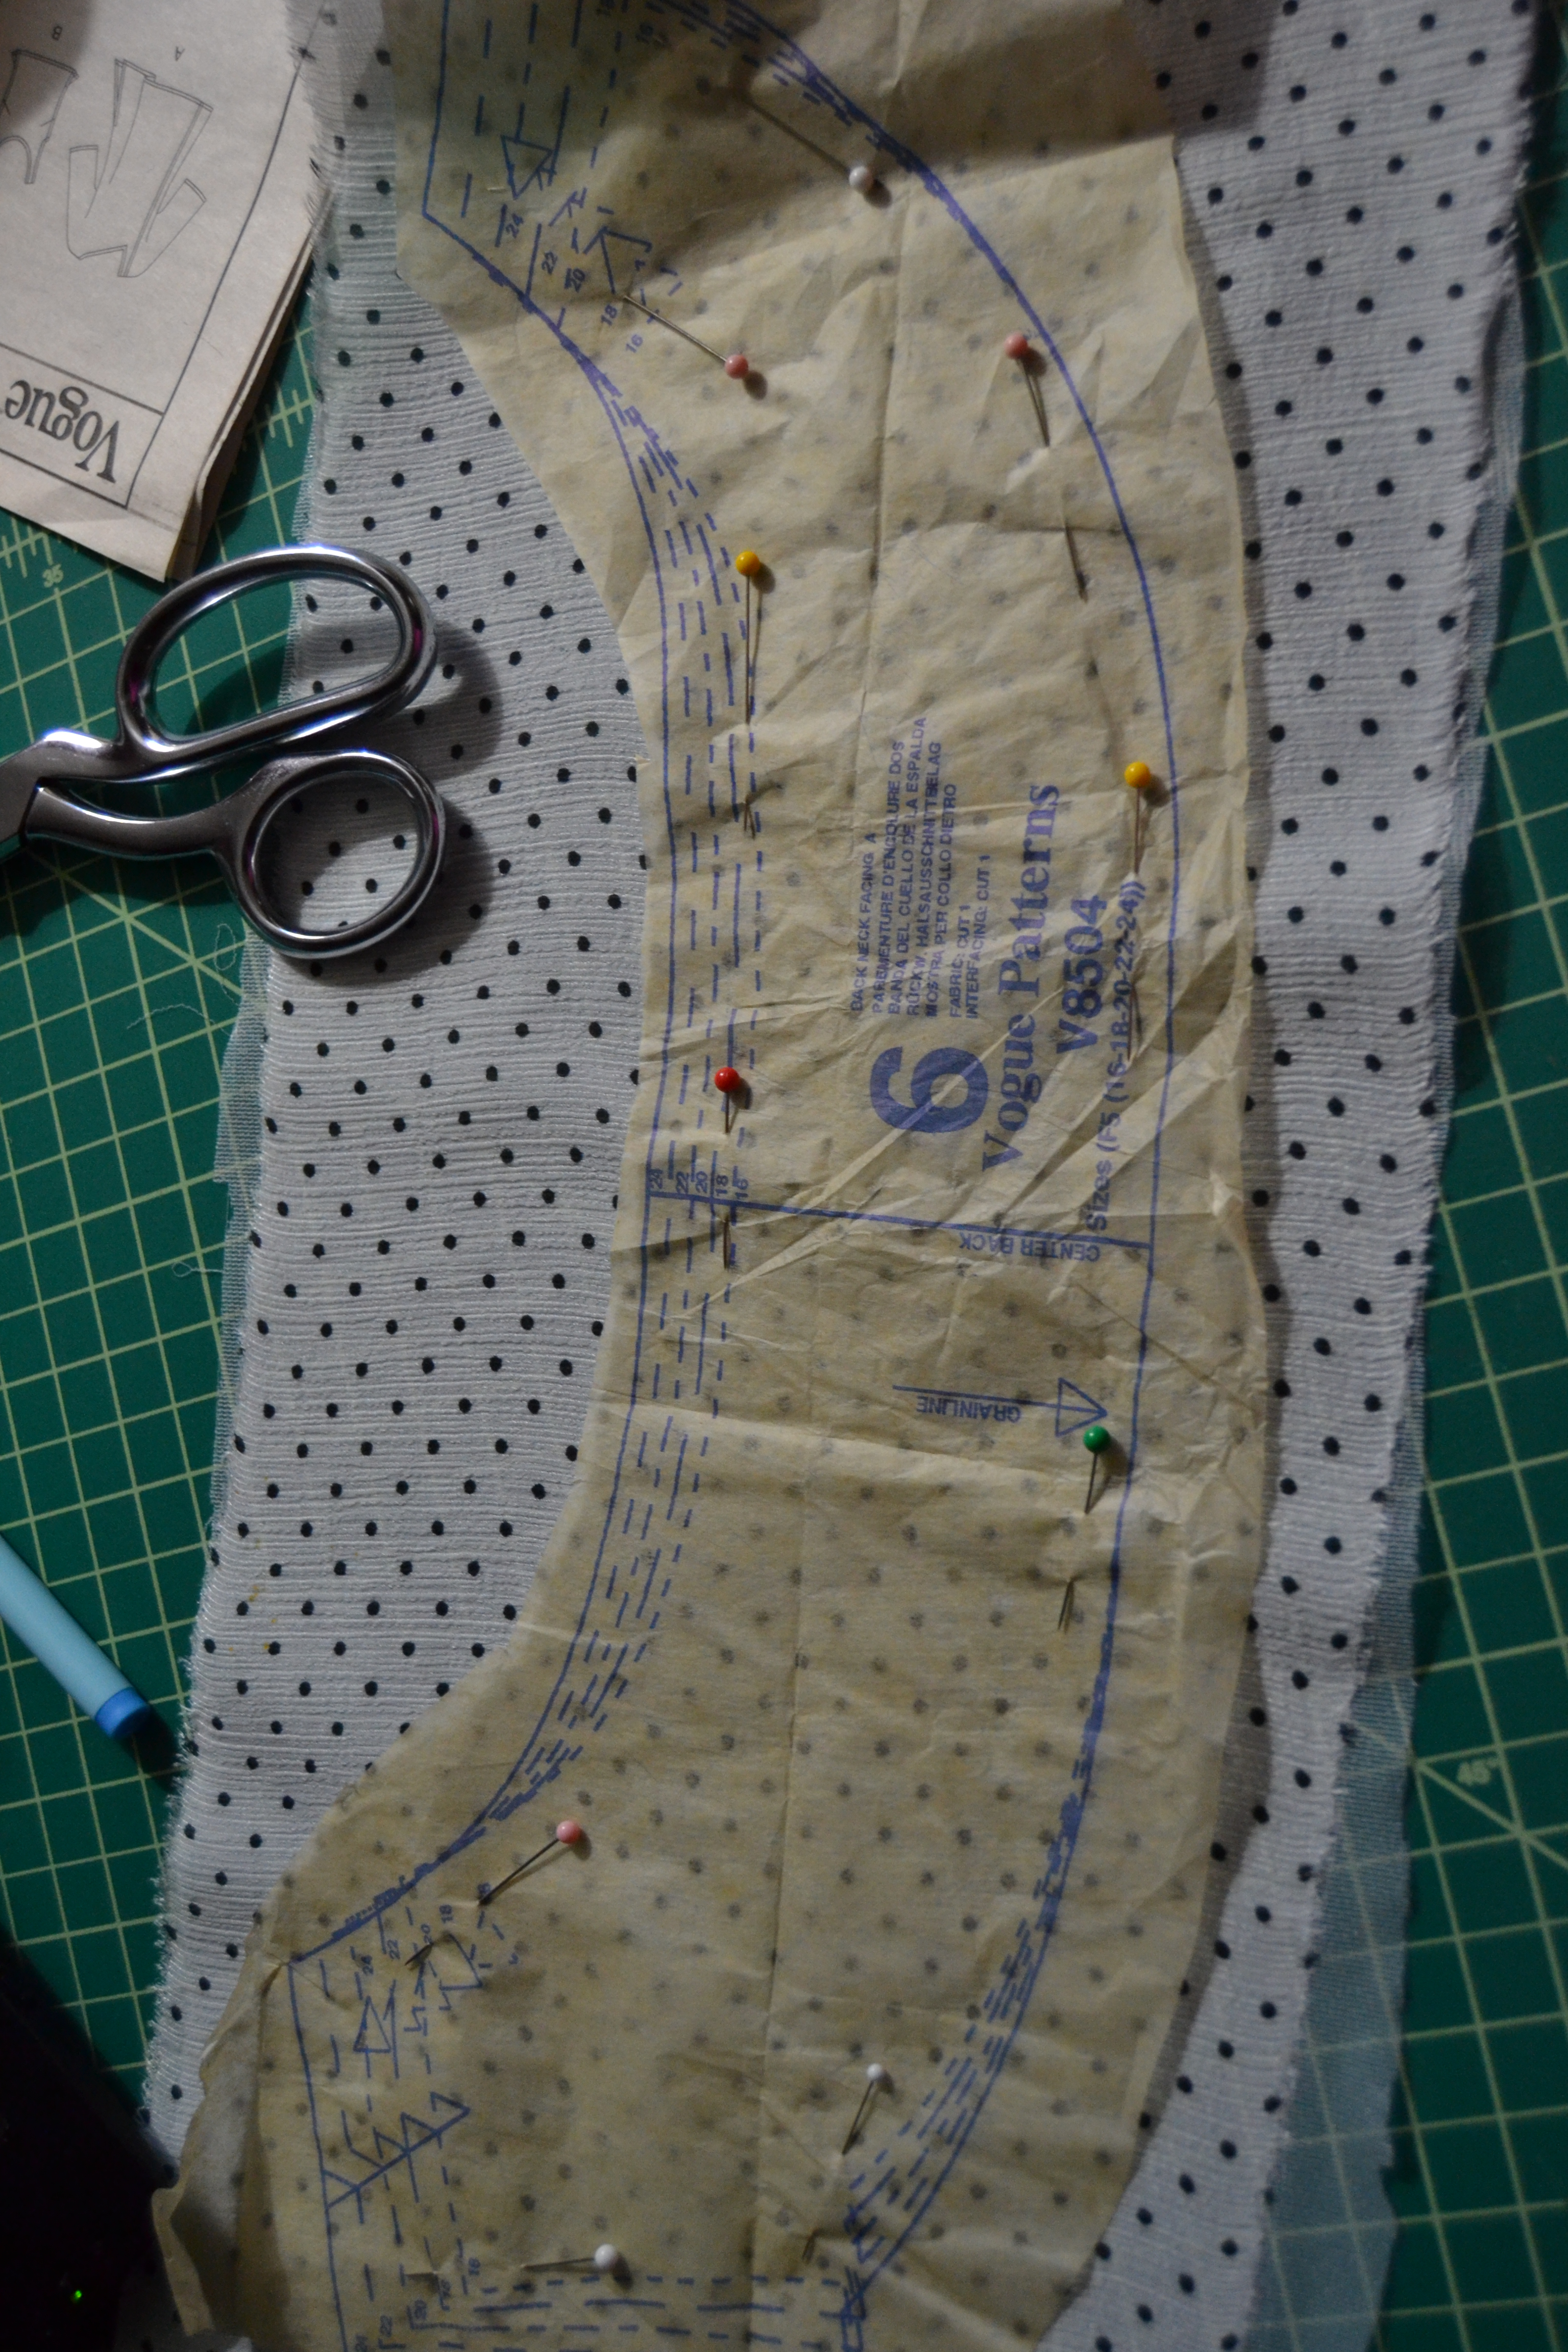
Cutting out facings
The next step before I remove the paper pattern pieces from the fabric is to transfer any markings from the pattern to the fabric. I only see two. There are dots and stitching lines on the front neckline and the front facing pieces. I’m going to mark them on the wrong side of the fabric with a wash away marker. I prefer tailor’s chalk but I only have white at the moment, and that won’t show up on my fabric. The other is the dot in the left side seam that tells me how high up the hem slit goes. All of the other markings are notches, which I have carefully cut.
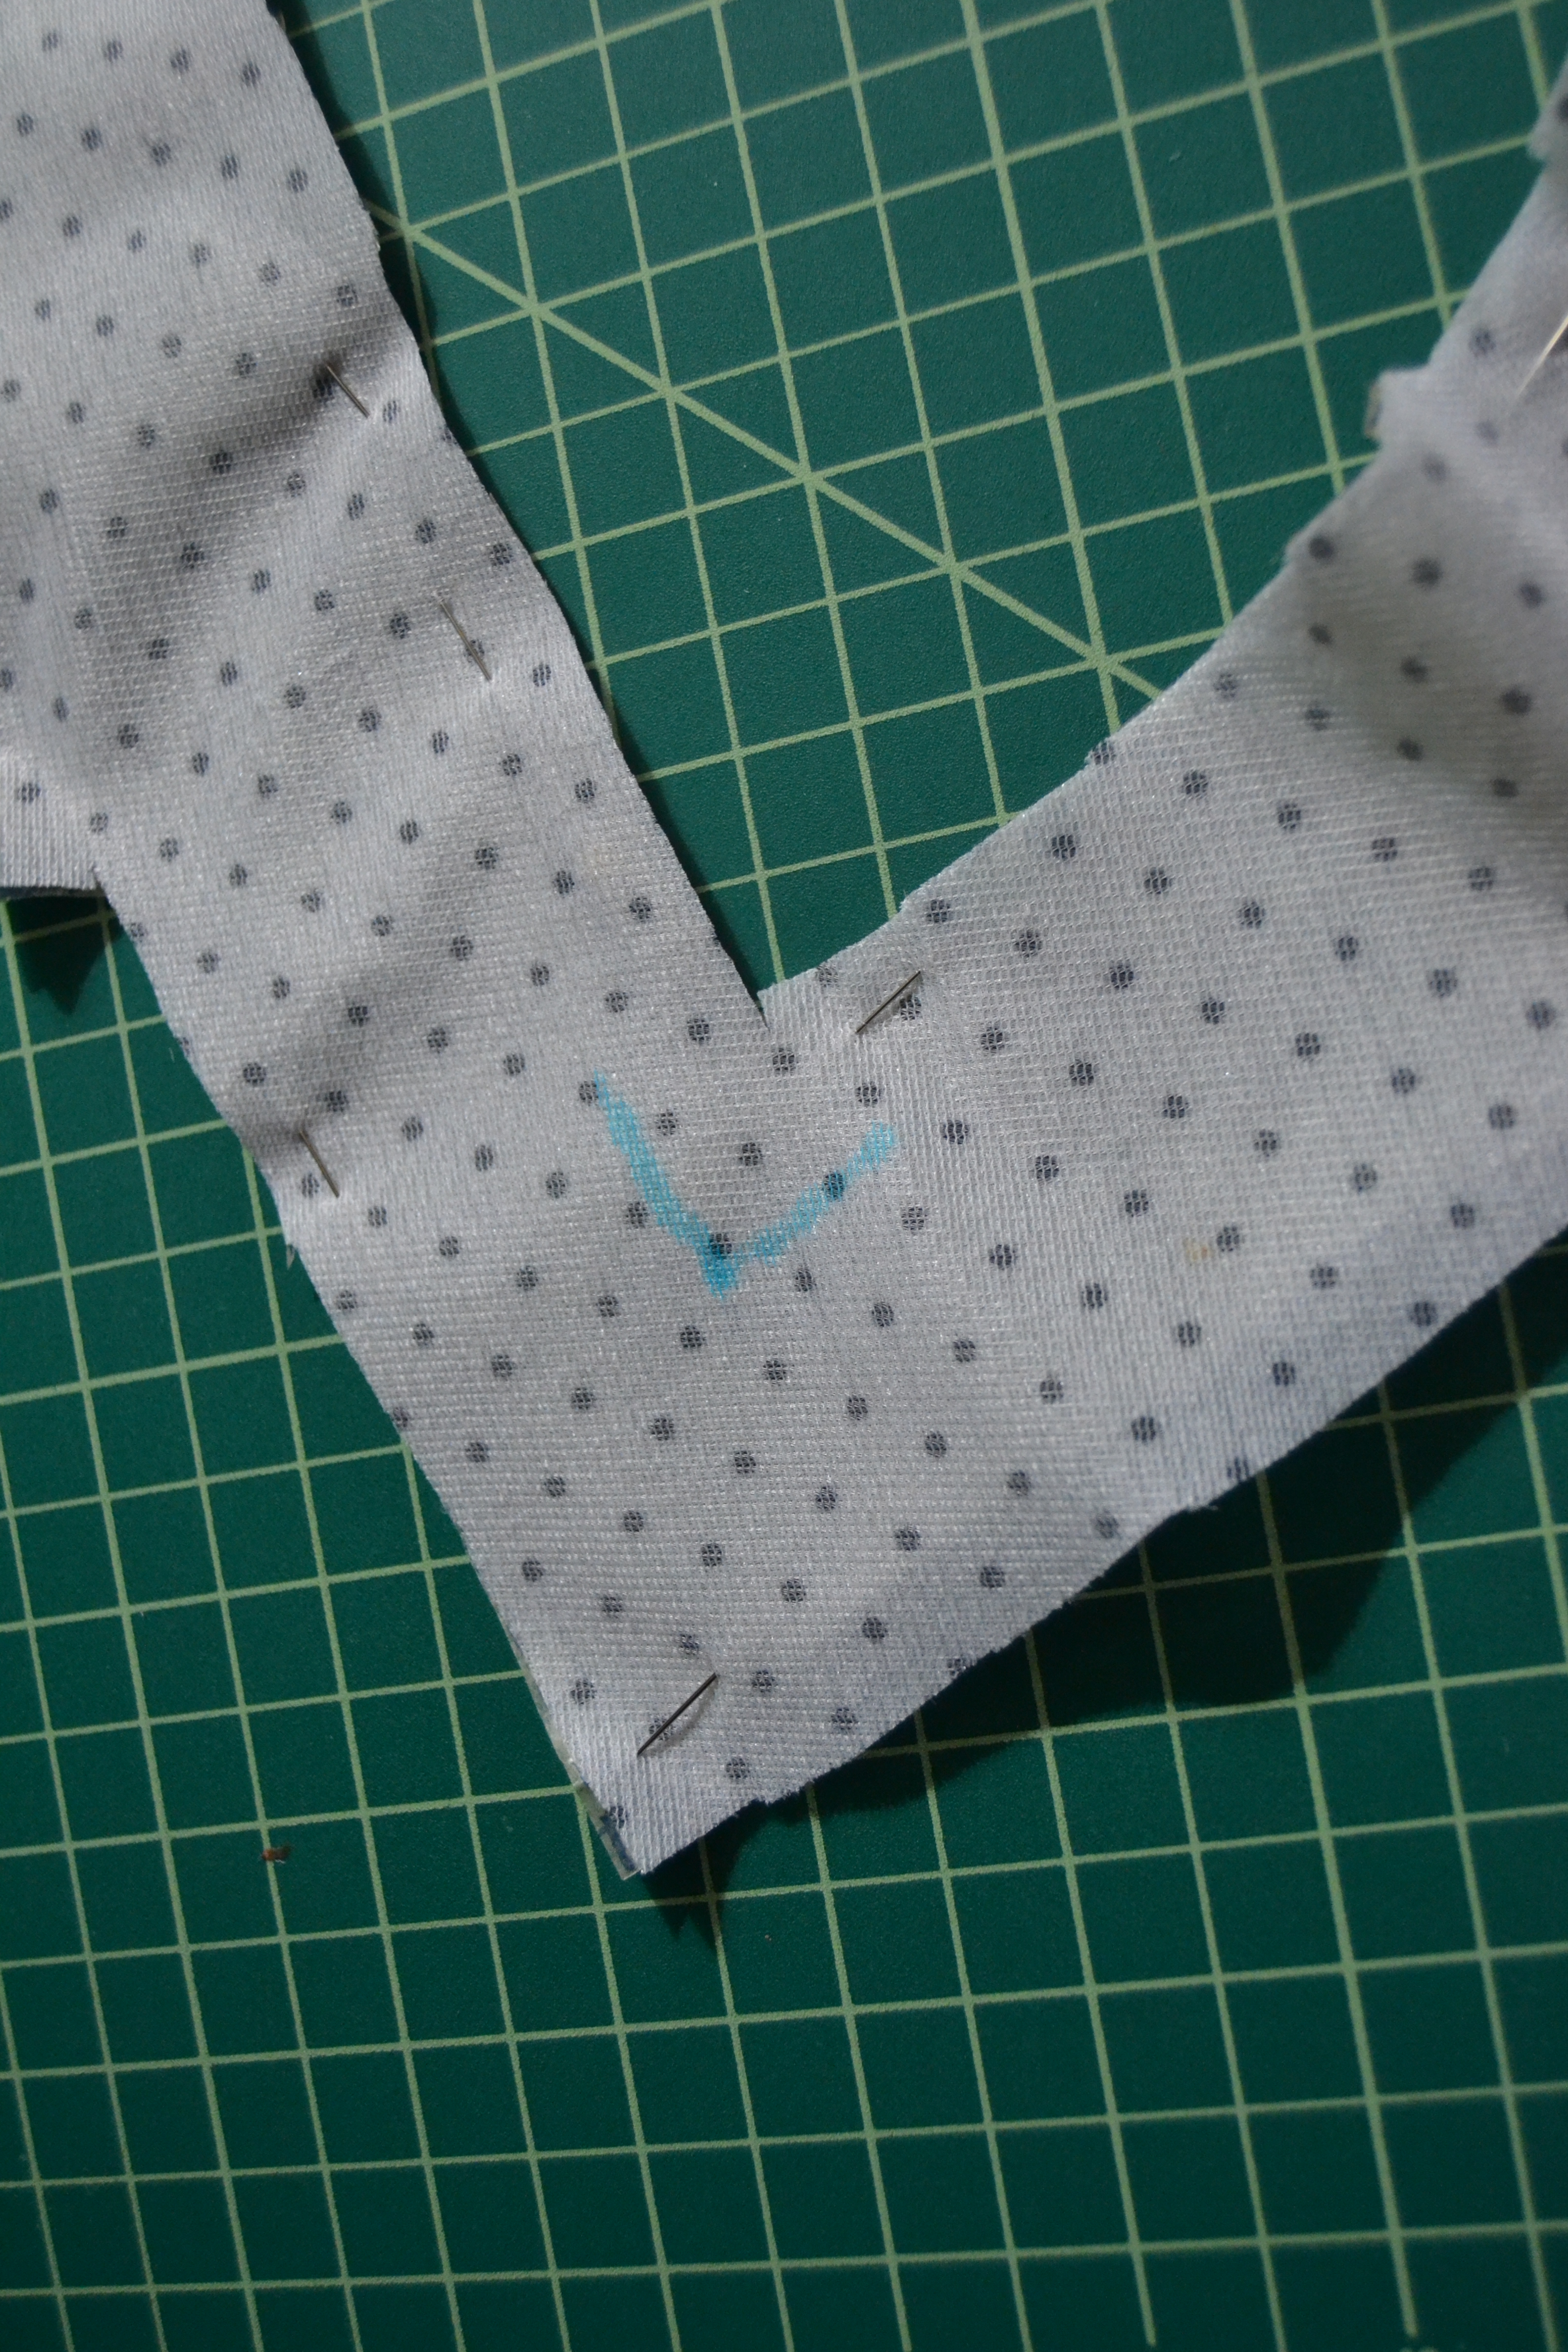
Transferring markings
Now it’s time to start the sewing.
1. The pattern says to staystitch the front edge from the upper edge to the notch. Staystitching keeps the fabric from stretching, but in this case we’re doing it so we can clip into the seam allowance when we want to ease the side front and the front together.
Staystitching
2. I’ve pinned the front side seam and stitched it. This is one of the seams that gets topstitched so I’ve stitched it, trimmed it to 3/8″, pressed toward the front and topstitched it.

Front seam
3. The pattern instructions tell me to make the back the same way I made the front. So I’ve staystitched above the notch on the back piece, eased the side piece in, finished pinning it, stitched and topstitched the two pieces together.
4. Now it’s time to join the back to the front at the shoulder seams. I’ve double stitched the seams and trimmed them. The directions say to press the seams toward the back.
Sew the shoulders
5. It’s time to do a basting stitch on the side seams and test the fit.Because I’m going to be wearing the top over a silk tank top, I started the fitting by putting a silk tank I already have on my dress form. She’s wearing one of my bras. The neckline on the tank that goes with the pattern is different, but putting the tank on is important for a good fit. I’m pleased with the drape of the georgette top. Putting half of the difference between the two sizes back into the side seams has given me plenty of wearing ease and enough design ease the top retains the look it was meant to have.

Time for a fitting
6. Now I will remove the basting and sew the side seams with the same row of double stitching I used on the shoulder seams. When I’m finished sewing them. I’m going to use my sleeveboard to press the underarm seam. That way I won’t be pressing any creases I don’t want into the sleeve.

Pressing the sleeve seams on my sleeveboard
7. Time to add the neckline facings. I’m going to put the needle down at the mark I made in the front neckline, pivot my needle, and finish attaching the facing. When I’m done, I’m going to clip right up to the stitching line on my markings.

Clipping the turn on the front of the neckline
After I grade the seams (trim them very close to the stitching line), I’m going to use my tailor’s ham to press the facing to the inside. The facing needs to lie flat against the front, but also curve as it goes over the shoulder seam. The ham lets me “train” the fabric to adapt to my curves. For more about pressing tools, look here.
Over the shoulder
The vee at the front
8. Next I topstitch 1/4″ from the neckline and trim the facing close to the stitching being careful not to cut the tunic by mistake.

Topstitching
9. Then I need to hem the sleeves and the bottom of the tunic, including the side slit.
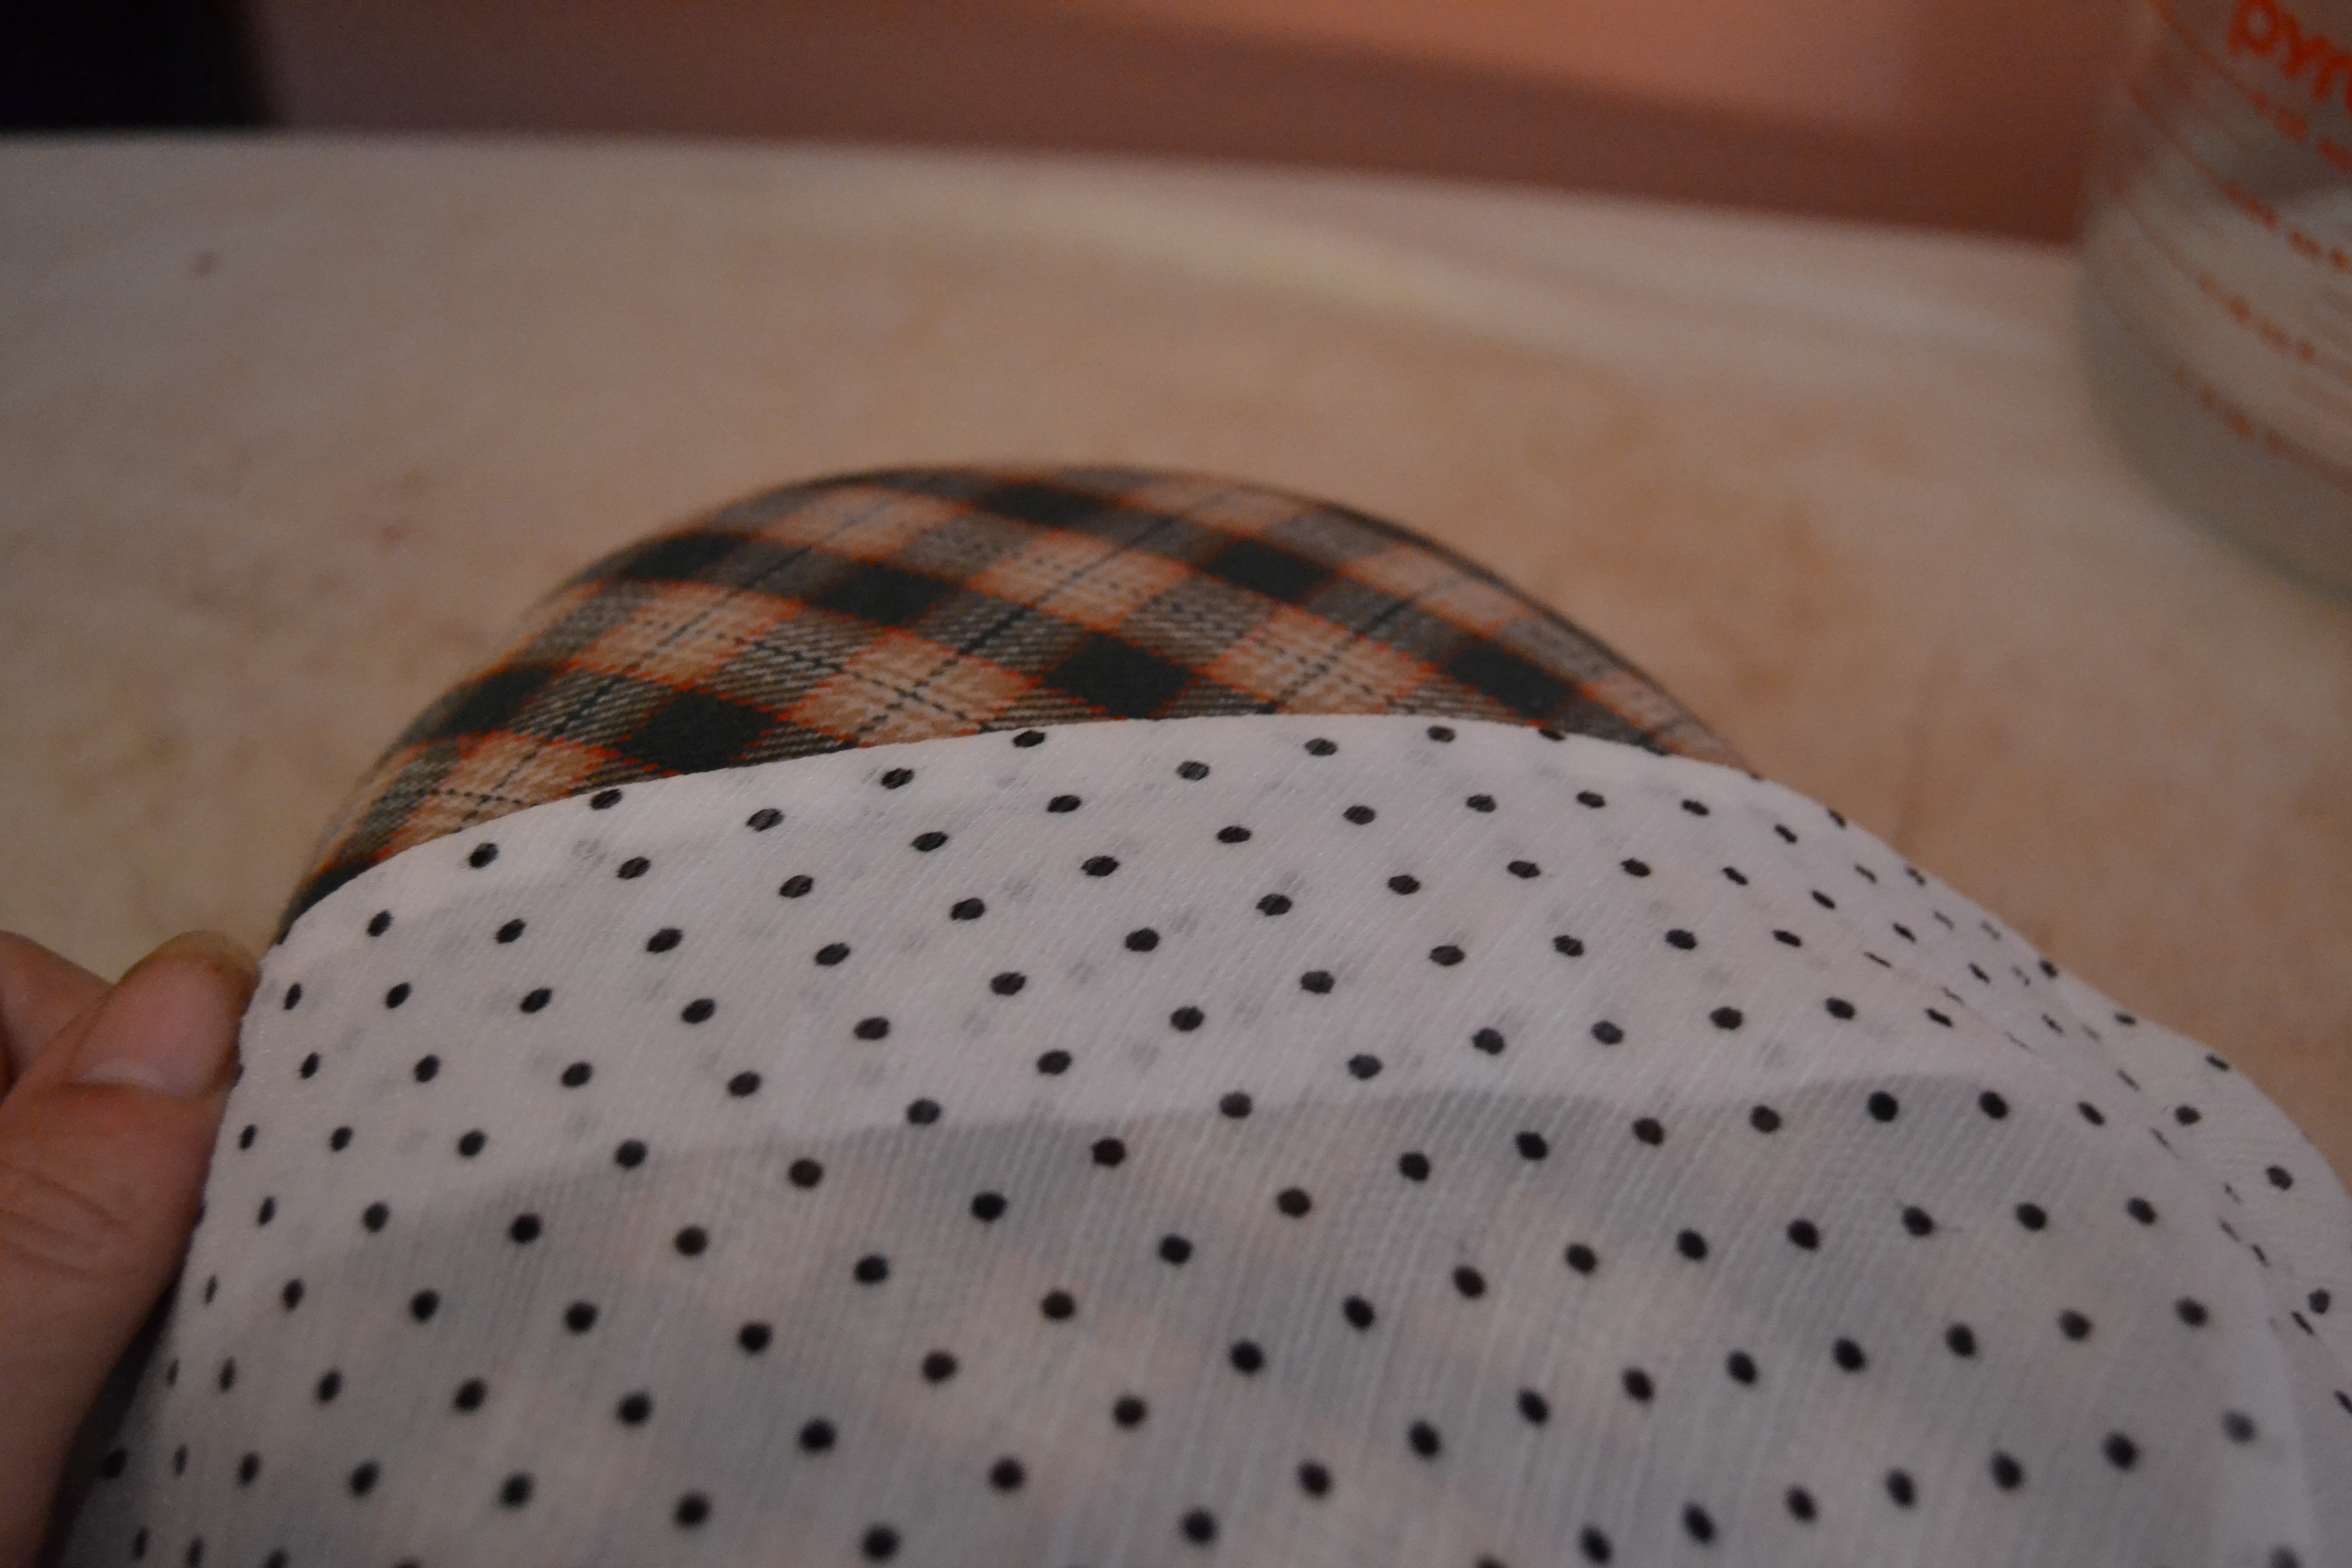
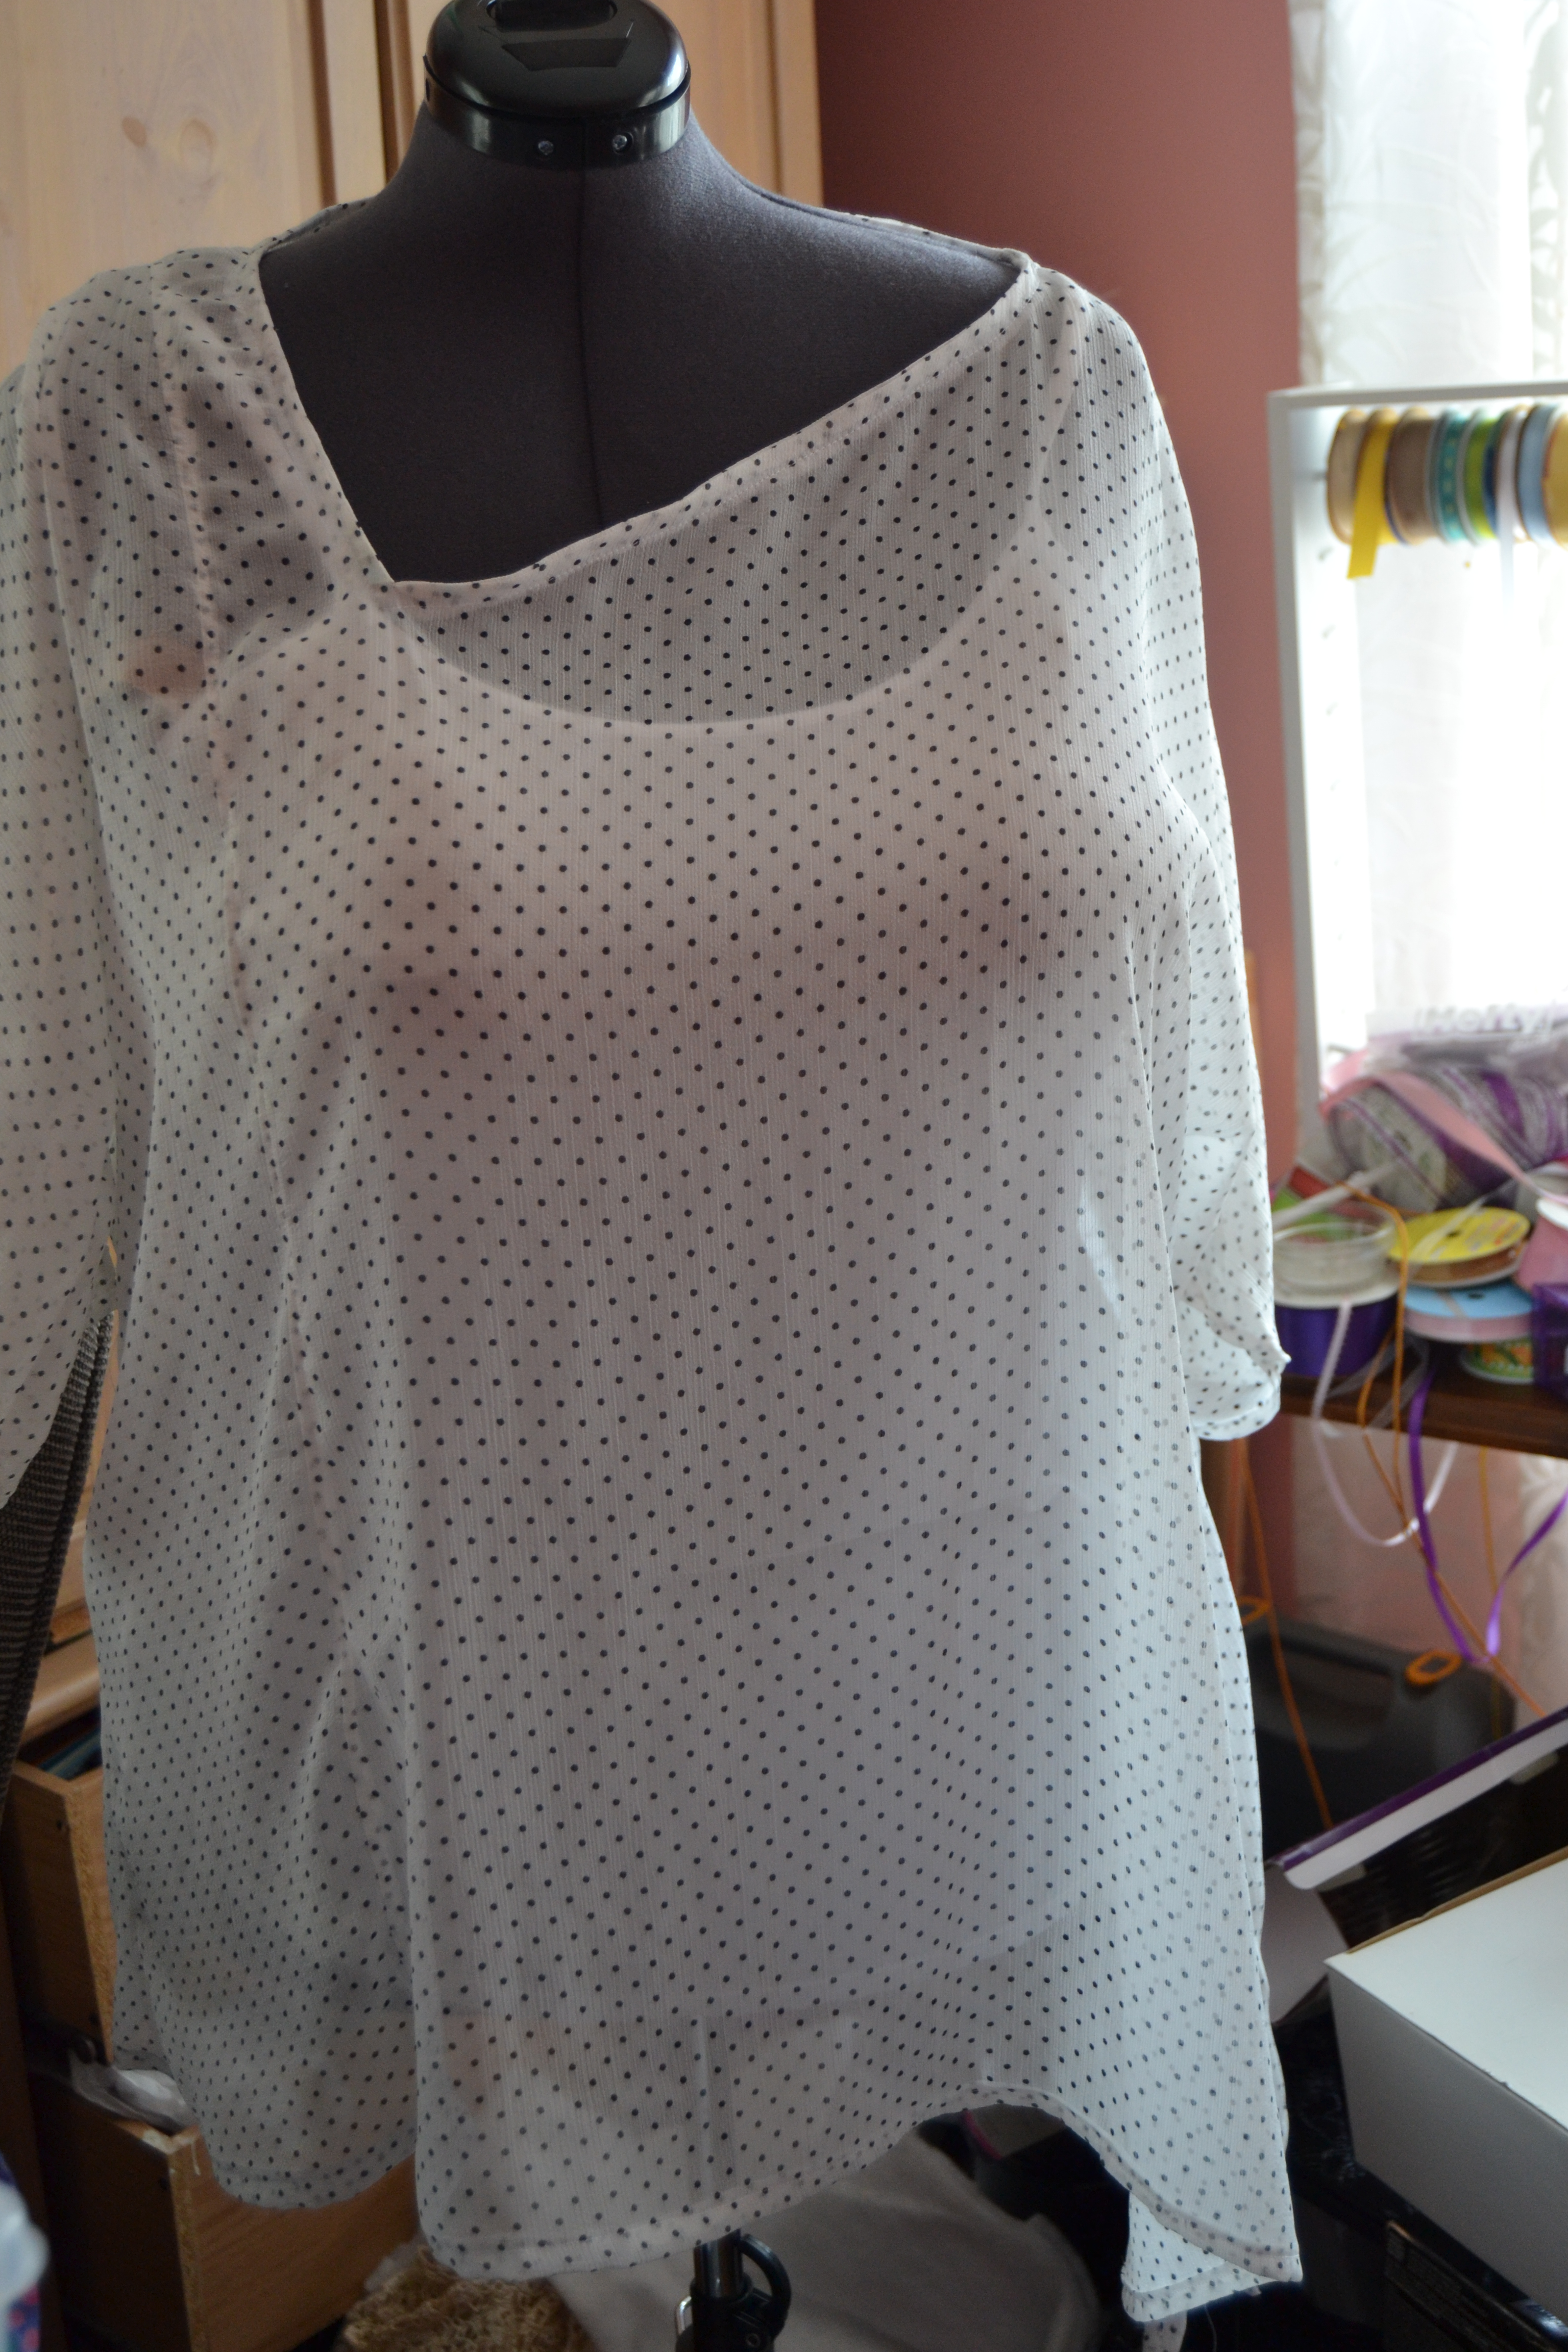
Here’s the finished tunic over the white silk tank. I opted for a spaghetti strap top instead of the one that came with the pattern because I’m going for an evening wear look. I’ve also decided to pair the tunic with black velvet pants I already own. I like the fit of the tunic, and I’m going to make another one. This time I’m going to choose a fabric with a little more pizazz since I’m not worried about looking like I’m wearing a tent. Maybe not a sheer since I know the top gives full bust coverage w/o the tank.
Completed tunic
Thanks for sewing along! I hope to be back to your requests next time.

That is really pretty!
LikeLike