

Now that you have your fabric and other notions collected up, it’s time to get our caddies cut out. How you mix and match your fabrics is up to you. The sewing machine caddy can be customized to fit your machine. The ironing board caddy is a standard size so lets start there.
The Ironing Board Caddy Pieces

This caddy is a long strip that lies across the wide end of your ironing board. It has pockets at both ends. One end holds the tools you like to have handy, and the other end has a small bag for collecting threads and scraps. The center of the strip is quilted and functions as a pin cushion. The underside has a piece that grips the ironing board cover underneath so the caddy doesn’t slide off of your board since one end will be heavier than the other when it’s filled with tools.

Cut two long strips 7″ X 27″ for the center of your caddy using your ruler and either a rotary cutter or your shears.
Cut two squares 7″ X 7″ for the tool pocket.
Cut four rectangles 7″ X 9″ for the thread and scrap catcher. If you have a directional print, the print should run horizontally across the 9″ width.
Cut 1 strip of fleece or batting 7″ X 27″
 Cut one piece of gripper fabric 4 1/2″ wide X 14″. I used shelf liner I had left over.
Cut two pieces of medium weight fusible interfacing 7″ X 9″
For the sewing machine caddy
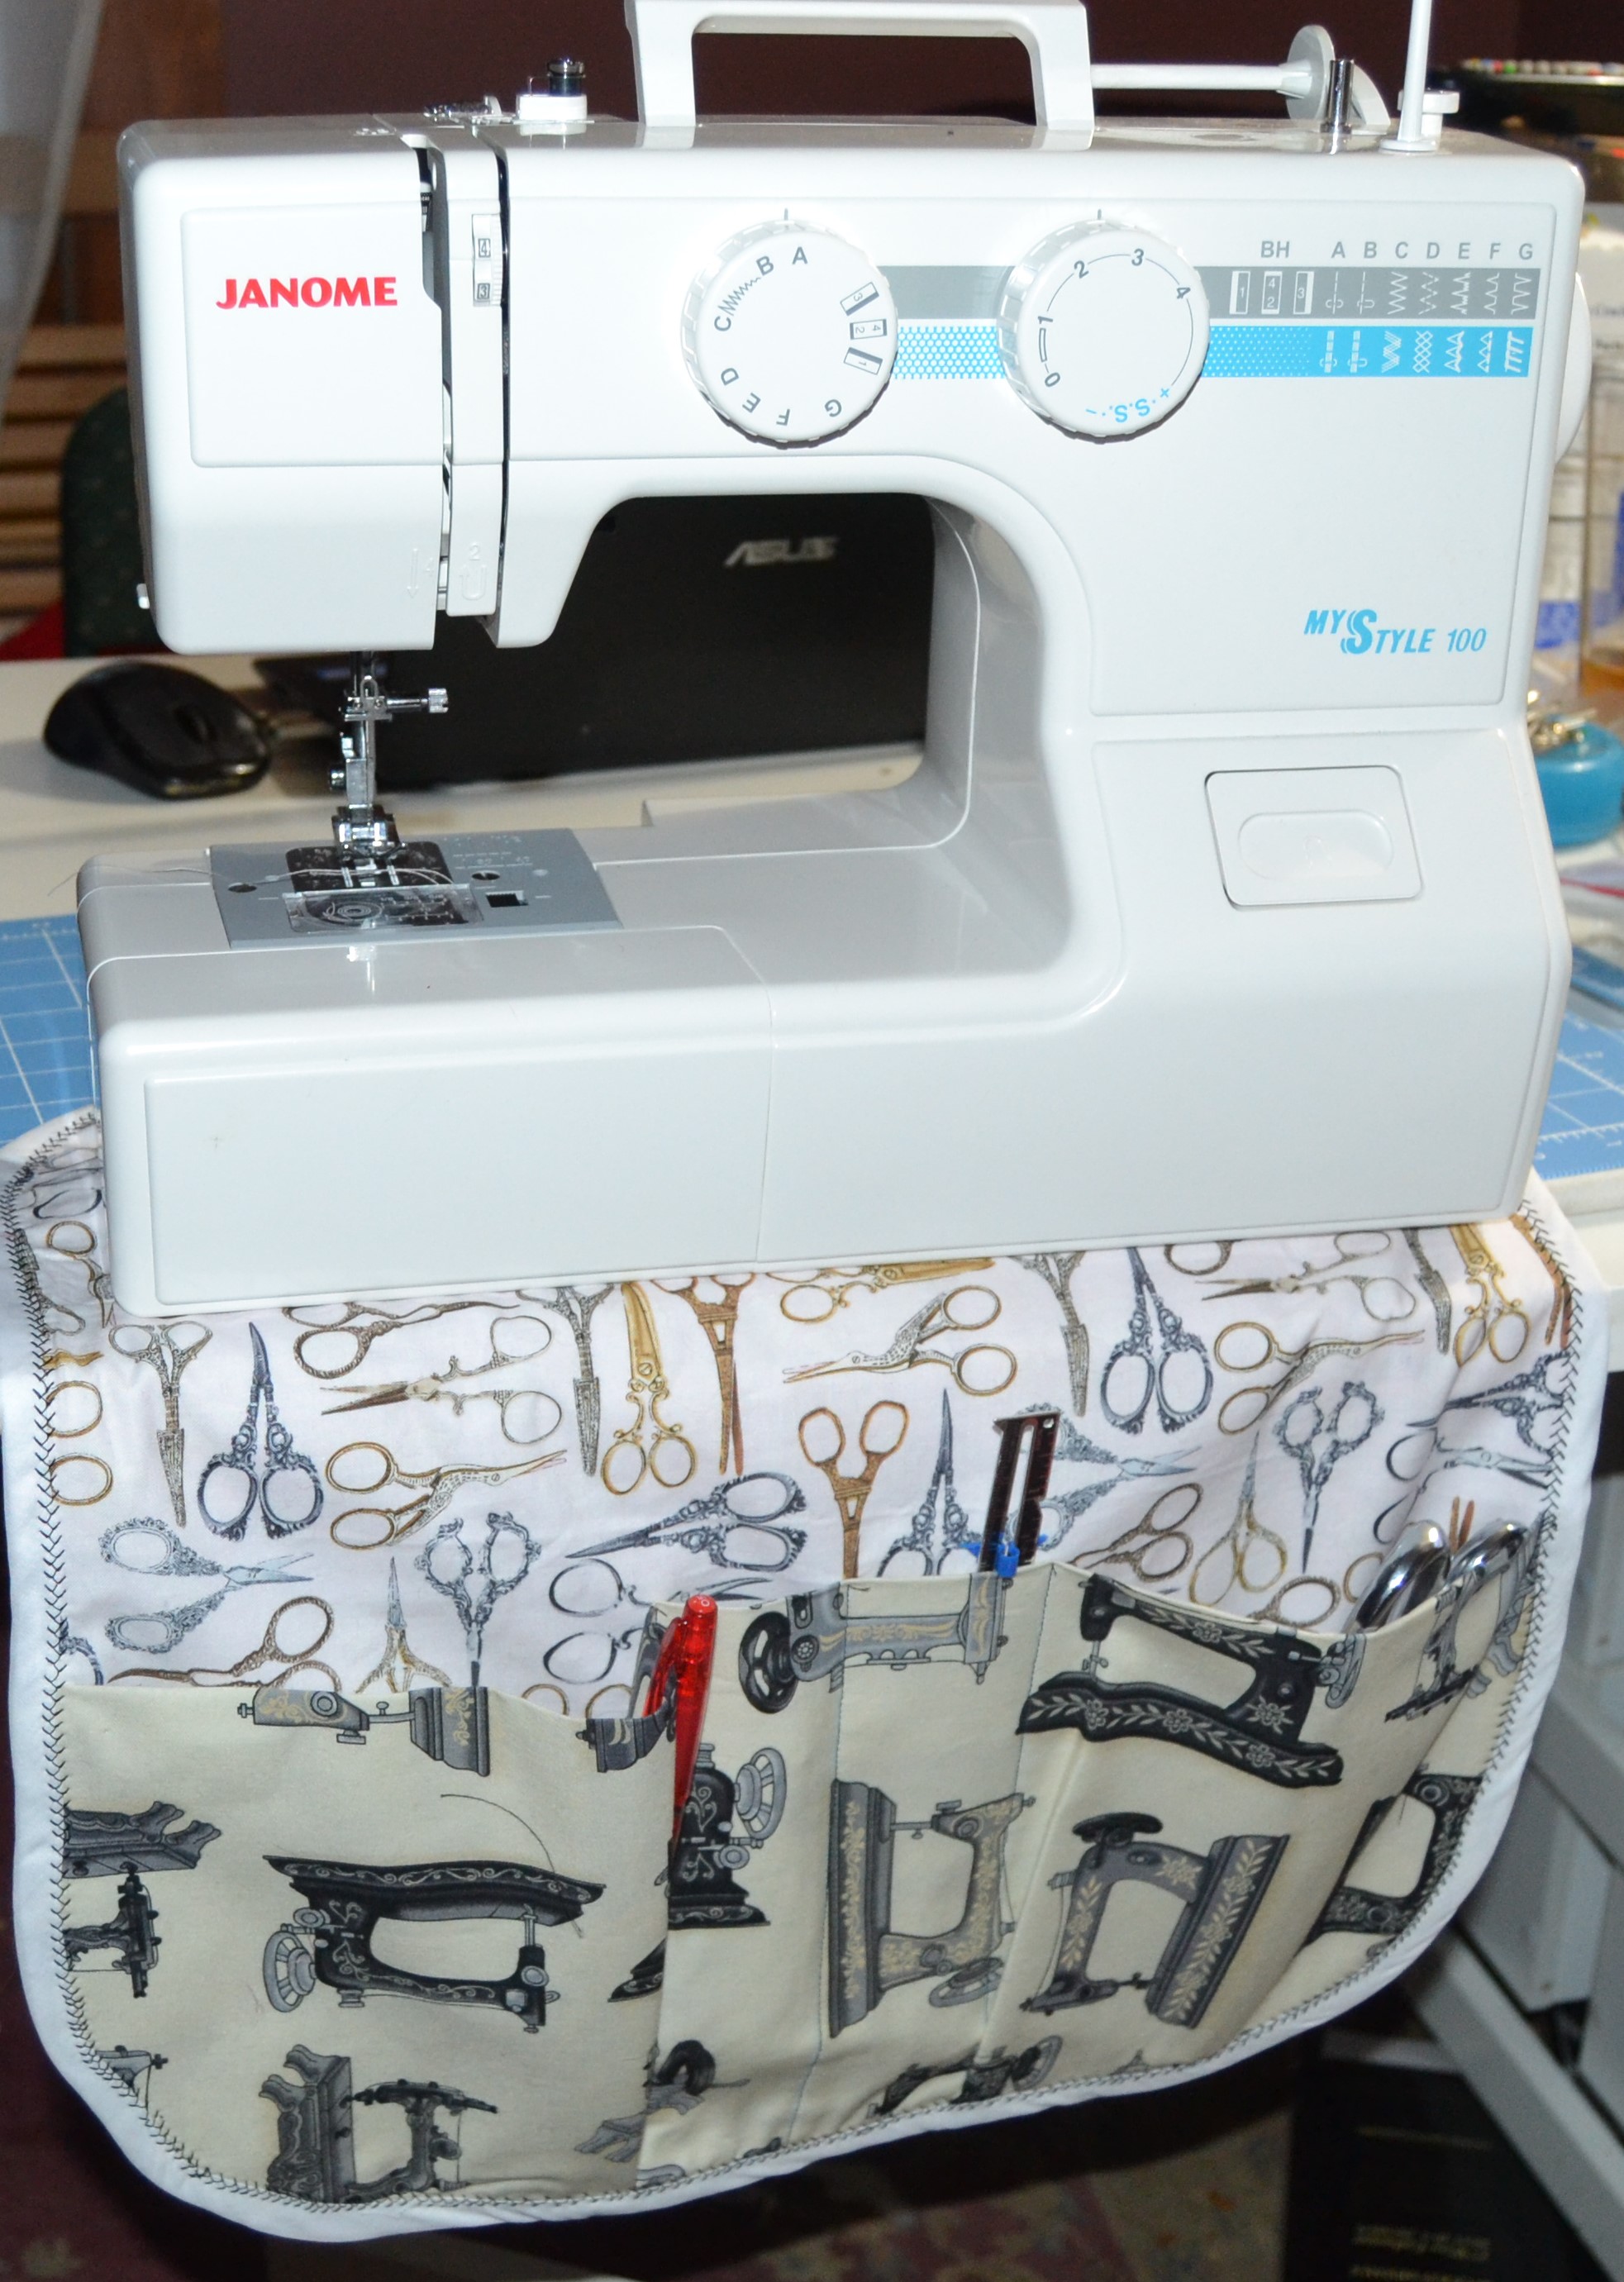
The sewing machine caddy can be customized to fit your sewing machine. I made mine the width of my larger machine. If you use my measurements, you’ll end up with a caddy that’s 16 1/2″ inches wide and 18 1/2″ long. It’s the 16 1/2″ width across the sewing machine you might want to change. My pocket is 8″ deep. Collect up a few of the things you’d like to store in the pocket and measure them to see how deep you want your pocket to be.
Cut two pieces of fabric 18 1/2″ by your width. If you have a directional print, the 18 1/2″ is the vertical direction. My pieces were 16 1/2″ X 18 1/2″
Cut one piece of fusible interfacing the same size.
Cut one piece of fabric two inches wider than the backing for your caddy and twice the depth of your pocket. It needs to be wider so you’ll have some width to pleat the big pockets. I cut my pocket 18 1/2″ X 16″.
Fuse one side of the caddy with the interfacing.

Lay the front and and back of the caddy on top of each other. Fold the pocket in half “hot dog”. (lengthwise)

Line one edge of the pocket up with a corner of the caddy. Using a round object or a compass, either draw a line and use scissors or use your rotary cutter to cut through the layers to round the corners.

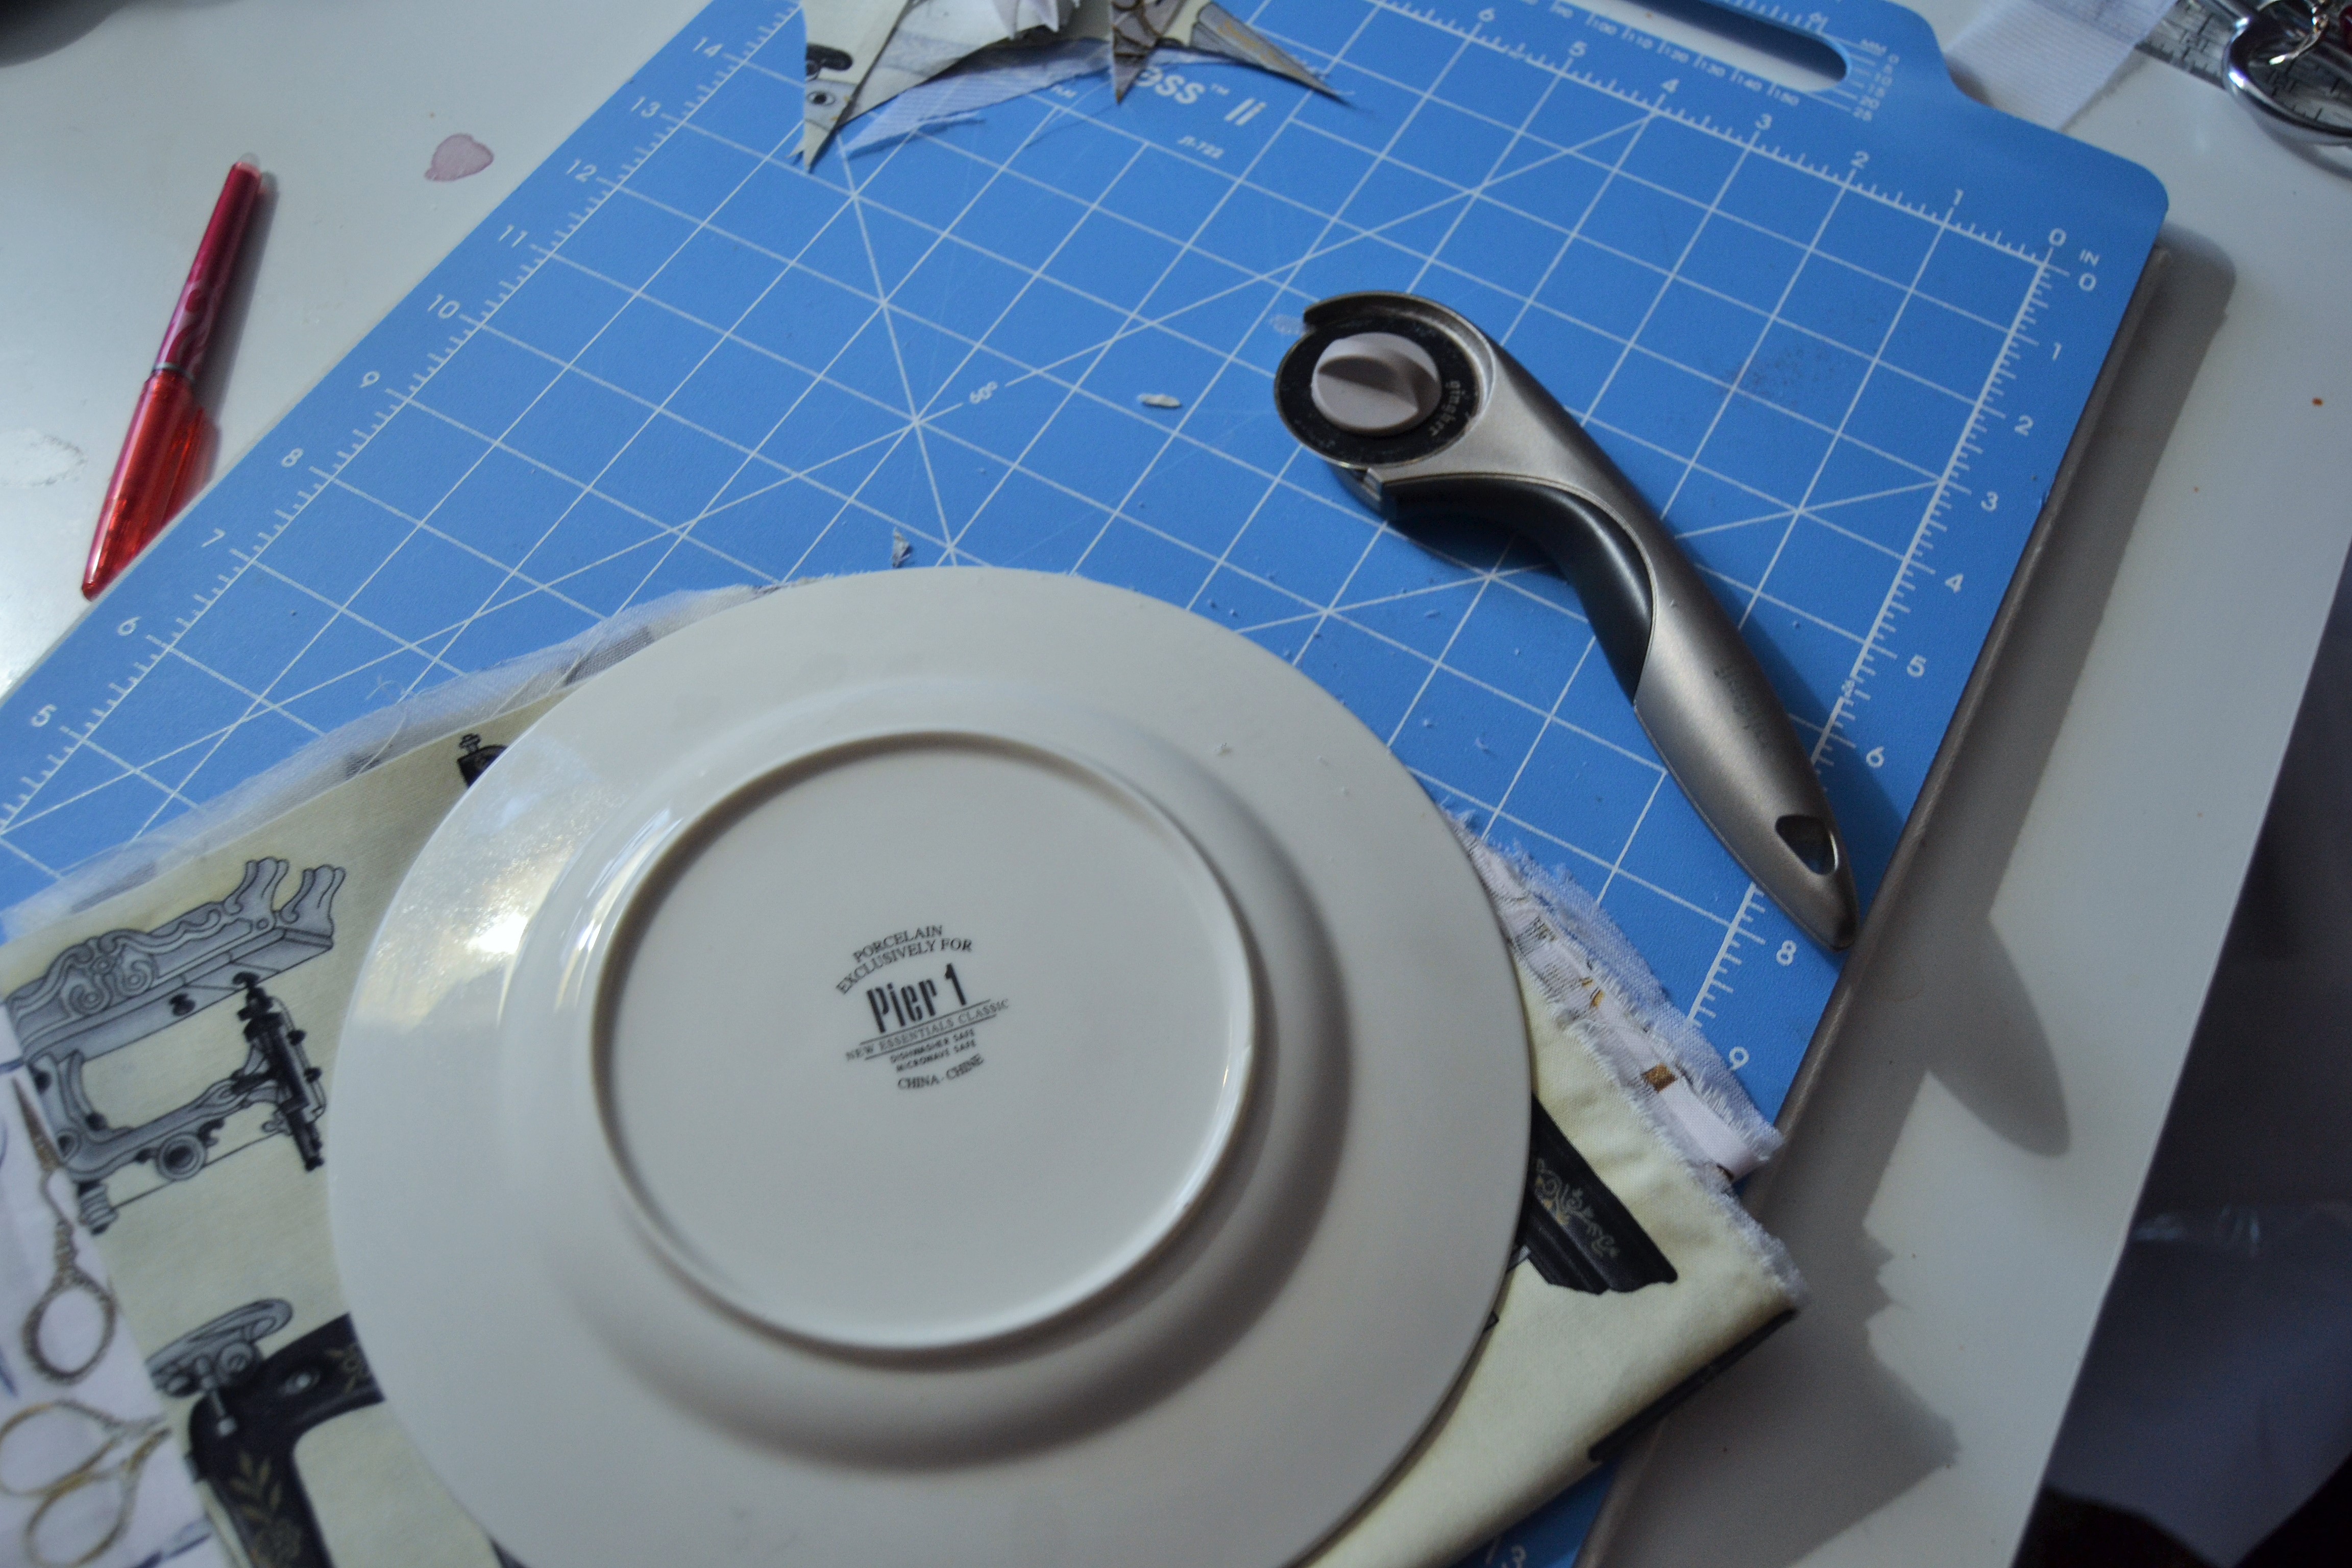
Repeat with the other bottom corner. Then round off the top two corners, and you’re done cutting!
Come back in a few days, and we’ll start sewing!
