
It’s time to start constructing our caddies. The sewing machine one is the simpler one so we’ll start there. For this caddy you’ll need
The two pieces you cut out and rounded for the back and the front. One should already be fused with interfacing.
The pocket piece you cut
Double fold bias tape, either purchased or that you’ve made yourself
Thread
A marking tool that will wash out
A ruler
Fold the pocket in half “hot dog” (lengthwise) wrong sides together and press it.

With your washable marker, draw the lines that will separate the pocket into slots for your tools. The pocket is wider than the caddy to allow for one or two of the slots to be pleated so they can hold bulkier items or become a thread catcher. The best way to do this is to lay your tools on the pocket and draw the lines around them. I choose my pocket widths based on a pleated pocket for a pair of shears, another pleated pocket for catching threads, and slim pockets for my seam ripper, my long tweezers, and my thread snips. This is a place to really customize your caddy for your needs.

Pin the pocket to the sides only of the interfaced caddy piece. Then put some pins in along the lines you drew for your pockets. The pocket will not lie flat where the pleated pockets are.
Stitch down the lines you drew.
Now pick the pocket along the bottom of the caddy making the pleats at the sewing lines so the bottom of the pocket matches the bottom of the caddy.
Machine baste the edge of the pocket in place.
Now place the front of the caddy on top of the back of the caddy wrong sides together.
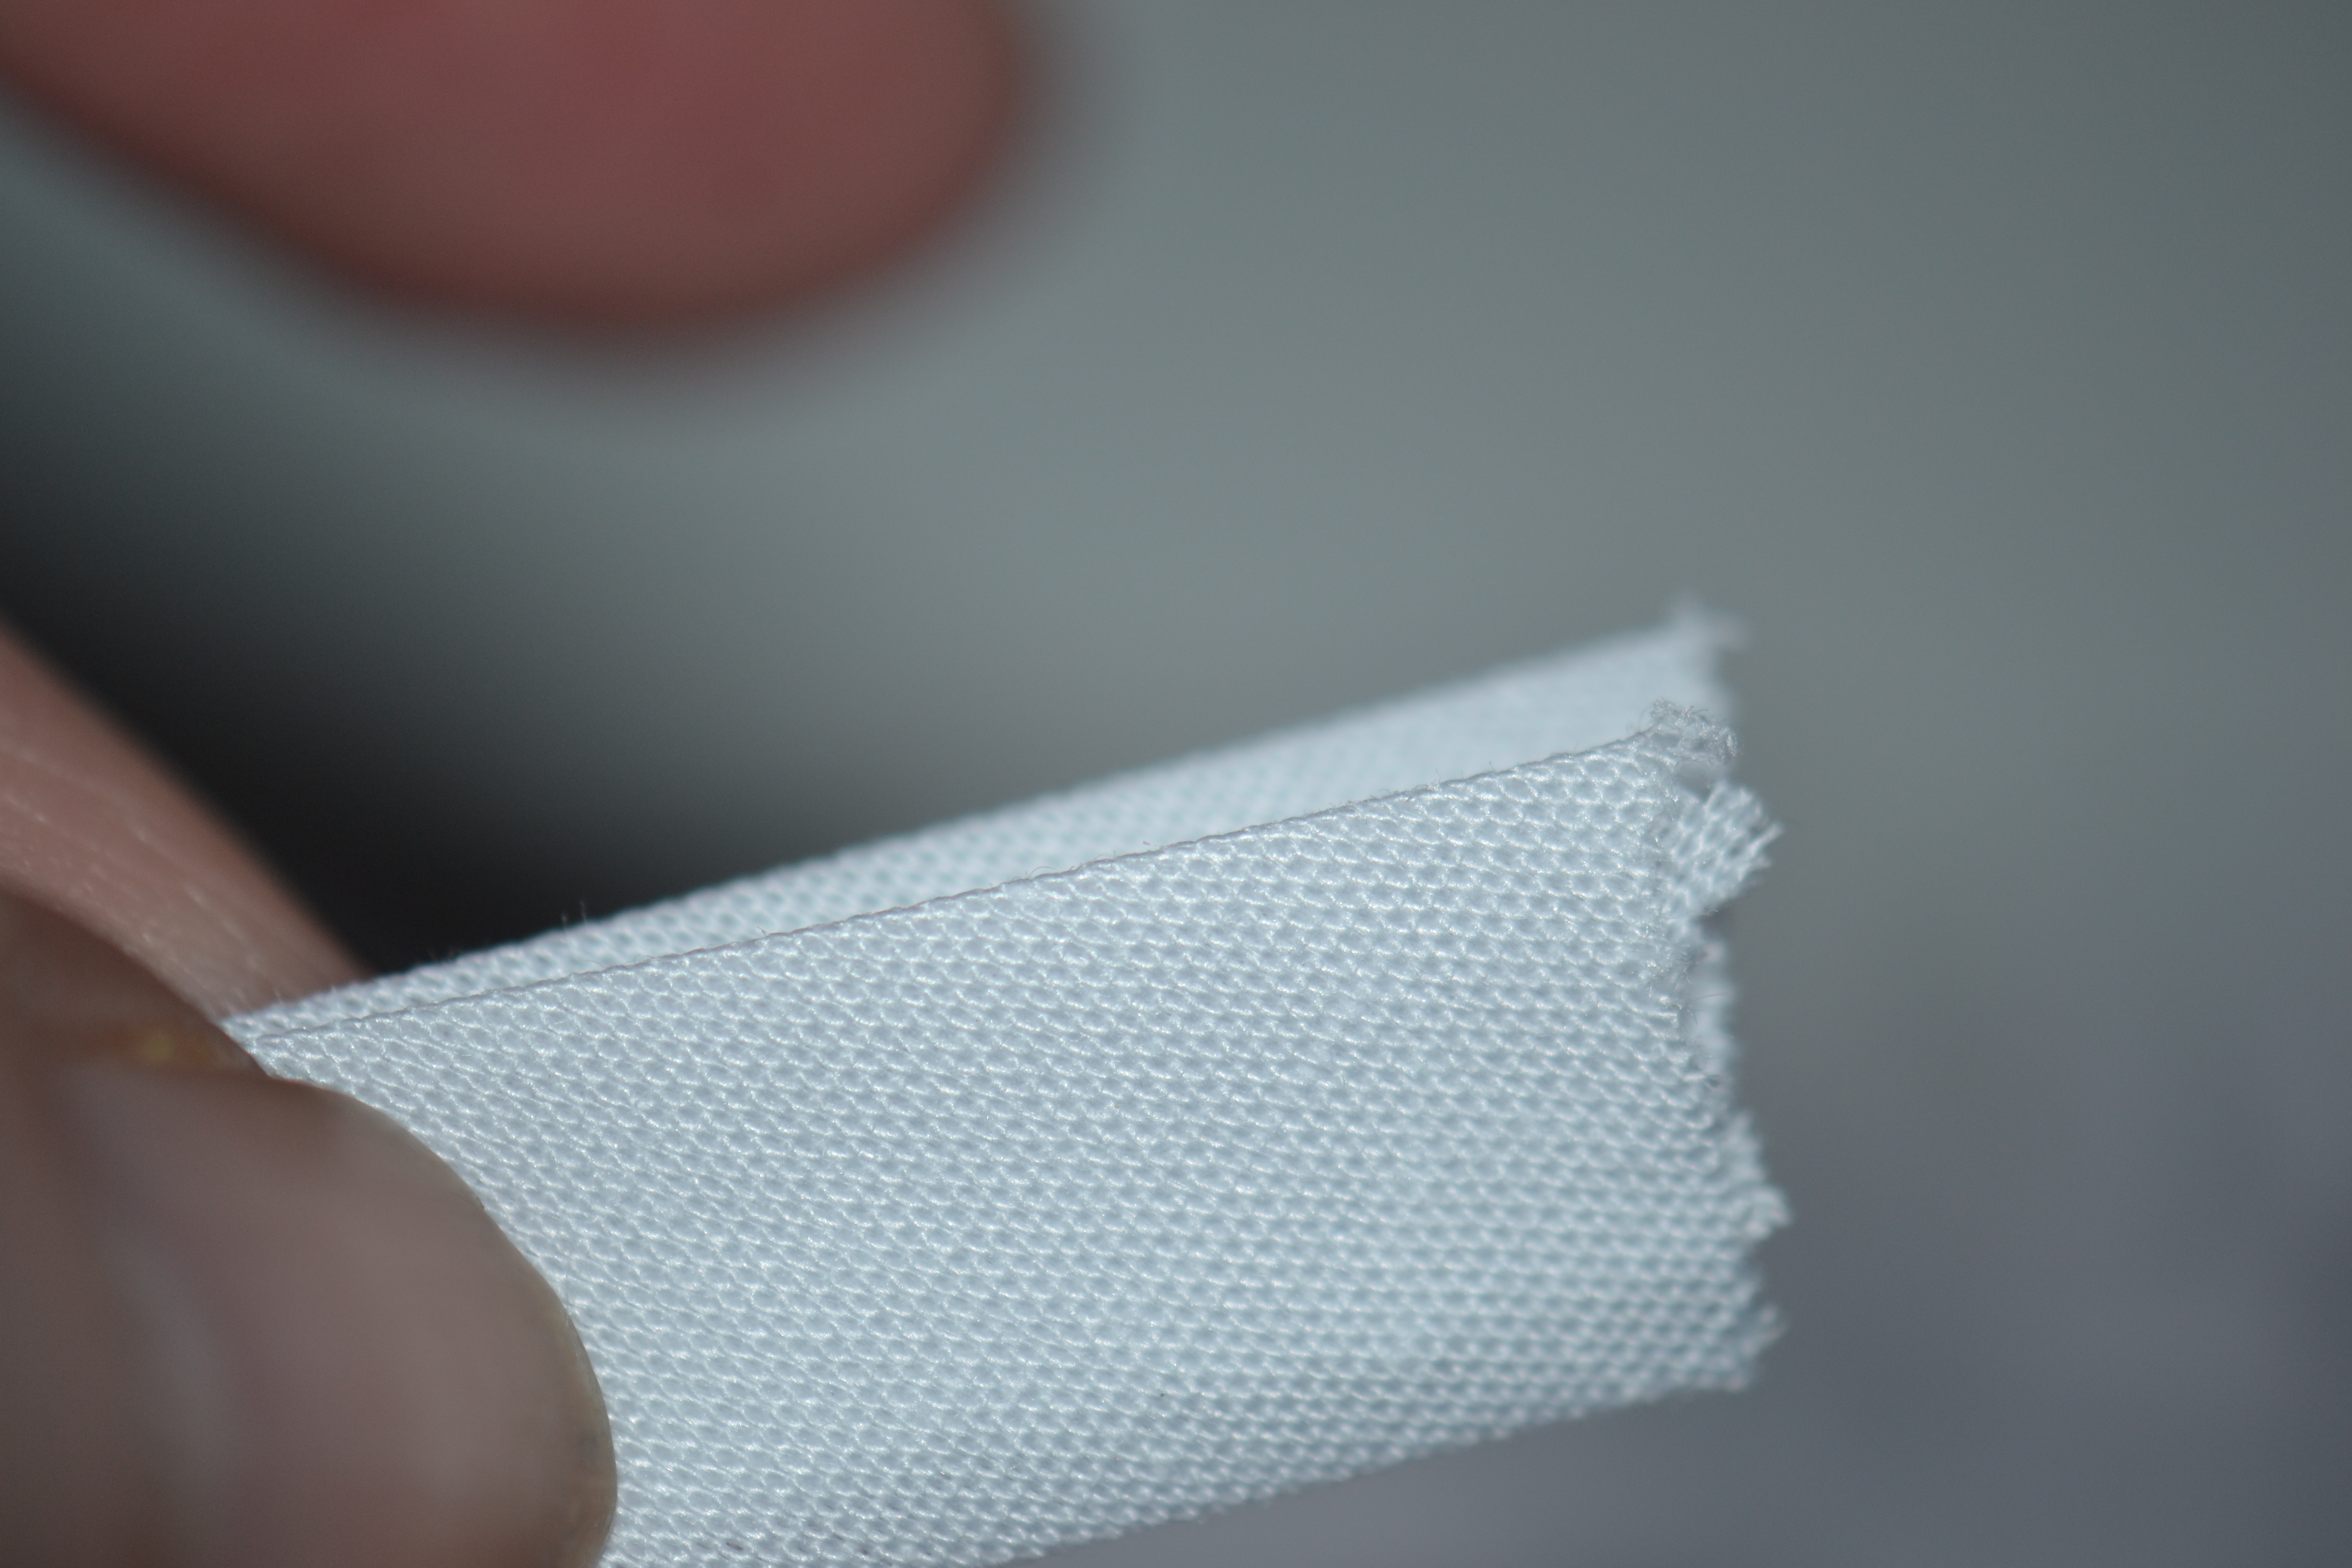
Open up your double fold bias tape and pin it around the outside edge of the caddy. If you look closely, one side of tape is wider than the other. You want the shorter side of the tape on the front of the caddy, and the wider on the back so when you stitch from the front, you’ll also catch the back.
Start pinning at the part of the caddy that will be underneath your sewing machine. Fold one edge under and lap it over the other.
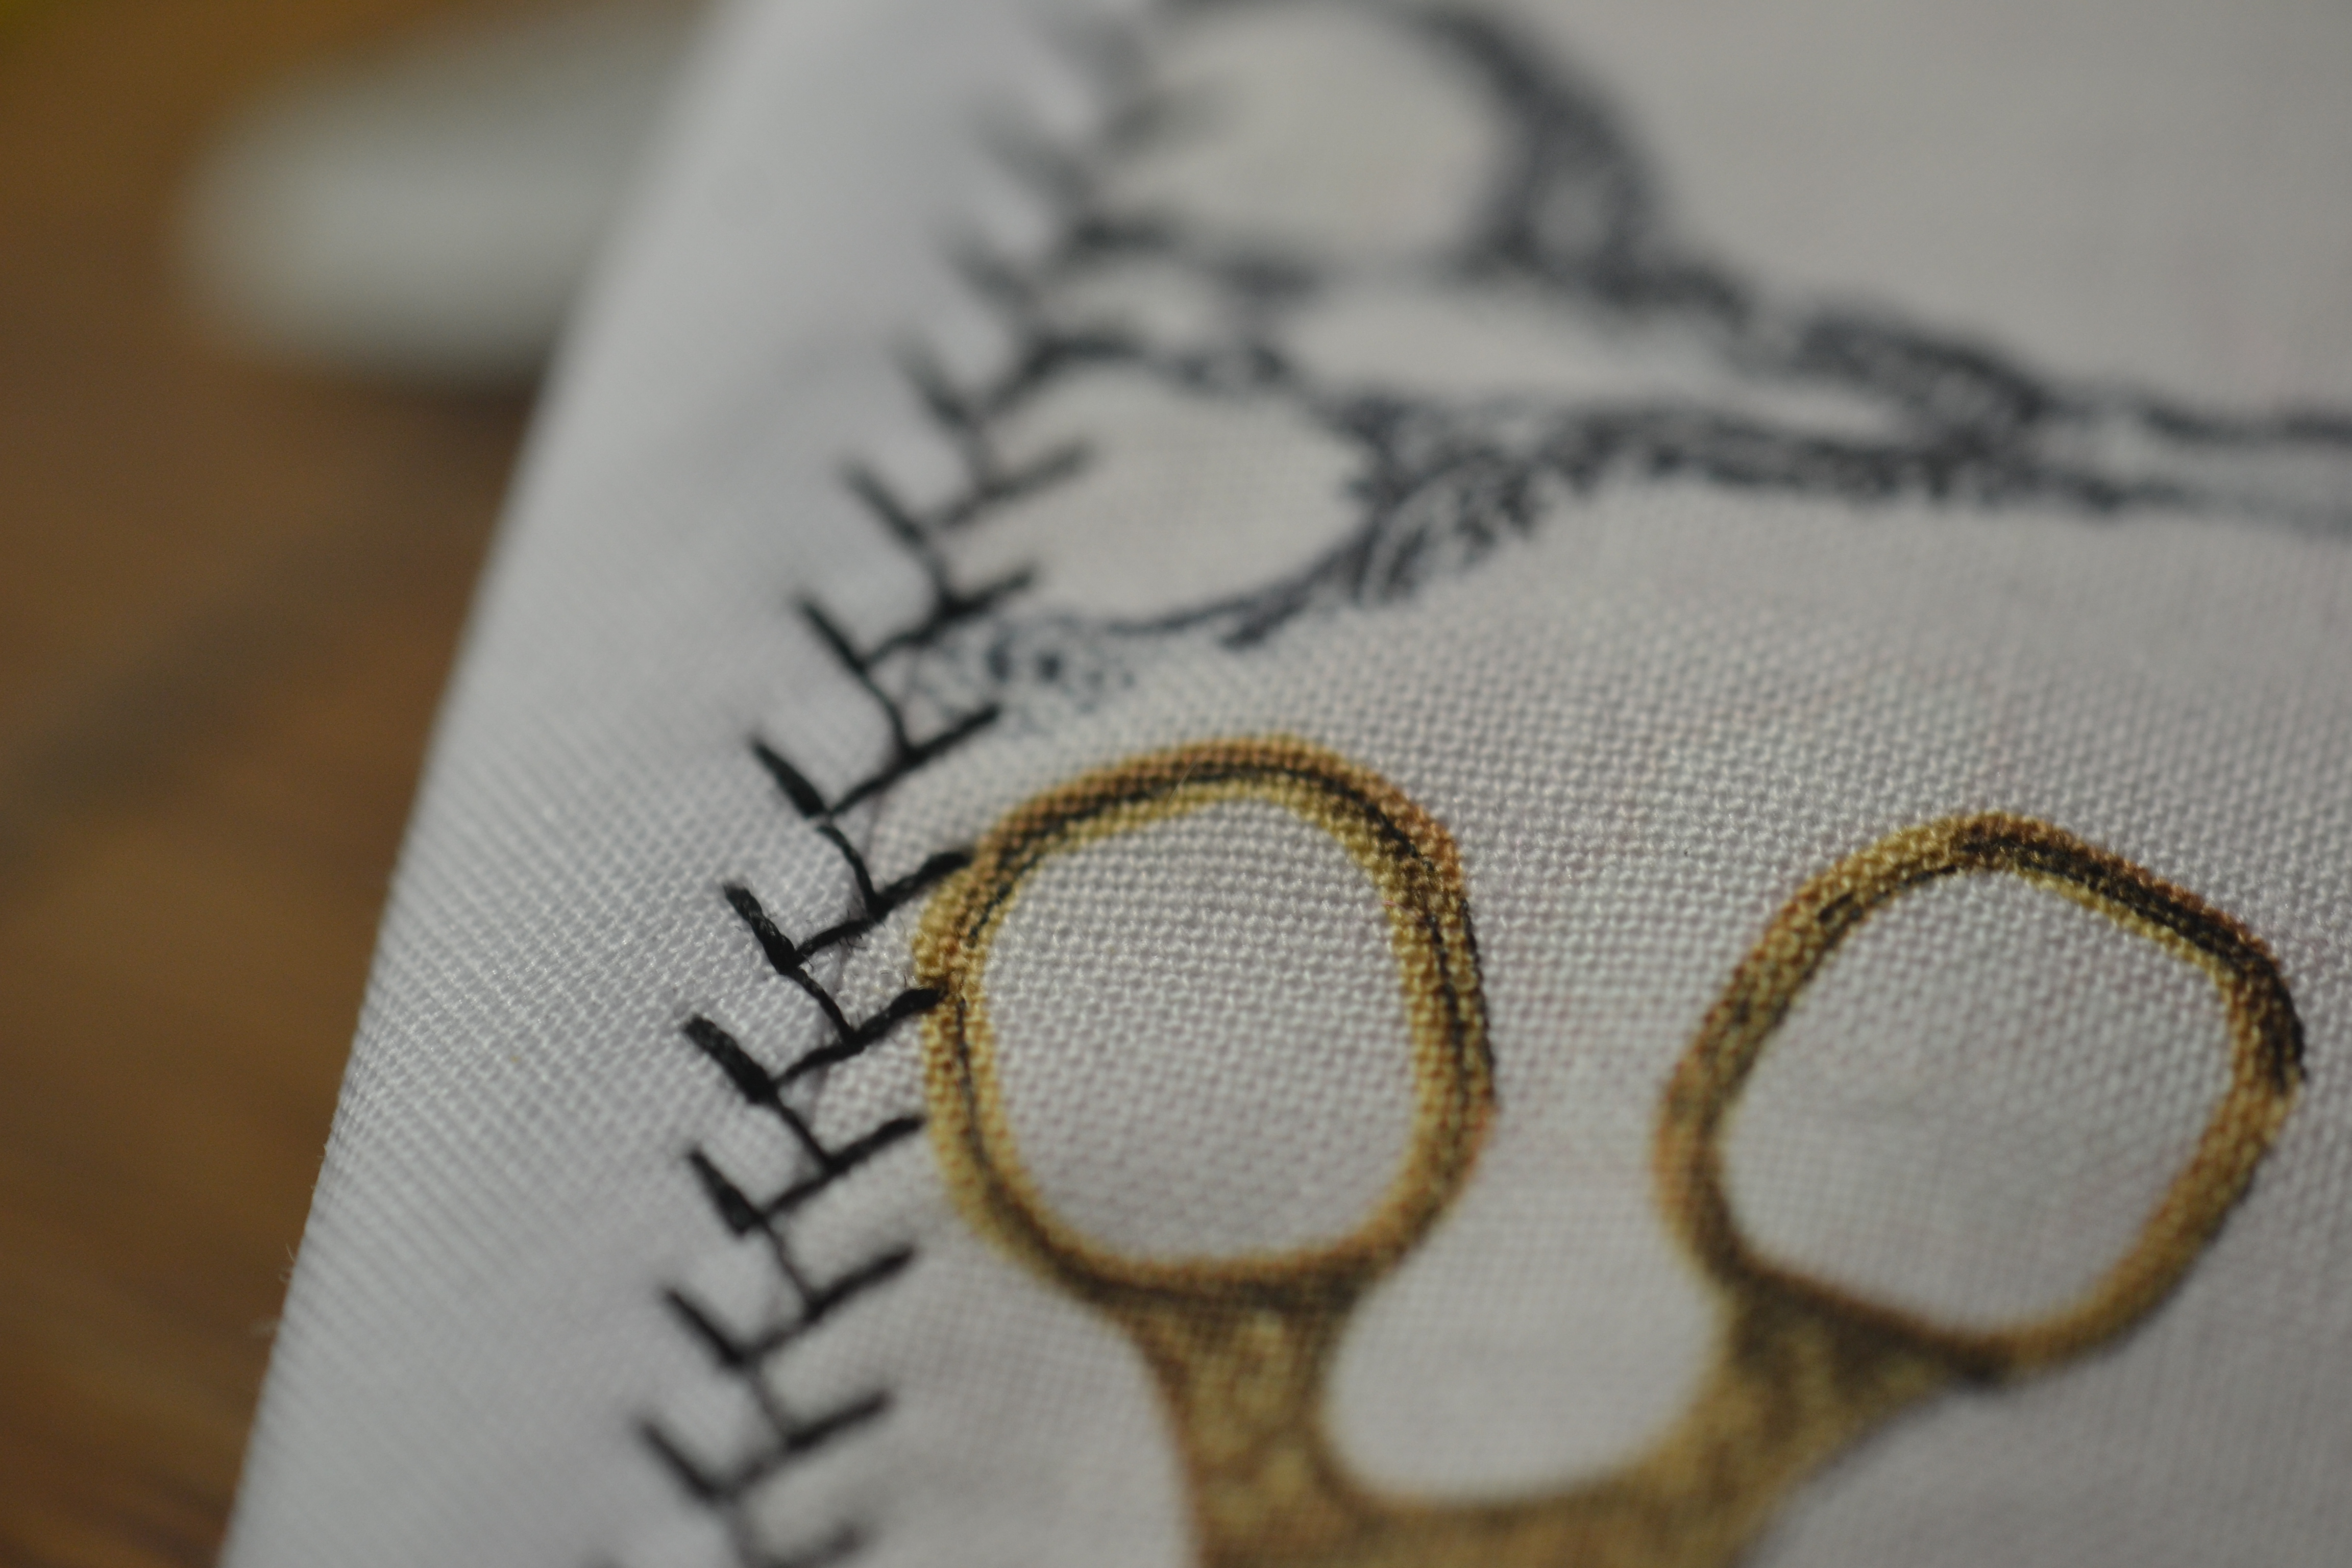
Sew around the outside of the caddy along the edge of the tape. This is a fun place to use a decorative stitch.
Alternately, you can place the front and back of the caddy wrong sides together. Stitch around the outside. Turn, press, and topstitch.
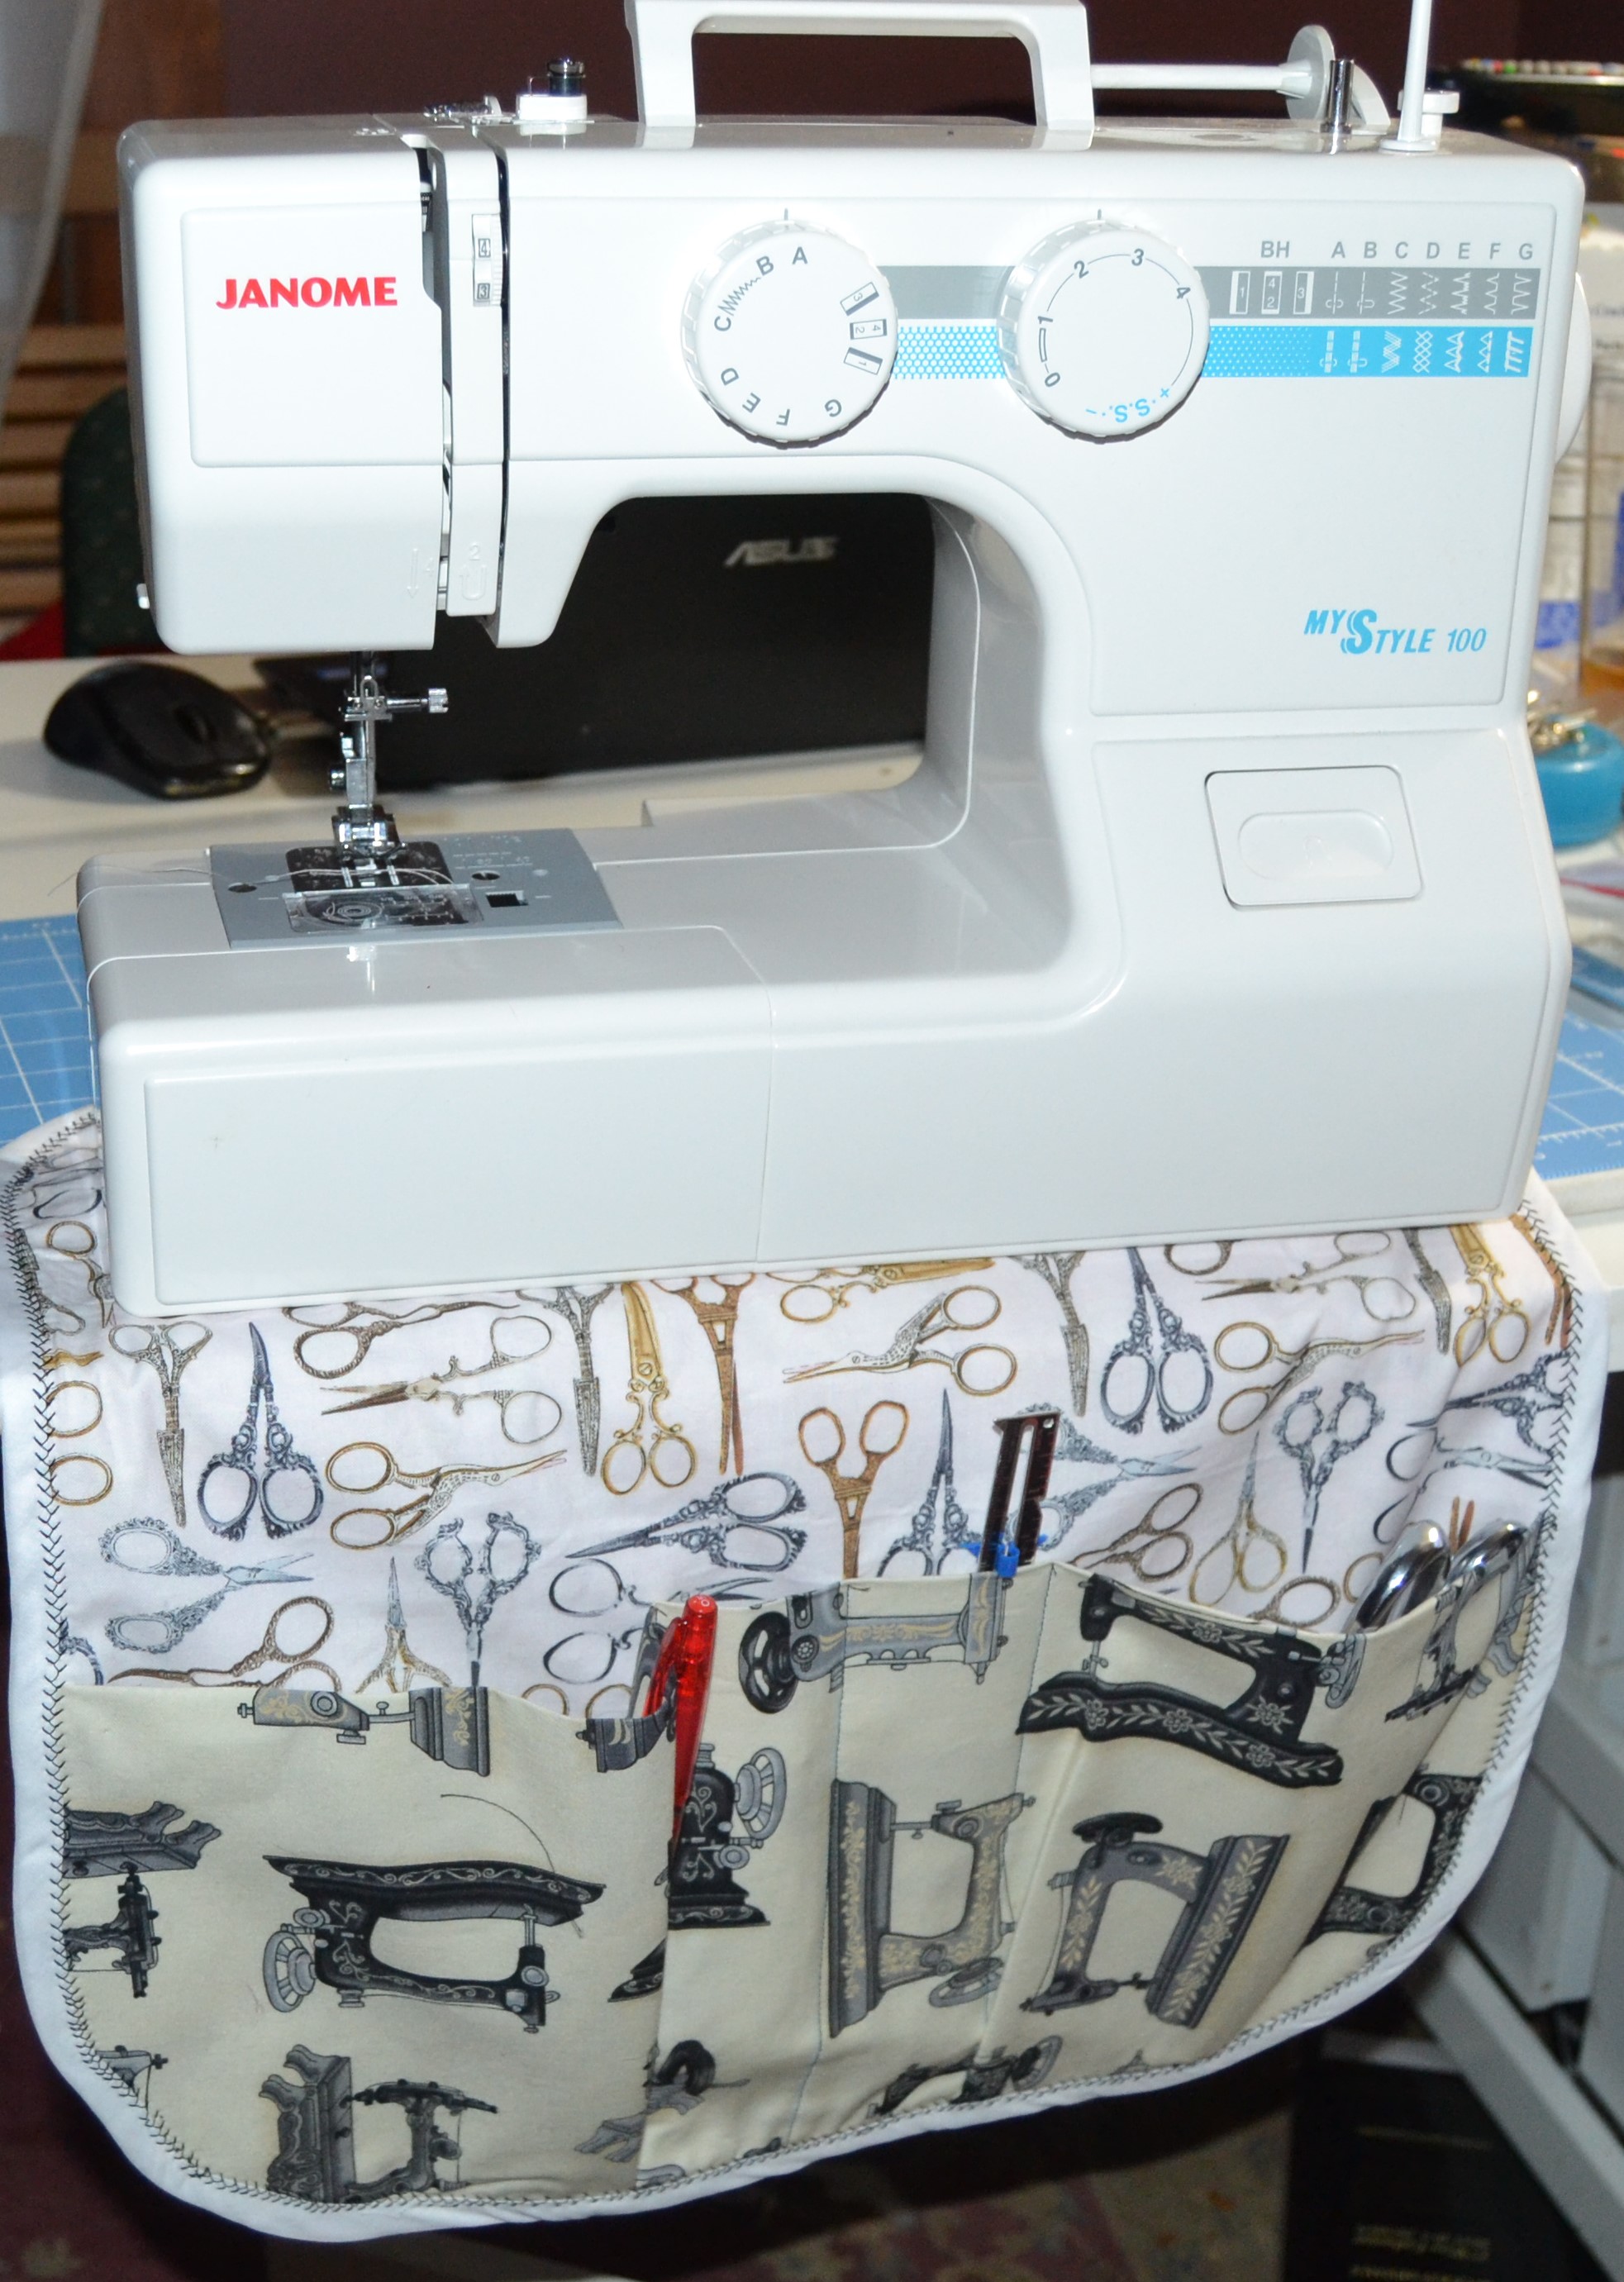
Slide your caddy under your machine, and you’re ready to fill it with your favorite tools!
