Sewing the Ironing Board Caddy

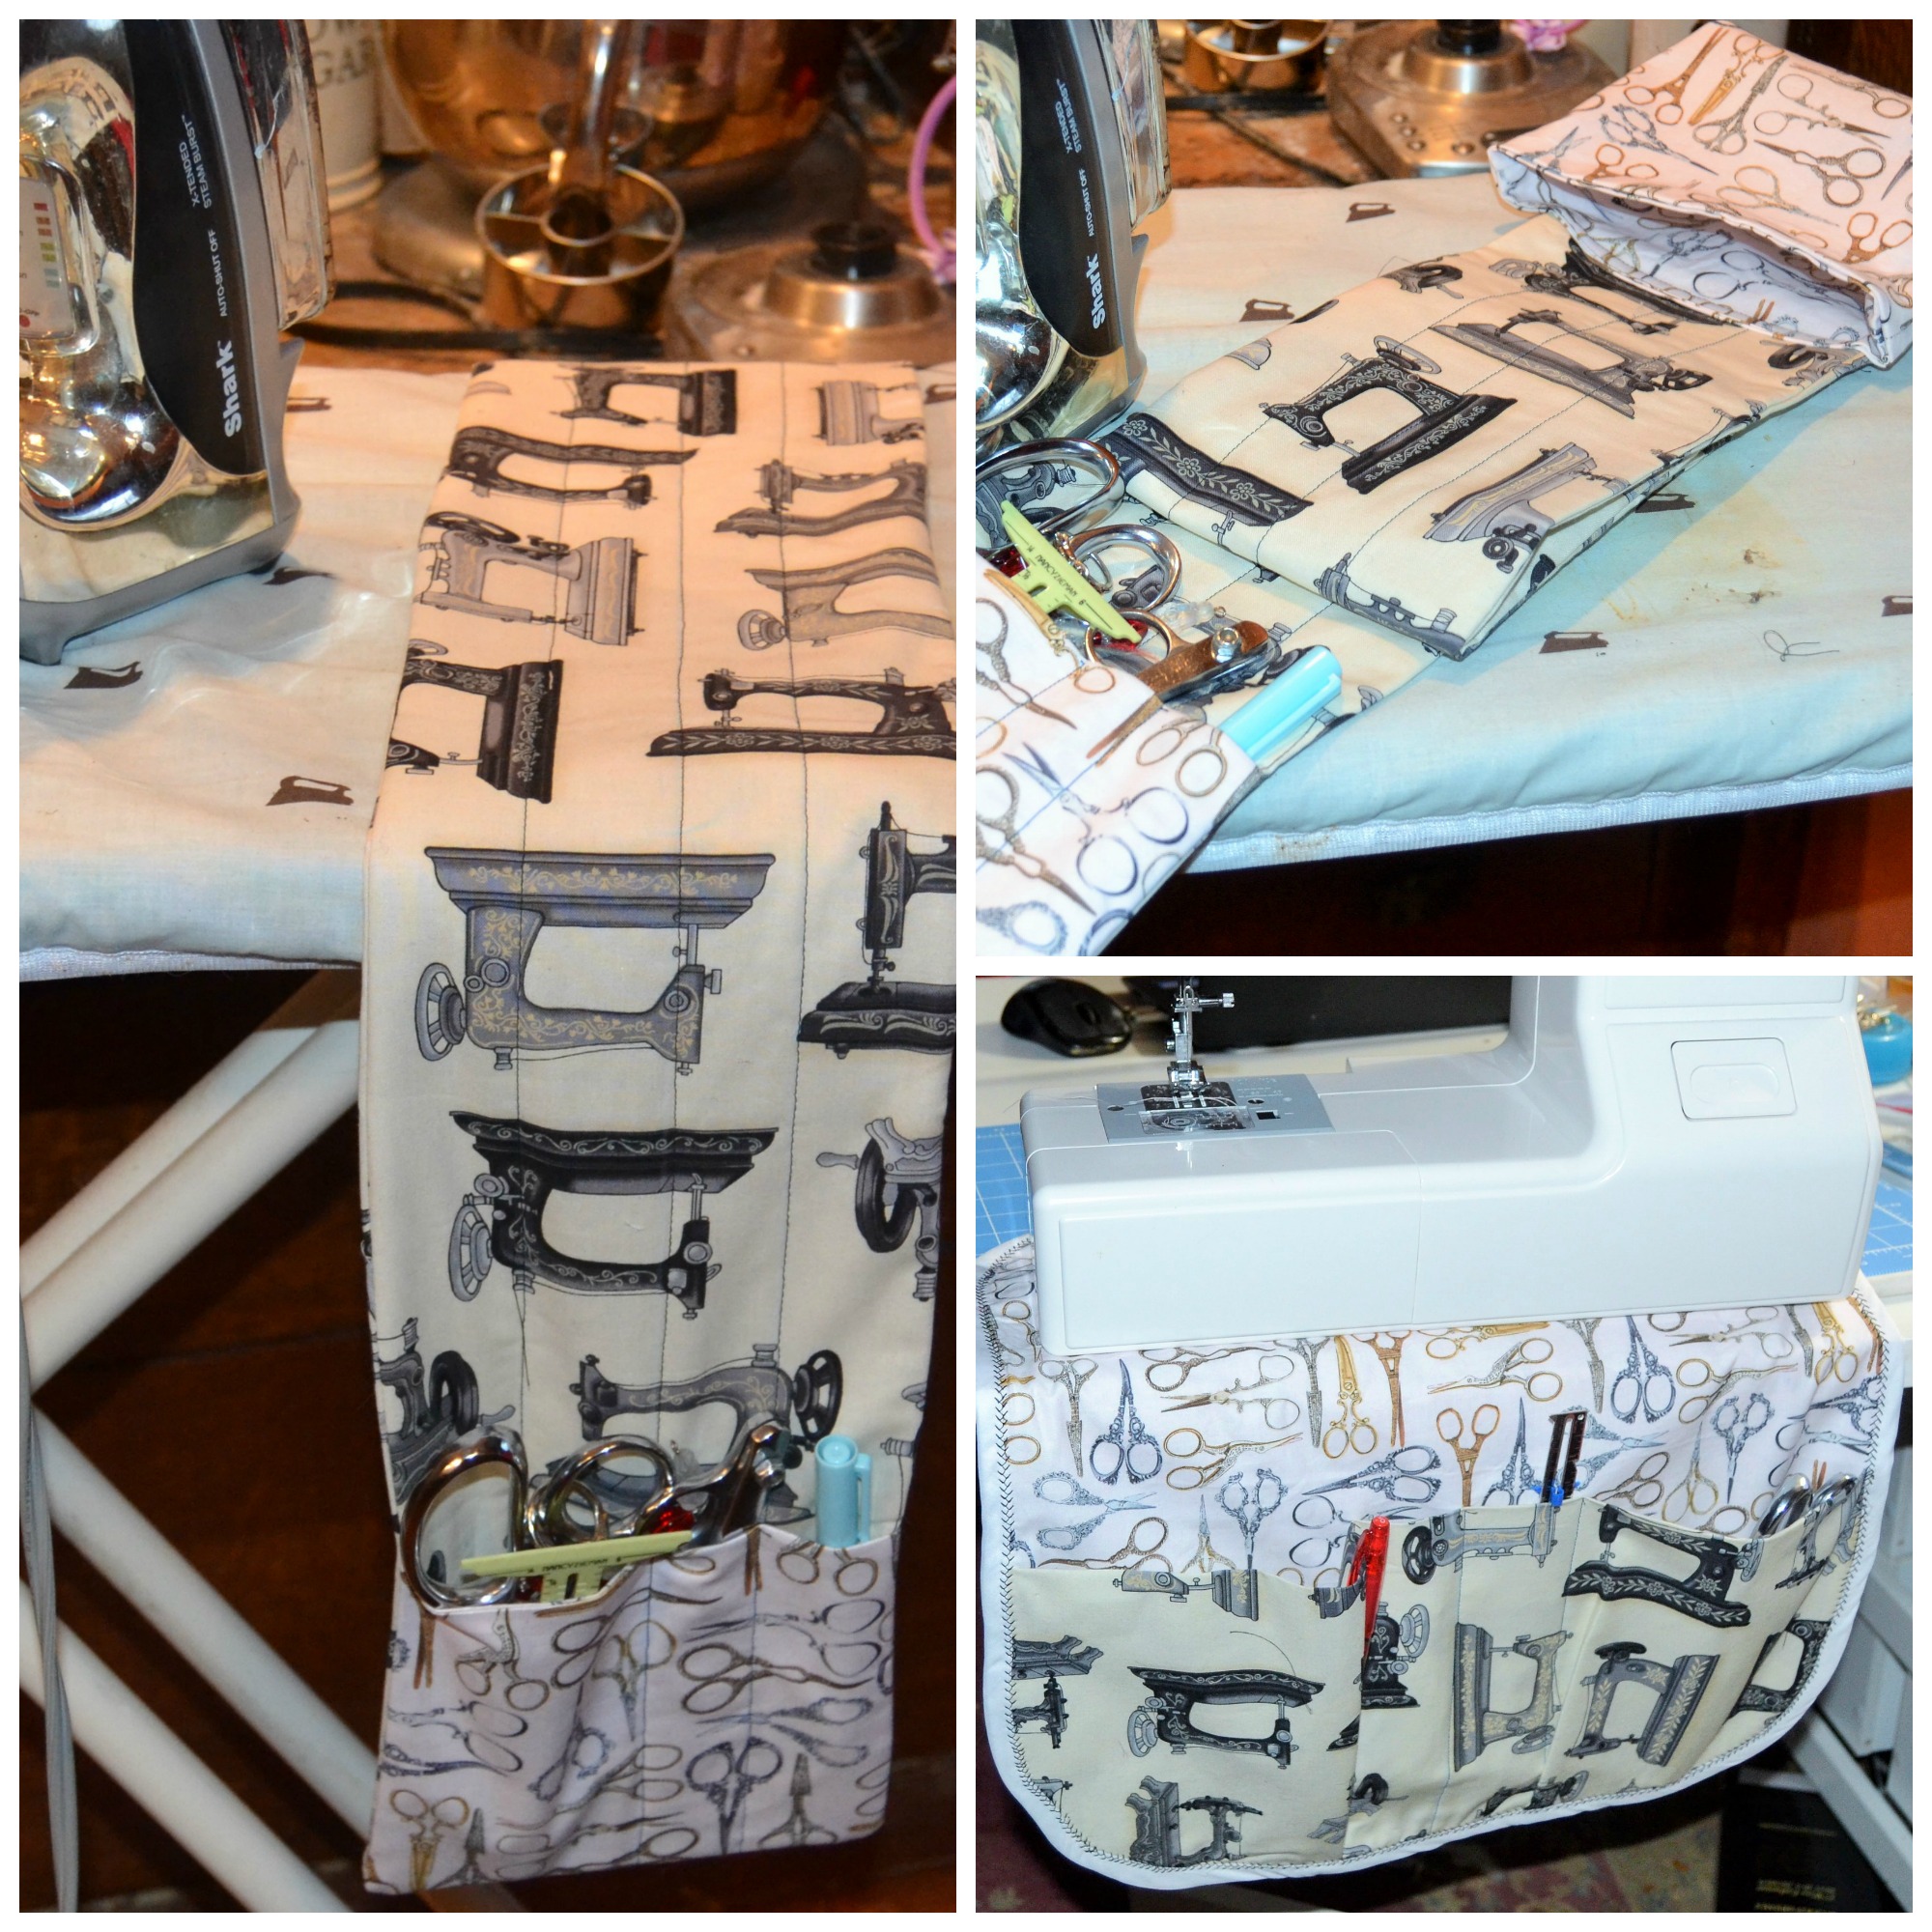
When I started this, I wasn’t sure I would use this one much, but it’s turned out to be my favorite of the two.

DSC_0412


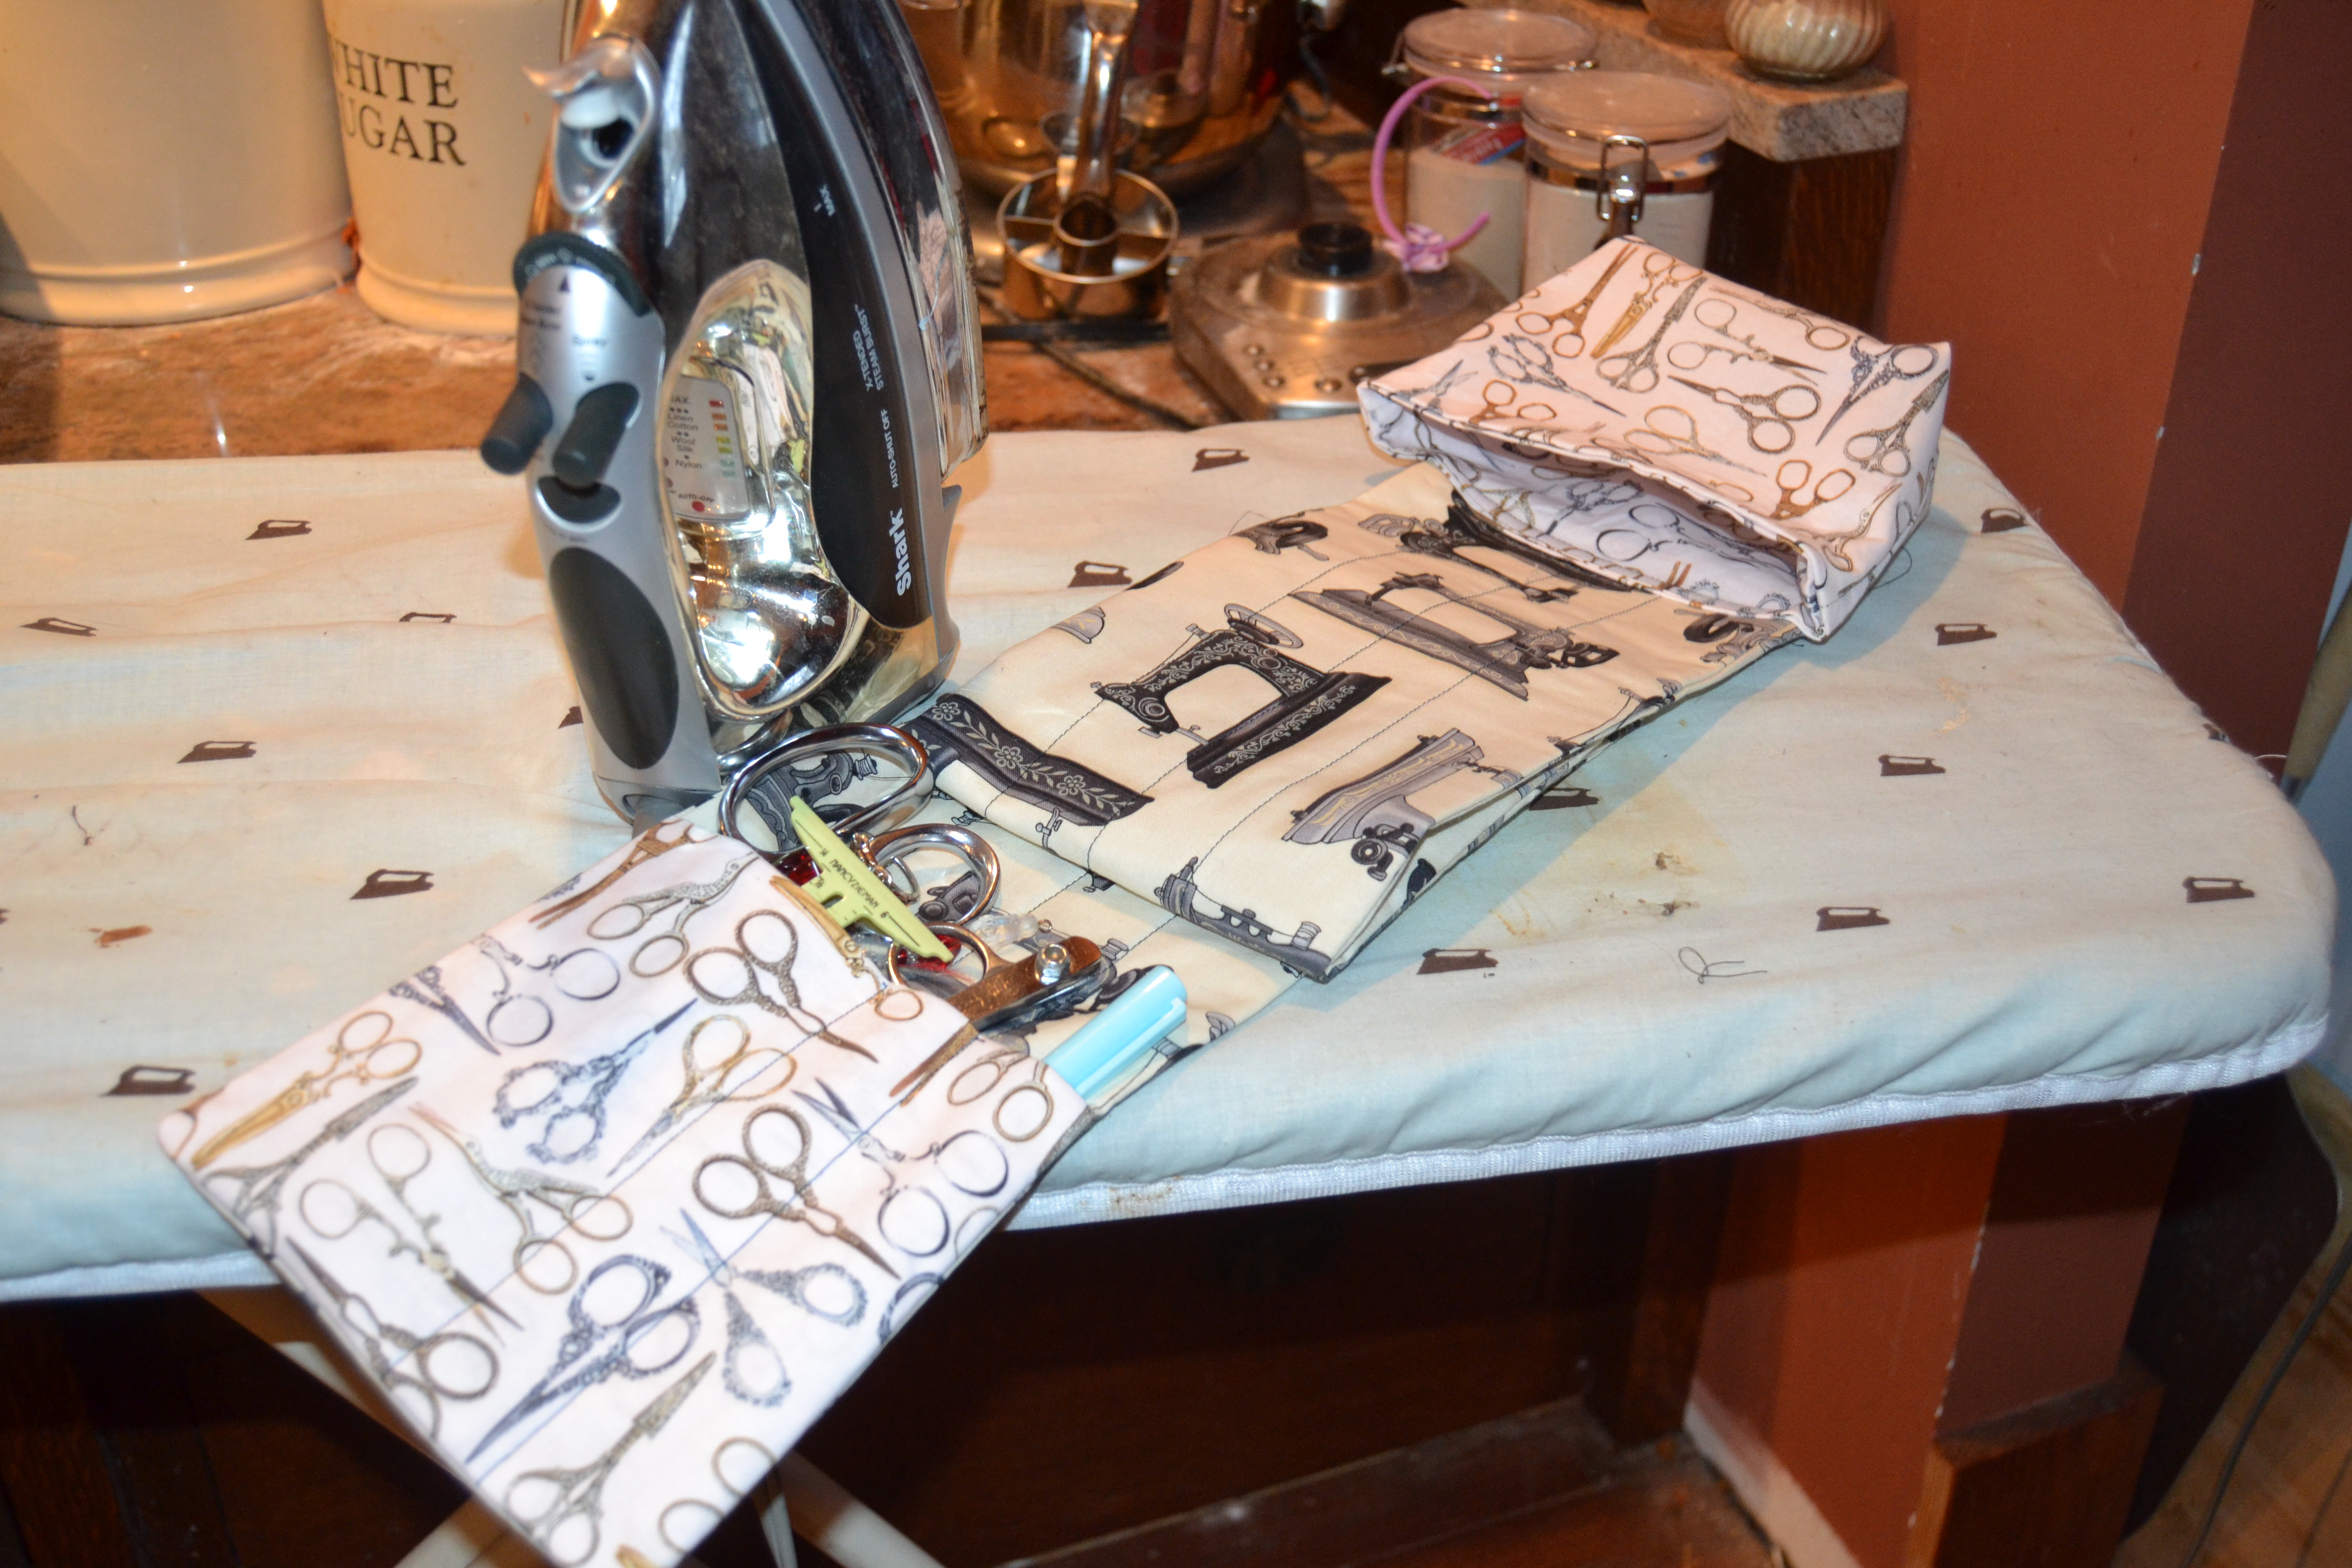
Things tend to collect on my ironing board, and I let it build up until the area I have to press gets too small to work. This caddy makes me think about what I really need to have close at hand to iron and what is just clutter.

For this caddy you need:

The long strips you cut

The two pocket pieces

The four thread catcher bag pieces

The interfacing you cut for the bag

The strip of batting

The piece of gripper fabric

Thread

Sewing tools

Center the gripper fabric on the right side of one of the long strips. I just folded the strip in half to find the center. You can be more precise and measure it if you like.

DSC_0376

Zigzag stitch around the outside of the gripper fabric. I’ve been snowed in for awhile so I just grabbed some leftover shelf liner I had. My sewing machine balked at sewing it so I laid some strips of washaway stablizer between the gripper fabric and the presser foot, and the sewing machine glided right over it. Wax paper or tissue paper will work, too.

DSC_0374


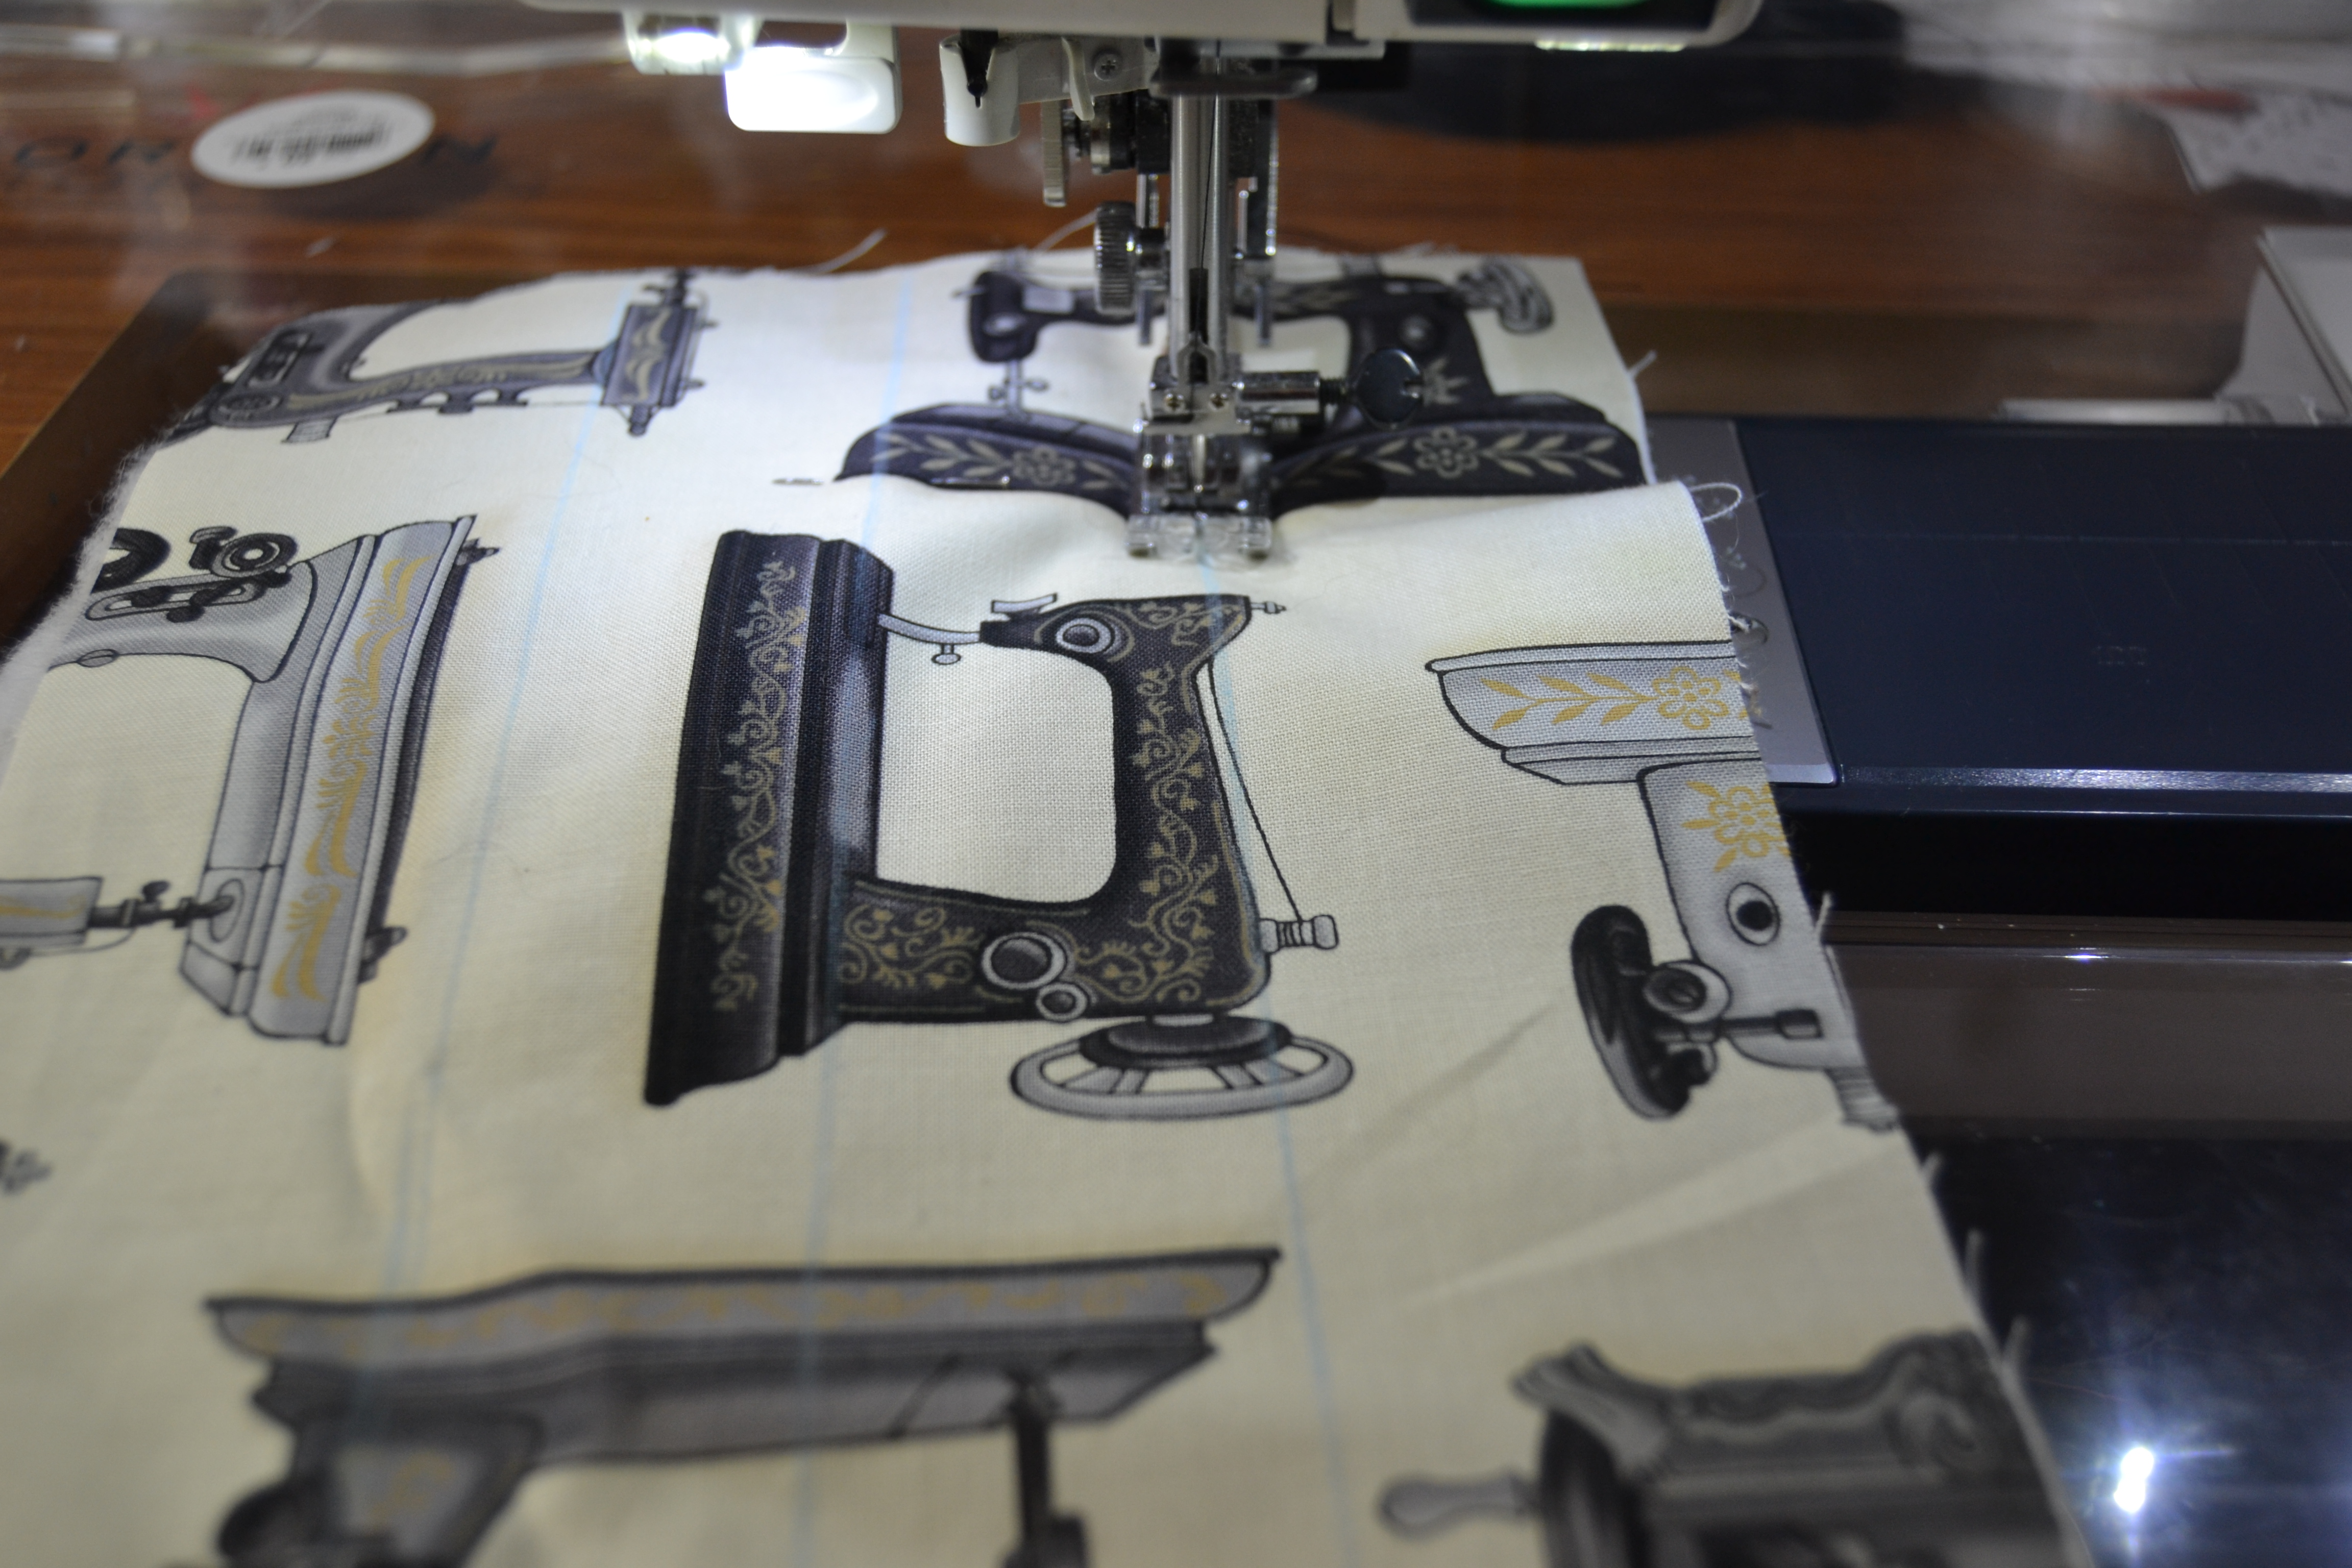
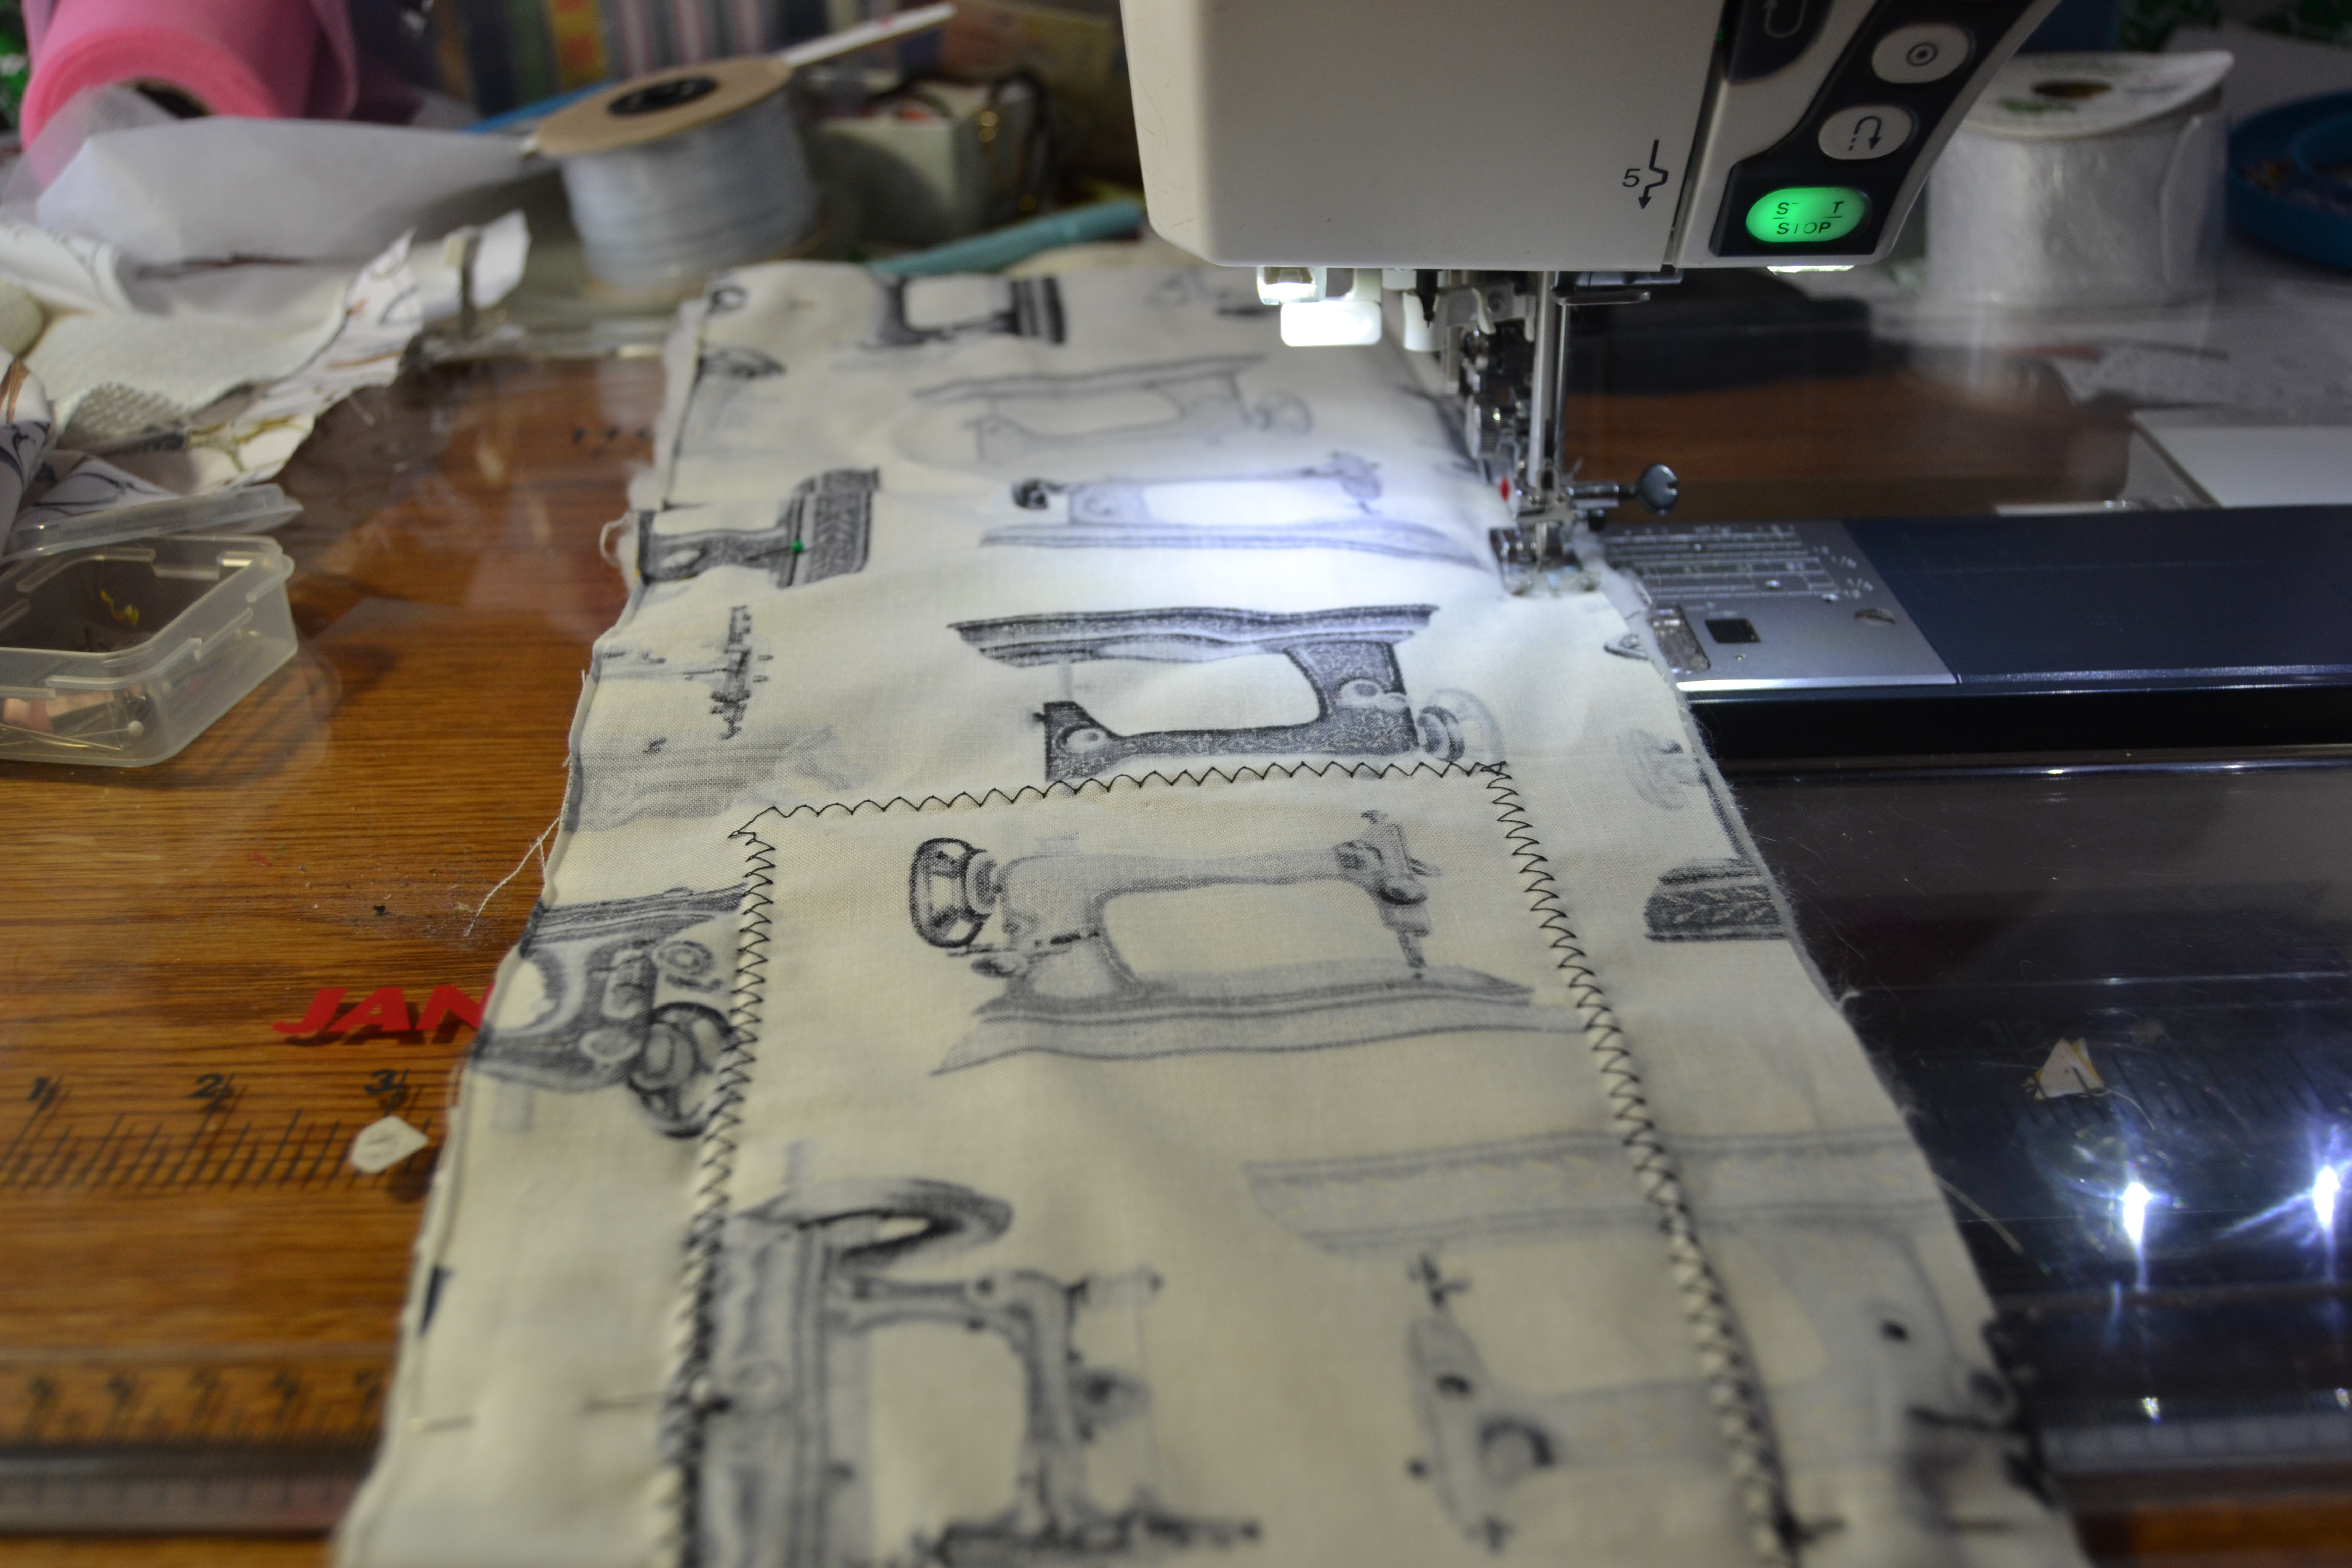
The next step is to quit the top side of the caddy. From a practical sense, this is to hold the batting in place so it won’t shift, and to turn this into one long pin cushion. If you just want the bare essentials, three rows of straight stitching down the length of the caddy will do quite nicely. I have this thing about things lining up so I did one stitch down the center and one 1 1/2″ on either side of that.  DSC_0378
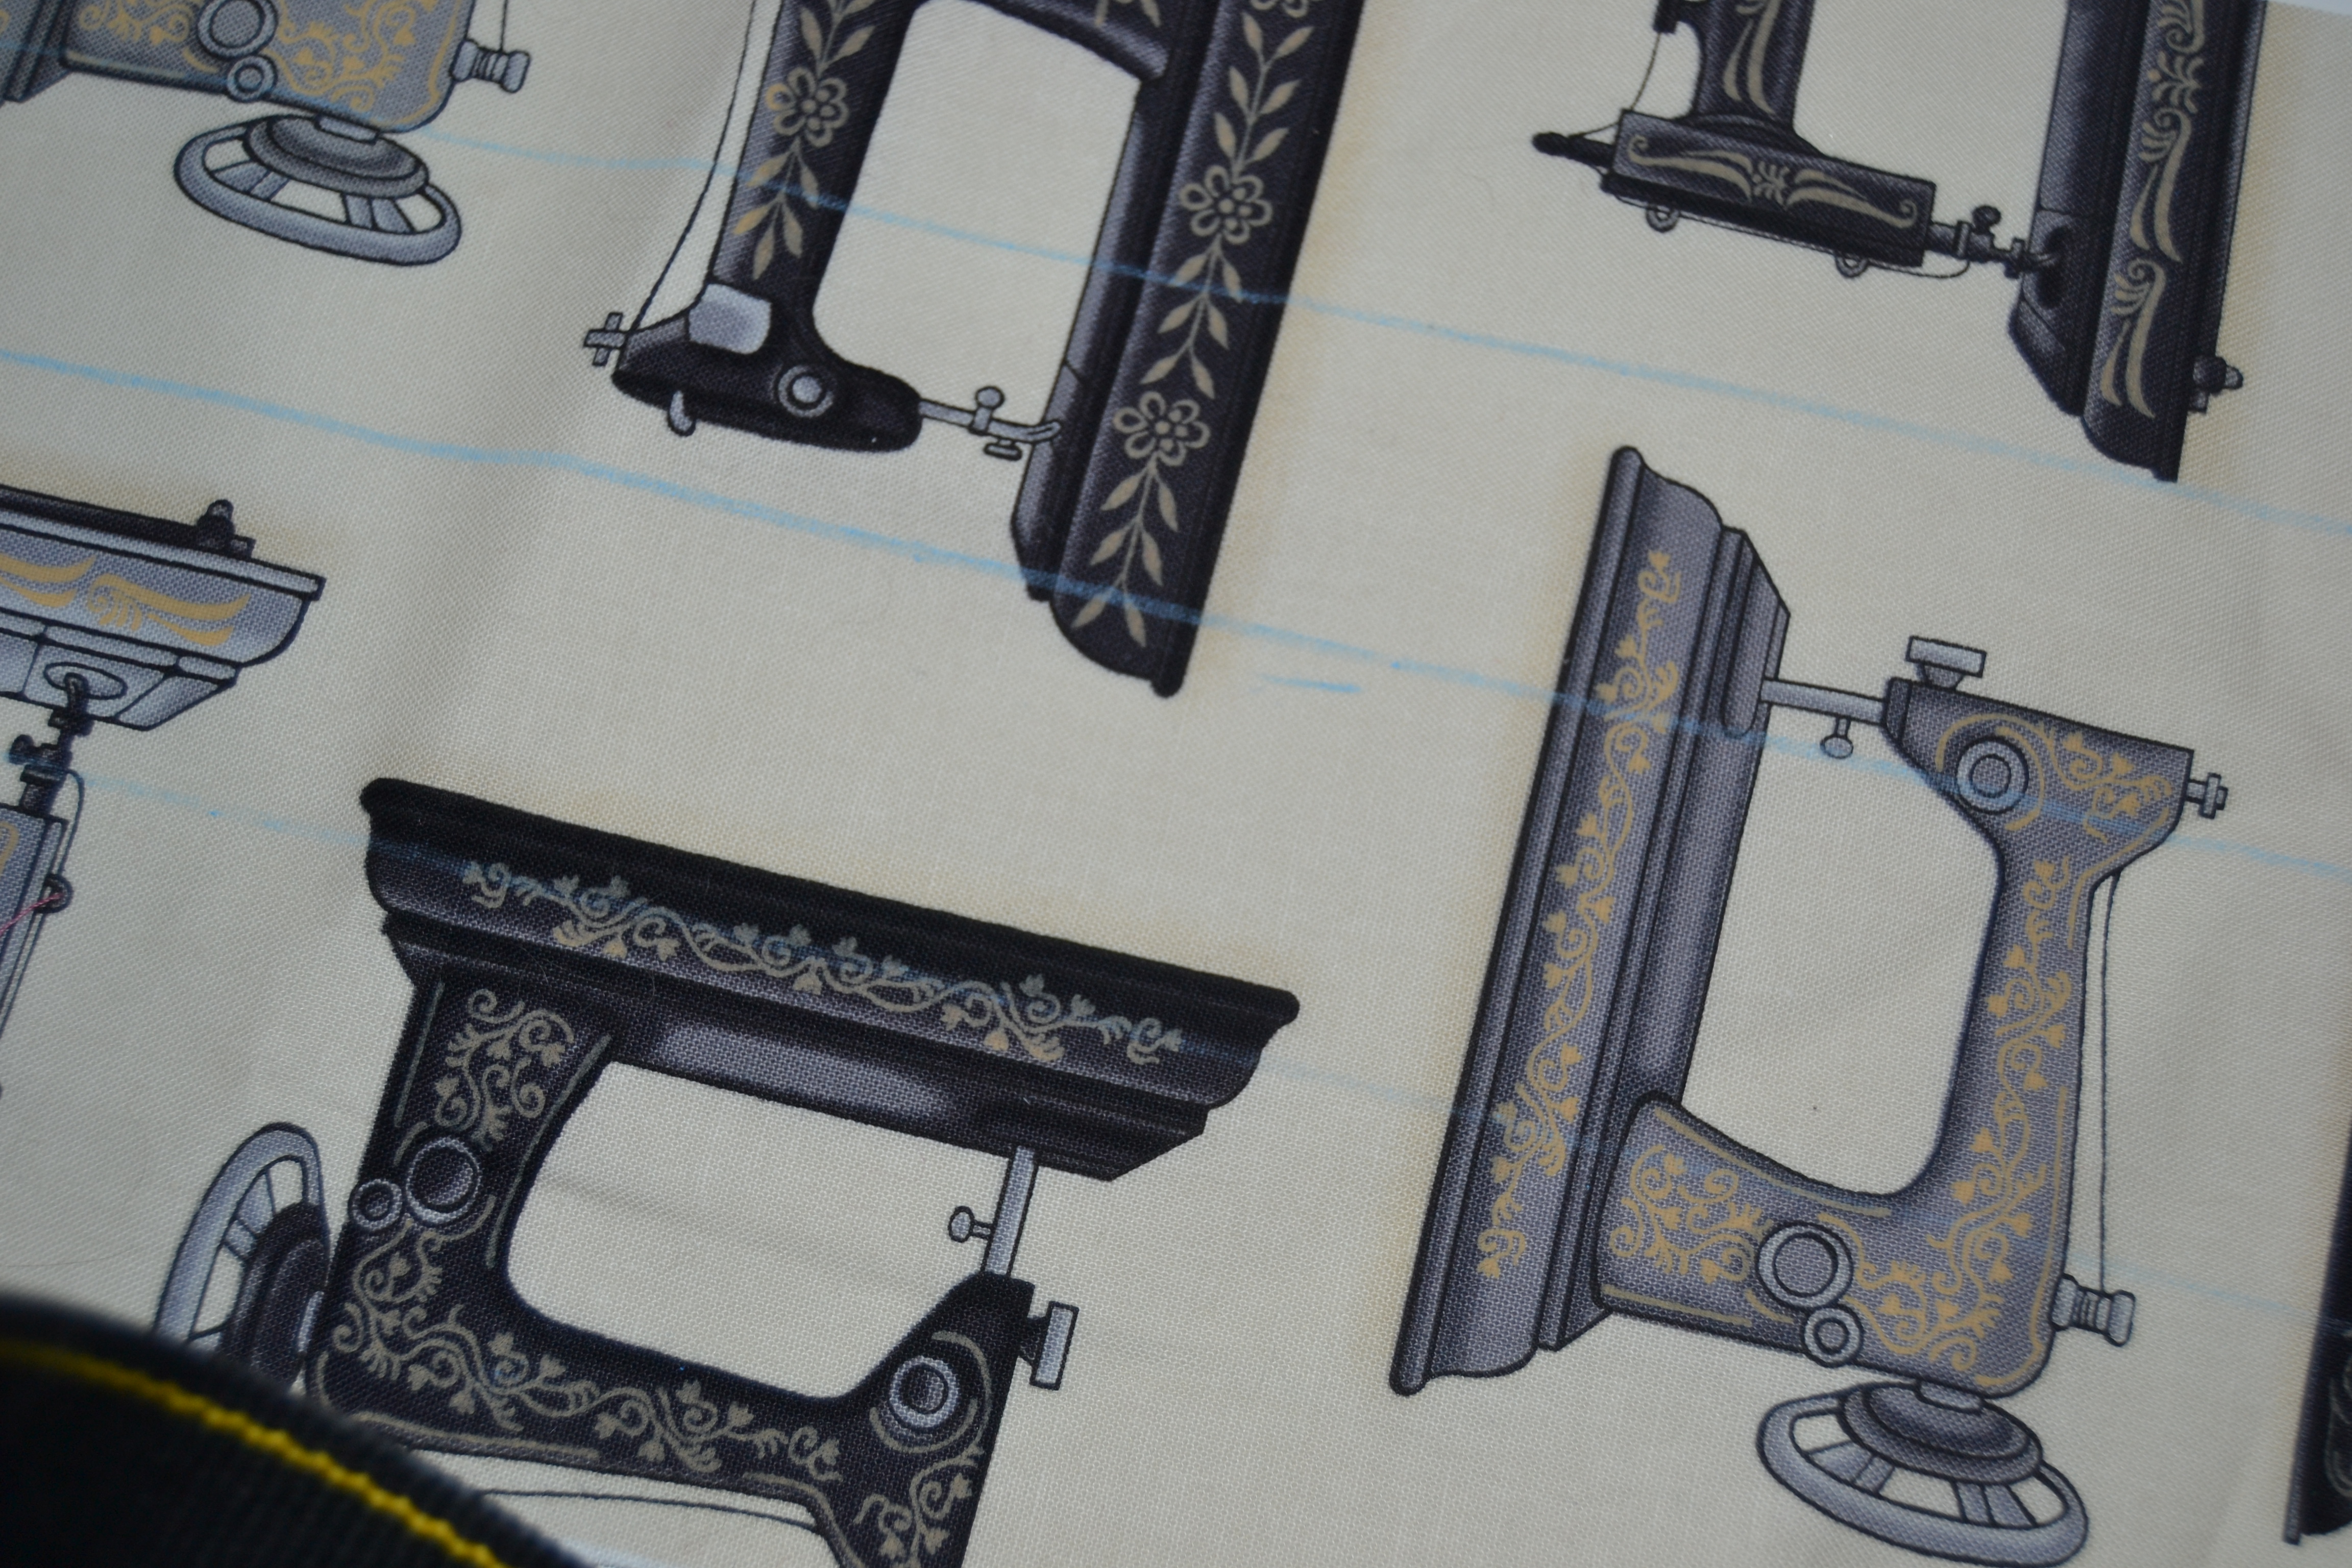
When you add the pockets, the pocket stitching will look like one continuous line with the quilt lines. But this is also a place for some personal creativity. You can quilt this any way you like. You could outline some of the design in your fabric with stitching. If your machine does free-motion quilting, and you’ve always wanted to try it, then this is a perfect opportunity. The piece is large enough to give you some space to play in, but small enough to fit easily in your machine. There are a lot of good online tutorials, and your sewing machine manual is the first place to start. So machine baste the batting to the wrong side of the remaining long strip and quilt away! I used a washable marker to make it easy to sew the straight lines. DSC_0377

DSC_0380


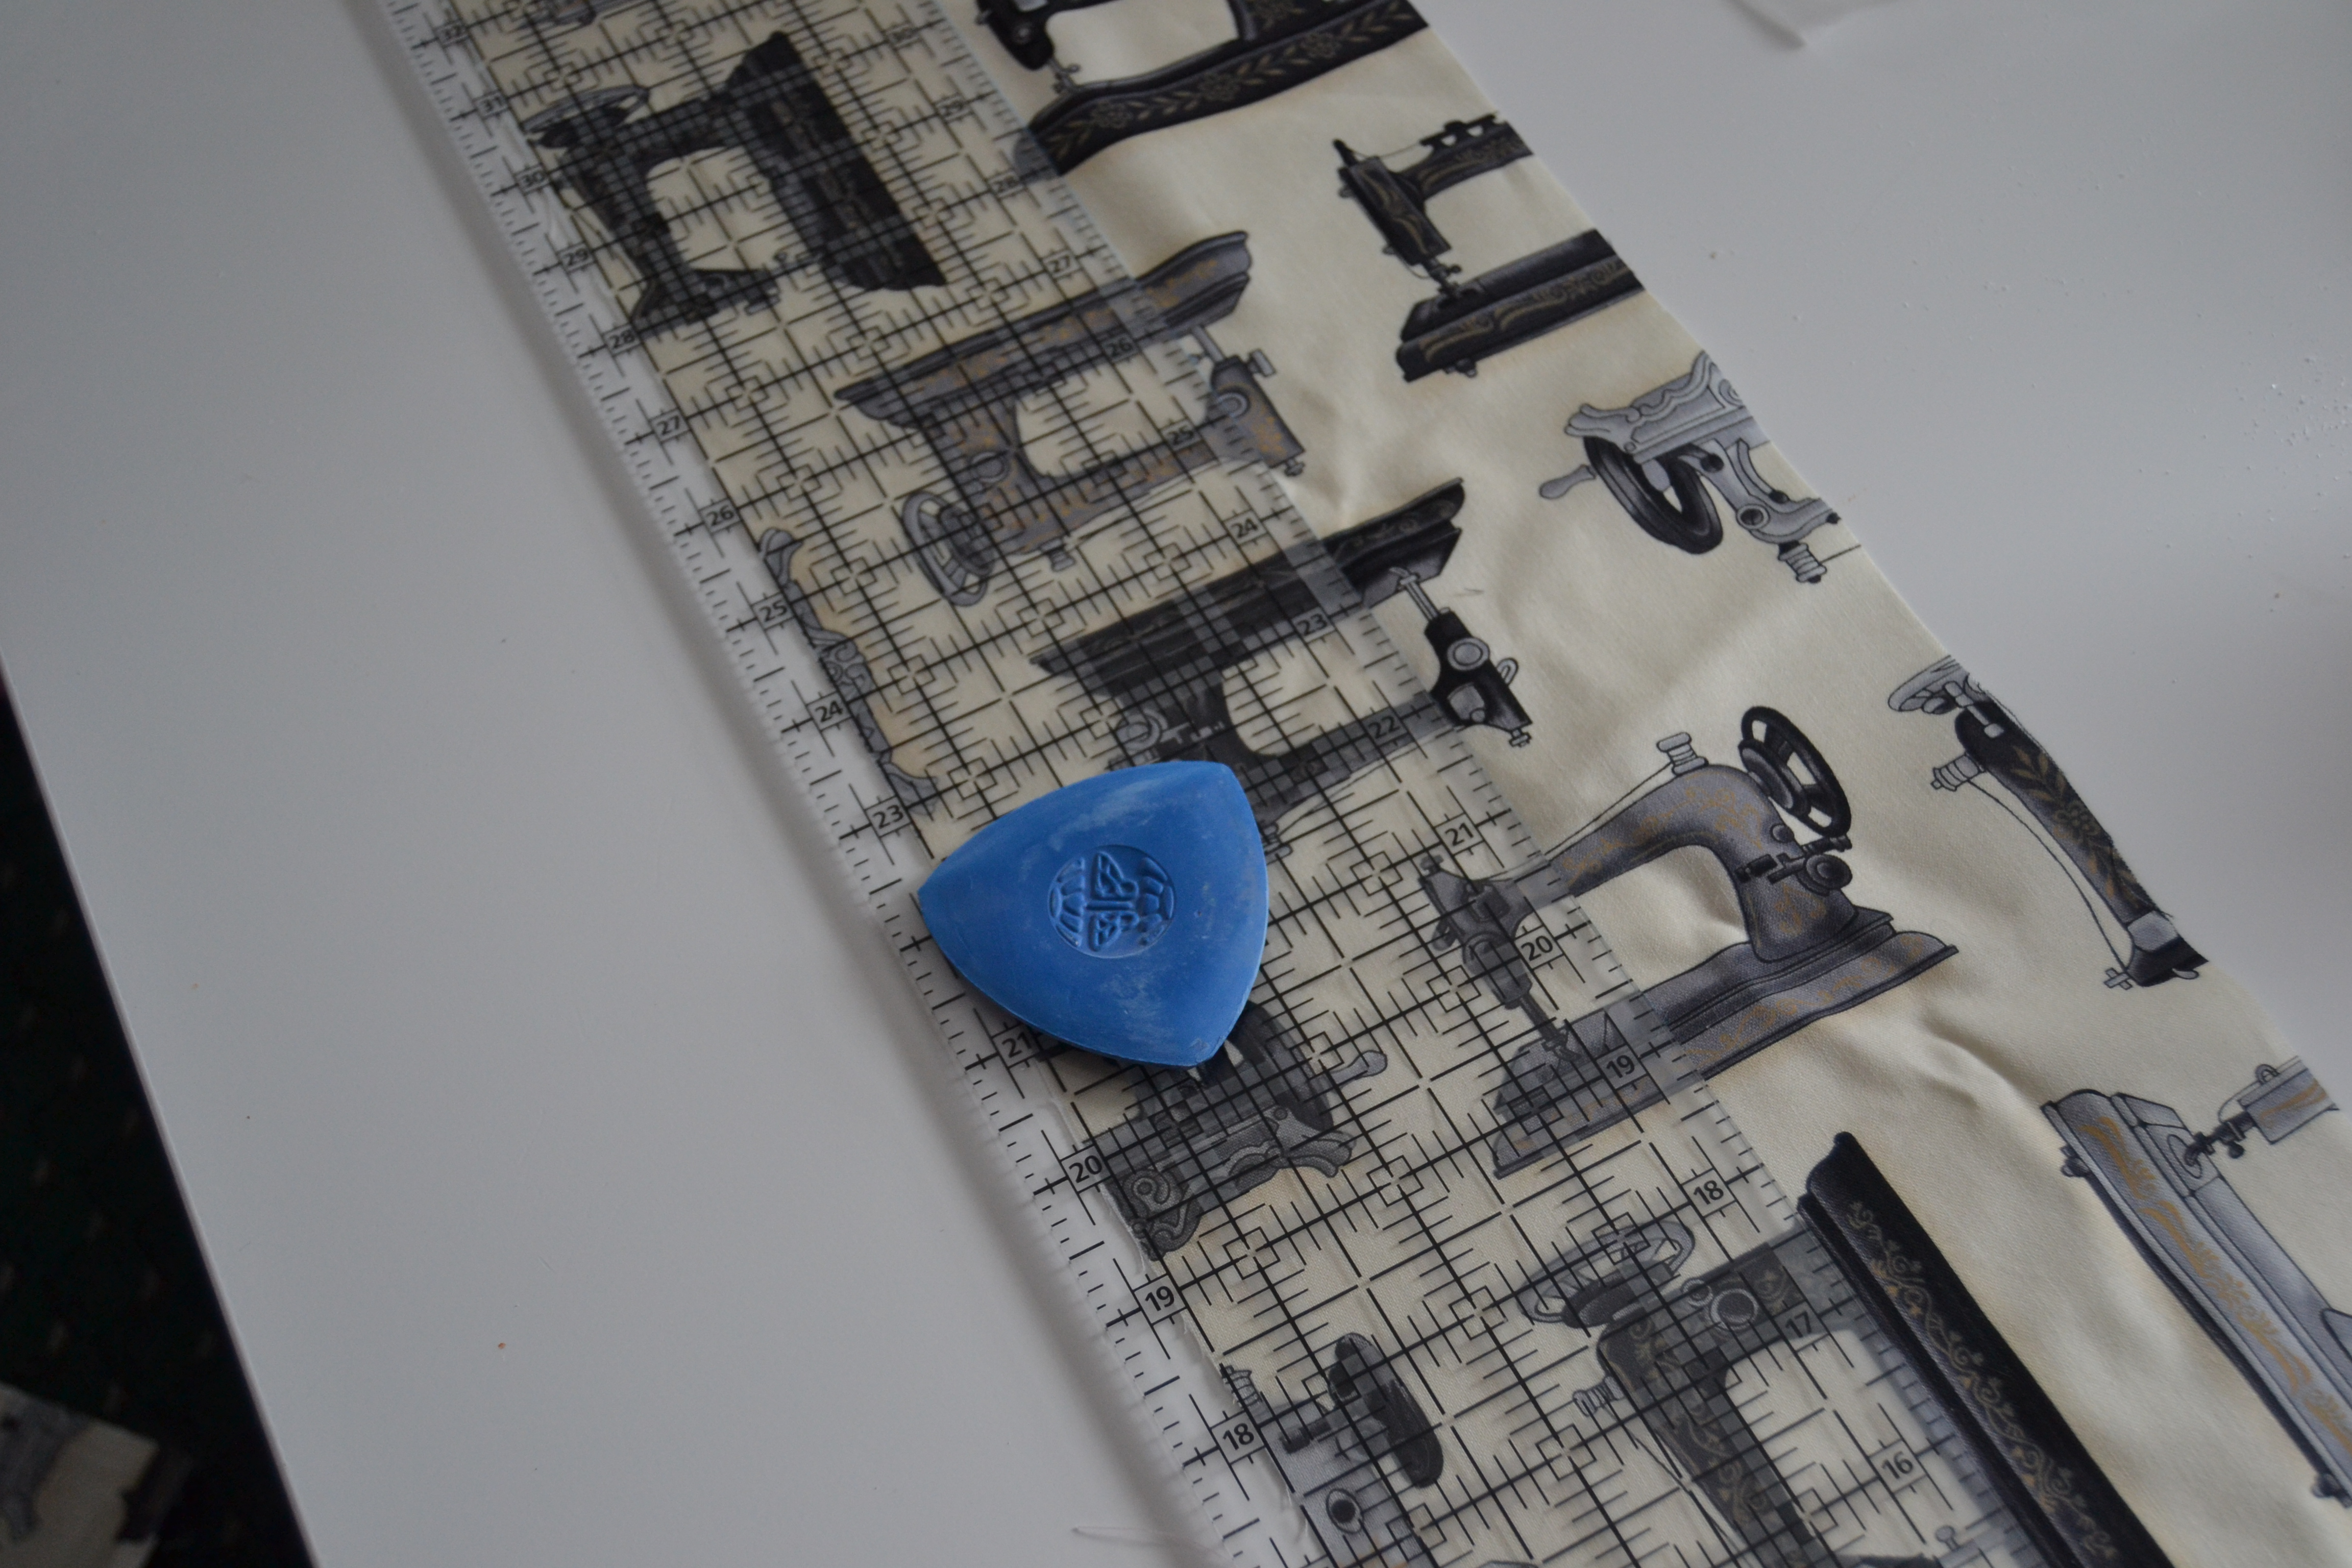
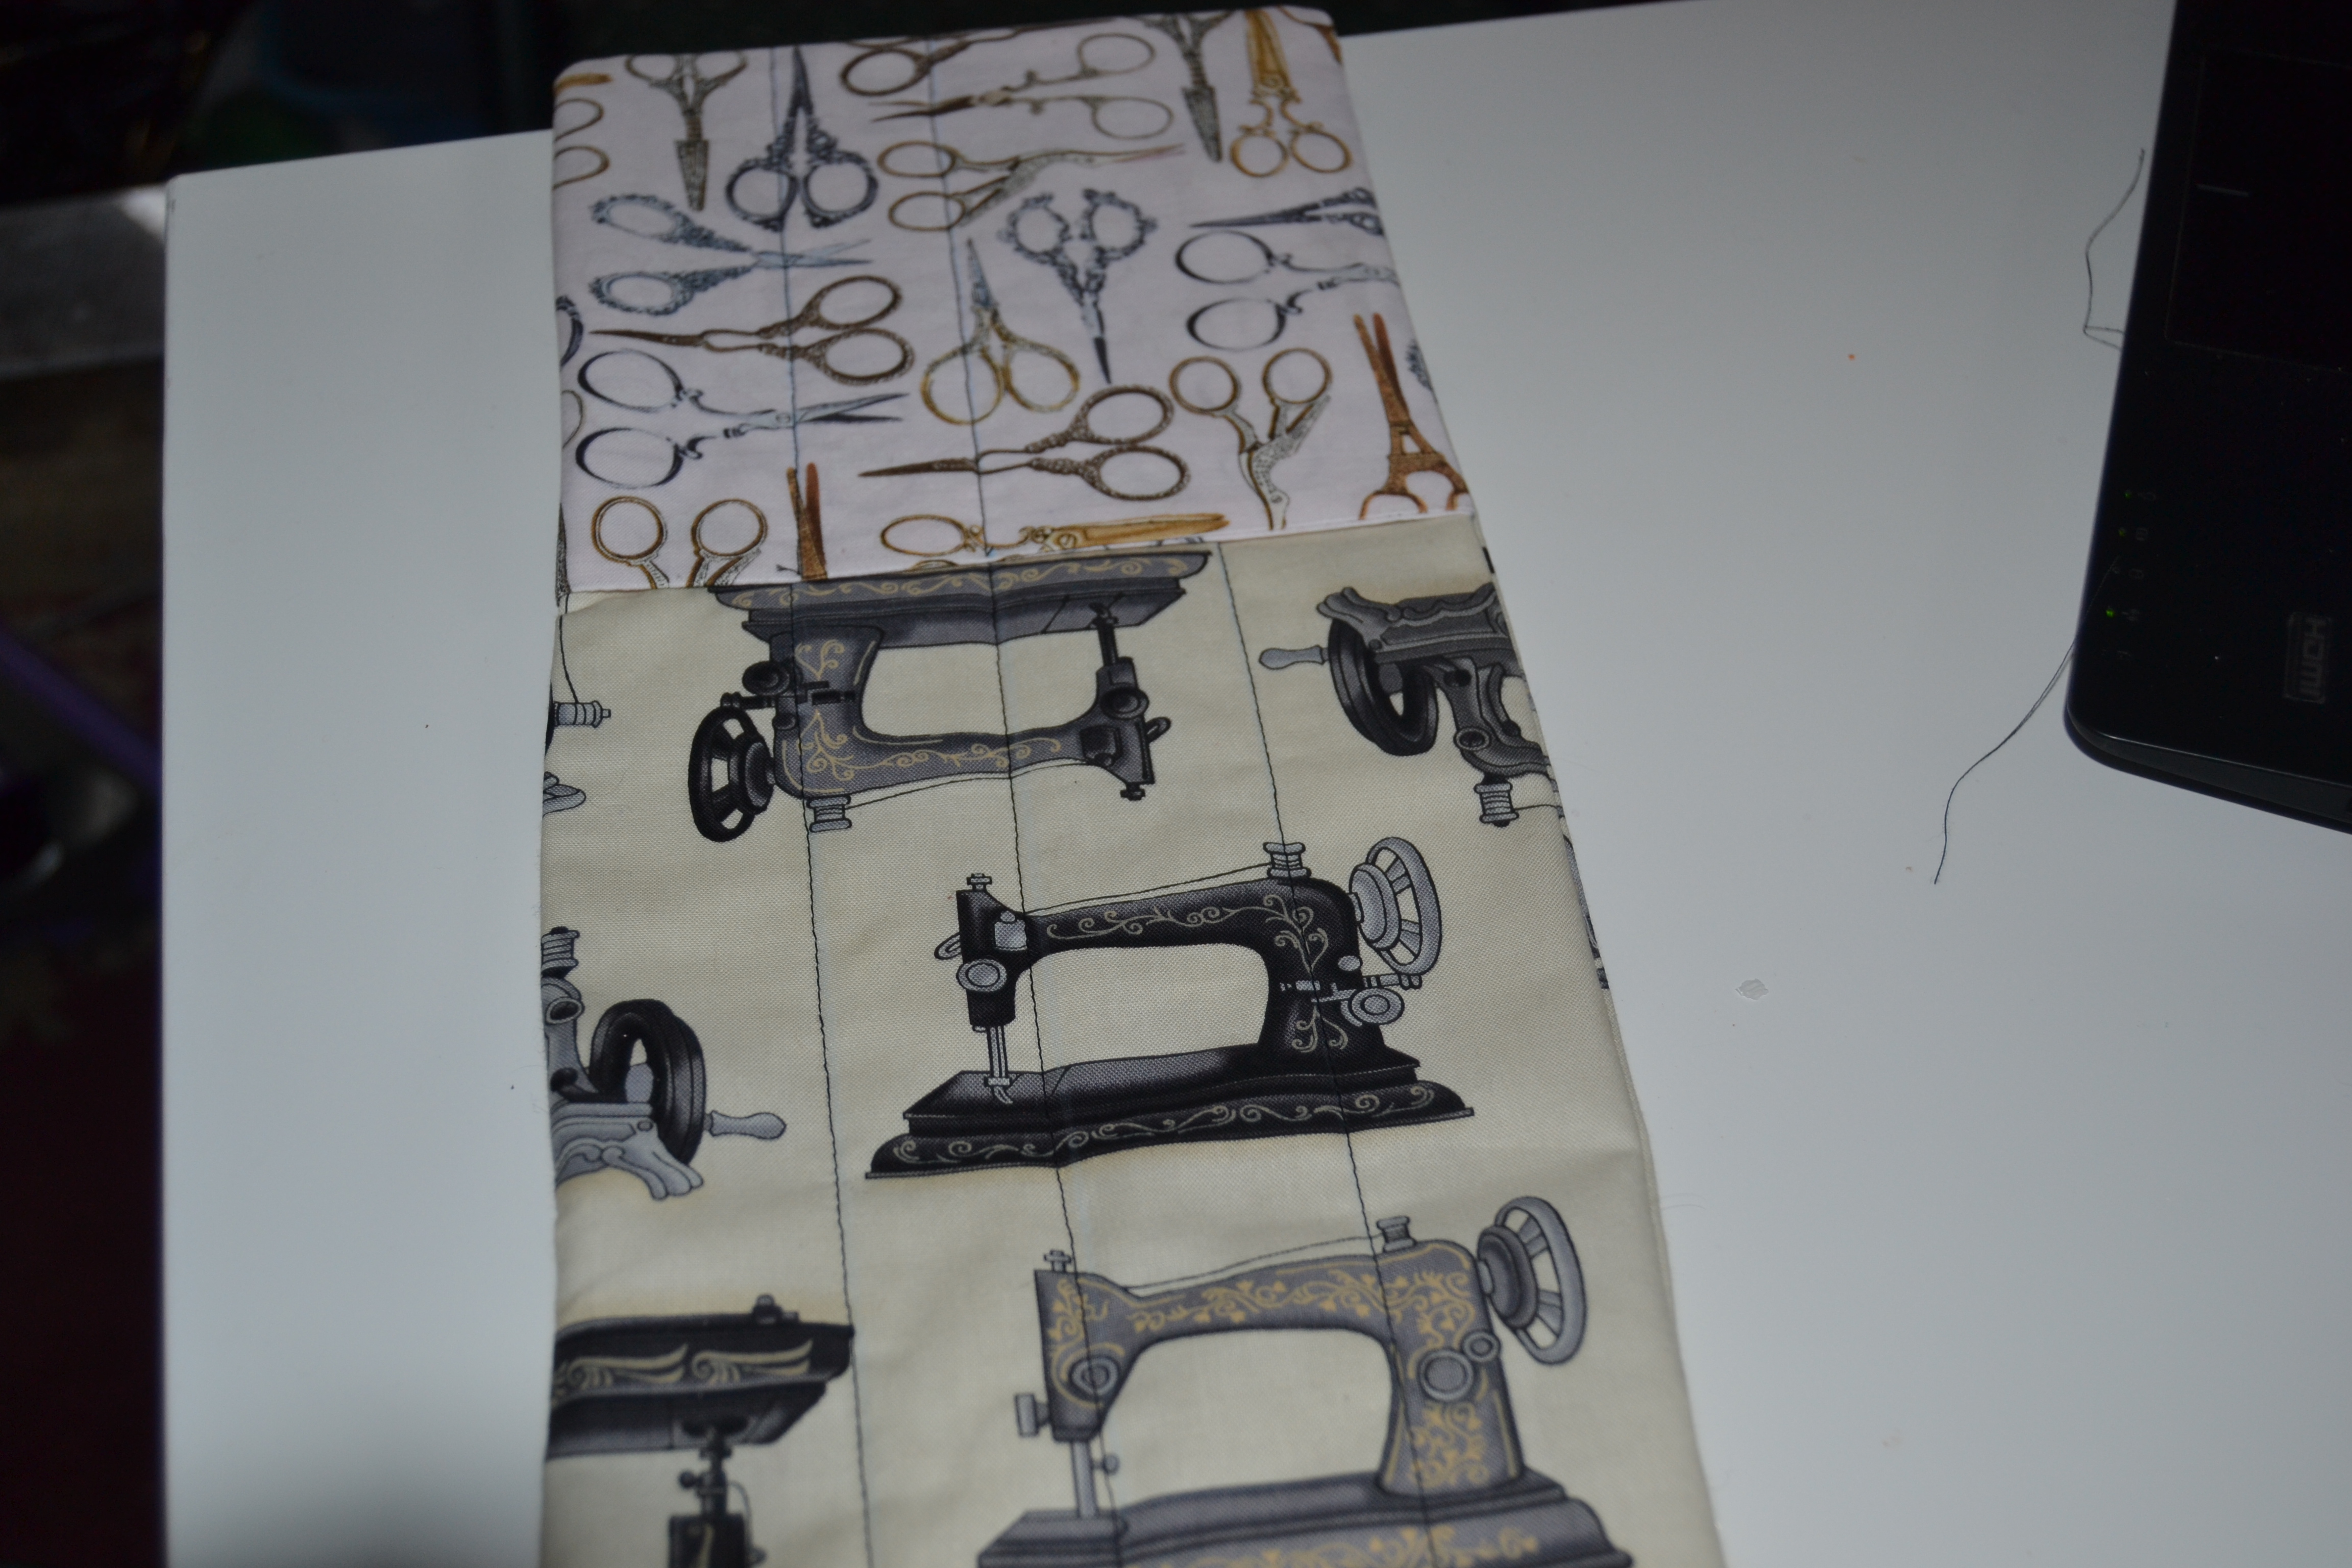
Now we need to construct the tool caddy pocket. Sew two of the 7″x 7″ pieces, wrong sides together on just one edge with a 1/4″ seam. Press the seam open, and then fold them wrong sides together on the seamline and press again. Using an erasable marker, draw a line from the seam to the opposite edge in the center and 1 1/2″ on either side. You can do this before you sew the two pocket pieces together, but not if you’re using a marker that disappears with heat or steam. Next pin the pocket to one end of the quilted side of the caddy and sew down the pocket lines. DSC_0384
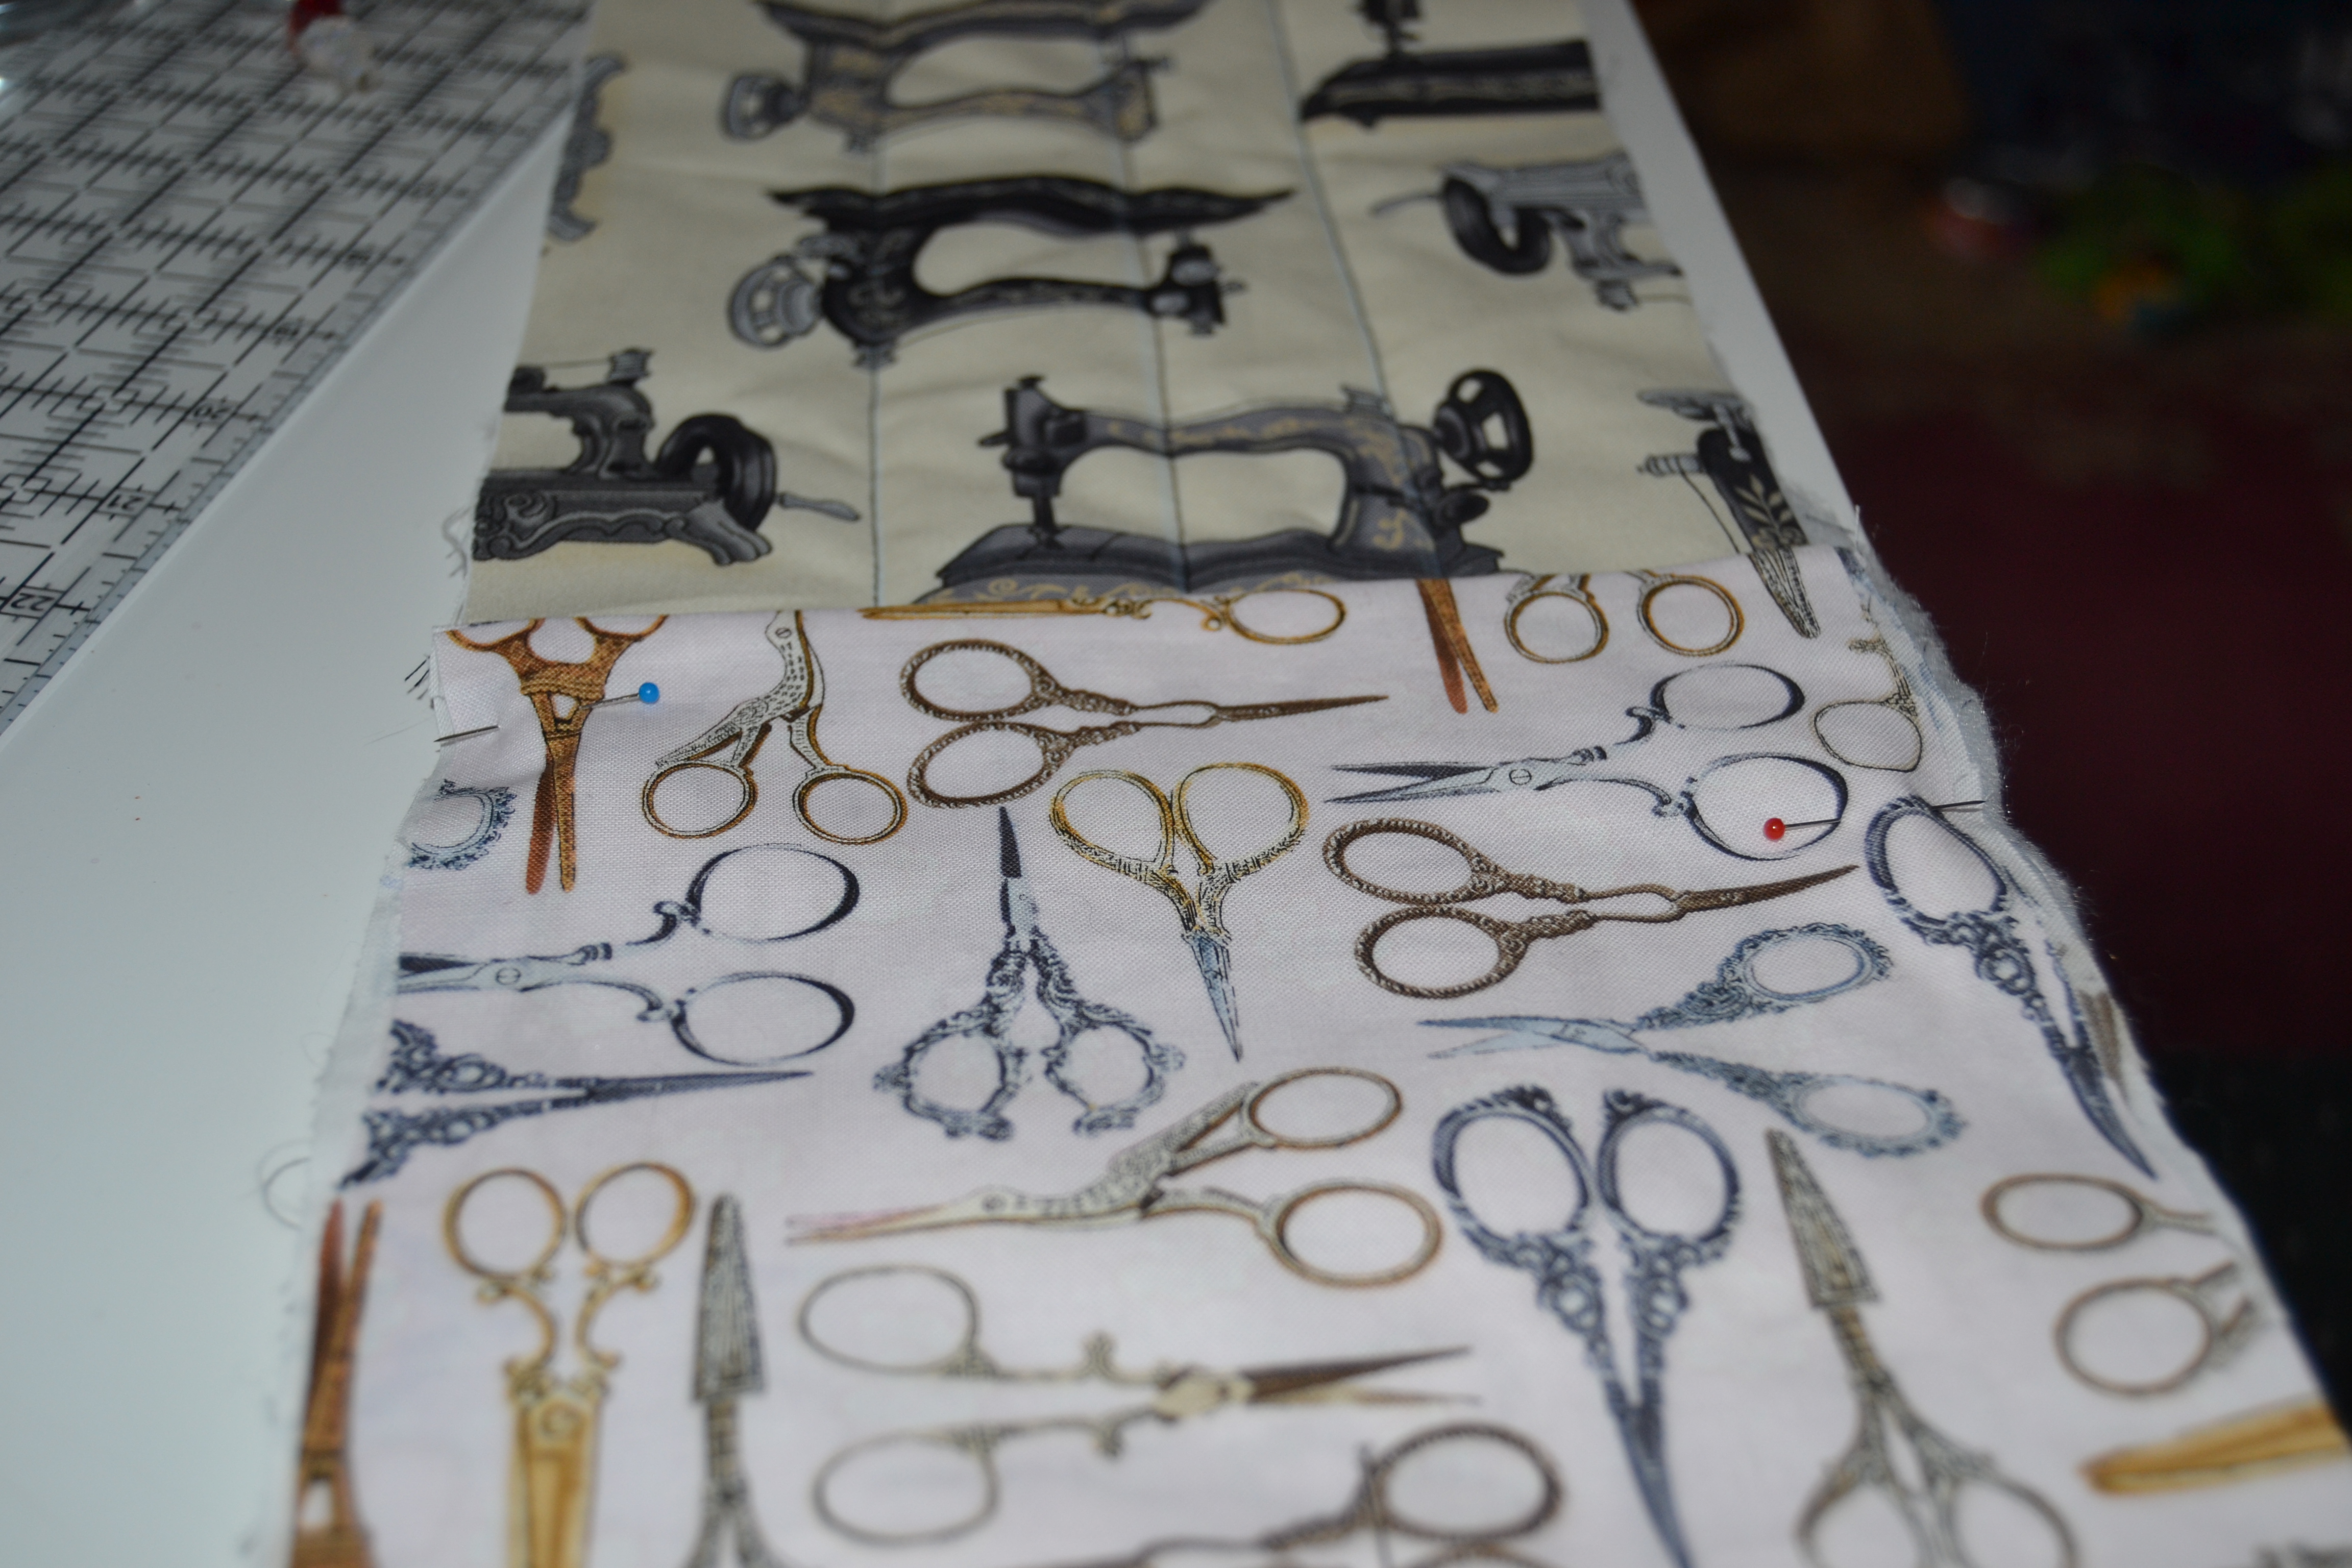
This should give you one wide pocket and two slender ones. I like to give it a good press at this point.


Next put the two long strips wrong sides together, and using 1/4″ seam sew around three sides of the caddy, leaving the short end of the caddy open at the end.

DSC_0389


Clip the corners, turn the caddy right side out, use a point turner or a chopstick to push out the corners, and press the caddy well. Turn under 1/4″ on the open end of the caddy and press. DSC_0390


DSC_0391


Now we’re ready to make the thread catcher. You should have 4 pockets pieces and two interfacing pieces left in your pile. Fuse the interfacing to back of two of the pocket pieces. Sew the two interfaced pieces, right sides together on the 7″ sides using a 1/4″ seam. Press the seams open. Repeat with the two non-interfaced pieces.

DSC_0403

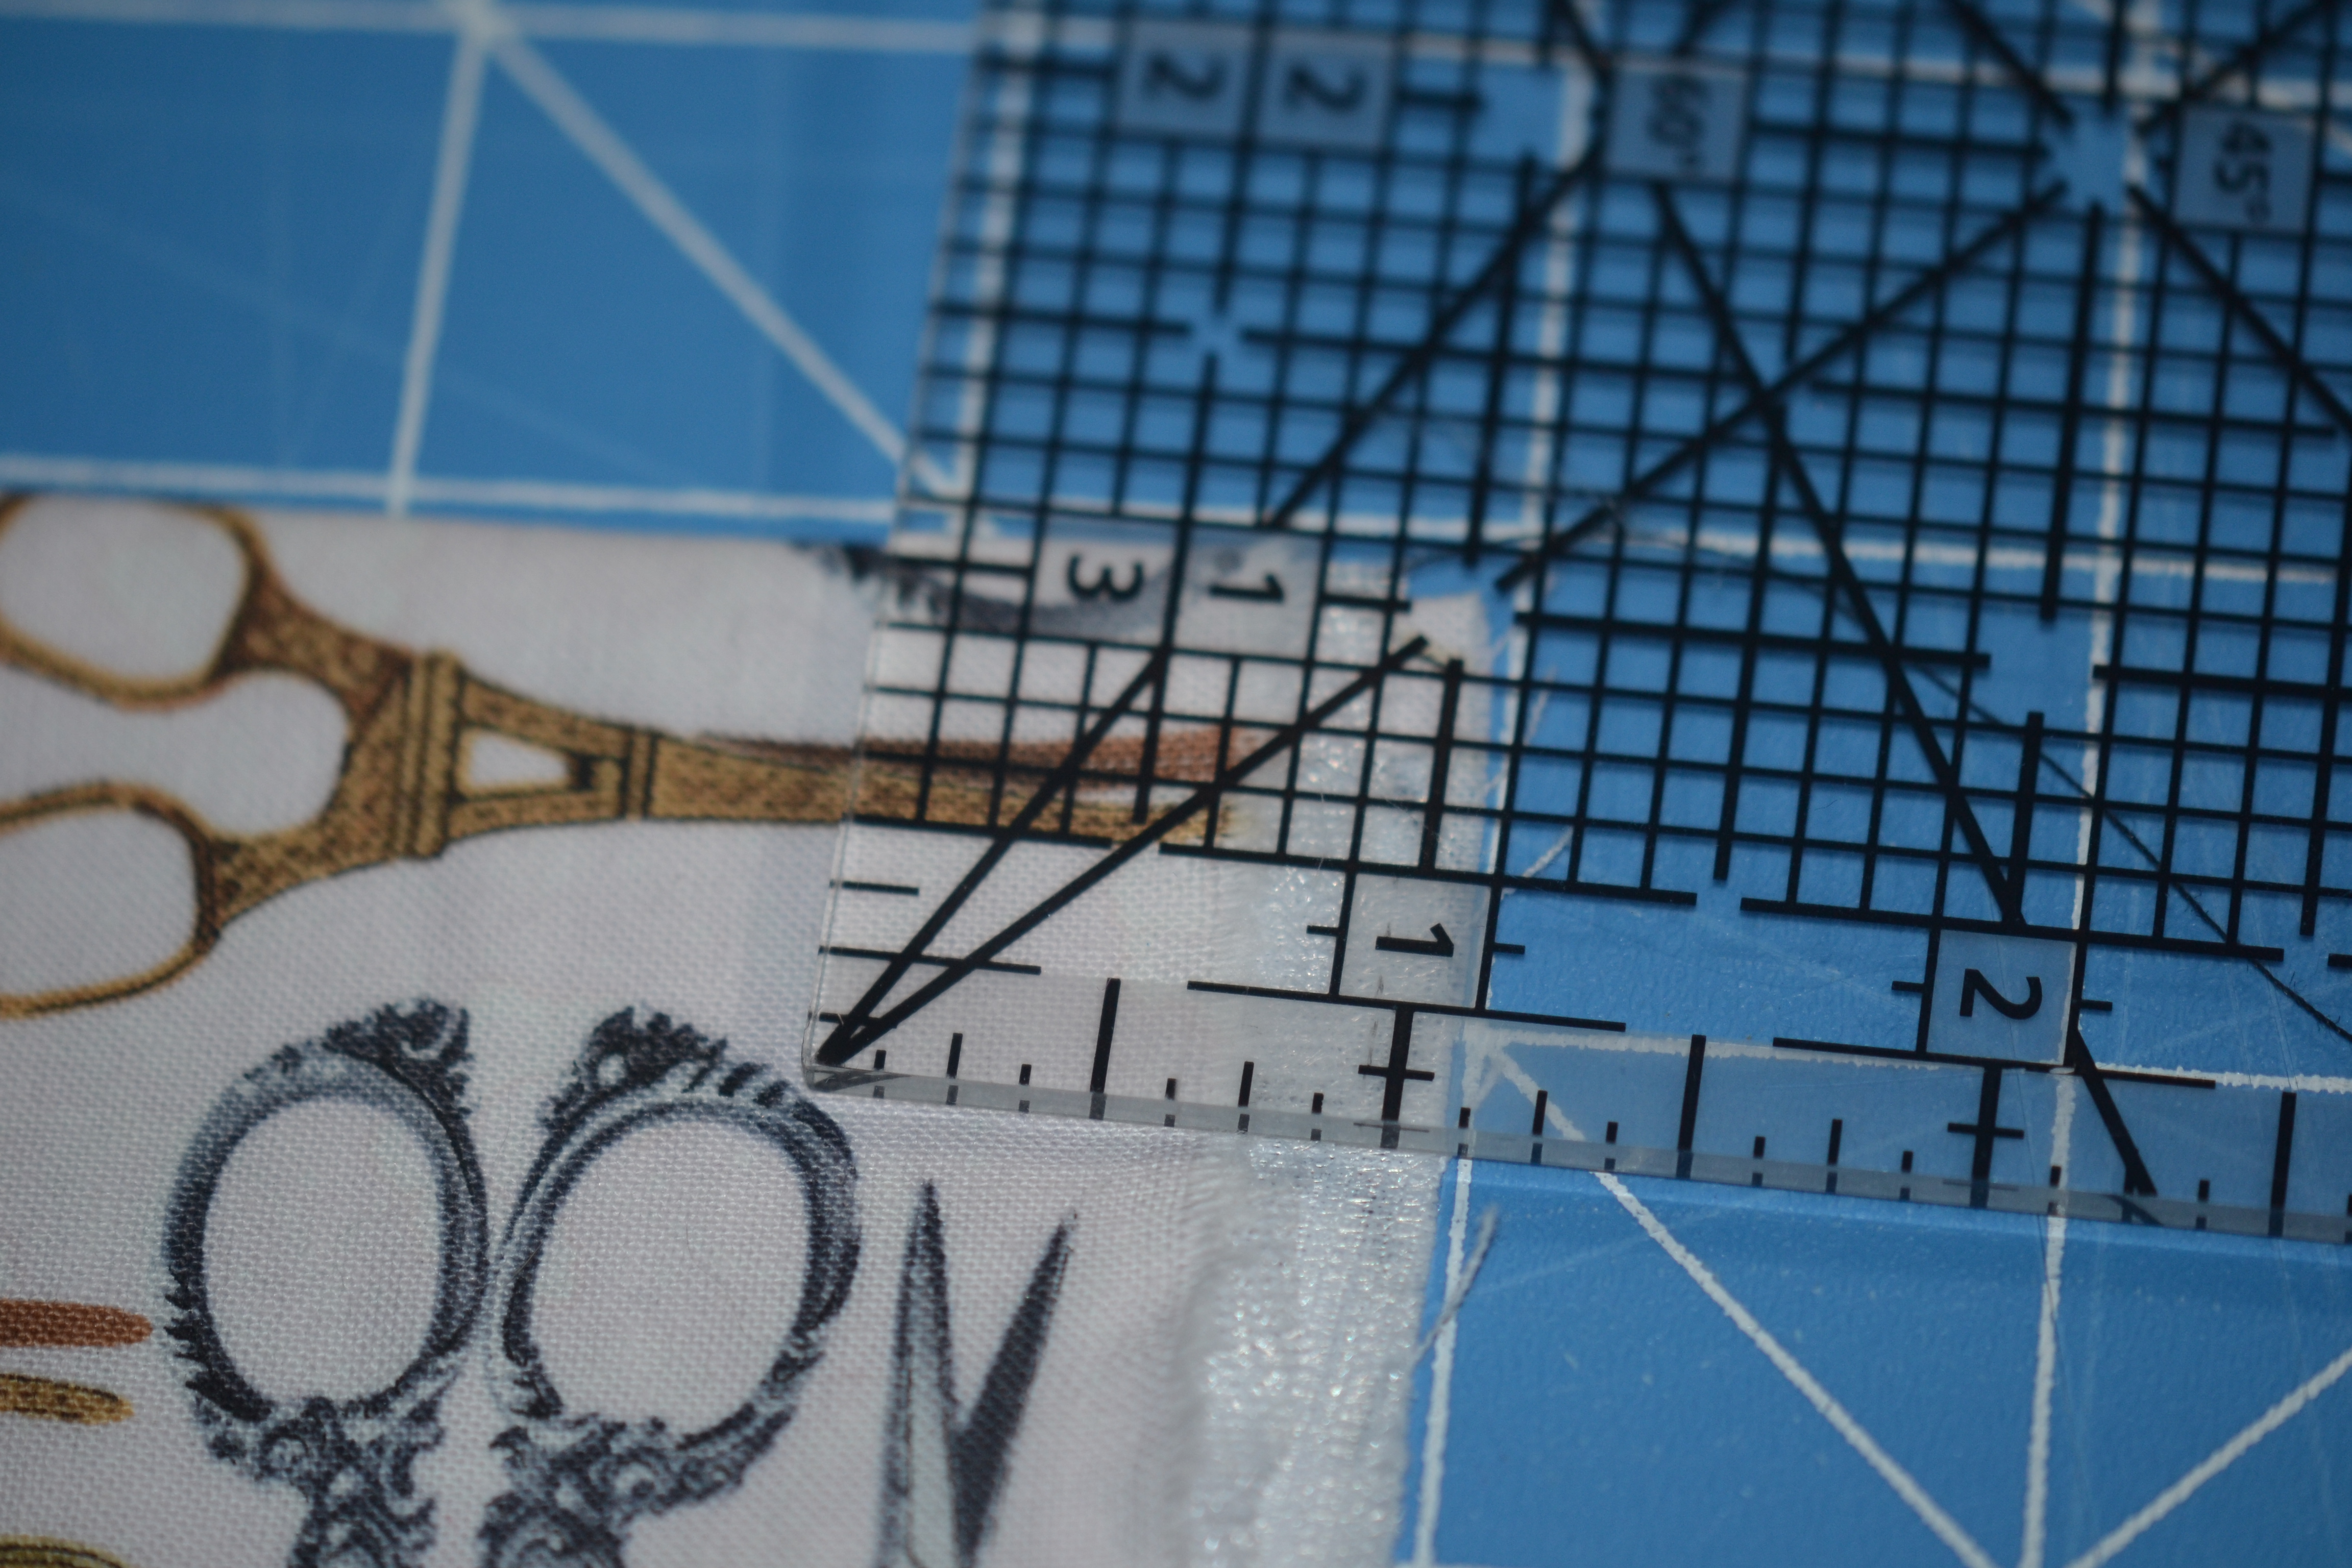
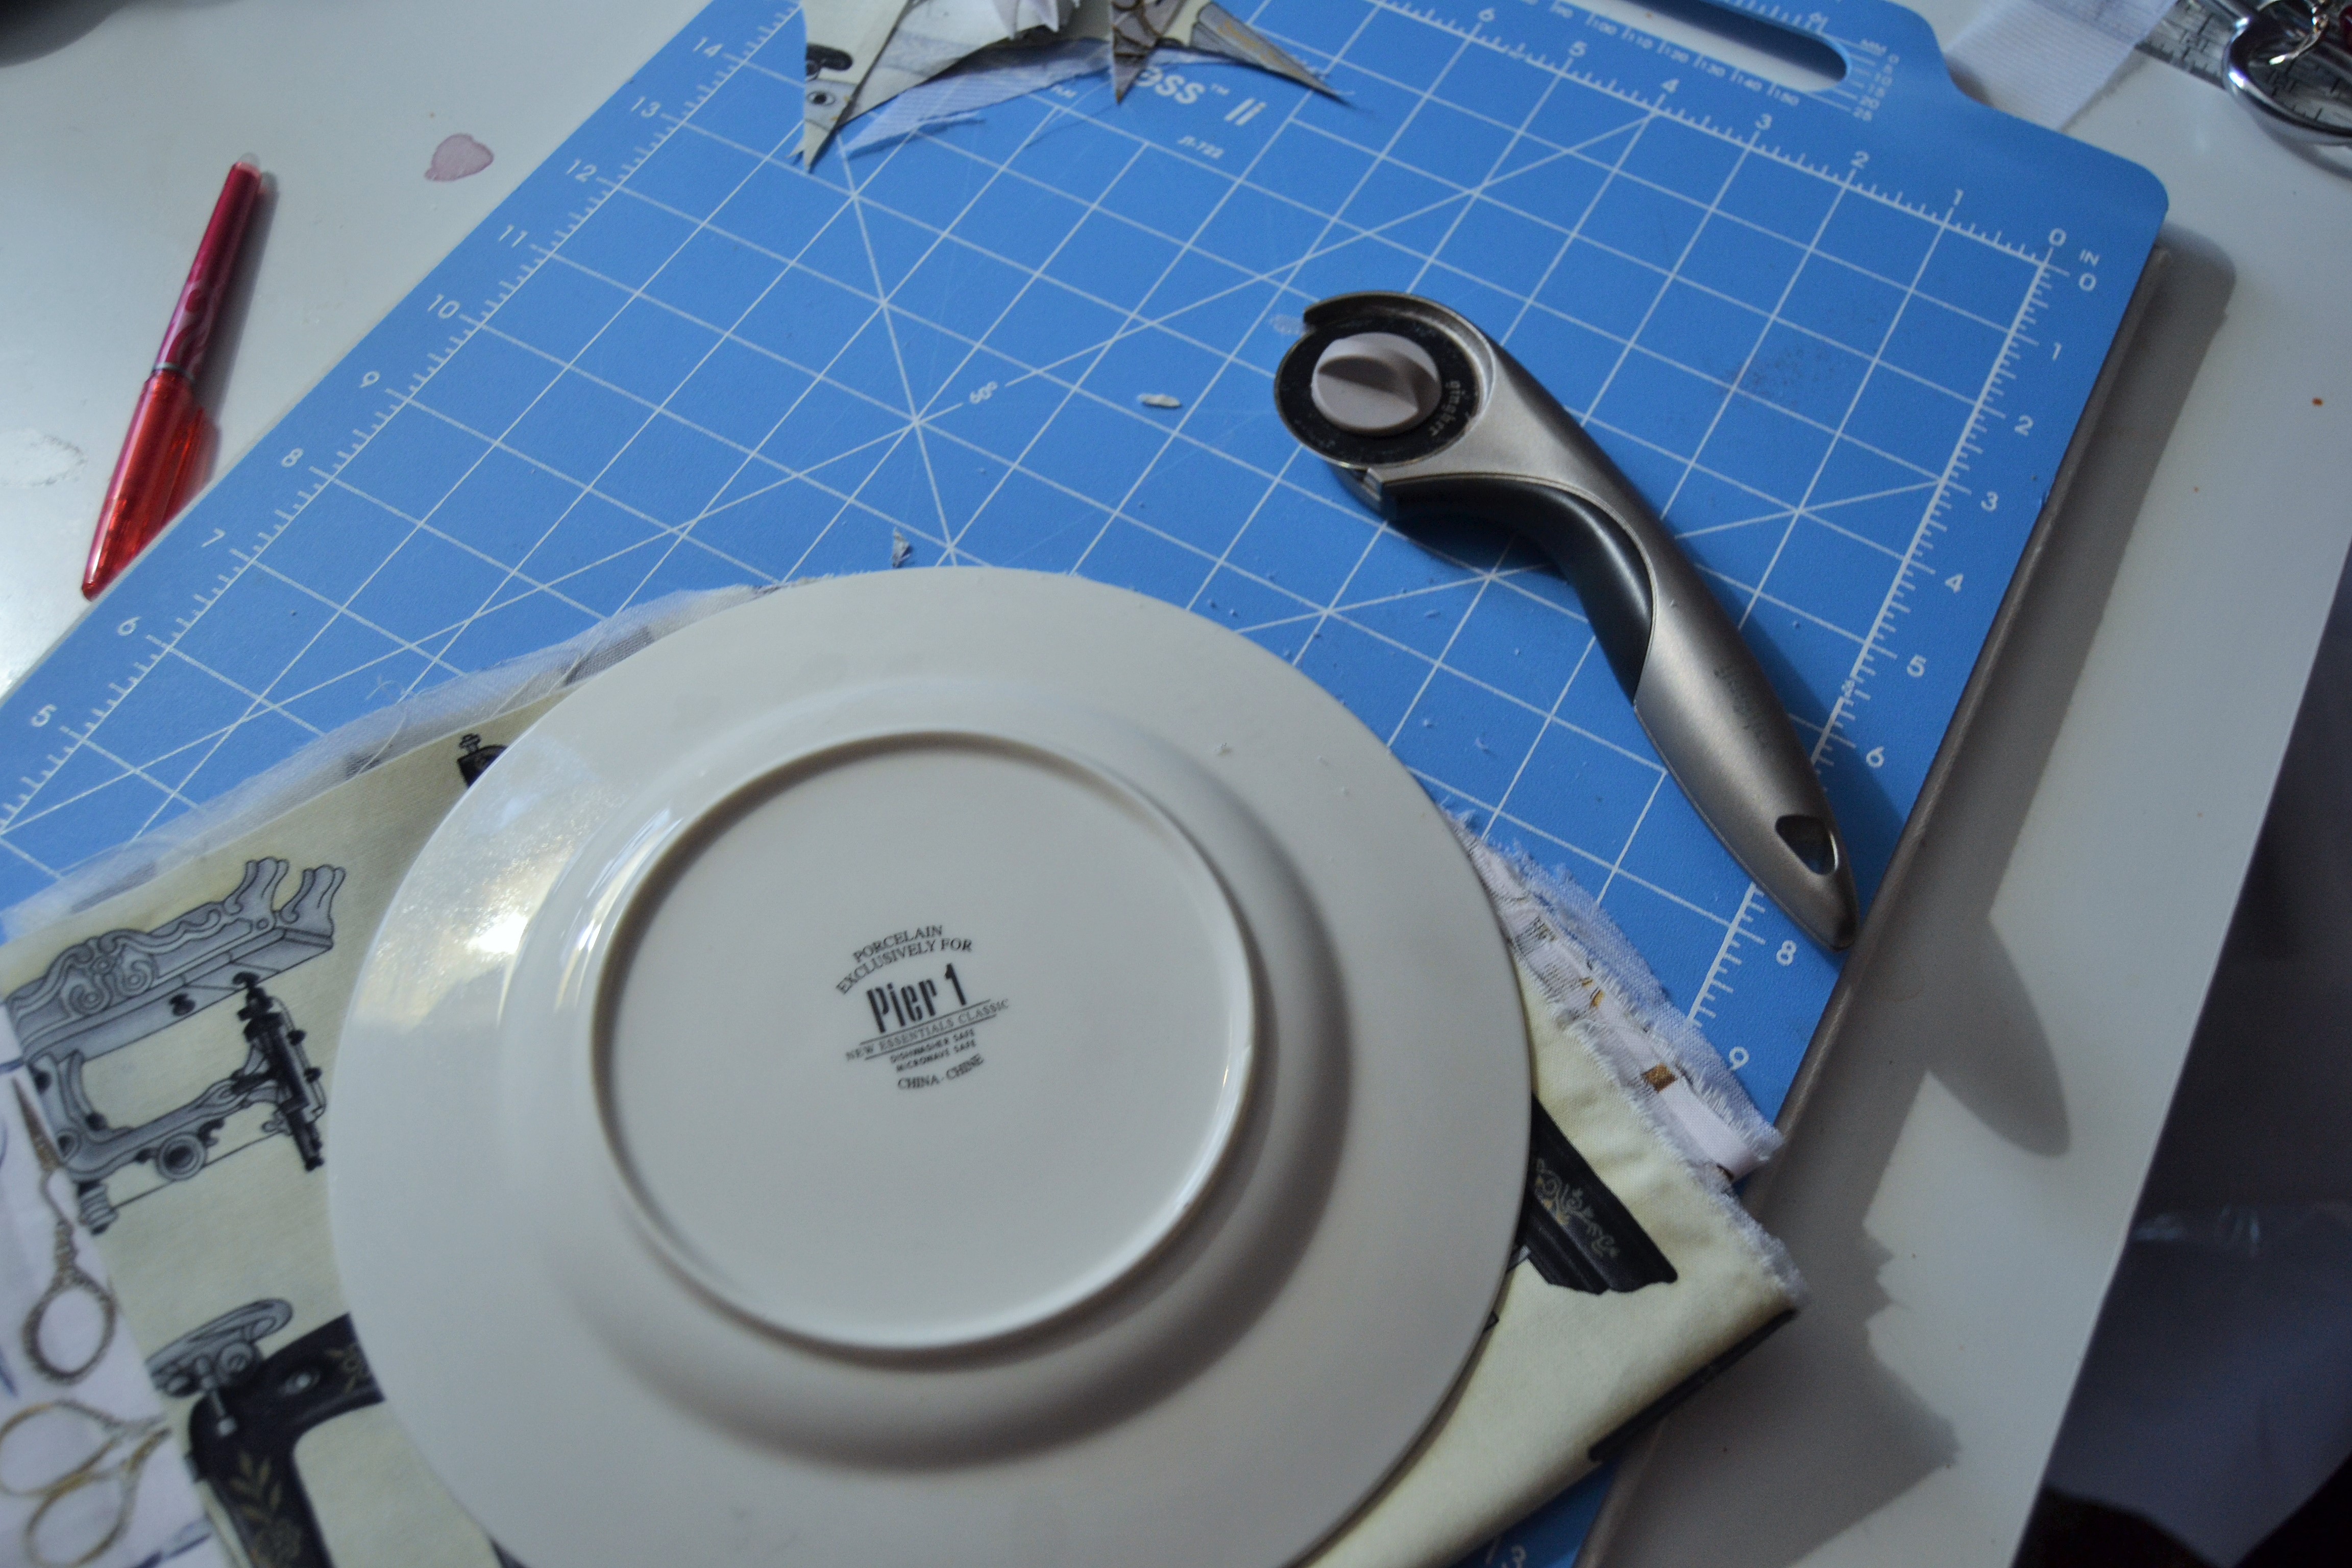
Next we’re going to turn this into a box. Using a clear plastic ruler, cut away a 1″ square from the bottom two corners of each of the pieces.

DSC_0404


Next sew across the bottom 9″ seams on both pieces and press open.

DSC_0405


In each corner bring the two seam lines, one from the bottom seam and one from the side seam together and pin them so they match up perfectly.

DSC_0406

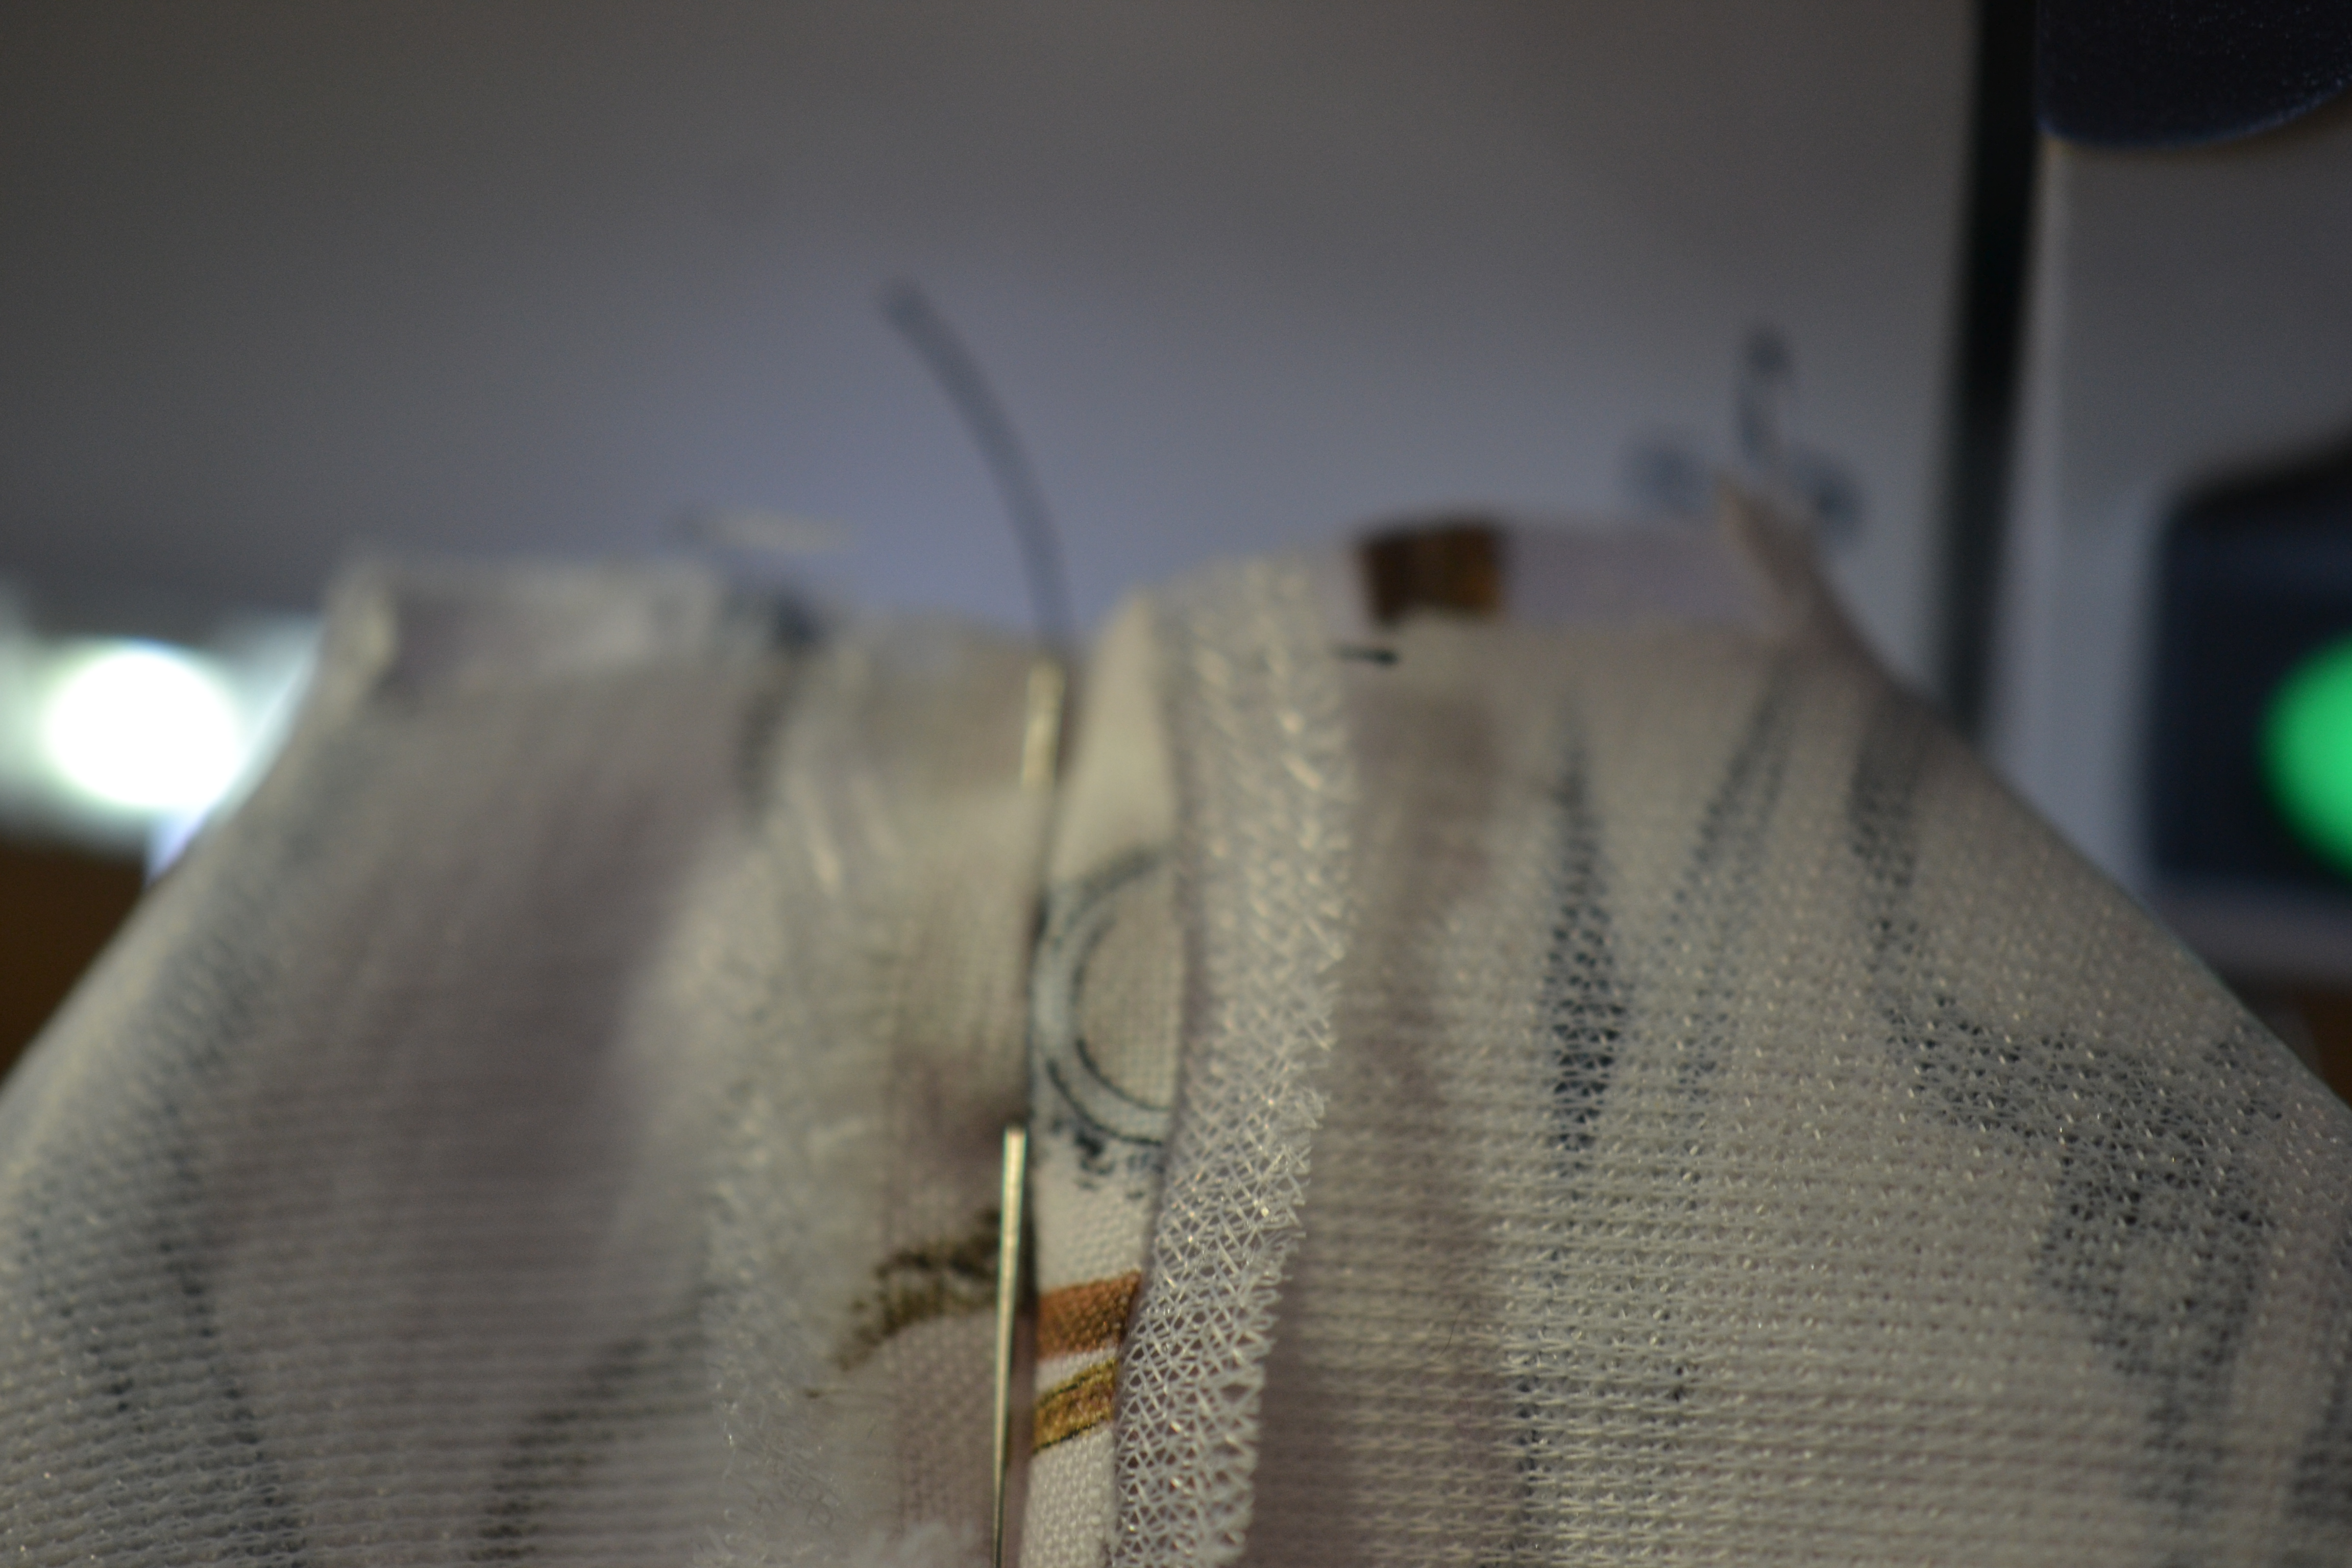
Pull out the outside edge to flatten them and stitch across the corner using 1/4″ seam.  Push out the corners so it makes a box. Do it with both boxes.


Now put one box inside the other right sides together. Stitch around the top edge of the box leaving a small opening in the back of the box to turn it right side out. Turn it and press it pressing the opening under as well.DSC_0409


Line the back of the box up over the edge of the caddy you haven’t sewn yet. Pin in place and sew two rows of stitches 1/4″ apart, closing up both the end of the caddy and the opening in the top of the box as you do it.

DSC_0427


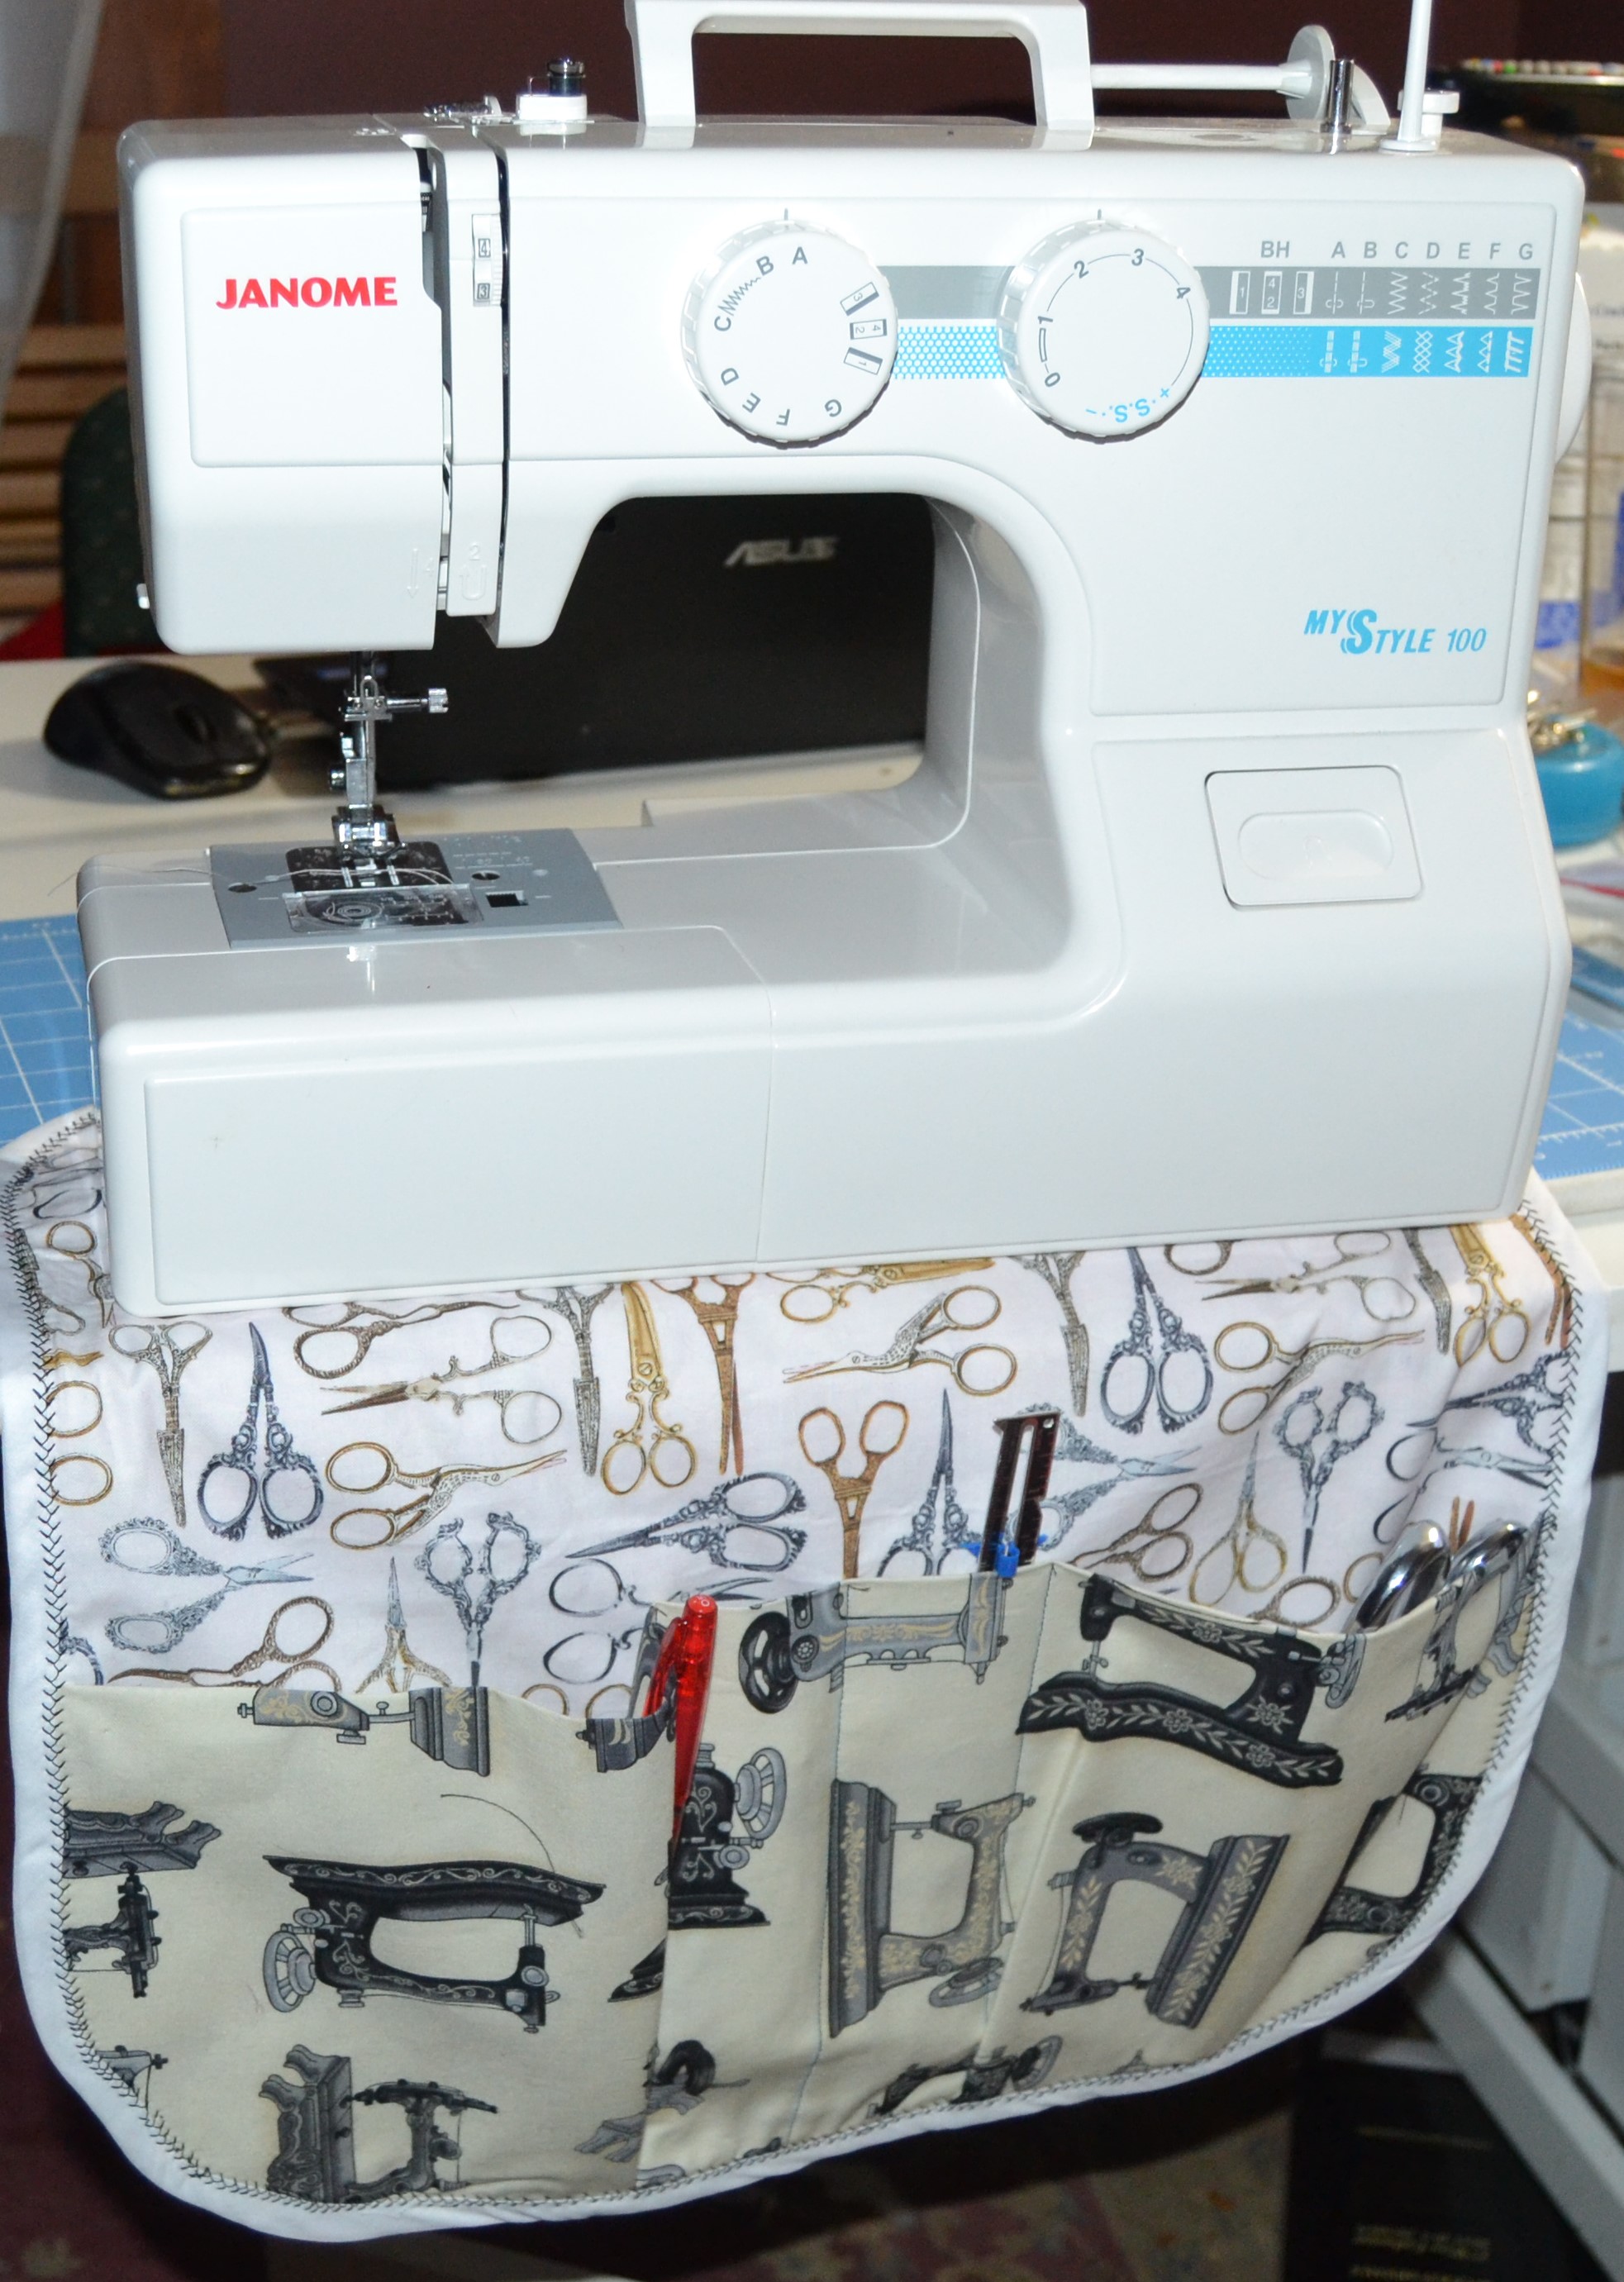
Put your scissors, a marking pen, and a hem gauge (or whatever tools work for you) in the pockets and drape the caddy over the end of your ironing board.

DSC_0413


Happy Sewing!


Posted in Uncategorized | Leave a comment

The Fabric Cobbler Sewalong- Sewing the machine caddy


DSC_0415 (2)

It’s time to start constructing our caddies. The sewing machine one is the simpler one so we’ll start there. For this caddy you’ll need

The two pieces you cut out and rounded for the back and the front. One should already be fused with interfacing.

The pocket piece you cut

Double fold bias tape, either purchased or that you’ve made yourself

Thread

A marking tool that will wash out

A ruler

Fold the pocket in half “hot dog” (lengthwise) wrong sides together and press it.

DSC_0370

With your washable marker, draw the lines that will separate the pocket into slots for your tools. The pocket is wider than the caddy to allow for one or two of the slots to be pleated so they can hold bulkier items or become a thread catcher. The best way to do this is to lay your tools on the pocket and draw the lines around them. I choose my pocket widths based on a pleated pocket for a pair of shears, another pleated pocket for catching threads, and slim pockets for my seam ripper, my long tweezers, and my thread snips. This is a place to really customize your caddy for your needs.

DSC_0371

Pin the pocket to the sides only of the interfaced caddy piece. Then put some pins in along the lines you drew for your pockets. The pocket will not lie flat where the pleated pockets are.

Stitch down the lines you drew.

Now pick the pocket along the bottom of the caddy making the pleats at the sewing lines so the bottom of the pocket matches the bottom of the caddy.

Machine baste the edge of the pocket in place.

Now place the front of the caddy on top of the back of the caddy wrong sides together.

Open up your double fold bias tape and pin it around the outside edge of the caddy. If you look closely, one side of tape is wider than the other. You want the shorter side of the tape on the front of the caddy, and the wider on the back so when you stitch from the front,  you’ll also catch the back.

DSC_0397


Start pinning at the part of the caddy that will be underneath your sewing machine. Fold one edge under and lap it over the other.

Sew around the outside of the caddy along the edge of the tape. This is a fun place to use a decorative stitch.

DSC_0401

Alternately, you can place the front and back of the caddy wrong sides together. Stitch around the outside. Turn, press, and topstitch.


Slide your caddy under your machine, and you’re ready to fill it with your favorite tools!

Posted in Uncategorized | Leave a comment

Cutting Out Your Sewing Caddies


DSC_0356

Now that you have your fabric and other notions collected up, it’s time to get our caddies cut out.  How you mix and match your fabrics is up to you. The sewing machine caddy can be customized to fit your machine. The ironing board caddy is a standard size so lets start there.


The Ironing Board Caddy Pieces

DSC_0413

This caddy is a long strip that lies across the wide end of your ironing board. It has pockets at both ends. One end holds the tools you like to have handy, and the other end has a small bag for collecting threads and scraps. The center of the strip is quilted and functions as a pin cushion. The underside has a piece that grips the ironing board cover underneath so the caddy doesn’t slide off of your board since one end will be heavier than the other when it’s filled with tools.


DSC_0358

Cut two long strips 7″ X 27″ for the center of your caddy using your ruler and either a rotary cutter or your shears.

Cut two squares 7″ X 7″ for the tool pocket.

Cut four rectangles 7″ X 9″ for the thread and scrap catcher. If you have a directional print, the print should run horizontally across the 9″ width.

Cut 1 strip of fleece or batting 7″ X 27″

DSC_0372Cut one piece of gripper fabric 4 1/2″ wide X 14″. I used shelf liner I had left over.

Cut two pieces of medium weight fusible interfacing 7″ X 9″


For the sewing machine caddy

DSC_0415 (2)

The sewing machine caddy can be customized to fit your sewing machine. I made mine the width of my larger machine.  If you use my measurements, you’ll end up with a caddy that’s 16 1/2″ inches wide and 18 1/2″ long. It’s the 16 1/2″ width across the sewing machine you might want to change.  My pocket is 8″ deep. Collect up a few of the things you’d like to store in the pocket and measure them to see how deep you want your pocket to be.


Cut two pieces of fabric 18 1/2″ by your width. If you have a directional print, the 18 1/2″ is the vertical direction. My pieces were 16 1/2″ X 18 1/2″

Cut one piece of fusible interfacing the same size.

Cut one piece of fabric two inches wider than the backing for your caddy and twice the depth of your pocket. It needs to be wider so you’ll have some width to pleat the big pockets. I cut my pocket 18 1/2″ X 16″.

Fuse one side of the caddy with the interfacing.

DSC_0362


Lay the front and and back of the caddy on top of each other. Fold the pocket in half “hot dog”. (lengthwise)

DSC_0370


Line one edge of the pocket up with a corner of the caddy. Using a round object or a compass, either draw a line and use scissors or use your rotary cutter to cut through the layers to round the corners.

DSC_0369 DSC_0368


Repeat with the other bottom corner. Then round off the top two corners, and you’re done cutting!


Come back in a few days, and we’ll start sewing!


Posted in Uncategorized | Leave a comment

Welcome to the Fabric Cobbler February SewAlong!

Welcome to the Fabric Cobbler February SewAlong!

PicMonkey sewalong

I’m Roberta Burkey from Taking It Up A Notch, and I’ll be your hostess this month.

I usually sew clothing for myself, my daughter, and my granddaughter with something for the boys thrown in every now and then. I recently bought a pocket organizer for the door of my sewing closet, and I like knowing where all of my sewing tools are. But it’s not close enough to my sewing machine or my ironing board to reach what I need. So I decided to make myself some pocket organizers for them.

The sewing machine organizer can be adjusted in size to match your machine. It’s pictured here with my traveling machine, but I made it the width of my bigger Janome. The ironing board organizer will accommodate most standard ironing boards. The sewing machine organizer is my own design, but the ironing board one was inspired by one designed by Moda fabrics, although I have modified it some. There are lots of ways to customize them for your needs, and I’ll include instructions for how to do that along the way.

So collect up your fabric and notions and meet me back here in a few days to get started. Any coordinating fabrics will do.

If you’d like to be eligible for prizes, 50% of your fabric must come from the Fabric Cobbler.

https://www.etsy.com/shop/TheFabricCobbler

Their FB group-  https://www.facebook.com/groups/thefabriccobblersewalong/

Supplies

2 yards of fabric (I used 1 yard each of two)
1 yard medium weight interfacing
1 7”x 27” piece of quilt batting or fleece
1 14” x 4” piece gripper fabric (I used shelf liner)
1 package double fold bias tape or fabric to make your own
thread
marking tool
clear ruler
scissors or rotary cutter

Posted in Crafts, Uncategorized | Tagged , , , | Leave a comment

Some Tips for Making Halloween Costumes

In our family Halloween costumes usually hit the dress up clothes for play after the holiday is over so I usually sew them with that in mind. There’s always at least one party where they get worn as well as trick or treating. Our town has a downtown Halloween Parade when the kids get to dress up, parade down the main streets, and get “treated” by the local merchants. The costume needs to be designed for wear and most if not all of the pieces need to be reusable.

Max

Max pjs

This year Davis Farmland, a local attraction, is having a Pirates and Princesses Day. Elsa and Anna will be joining the fun. My grandkids have a family membership to the park so this party is on the agenda. While my granddaughter has a princess dress, she doesn’t have a princess pirate dress, and my grandson has agreed to wear a pirate costume for Halloween as long as it’s “cool” and not little kid. So we were able to bypass a lot of the what do you want to be for Halloween discussion.


Continue reading

Posted in Uncategorized | Leave a comment

Buttons and Buttonholes Part One- Choosing the Right Style

Buttons

Buttons

There are a couple of walls beginning seamstresses run into when they’re trying to advance their sewing skills, and one of them is buttonholes. Eventually, they want to make something that doesn’t rely on stretch to be able to get a garment on and off. Or their daughters would prefer a prom gown that isn’t closed with Kam snaps. (Sandya was sent home last week on Project Runway for using snaps.  I feel exonerated. lol) Whether she’s competing on Project Runway or not, the day will come for every seamstress when it’s time to attack the dreaded buttonhole. Sooner for some, later for others, but the day of reckoning will come.

Continue reading

Posted in Buttons and Buttonholes, Uncategorized | Tagged , | 3 Comments

You Asked for It – Understanding “Ease”

What if patterns had different kinds of flowers as their sizes? Maybe you’d be a daisy size or a rose. Would you be OK with it if you were an iris instead? We’ve become so hung up on numbers picking a pattern size is a traumatic experience for too many women. Here’s the unvarnished truth. No matter what the number says on the pattern, it takes the same amount of fabric and the same size pattern pieces to cover your body and give you room to breathe, walk, sit, and bend over in the style you’ve chosen. If one company says that’s a size 12 and another a size 14, you aren’t smaller in the size 12 pattern. It hurts, I know. It gets a little easier if you start thinking, “I am 38″ around my full bustline.” At least that number has some basis in reality.

Continue reading

Posted in Uncategorized | Leave a comment

Sewing Sheers

My dog, Ellie, has been sick since Saturday night. She’s on the mend, but being sick to Ellie means you never leave Mom’s side – ever.  So today’s sewing lesson will be about something I’m sewing rather than something one or more of you has asked for. I don’t have the energy to sift through the list of requests and start something new today. But I haven’t forgotten the things you want to learn to do. 🙂

I’m getting ready to go on a seven day cruise from Boston to Bermuda. It’s a cruise we’ve taken before so I have a pretty good idea of what to expect. The cruise is mid-scale. Not casual enough to be able to go to the dining rooms in shorts, but there’s only one night when anyone gets dressed up formally, and that’s limited to just one of the dining rooms. Last year I took a suitcase filled with pretty summer dresses, and that worked really well for 5 of the 7 nights, but it was a little chilly the two evenings when we were off the New England coast. Our days are still pretty warm in mid-October, but the frost is on the pumpkins at night.

For one of those two nights I’m making an outfit that’s pants, a sleeveless tank, and a sheer top. After I go out for an elegant dinner, I can exchange the sheer top for a comfortable hoodie and spend the evening poolside listening to the band and begging my husband to dance. If the barmaid cooperates, he should give in around 11 pm. If she doesn’t, I’ll still get to enjoy good music under the stars without freezing.

Continue reading

Posted in Seam Finishes | Tagged , | 1 Comment

You Asked for It – Pressing Tools

When we first begin to sew, we spend all of efforts looking for the best sewing machine for us that’s in our budget. It’s a good thing to do. But a sewing machine is just the first step in getting good results. Equally important is our ability to press our sewing well. While that starts with a good sewing iron, that’s only the beginning, too.

Choosing an iron

iron

iron

Any iron that produces lots and lots of steam, holds its temperature consistently and accurately, and heats up quickly if it has an auto-shutoff feature is a good iron for sewing. I have two irons, one in my sewing room and one in the laundry. I originally bought the one that’s in the laundry room for sewing, but it has a really short idle time before it shuts itself off. I found myself standing around a lot waiting for it to heat up. It’s fine for ironing the wash. I’m either only ironing one thing or I’m ironing continuously enough it stays on. An iron that makes you wait too much offers too much incentive to skip the pressing part, and that’s not good. While I would prefer an iron that stays on until I turn it off, companies are reluctant, or maybe even prohibited from making them that way anymore. I was able to find an iron with an external water tank. It keeps the water hot until I turn it off, but the iron shuts off by itself. That makes for a very quick reheat. So if your iron turns off too quickly and doesn’t recover fast enough, can’t be trusted to be at the temperature you set it at, or sputters and spits water at you instead of steam, drop it a few times so you can buy yourself a new one. But if it meets the criteria, you have a “good sewing iron”.

A press cloth

pressing cloths

pressing cloths

There are a lot of good reasons to use a press cloth. Some fabrics get a “shine” when a hot iron hits them. It looks ugly. Some fabrics can’t handle even the lowest setting on your iron. You might accidentally hit the plastic teeth of your zipper. You might make a mistake about which is the fusible side of the interfacing. If you have a press cloth, it will fuse to it instead of the bottom of your iron. A press cloth can be cut from any white or unbleached fabric that can withstand high heat. Cotton and silk organza are frequent choices. Silk organza is a good choice because it’s sheer, and you can see what you’re ironing through it. Don’t make the mistake of substituting polyester organza for the silk. The polyester variety needs a press cloth.

A point turner

point turner

point turner

Raise your hand if you’ve used your scissors to turn a point and poked a hole in your sewing. Raise both hands if you’ve done it more than once. There’s an inexpensive tool you can buy that it is pointy enough to give you a nice, clean turn, but isn’t sharp enough to put holes in your sewing. My favorite one is made from bamboo, but Ellie  stole it and hid it somewhere. The one I’m using now is plastic. It’s fine. I just like the feel of the bamboo one better. Maybe she’ll steal the plastic one while I’m watching, and I can see if she tries to hide it in the same place.

A tailor’s ham

tailor's ham

tailor’s ham

It’s called a “ham” because of its shape. It usually has one side covered in unbleached muslin and the other side in wool. The commercially available ones are filled with sawdust to make them really firm. You can find tutorials for making your own. Some of them tell you to stuff the ham with polyfil. If you do that, stuff it until you can’t get another smidgen of polyfil in it because you want the ham to have a hard surface. You use a ham to press parts of your garment that don’t lay flat. A princess seam, the sleeve cap, the roll of your collar. Because of its shape, there’s someplace on the ham where its curve matches the curve of your seam. You choose the side of the ham to use to based on what temperature you have the iron set. While a good ham can be a little pricey, it’s a one time investment. My ham is 40 years old. You will be surprised what a difference this tool makes in your sewing.

A seam roll

seam roll

seam roll

There are times when you press a seam open, and you don’t want the pressed seam to touch the outside of the garment because it will leave marks. Then you use a seam roll. It’s constructed like the tailor’s ham, but it’s shaped like a hot dog.


Point presser and clapper

point presser and clapper

point presser and clapper

A point presser and a clapper are often built in one piece. The point presser part is used to press the seams open in pointed pieces like collars, lapels, and pointed sashes. The clapper part is to press the seams open in difficult fabrics like heavy denims and wool coatings. You use your iron to give them a heavy dose of steam, and then you pound them open with the clapper side of the tool. You can buy them separately, but the combination usually costs a lot less than buying each one individually.

A sleeve board

sleeve board

sleeve board

A sleeve board looks like a miniature ironing board. You use it to press sleeves, pant legs, and anything else that won’t fit over the end of an ironing board. It keeps you from pressing creases in where you don’t want them. It’s also great for keeping a little one occupied “ironing” along with you.


I’ve listed the most popular pressing tools in the order I would buy them if I had none of them. The press cloth and point turner are small items and don’t require much investment. You can sew and make nice things without the other things, but as you add each one, you’ll see the look and quality of your garments improve. An easy way to take it up a notch.

Posted in Uncategorized | 2 Comments

Zippers – The Fly

There are a lot of patterns for pants and skirts that say they have a “fly front”.  A true fly front has a facing that covers the zipper and a fly shield that blocks the view of your underwear should your fly be flying at less than full mast. It’s every teacher’s nightmare to be standing in front of the class unzipped, but if your fly has a fly shield, you really aren’t showing anything but your zipper. Then there was the time I escaped from a store with the security tag still attached to my jacket. The kids spied it and wanted to know where I had “lifted it”. I taught in a school where that would make me a hero.

Continue reading

Posted in Uncategorized | Tagged , , | 1 Comment