
invisible zipper
Given a choice of what kind of zipper I put in a garment, I will always reach for an invisible one. I like the way they disappear into the seam. Whether it’s in the back, on the side, or up the front, only the zipper pull gives any indication there’s a zipper. I learned how to insert them in 1973 when I was making my honeymoon clothes. My zippers got worn in a hospital, at a church picnic, in district and superior court, and at the birth of twin polar bears. Not the honeymoon we had planned, but my zippers looked good.
I also choose invisible zippers because they are so easy to sew in. You do need an invisible zipper foot to do it easily and well. It’s not an expensive foot, and if you don’t want to buy one especially made for your machine, the generic ones work quite well. An invisible zipper foot has a channel in the bottom for the zipper teeth to slide through, and most have a piece on the front that holds the teeth down flat as you sew. Mine looks like this –
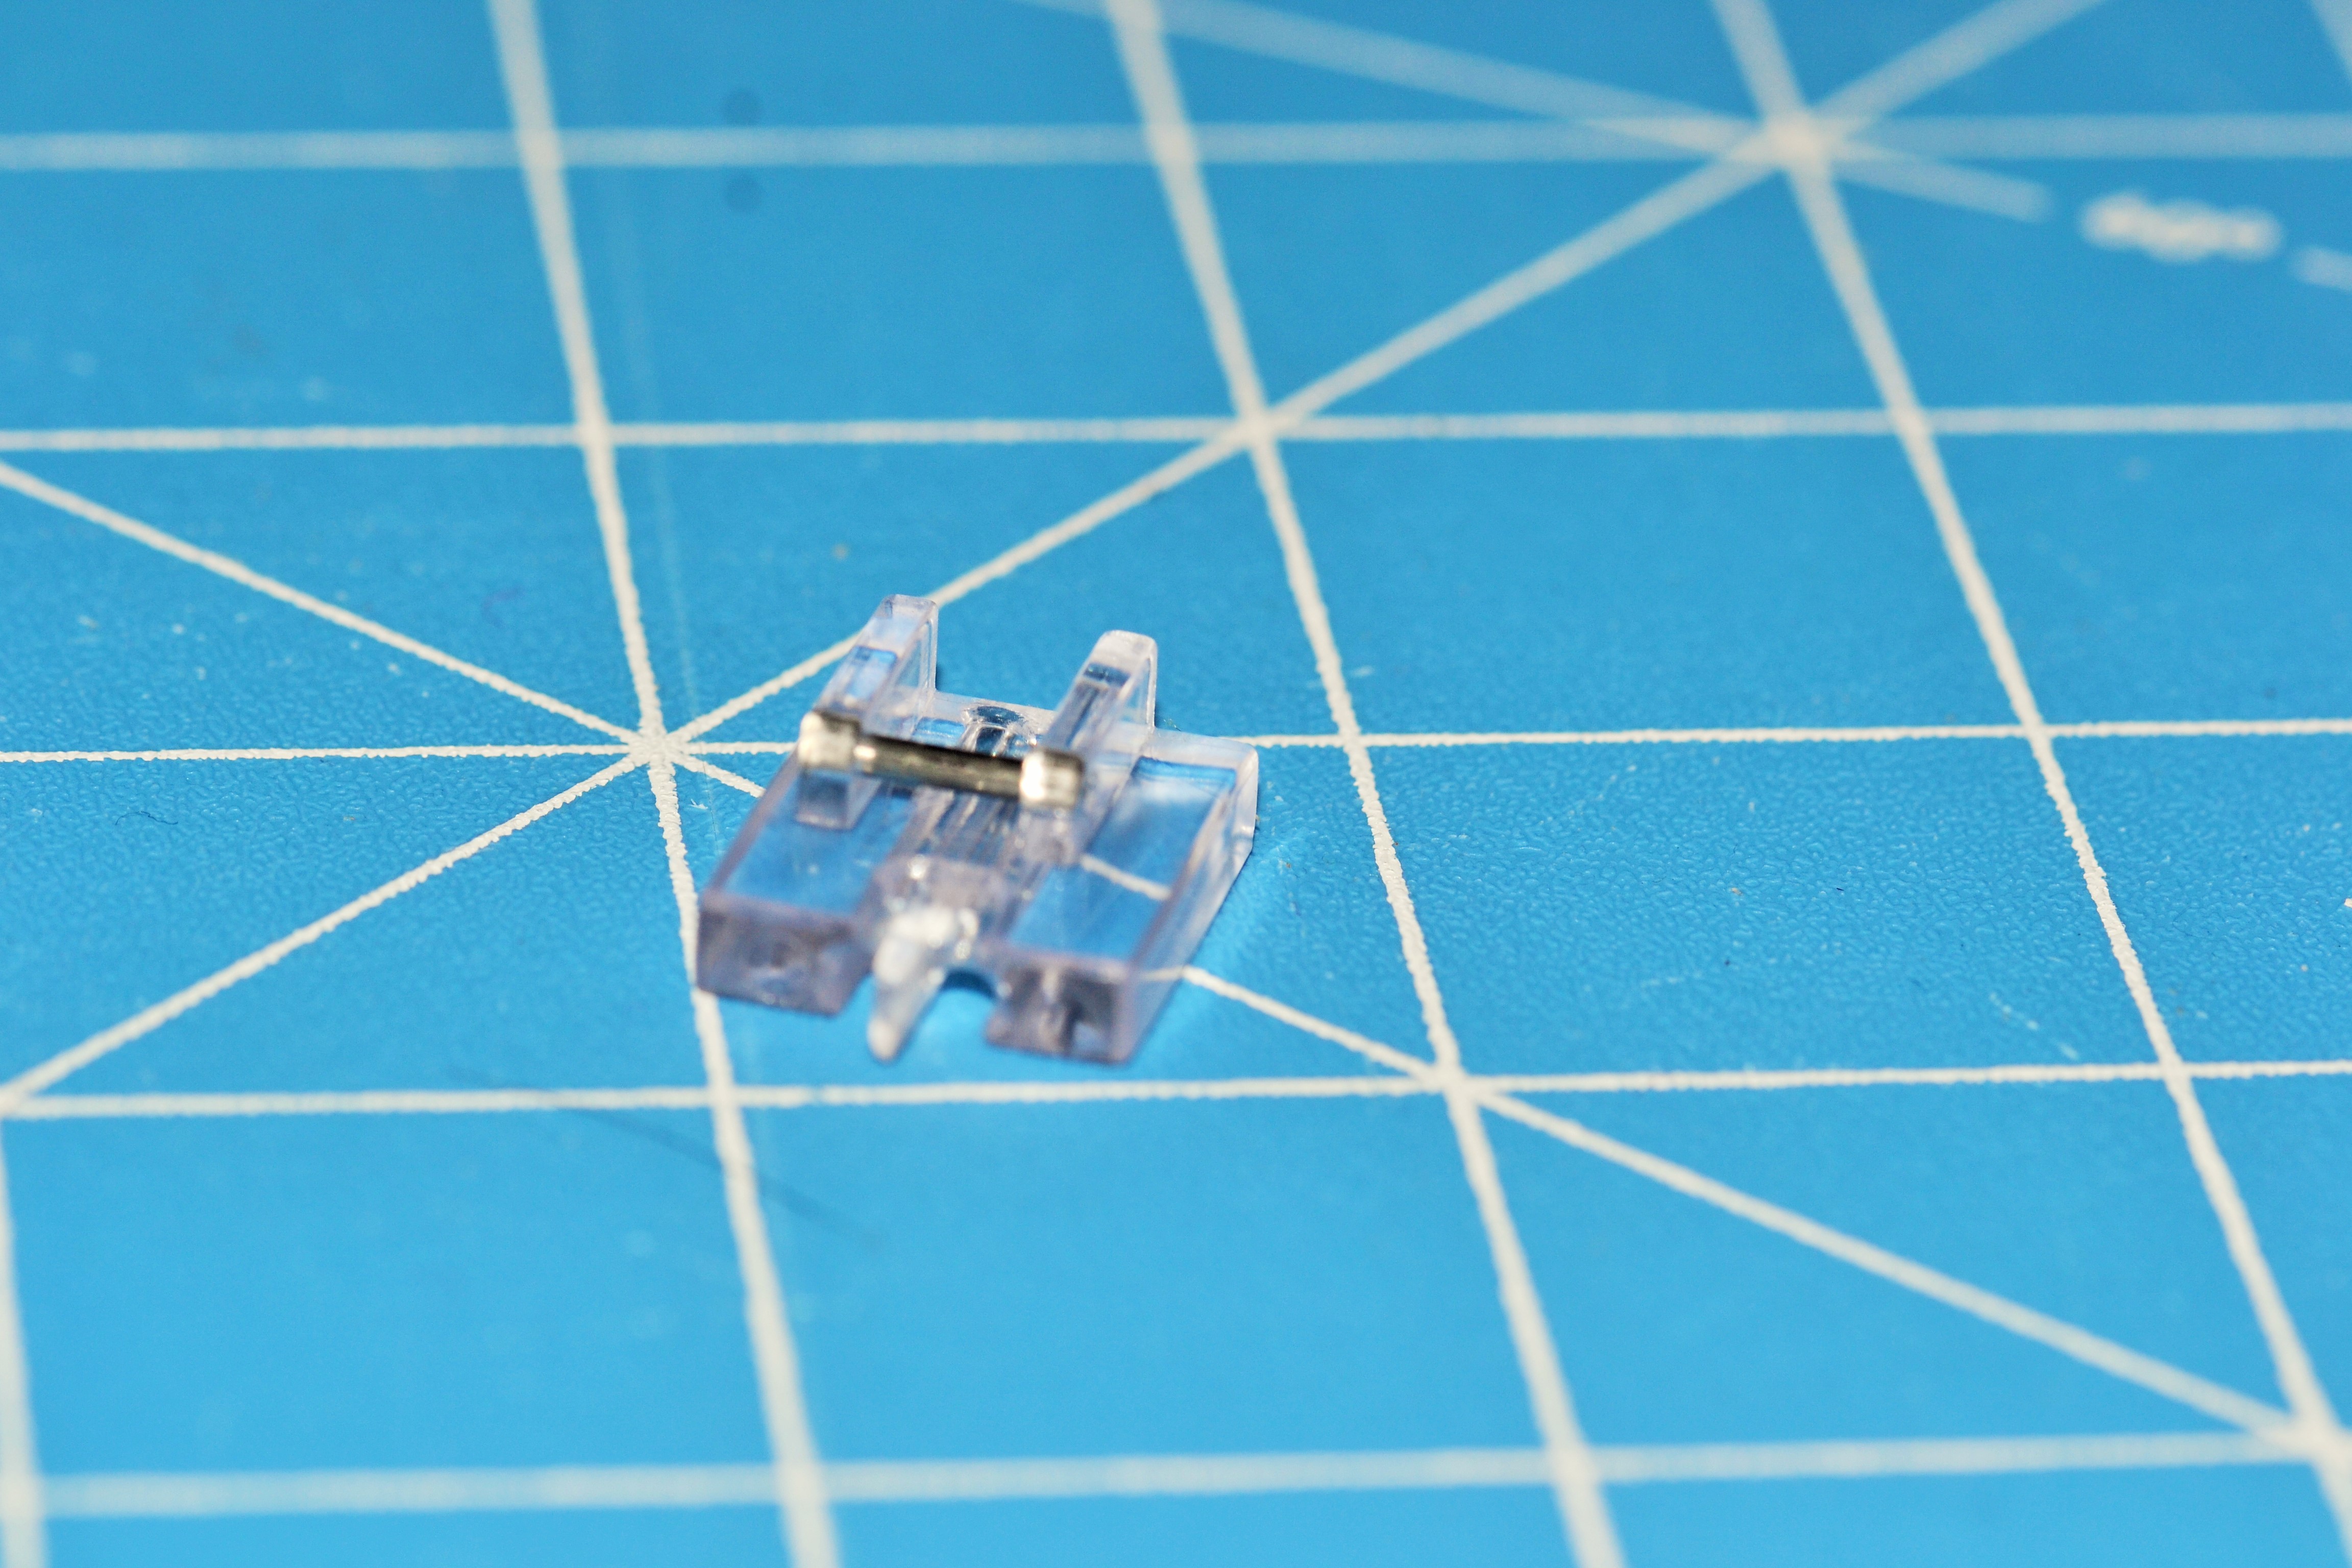
Invisible Zipper Foot
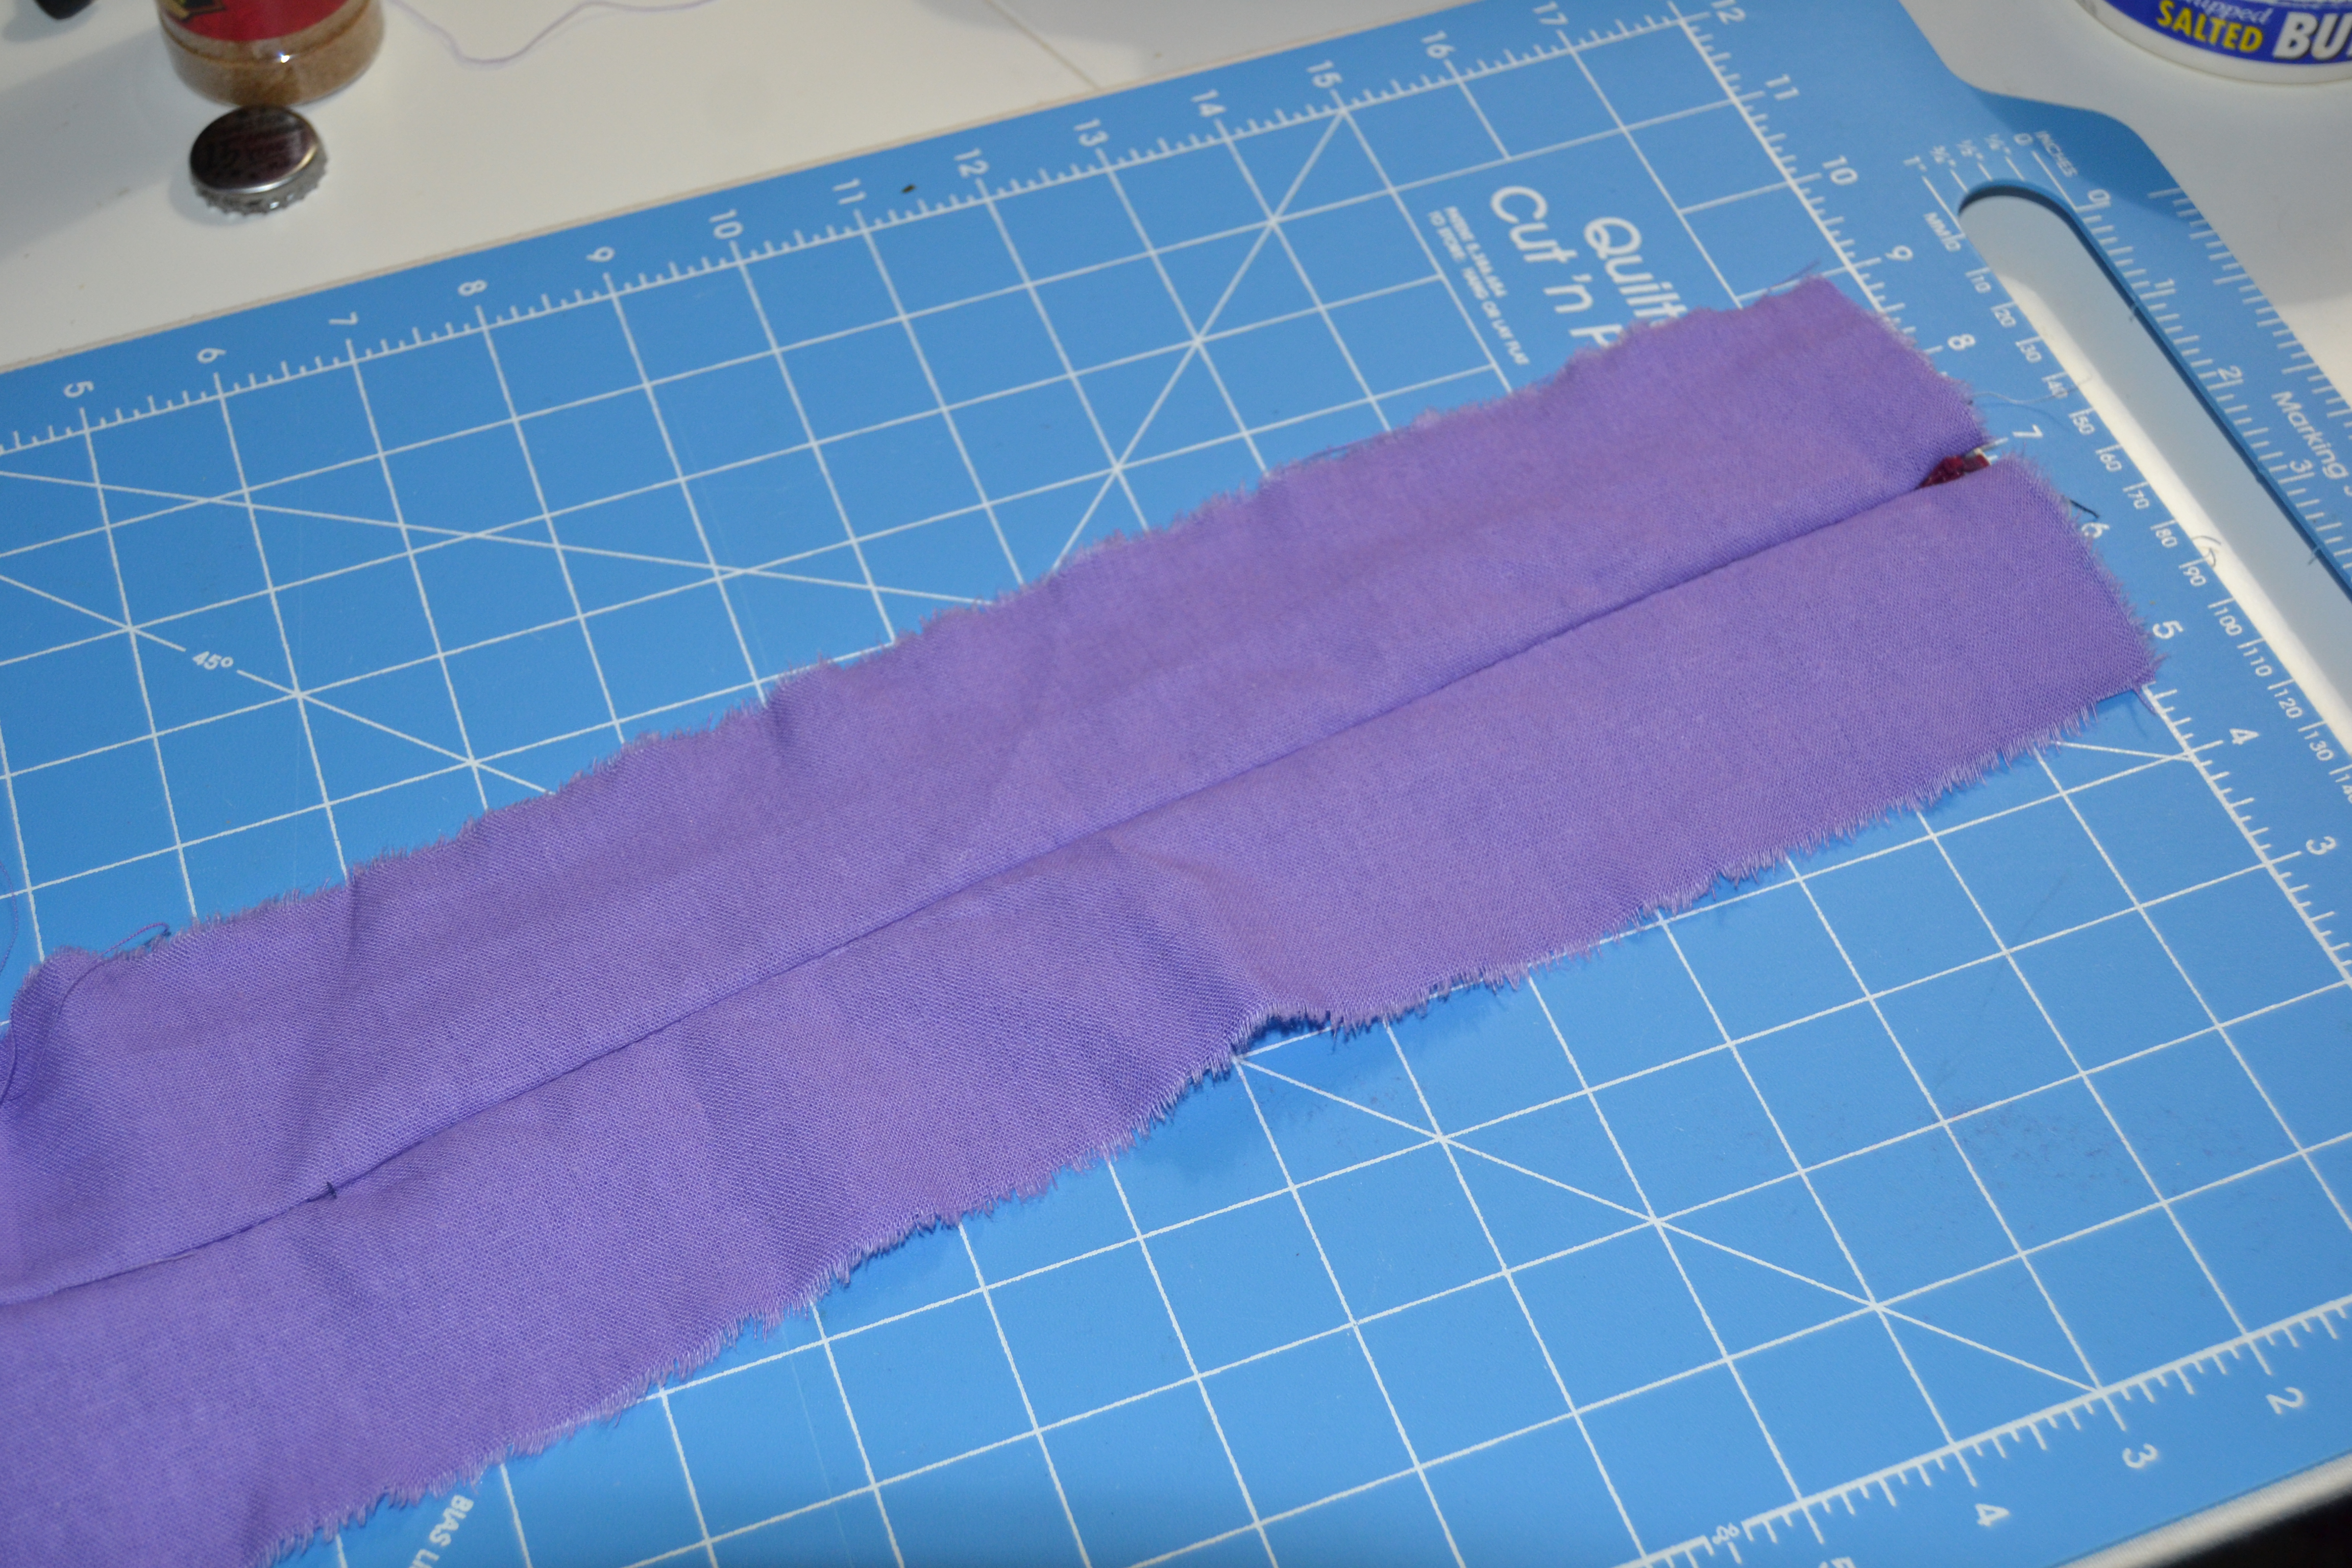
The first thing that’s different about sewing an invisible zipper is you don’t sew the seam before you put the zipper in. The seam gets sewn after you put the zipper in. Finish your seams before you begin sewing in the zipper.

Finish your seams
If you need to shorten the zipper, you do it the same way we did last week.
Either use a glue stick or put a strip of wash-away basting tape in the seam allowance on the right side of the fabric on one pattern piece.

Wash away tape
Open the zipper and press one side of the zipper onto the seam allowance face down. The zipper should be placed so the right side of the zipper as you look at it face up is on the right side of the garment and the left side of the zipper is on the left.

Zipper taped down
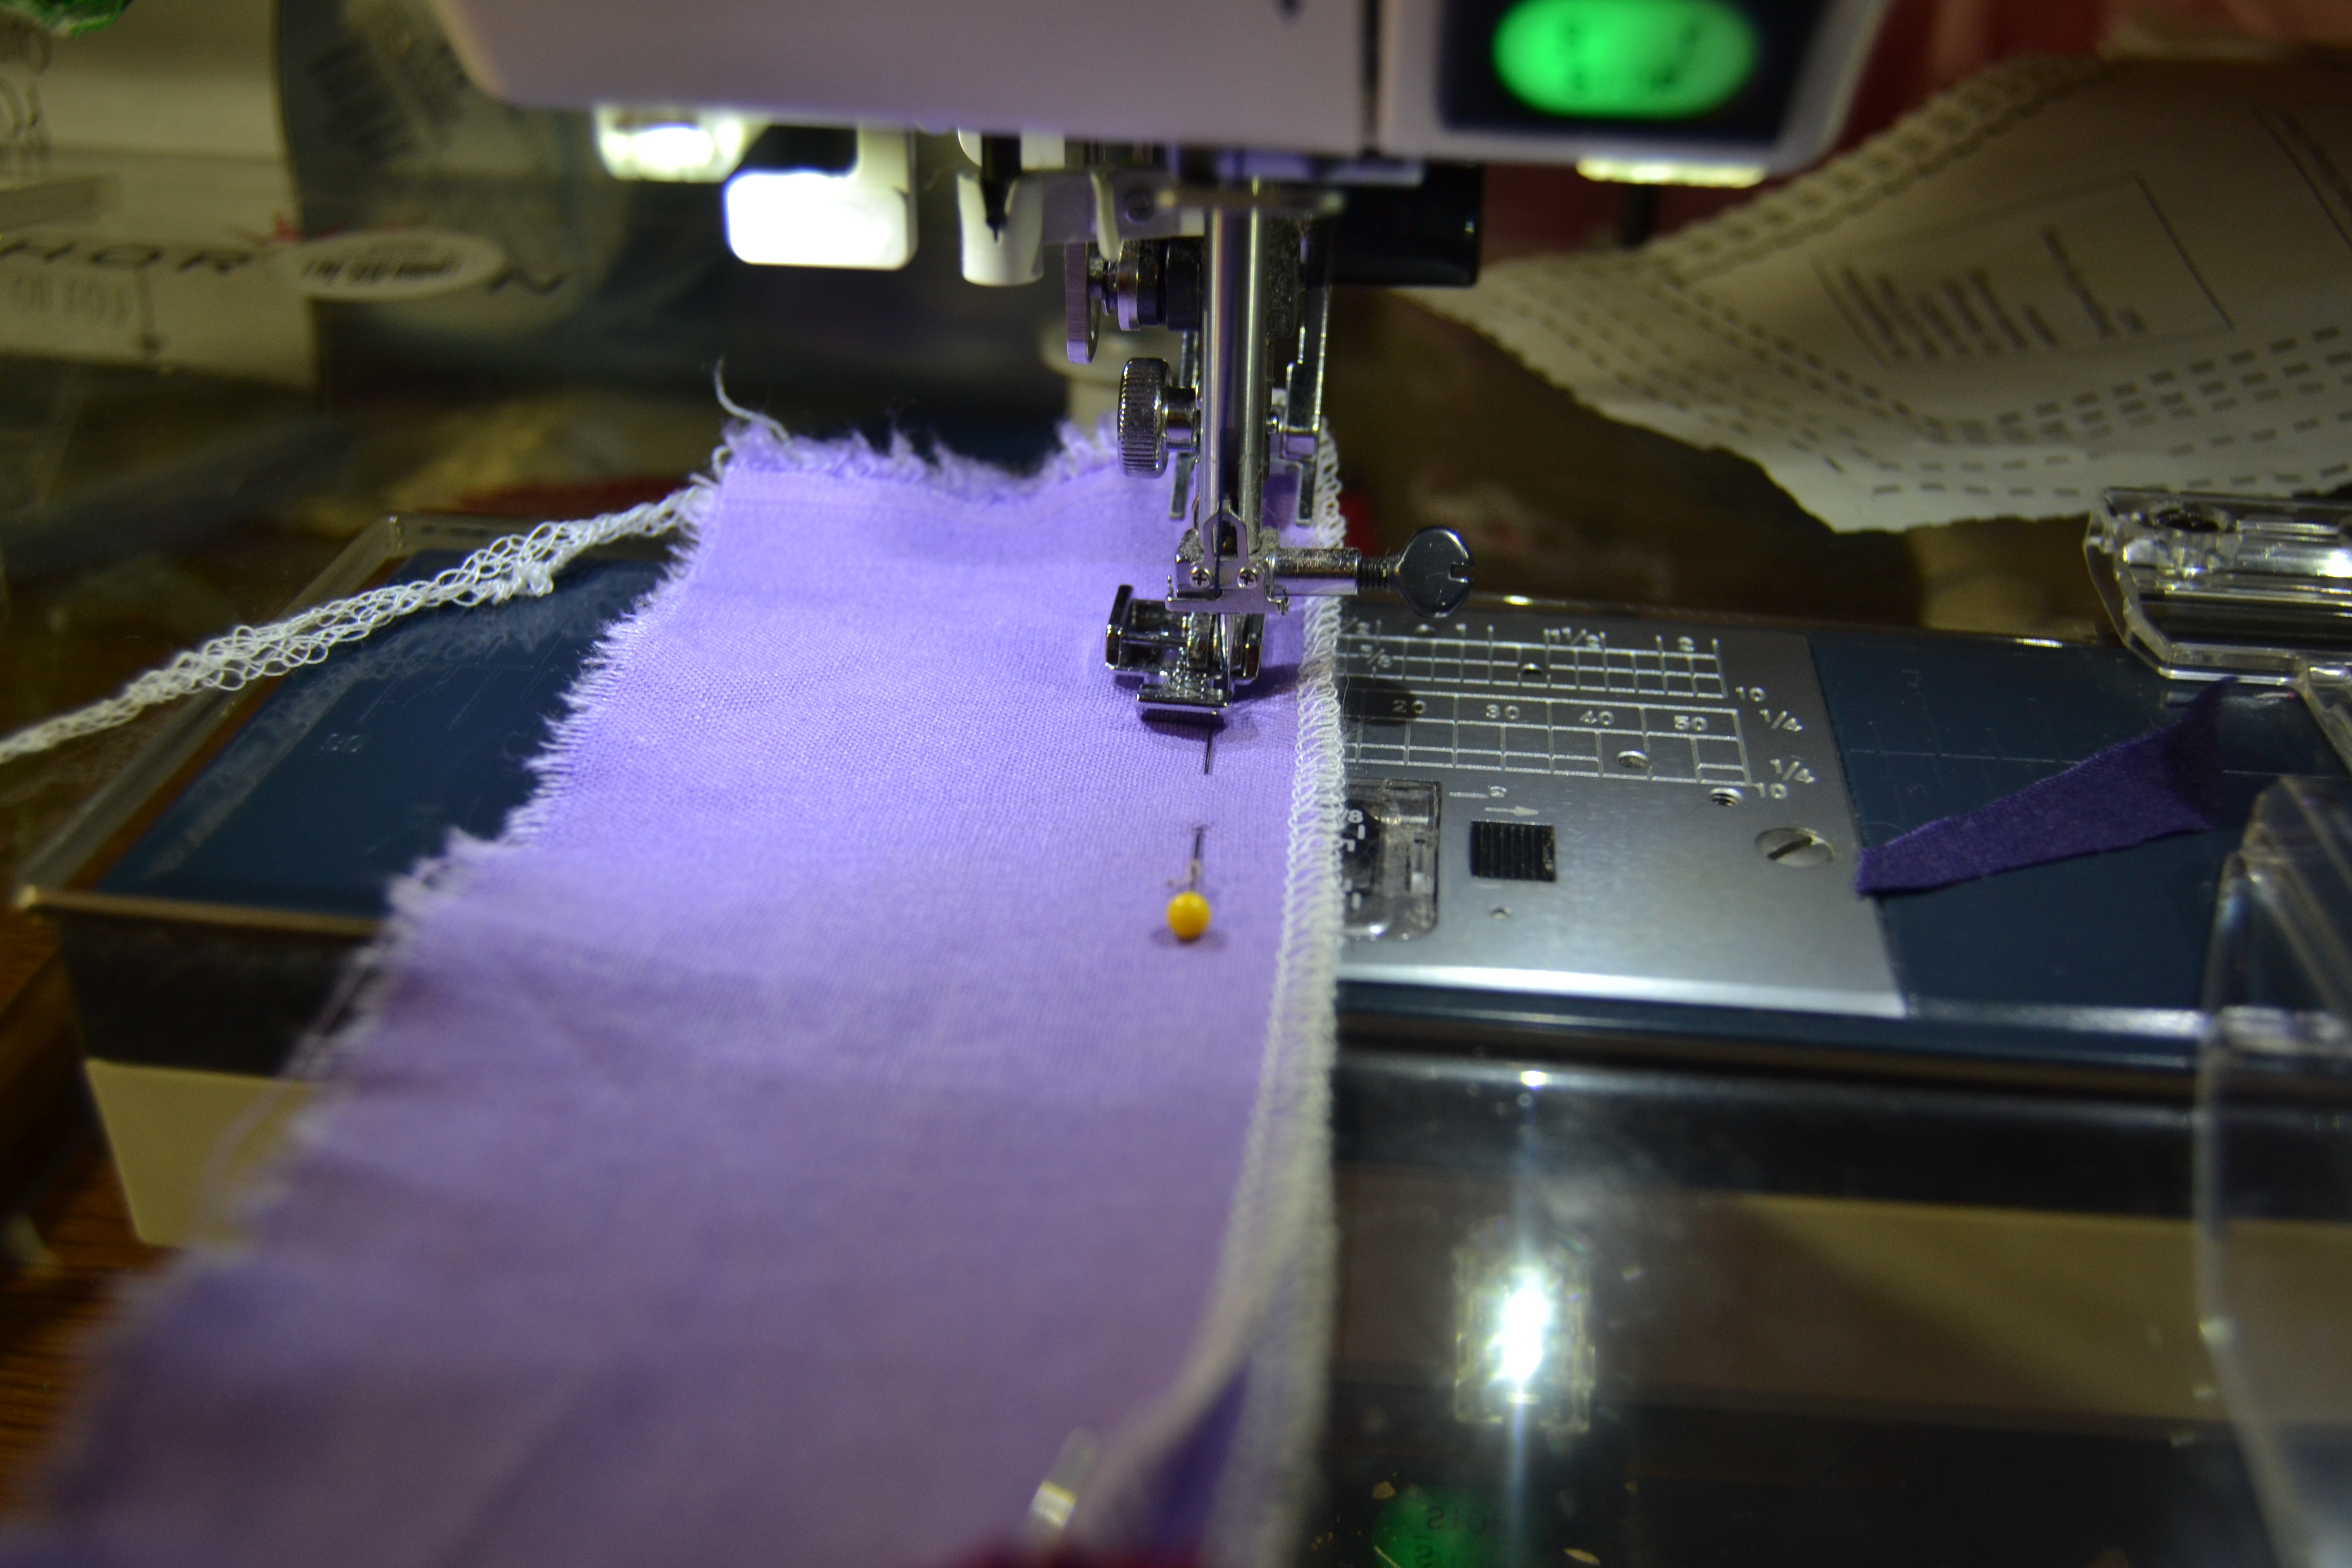
Position the zipper foot so the zipper teeth are in the groove and the piece on the front is pushing the teeth down if you have a foot like that. Move the needle so it enters the zipper close to the teeth but not in them.
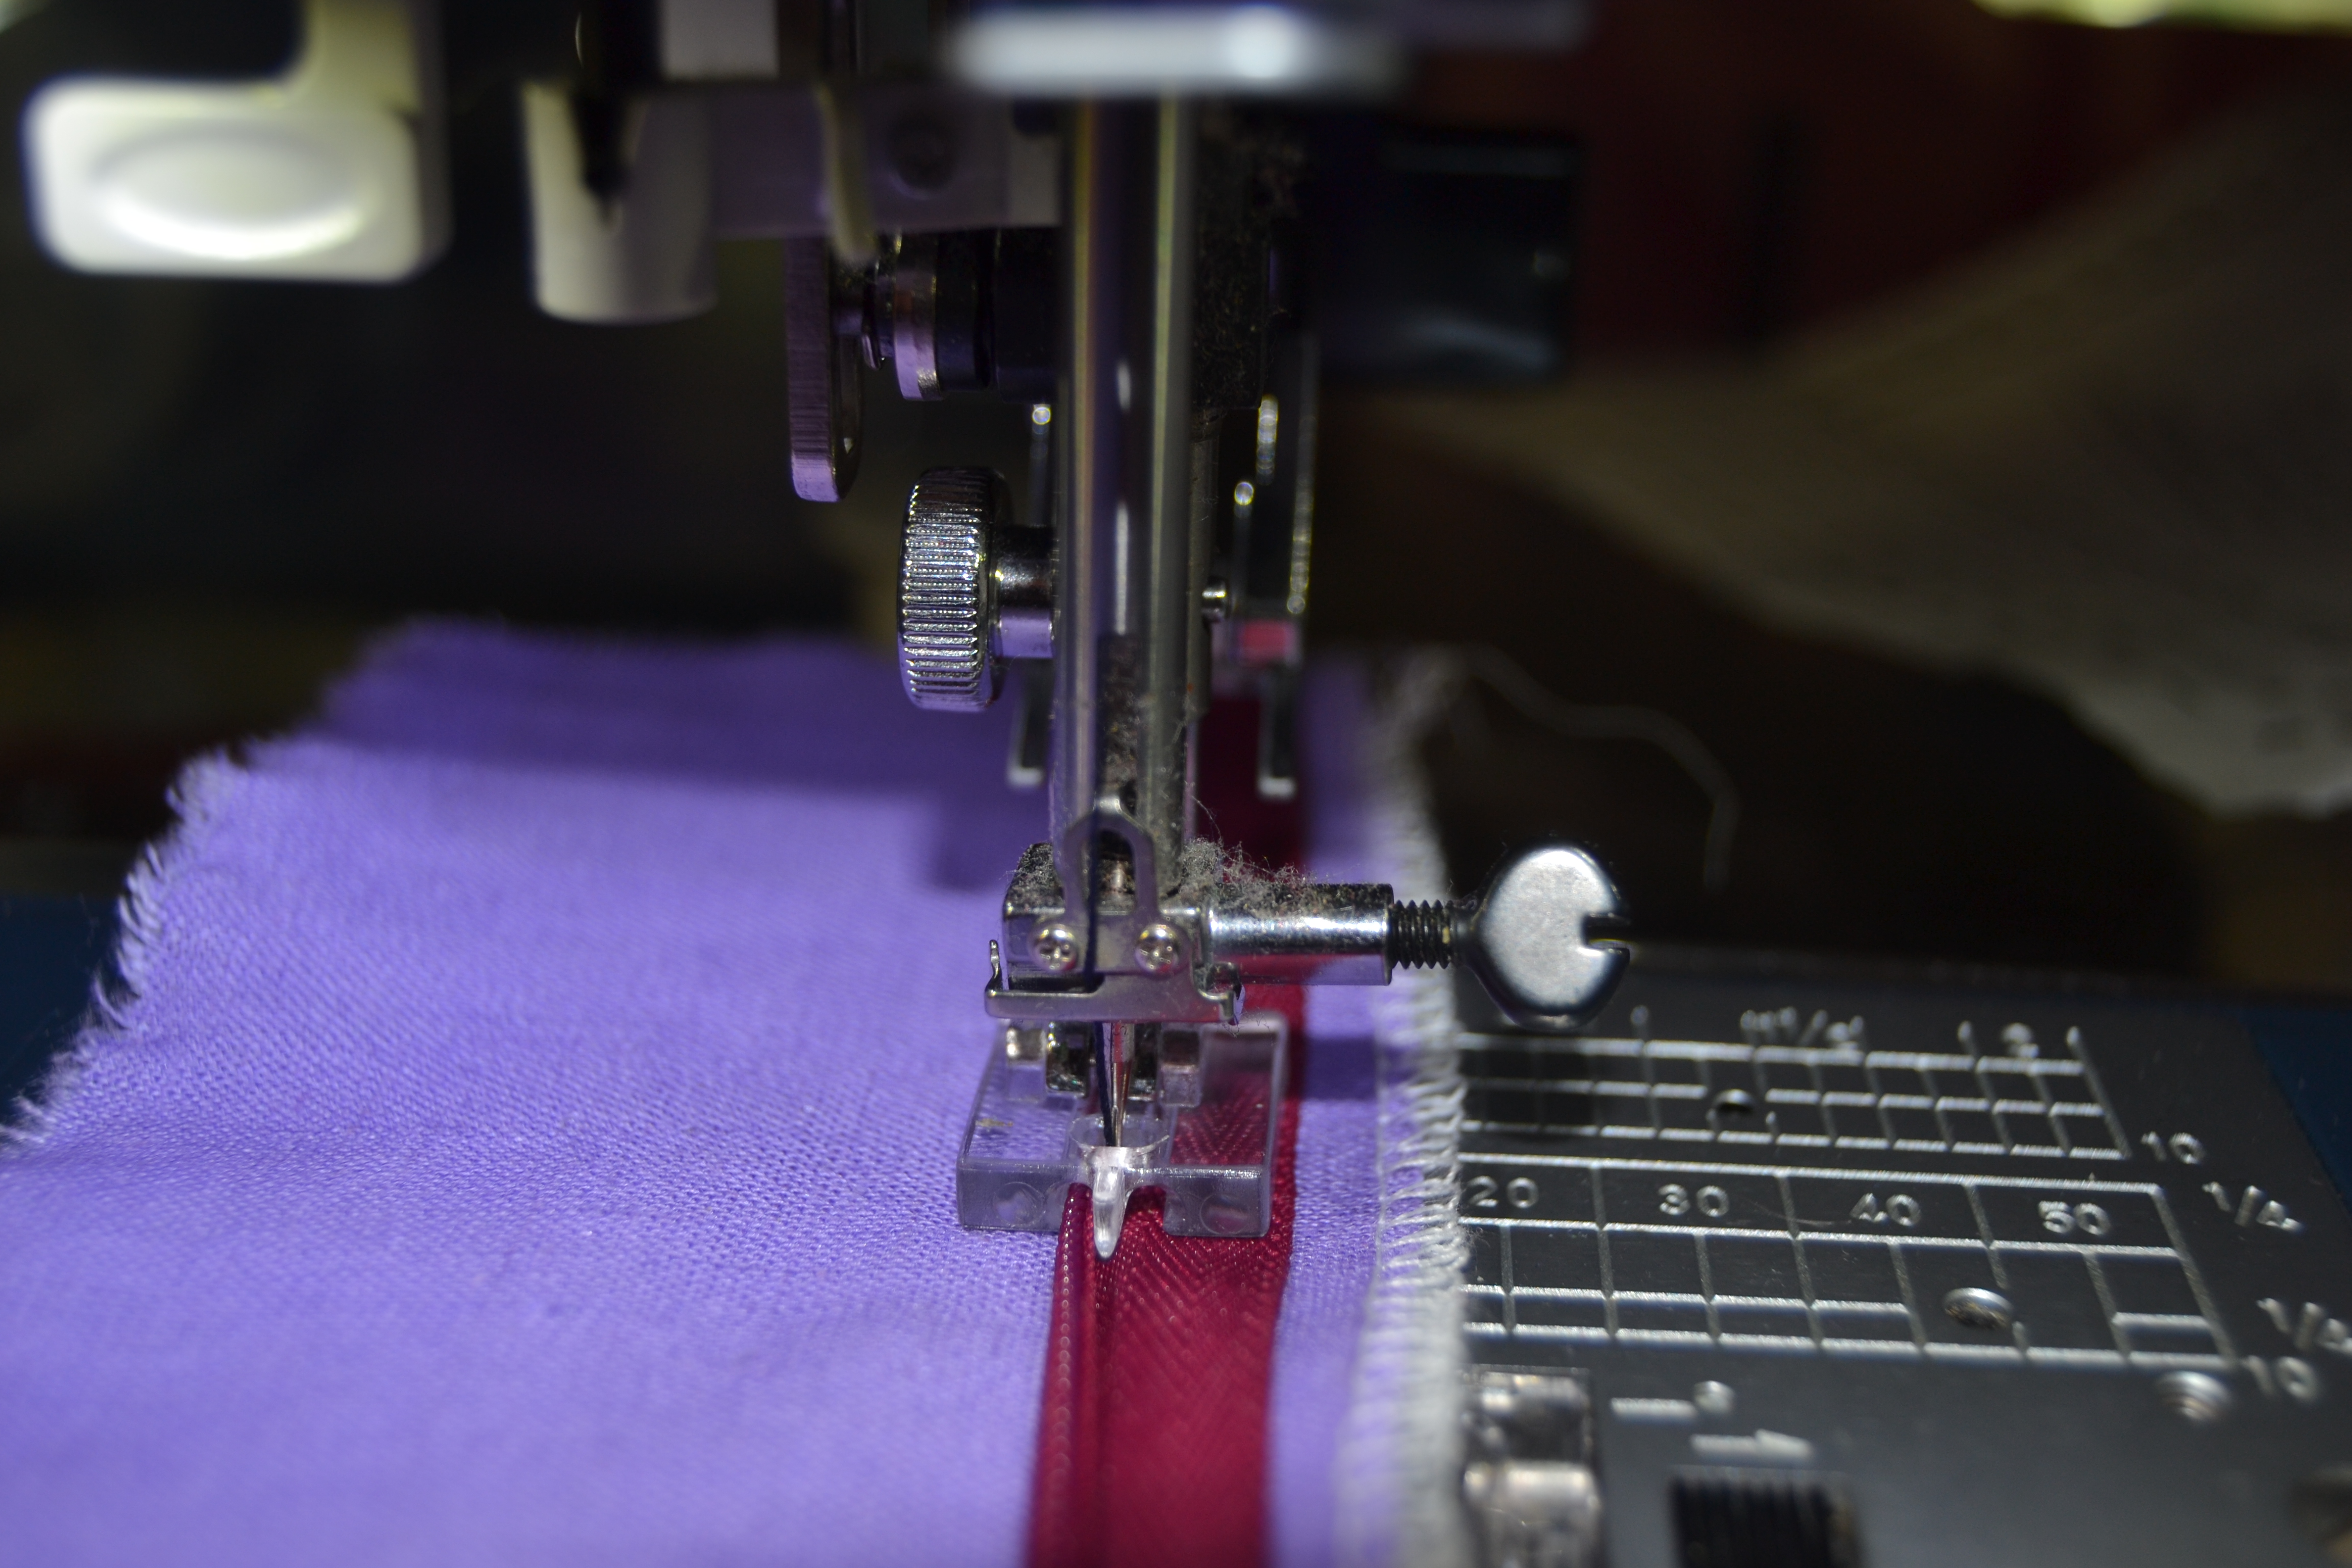
Zipper in the groove of your zipper foot as you sew
Sew down the side of the zipper almost to, but not past the zipper pull.

At the end of the zipper
Secure your stitches and cut the threads.

Glue or tape on the other pattern piece
Run the glue stick or the tape down the other pattern piece. Press the zipper into place, making sure your pattern pieces are aligned.

Second side of the zipper in place
Put your zipper foot over the zipper and move the needle into place.
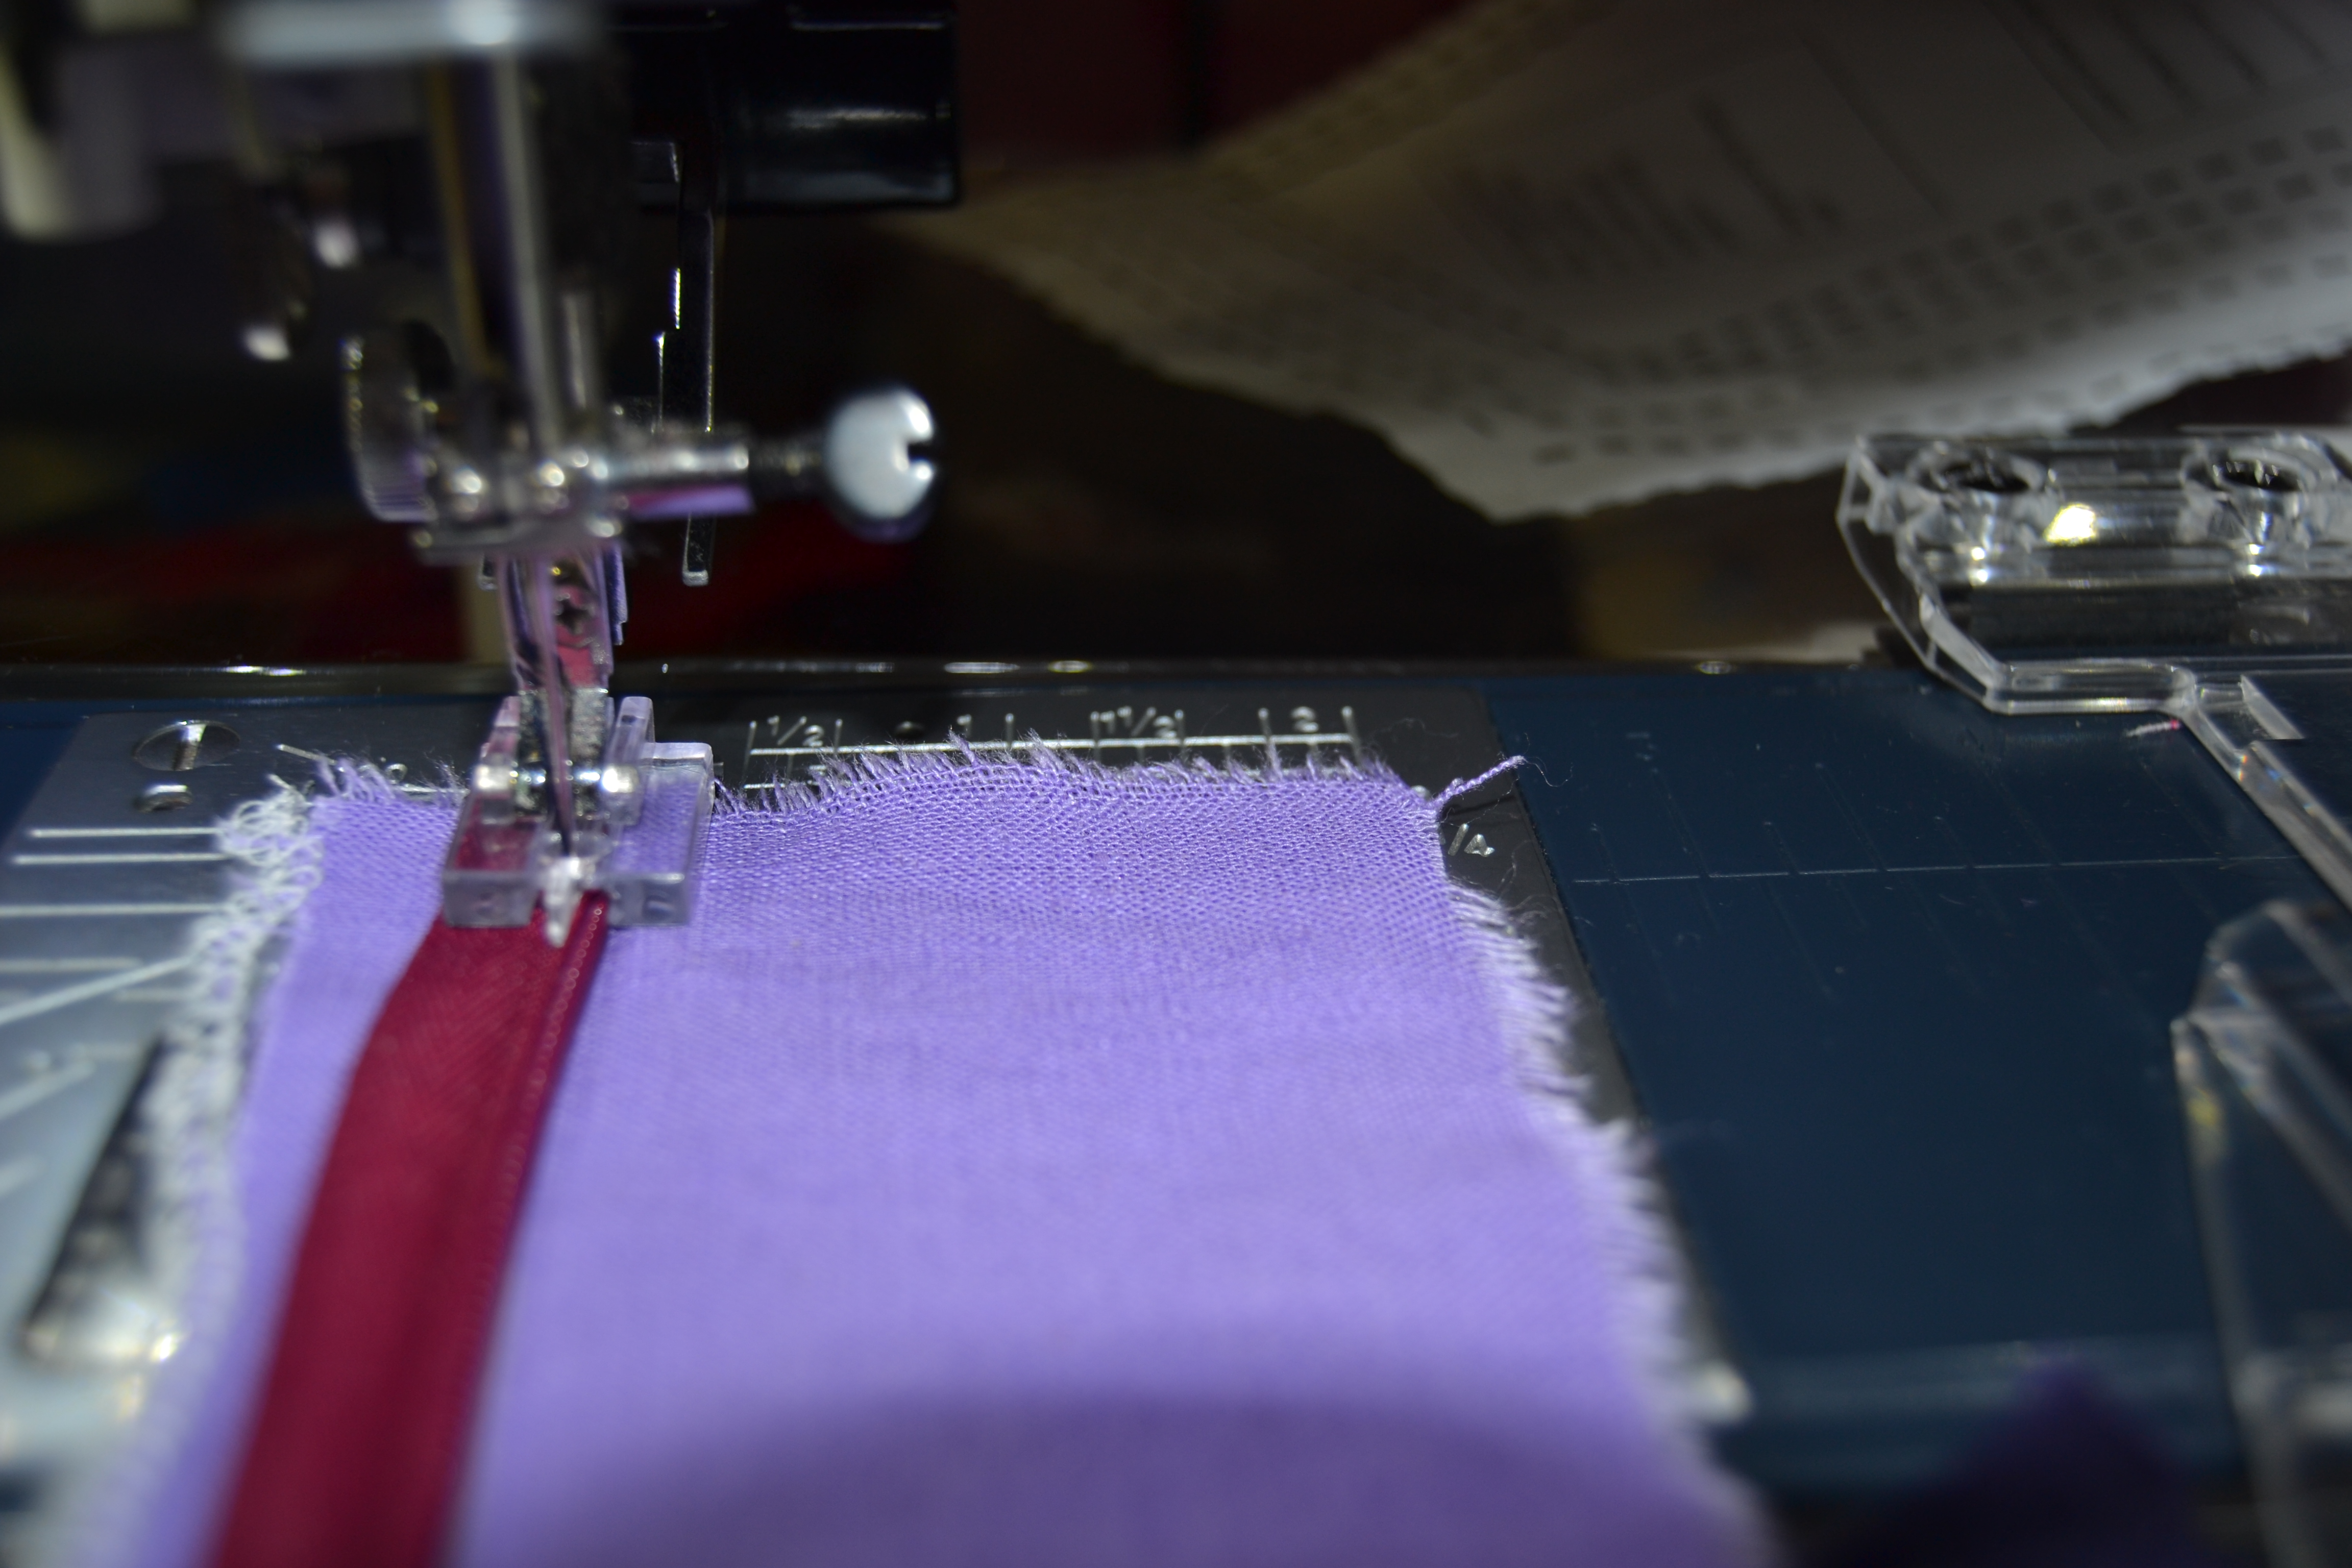
Needle moved over
Sew down the zipper stopping at the same point at the end of the zipper. Secure your threads and cut them.

Stop in the same place
Zip the zipper closed. You might have to run the pull up and down a couple of times to get it runnig smoothly.

Zipper closed
Put the regular zipper foot on your machine.
Starting at the bottom of the garment sew the seam closed. Stop a 1/2″ to an inch past where you stopped sewing the zipper in.

Press your seam open being careful not to melt your zipper.

Press your seam open
How easy was that?
I sometimes interface an invisible zipper the same way I interfaced the regular zipper last week, but since the goal is to have the zipper disappear, unless the fabric is likely to fray or get caught in the zipper, I skip it.
invisible zipper
I had planned to move to zippers in lined garments next week, but since we have so many new boy patterns recently released, I’m going to do zippers in flies first. Not as easy as this is, but not hard.
